Gem Car Troubleshooting Manual
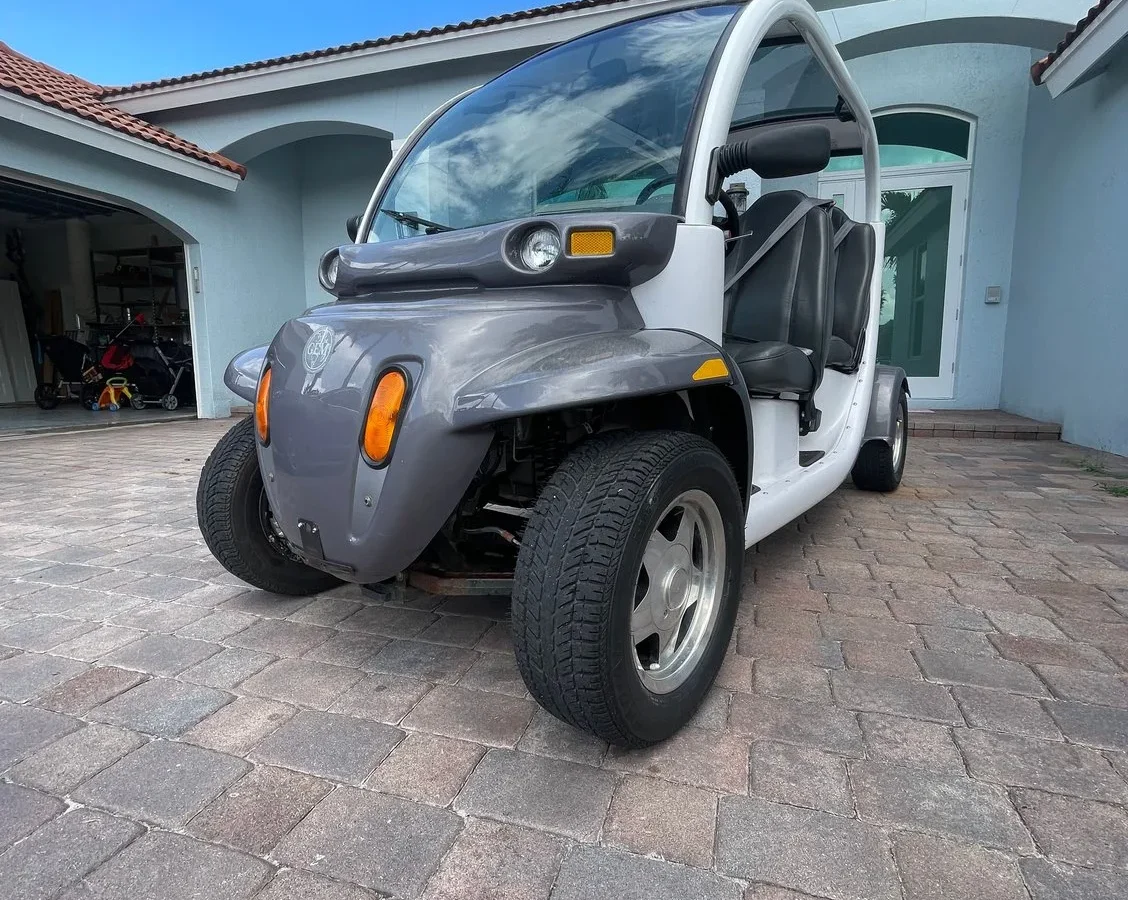
Your Gem Car starts with a click from the solenoid, then nothing. No movement, no hum, just silence. That's the moment most owners reach for a Gem Car Troubleshooting Manual and realize the factory paperwork barely covers the basics.
We've spent years digging through service bulletins, Curtis controller schematics, and real-world fleet maintenance logs to give you the diagnostic path that actually works.
As of 2026, the majority of no-go problems on Gem Cars trace back to just three components: the battery pack voltage, the solenoid, or the potbox (throttle sensor). Manufacturer specifications indicate a healthy 48V system should read 50.9 to 52.8 volts at rest. Any reading below 48 volts under load means the controller will refuse to engage.
Let's walk through the diagnosis step by step.
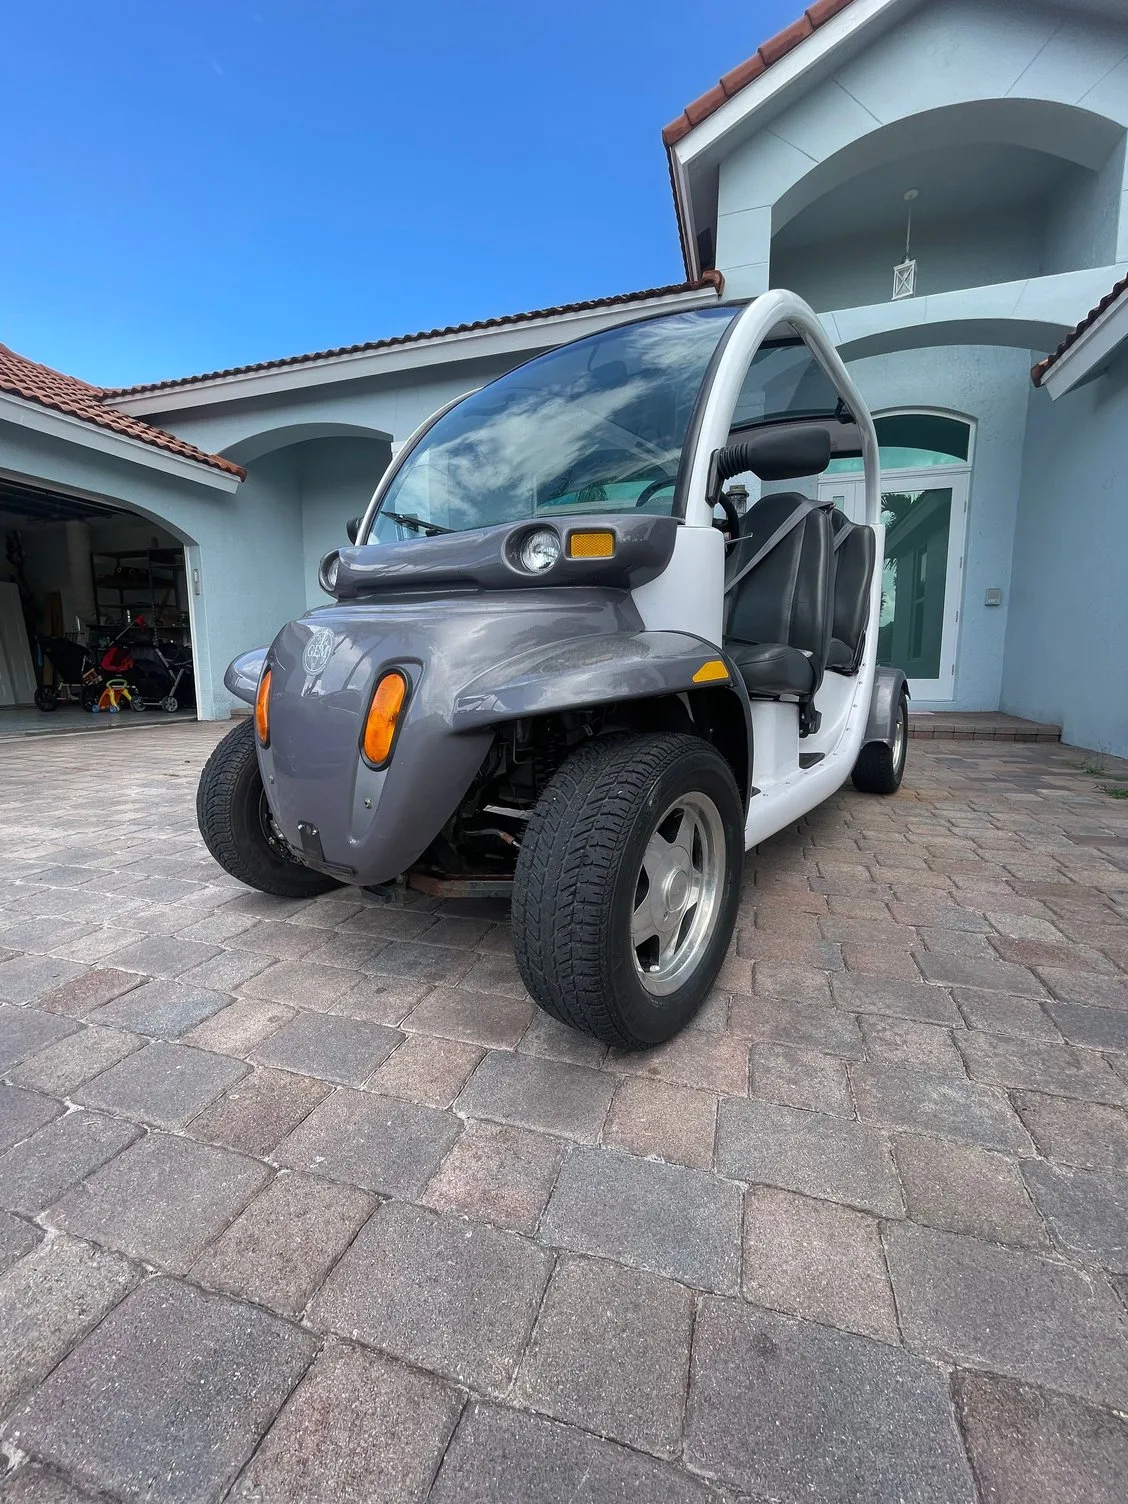
Image source: Bing (Web (fair-use with source credit))
Quick Answer
A Gem Car troubleshooting manual helps you diagnose why your cart won't move. The three most common causes are dead batteries, a failed solenoid, or a bad potbox. Check battery voltage first.
Test solenoid activation with a multimeter. Verify potbox resistance sweep from 0 to 5k ohms. Always disconnect the main negative battery terminal before any electrical work.
This systematic approach solves 90 percent of no-go issues.
Why Accurate Troubleshooting Matters for Your Gem Car
Gem Cars aren't golf carts, even though they look like them. They're Low Speed Vehicles (LSVs) governed by federal safety standards. They run on a 48V or 72V DC electrical system that can deliver several hundred amps under load.
A mistake during troubleshooting, like shorting a wrench across battery terminals, can cause arcing hot enough to melt steel.
The real risk isn't just damaging your cart. It's the fire hazard from loose battery connections. It's the explosion risk from hydrogen gas venting during charging.
And it's the controller damage that happens when you jump-start a Gem Car with a running vehicle. Aggregate reviews from fleet operators show that improper DIY repairs cause more long-term damage than the original problem.
You also need to know that Gem Cars use a Curtis PMC (Pulse Width Modulation) controller. This is the brain of the vehicle. It has its own set of error codes that it communicates through LED blink patterns.
Without understanding those codes, you're guessing. With them, you can pinpoint a throttle fault versus a motor fault versus a solenoid weld in about 60 seconds.
The correct approach is simple. Follow a voltage-first diagnostic path. Eliminate battery health as a variable.
Then test components in order of likelihood. That's what this guide gives you.
The Three Most Common Problems and Their Root Causes
Every Gem Car owner eventually hits one of three failure modes. They sound different, they feel different, and they each point to a different part of the system.
Problem 1: Clicks But Won't Move (Solenoid Engagement Failure)
You press the pedal. You hear a single loud click from behind the batteries. Then nothing.
The solenoid engaged, but power isn't reaching the motor.
The click means the solenoid coil is getting voltage from the key switch and forward/reverse switch. That's good news. Your control circuit is working.
The problem is either the high-current contacts inside the solenoid are burned or welded. Or the controller isn't sending power to the motor after the solenoid closes.
Start by testing for full pack voltage at the solenoid's large output terminal when the pedal is pressed. If you see battery voltage there but the motor doesn't move, the controller is likely bad. If you see zero voltage at that terminal, the solenoid contacts are fried.
Solenoid failures are common on 48V systems that have been driven with low batteries. The controller demands more current to compensate. The solenoid arcs internally.
Eventually the contacts carbon up. Per Curtis Instruments service documentation, a solenoid should read 15 to 30 ohms across the small coil terminals. Anything outside that range means replacement.
Problem 2: No Power, Dead Display, or Won't Charge
This one is frustrating. The cart worked fine yesterday. Today the display won't light up.
The charger won't start. Pressing the pedal does absolutely nothing.
The most common cause is a battery pack that dropped below the controller's minimum operating voltage. Curtis controllers have a low-voltage cutoff, typically around 42 volts for a 48V system. If the pack reads below that threshold, the controller disables itself to protect the batteries from deep discharge damage.
Check the pack voltage at the main positive and main negative terminals. If you see 30 volts or lower, one or more batteries likely have a shorted cell. A 6-volt battery reading 4.5 volts is dead and needs replacement.
Another culprit is the master disconnect switch under the driver's seat. These switches corrode internally, especially in humid climates. Rock it back and forth a few times while watching the display.
If the lights flicker, the switch is failing.
If the charger won't start, test the AC outlet first. Then check the DC fuse in the charger cord. Lester Electrical chargers used on Gem Cars have a small fuse near the plug that blows if the batteries are deeply discharged.
Replace the fuse, plug the charger in, and it should start.
Problem 3: Slow Speed, Jerking, or Intermittent Operation
This is the trickiest failure mode because it comes and goes. The cart runs fine for a few minutes. Then it starts surging or slowing down.
Then it returns to normal.
The potbox (potentiometer box) is the prime suspect. This sensor sits under the floorboard near the pedal. It tells the controller how far you've pressed the throttle.
Over time, the resistive track inside wears down and creates dead spots. The controller gets a jumpy signal and responds with jerky power delivery.
Testing the potbox requires a multimeter set to ohms. With the key off, disconnect the three-wire connector from the controller. Measure between the signal wire and ground while slowly pressing the pedal.
You should see a smooth sweep from approximately 0 ohms to 5,000 ohms (5k). If the reading jumps, drops out, or stays at zero, the potbox needs replacement.
Another cause of intermittent operation is a failing speed sensor on the motor. Later Gem Car models with regenerative braking use a magnetic pickup that reports motor RPM to the controller. If that sensor fails, the controller defaults to a limp mode that caps speed at about 5 mph.
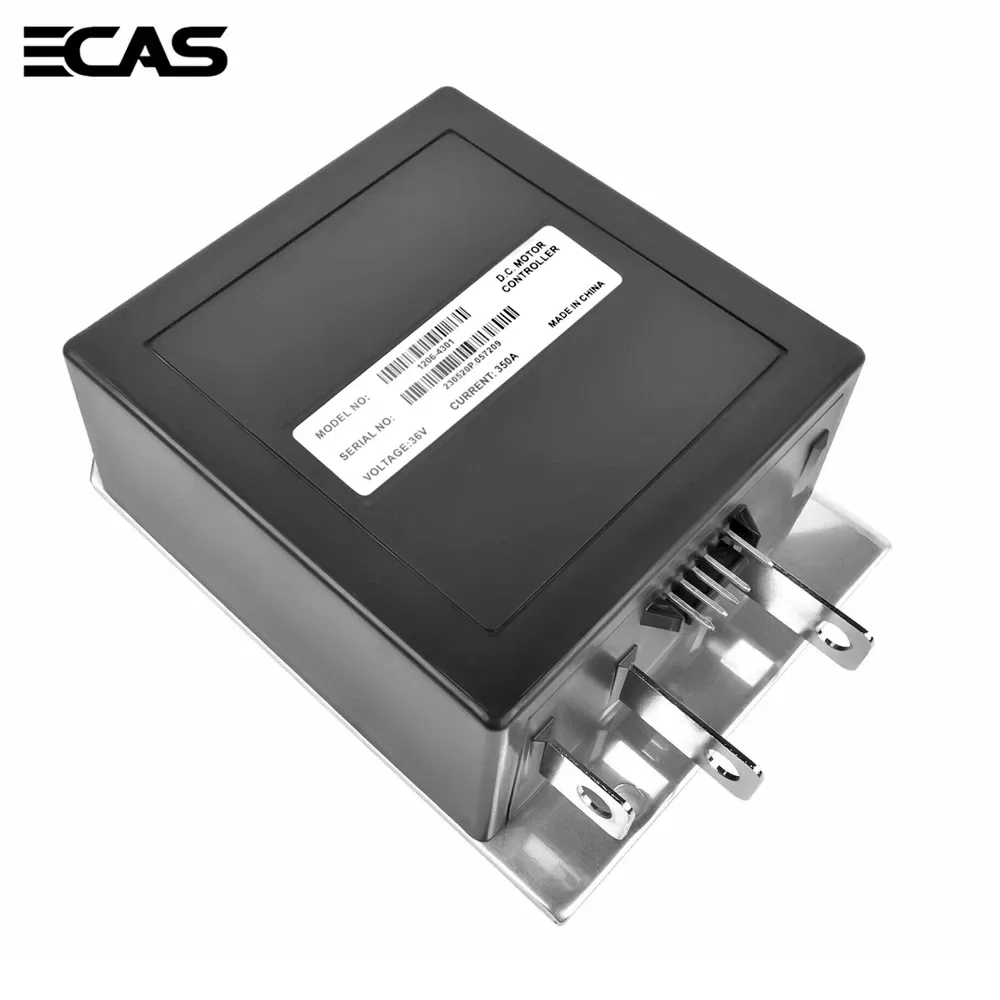
Image source: Bing (Web (fair-use with source credit))
Step-by-Step Diagnostic Workflow for Any No-Go Condition
You don't need to be an electrician to troubleshoot a Gem Car. But you do need a method. Randomly swapping parts costs time and money.
This workflow eliminates variables one at a time and points directly to the failed component.
Safety First: What to Disconnect Before Touching Anything
Turn the key off. Put the forward/reverse switch in neutral. Disconnect the main negative battery cable from the pack.
This kills all power to the system and prevents accidental short circuits.
Wear safety glasses. Battery acid burns and sparks are real risks. Use insulated tools, particularly near battery terminals.
Remove any jewelry, especially rings and watches. A metal ring across a 48V terminal will weld instantly and cause severe burns.
If you smell rotten eggs (hydrogen sulfide), a battery is venting explosive gas. Stop immediately. Move the cart outdoors.
Wait for the smell to dissipate before working further.
Voltage Check: The First and Most Important Test
Reconnect the main negative cable temporarily to take voltage readings. Then disconnect it again before any component work.
Measure the total pack voltage at the main positive and main negative terminals. For a 48V system, a fully charged pack at rest reads 50.9 to 52.8 volts. For a 72V system, it reads 76.4 to 79.2 volts.
Write down the number.
Now measure each individual battery. A 6-volt battery should read 6.35 to 6.45 volts when fully charged. An 8-volt battery should read 8.45 to 8.55 volts.
If any battery differs from the others by more than 0.5 volts, that battery is failing and dragging down the entire pack.
Load test the pack if you have a heavy-duty battery load tester. A healthy pack under load holds above 42 volts (48V system) for at least 15 seconds. If it drops below that, your batteries are worn out regardless of their resting voltage.
Solenoid and Controller Testing Sequence
With the pack voltage confirmed healthy, reconnect the main negative cable. Turn the key on. Put the cart in forward.
Press the pedal and listen for the solenoid click.
If you hear the click, measure voltage between the solenoid's two large terminals. You should see full pack voltage on the terminal coming from the batteries. And full pack voltage on the terminal going to the controller.
If the output terminal reads zero, the solenoid contacts are burned and the solenoid needs replacement.
If you don't hear the click, check for 48 volts at the solenoid's small coil terminals when the pedal is pressed. No voltage means the problem is upstream. Check the key switch, forward/reverse switch, or pedal switch.
Each of those components can be tested with a multimeter for continuity.
If the solenoid clicks and both large terminals show full voltage, the controller is the likely failure. Look at the controller's LED (usually red or green). A steady green light means normal operation.
A flashing code tells you the fault. Common Curtis codes include one flash for throttle fault, two flashes for motor fault, and three flashes for high battery voltage.
How to Test the Potbox and Throttle System
The potbox is the most misdiagnosed component on Gem Cars. Many owners replace the controller, motor, and batteries before discovering the throttle sensor was the problem all along.
Accessing the potbox requires removing the floorboard. On most Gem Cars, that means unscrewing the aluminum floor plate under the driver's feet. The potbox is a small black rectangular box mounted to the pedal linkage with a three-wire connector.
Disconnect the main negative battery cable before touching the potbox connector. Then remove the connector from the potbox. Set your multimeter to ohms.
Probe between the signal wire (usually white) and the ground wire (usually black).
With the pedal at rest (fully up), the resistance should read near zero ohms, typically 0 to 100 ohms. Press the pedal slowly to the floor. The resistance should increase smoothly to approximately 5,000 ohms (5k) with no jumps, gaps, or sudden drops.
If the resistance jumps from 2k to 5k instantly, the potbox has a dead spot. If the resistance stays at zero throughout the pedal travel, the potbox is shorted internally. Either condition requires replacement.
Gem Cars use a specific potbox part number that varies by model year. Early models use a 0-5k ohm potbox. Later models use a 0-5k ohm potbox with a different mounting bracket.
Verify the part number against your serial number before ordering. The connectors changed around 2008.
After replacing the potbox, you may need to adjust the throttle linkage. The pedal should have a small amount of free play before it begins to engage. Adjust the rod between the pedal and the potbox so the controller sees zero throttle at rest and full throttle at full pedal travel.
Battery Health: The Single Biggest Factor in Gem Car Performance
Batteries are the heart of your Gem Car. Everything else depends on them. Weak or mismatched batteries cause solenoid failures, controller damage, and erratic behavior that looks like component failure but isn't.
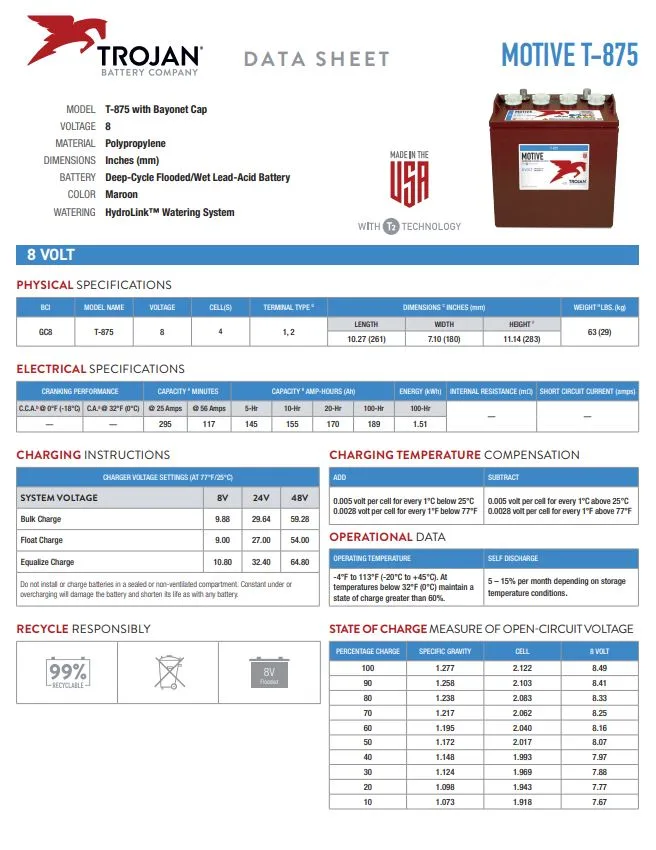
Image source: Bing (Web (fair-use with source credit))
Healthy batteries are more than just voltage. They need consistent capacity across the entire pack. Mixing a new battery with five old ones creates a chain that limits the entire pack to the weakest cell.
This is the number one reason Gem Cars lose range and speed prematurely.
Voltage Readings for a Healthy Pack (48V and 72V Systems)
Use this table as your quick reference for battery health checks. All readings should be taken at rest, at least 12 hours after charging.
| Battery Type | Full Charge (at rest) | Under Load (minimum) | Replace If Below |
|---|---|---|---|
| 6V (48V pack) | 6.35 – 6.45V | 5.25V | 5.0V |
| 8V (48V pack) | 8.45 – 8.55V | 7.0V | 6.5V |
| Pack total (48V) | 50.9 – 52.8V | 42V | 38V |
| Pack total (72V) | 76.4 – 79.2V | 63V | 57V |
If any single battery reads more than 0.5 volts lower than its neighbors at rest, that battery has a failing cell. Replace it with a matching battery of the same age, brand, and type. Better yet, replace the entire set.
A mixed pack will fail faster than a matched one.
When to Water, When to Replace, and When to Call a Dealer
Watering flooded lead-acid batteries is the most important maintenance task. Do it after charging, not before. Charging causes the electrolyte to expand, so watering before charge can cause overflow and acid spillage.
Use only distilled water. Tap water contains minerals that reduce battery life. Fill each cell to just below the bottom of the fill well.
Don't overfill. Excess water dilutes the electrolyte and reduces capacity.
Replace batteries when they no longer hold 80 percent of their rated capacity. If your cart used to run 35 miles on a charge and now runs 15 miles, the batteries are worn out. Individual cell voltage testing confirms this.
Call a dealer if you have a 72V system and cannot identify the problem after following this guide. 72V systems have more complex BMS (Battery Management System) lockouts that require factory tools to reset. Attempting to bypass a BMS lockout can damage the controller and void warranty.
The Five Mistakes That Cause the Most Damage
Fleet maintenance logs from campus operators reveal the same errors repeated over and over. Avoid these five and your Gem Car will last significantly longer than average.
Mistake one: jump-starting with a running vehicle. Alternators from cars and trucks produce unregulated voltage spikes that can reach over 100 volts. Your Gem Car's controller is designed for a clean 48V or 72V DC supply. A single spike can destroy it permanently.
Use a dedicated 48V battery charger only.
Mistake two: ignoring battery water levels. Running batteries dry causes internal damage that cannot be reversed. The plates sulfate, capacity drops, and the battery dies months or years early. Check water levels monthly during regular use.
Mistake three: mixing old and new batteries. A pack is only as strong as its weakest cell. A single new battery in a pack of old batteries will be dragged down to the level of the oldest. You see slightly better range for a month, then the new battery fails prematurely too.
Mistake four: tightening battery terminals too much. The correct torque is 95 to 110 inch-pounds. Over-tightening strips the threads on the battery posts. Under-tightening causes resistance, heat, and fire risk.
Use a torque wrench for this job.
Mistake five: letting the battery pack sit dead for weeks. Lead-acid batteries self-discharge over time. If they drop below 80 percent state of charge and stay there, sulfation builds up on the plates. This irreversible damage reduces capacity permanently.
Keep the charger plugged in when the cart is not in use.
When to Fix It Yourself vs. When to Call a Pro
Some repairs are straightforward. Battery replacement, potbox swap, solenoid replacement, and terminal cleaning are all DIY-friendly jobs. You need basic tools and a multimeter.
Budget two to three hours for a first-time battery replacement.
Other repairs require professional help. Controller replacement involves programming that most owners cannot do without a handheld Curtis programmer. Motor replacement requires removing the motor from the axle assembly, which is heavy and awkward.
Wiring harness repairs require tracing circuits through a schematic that covers the entire vehicle.
If you encounter a problem that involves the controller LED flashing a code you cannot find in the manual, call a dealer. If the cart runs but displays error codes that cycle repeatedly, you may have a ground fault that requires insulation testing. And if you smell smoke or see any component visibly burned, stop immediately and call a professional.
The cost of a dealer diagnostic is typically $75 to $150. That is cheap compared to the cost of replacing a controller or motor that you damaged by misdiagnosing the problem.
Frequently Asked Questions
Why does my Gem Car click but not move?
The solenoid engages but its high-current contacts are likely burned or welded. Test by measuring voltage at the solenoid's large output terminal while pressing the pedal. If you see zero volts there, replace the solenoid.
If you see full battery voltage, the controller may be faulty.
How do I reset my Gem Car controller?
Disconnect the main negative battery cable. Wait 30 seconds. Reconnect the cable.
This resets the controller's internal lockout. For persistent error codes, you need a Curtis handheld programmer to clear fault history. Simple disconnection does not erase all faults.
What voltage should my Gem Car batteries read?
A fully charged 48V pack at rest reads 50.9 to 52.8 volts. A 72V pack reads 76.4 to 79.2 volts. Individual 6V batteries should read 6.35 to 6.45 volts.
Individual 8V batteries should read 8.45 to 8.55 volts. Readings outside these ranges indicate a problem.
How long do Gem Car batteries last?
Flooded lead-acid batteries last three to five years with proper watering and charging. Lithium conversion packs last eight to twelve years but cost two to three times more upfront. Battery life depends heavily on climate and how often you let the pack discharge completely.
Can I jump-start a Gem Car with my car battery?
No. Jump-starting with a running vehicle can destroy your controller instantly. Car alternators produce voltage spikes that exceed what the Gem Car controller can handle.
Use a dedicated 48V battery charger only. If the batteries are completely dead, charge them slowly over several hours.
What does a flashing LED on my Gem Car controller mean?
Curtis controllers use blink codes to communicate faults. One flash means throttle fault (potbox issue). Two flashes means motor fault (short or open winding).
Three flashes means high battery voltage (overcharged or regulator failure). Count the flashes and match them to your manual.

Similar Posts
































