How To Change A 3 Hole Bathroom Faucet To 1 Hole
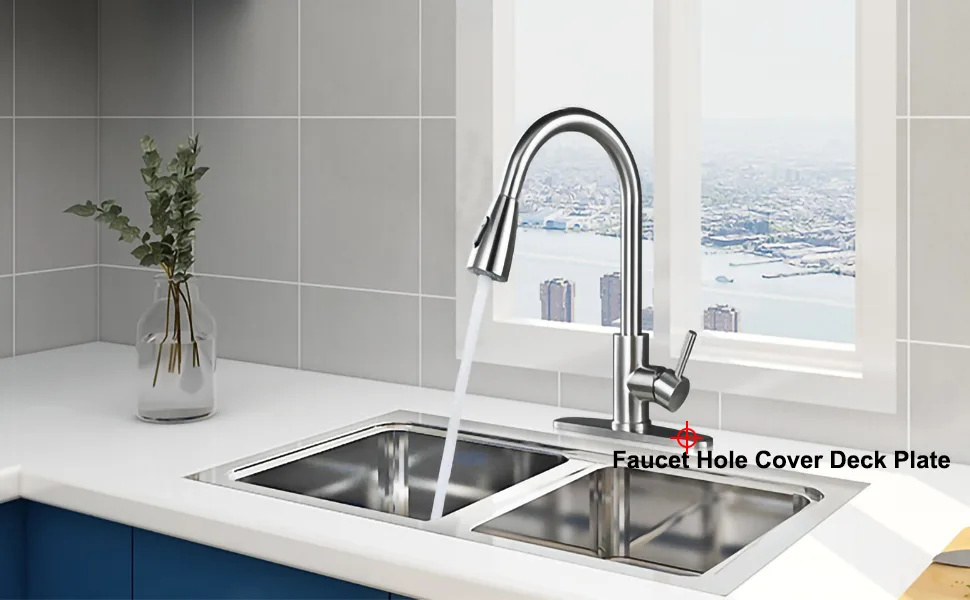
So you’ve got a three-hole faucet setup that looks dated, and you’re eyeing a sleek single-handle replacement. The question “How To Change A 3 Hole Bathroom Faucet To 1 Hole” is straightforward in theory, but the real job involves a few surprises once you pop off that deck plate. I’ve walked through this exact swap enough times to tell you: it’s a doable weekend project for most homeowners, but there’s a catch that trips people up.
That catch is what you do with the two leftover holes in your countertop. As of 2026, the overwhelming majority of residential bathroom sinks still use a 4‑inch or 8‑inch center‑to‑center hole spread. A single‑hole faucet only fills one of those three openings.
You’ll need either a deck plate, a new sink, or a creative solution, and we’ll cover all three. Let’s dig into how this swap really works.
Image source: Bing (Web (fair-use with source credit))
Quick Answer
Turn off the water under the sink. Disconnect supply lines and remove the P‑trap for access. Unscrew the mounting nuts of the old three‑hole faucet and lift it out.
Scrape old caulk and inspect the countertop. Install a deck plate to cover the unused holes or replace the sink. Thread the new single‑hole faucet through the center hole.
Tighten from below and reconnect supplies. Test for leaks.
What You’re Actually Getting Into (And Why This Isn’t a Straight Swap)
If you think you can just unscrew a three‑hole faucet and drop in a single‑hole model, you’re right, until you look at the countertop. Most three‑hole bathroom sinks use a “mini‑widespread” layout where the two handle holes and the spout hole are spaced 4 inches apart, center to center. The new single‑hole faucet only occupies one hole.
You’re left with two open 1‑3/8‑inch diameter holes staring back at you.
Those open holes collect toothpaste, hair, and water over time. They look unfinished. And they can void a sink warranty if moisture seeps into the countertop core, especially on laminate.
So the real question isn’t “can I do this?”, it’s “how do I handle the leftover holes?”
Three routes you can take
- Use a deck plate (escutcheon). Many single‑hole faucets ship with a 4‑inch or 8‑inch metal plate that covers all three holes. Problem is, the plate has to match the new faucet’s base size and shape. If yours didn’t come with one, you can buy a universal version at any hardware store for around $5, 15.
- Replace the sink or countertop. If your sink is a drop‑in basin, you can swap it for a single‑hole model. That’s the cleanest solution but a bigger job and more expensive.
- Plug the holes with decorative covers. Soap dispenser, cup holder, or purpose‑made sink hole covers work, but they add clutter.
Most homeowners go with the deck plate because it’s fast and cheap. We’ll focus on that path, but I’ll flag where the other options change the process.
One more heads up. Some three‑hole faucets have an integrated deck plate, the metal plate is molded as one piece with the faucet body. You can’t remove it separately. In that case, the old faucet comes off as a unit, and you’ll definitely need a new deck plate or new sink for the single‑hole install.
Check that before you buy the new faucet.
First Things First — Look at What You’ve Got
Before you touch a tool, crawl under the sink and take three minutes to examine the existing setup. You need to know:
- What material is your countertop? Laminate, solid surface, natural stone, or tile? If it’s stone, don’t even think about drilling new holes, you can’t enlarge or fill them yourself without pro equipment. Laminate is easier to work around but swells if water gets under the edge.
- Are there shut‑off valves under the sink? Many older homes have none. If you can’t turn off the water locally, you’ll have to turn off the main house valve. That means the whole bathroom is dry until you’re done.
- Do the existing supply lines have compression nuts or threaded fittings? Compression nuts are easier to disconnect. If they’re old and corroded, expect to fight them.
- Measure the center‑to‑center distance of the holes. Use a tape measure across the center of the two outermost holes. If it’s 4 inches, you need a mini‑widespread deck plate. If 8 inches, you need a standard widespread plate. If it’s something else like 6 inches on an odd European sink, you may need a custom solution.
Checklist before you start
- Water shut‑off valves work
- New faucet comes with a deck plate OR you bought one separately
- Deck plate covers all three holes
- You have a basin wrench or deep‑reach adjustable wrench
- Silicone caulk and caulk gun
- Bucket and towels for spillage
If any of those checks fail, pause and gather what you need. Nothing ruins momentum like discovering you’re missing a part halfway through.
The Tools You’ll Need (And What You Can Improvise)
You don’t need a full plumbing truck, but these tools make the job painless. Here’s a quick table of what I recommend every DIYer have on hand, along with a passable substitute if you’re in a pinch.
| Tool / Material | Required? | Why you need it | Improvisation |
|---|---|---|---|
| Basin wrench | Highly recommended | Reaches the mounting nut up under the sink | Deep‑reach adjustable wrench plus patience |
| Adjustable wrench (8‑inch) | Yes | Loosens supply line nuts | Pliers (risk stripping) |
| Putty knife | Yes | Scrape old caulk and deck plate | Butter knife (careful not to scratch) |
| Bucket and towels | Yes | Catch water left in lines | Any container plus rags |
| Silicone caulk (clear or white) | Yes | Seal new faucet base and deck plate | Plumber’s putty (not for laminate) |
| Flashlight or headlamp | Almost yes | Under‑sink visibility | Phone light (awkward) |
| Hacksaw (small) | Conditional | Cut old rusty supply lines | Pipe cutter |
| P‑trap wrench or slip‑joint pliers | Helpful | Disconnect trap | Adjustable wrench |
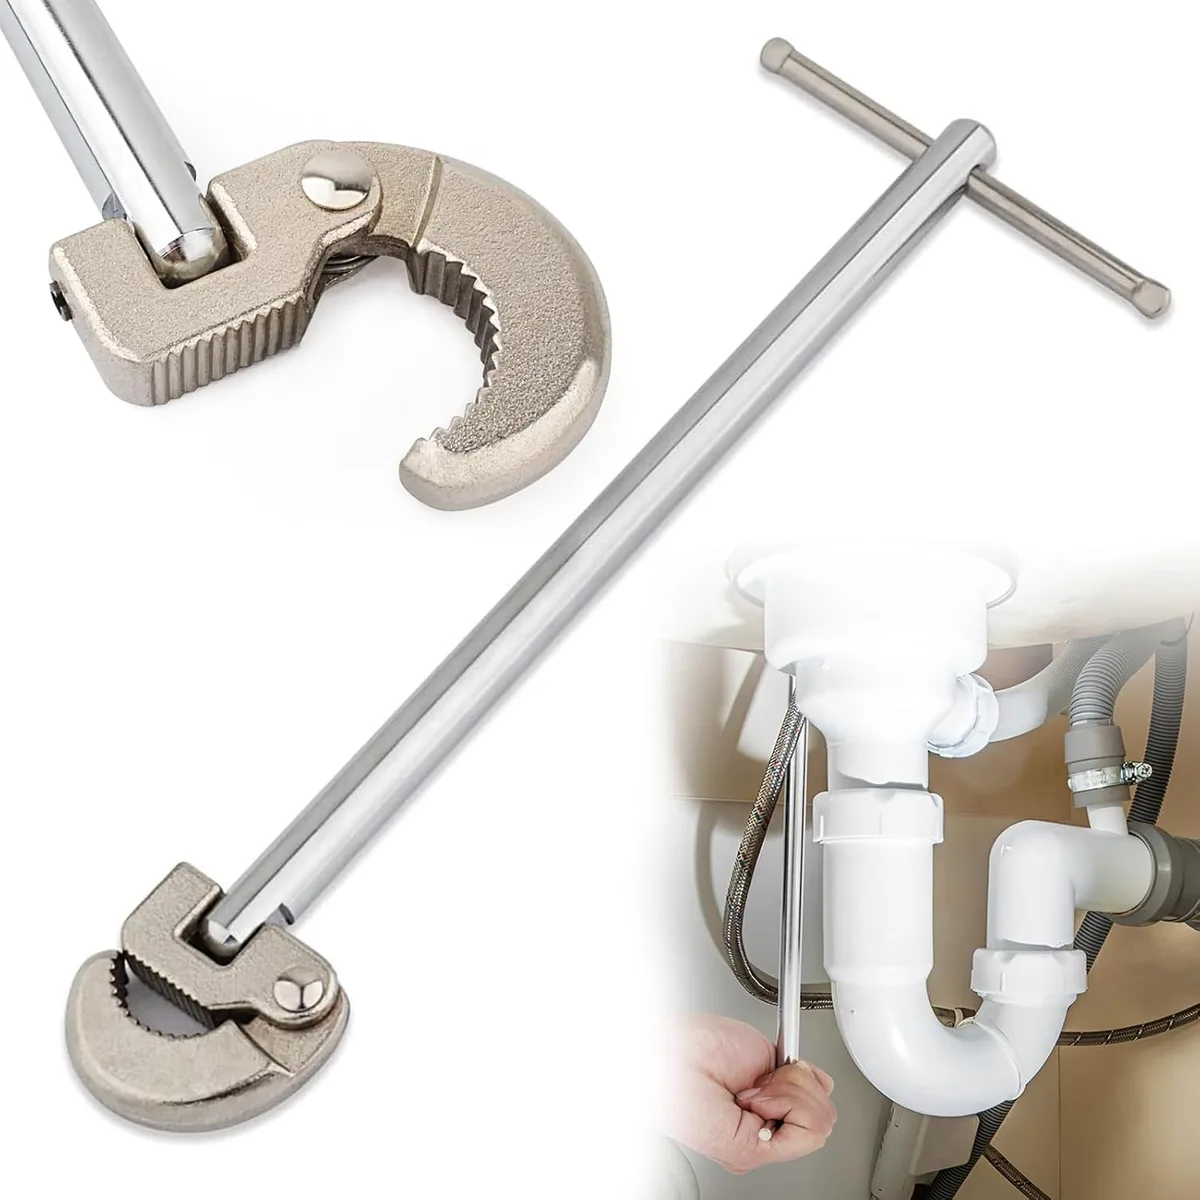
Why the basin wrench is worth buying. It costs about $15, 20. It’s a long pole with a pivoting jaw at the bottom that grabs nuts from the side, perfect for those mounting nuts up inside the sink cavity where you can’t see or reach. I’ve wrestled without one, and it’s not fun.
Get one.
Step‑by‑Step: Removing the Old 3‑Hole Faucet
Step 1: Shut off the water and relieve pressure
Find the two shut‑off valves under the sink (hot and cold). Turn them clockwise until they stop. Then open the old faucet handles to let any remaining water drain into a bucket.
Leave the faucet open to prevent air locks later.
Step 2: Disconnect supply lines
Use your adjustable wrench to loosen the compression nuts where the supply lines connect to the valves. Expect a little water, have the bucket ready. If the nuts are stuck, spray penetrating oil and wait five minutes.
If you still can’t budge them, cut the line with a hacksaw just below the nut and replace the supply line later. Safer than rounding the nut and wrecking the valve.
Step 3: Remove the P‑trap
Place the bucket under the trap. Loosen the slip nuts at both ends of the J‑bend. Pull the trap off and set it aside.
This opens up working room so you can get to the mounting nuts.
Step 4: Unscrew the mounting nuts from below
This is the part where the basin wrench earns its keep. Reach up under the sink and feel for the two or three large nuts that hold the faucet base against the underside of the countertop. Usually they’re 1‑1/2‑inch hex nuts.
Use the basin wrench to turn them counterclockwise. They can be tight, keep steady pressure. Once both nuts are off, the faucet should lift free from above.
Troubleshooting: If the nuts won’t budge and you don’t have penetrating oil, try gently tapping the nut with a hammer and screwdriver to break the corrosion. Still stuck? Cut the shank with a hacksaw from above, then twist the remaining stub out.
It’s messy but it works.
Step 5: Lift the old faucet out
From above, pull the faucet straight up. The deck plate (if separate) may stay stuck to the countertop with caulk. Slide a putty knife under it and gently pry.
Don’t gouge the countertop.
Step 6: Clean the surface
Scrape off all old caulk and plumber’s putty from the sink surface. Wipe down with denatured alcohol or a mild cleaner to remove grease. Let it dry completely.
Any residue will prevent the new caulk from sealing.
Dealing With the Leftover Holes (This Is Where Most People Get Stuck)
Now you have a clean countertop with three open holes. The center hole gets the new faucet. What about the other two?
Option A: Deck plate (recommended for most people)
A deck plate, also called an escutcheon, is a flat metal ring that covers the unused holes. It sits flush against the countertop, and the new faucet’s base threads through the center. Most single‑hole faucets include one.
If yours didn’t, buy a universal deck plate that matches your new faucet’s finish.
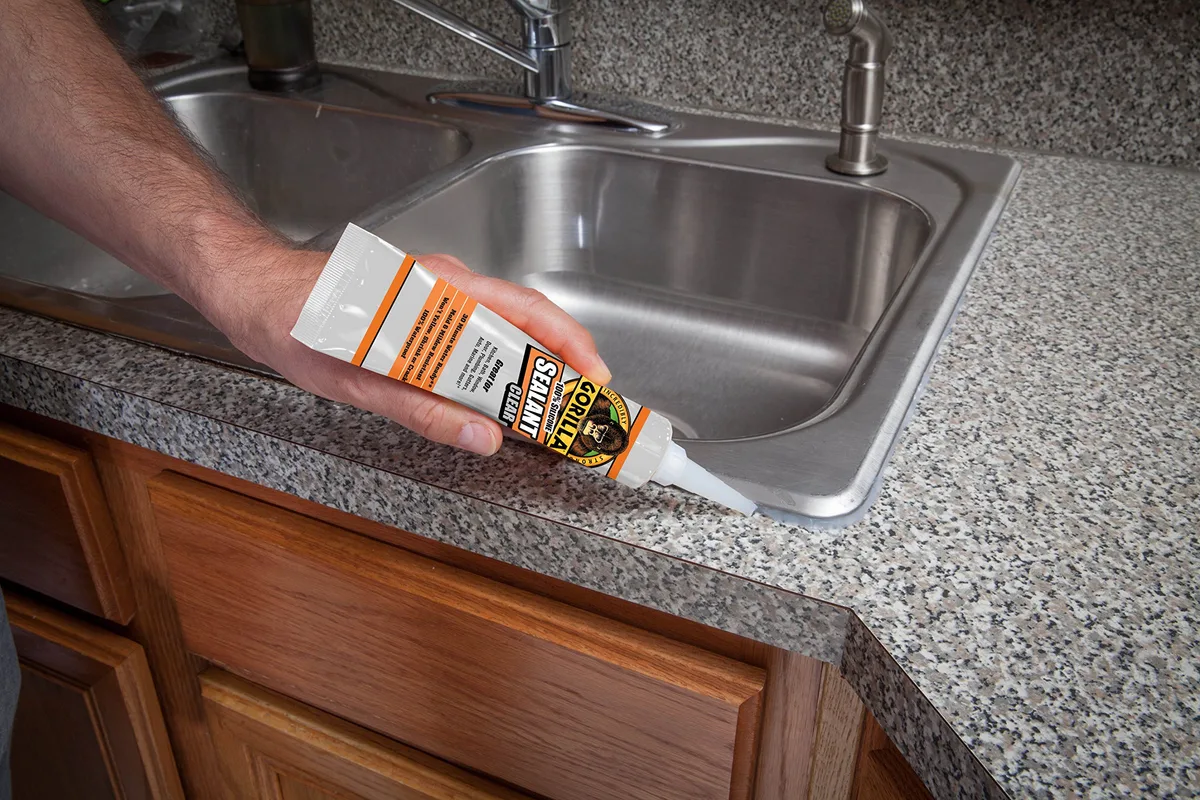
Installation is simple. Apply a thin bead of silicone caulk around the underside of the deck plate. Place it over the three holes so the center hole aligns with the faucet opening. Press firmly.
Wipe away excess caulk immediately. Now install the faucet on top, the mounting nut from below will sandwich the deck plate and the countertop together.
What if the deck plate doesn’t fit? Universal plates come in standard diameters. Measure the base of your new faucet and the width needed to cover the outermost holes. If it’s a 4‑inch spread, a 4‑inch mini‑widespread plate works.
For 8‑inch spreads, get a standard widespread plate. Hardware stores carry both for under $15.
Option B: New sink
If your existing sink is chipped, dated, or you just want a cleaner look, replace it with a single‑hole sink. That means the countertop has no extra holes at all. This is the most expensive route, a new vanity sink runs $50, 200 plus installation time, but it eliminates the need for a deck plate entirely.
Option C: Cover the holes with accessories
You can install a soap dispenser in one hole and a cup holder or towel ring in the other. This is a creative solution, but it adds visual clutter. Most people prefer the clean look of a deck plate.
Pro tip: If your countertop is stone (granite, marble, quartz), do not drill additional holes. Stone requires specialty bits and risk of cracking. Stick with a deck plate or replace the sink.
Installing the New Single‑Hole Faucet
Step 1: Prepare the faucet
Feed the supply lines and mounting shank through the center hole from above. If you’re using a deck plate, make sure it’s in place first. The faucet base should sit flat against the plate or countertop.
Step 2: Tighten from below
Reach under the sink. Thread the mounting nut onto the faucet shank by hand. Then use the basin wrench to tighten it snug.
Don’t overtighten, you can crack the base or strip the nut. Firm hand pressure plus a quarter turn with the wrench is plenty.
Step 3: Connect the supply lines
Attach the hot and cold supply lines to the shut‑off valves. Hand‑tighten the compression nuts, then give each a quarter turn with the wrench. Overtightening damages the rubber seals inside the nuts.
Step 4: Reconnect the P‑trap
Slide the slip nuts back onto the J‑bend and tighten them by hand. Use slip‑joint pliers for a final quarter turn. Make sure the washers are seated properly to prevent drips.
Step 5: Turn the water on
Open the shut‑off valves slowly. Watch for leaks at the supply line connections and the P‑trap. Tighten any drips.
Run both hot and cold for a minute to flush out air and debris.
Step 6: Caulk the base
Apply a thin bead of silicone caulk around the base of the faucet where it meets the countertop or deck plate. Smooth it with a finger dipped in water. Wipe away excess.
Let it cure for 12 hours before splashing water on it.
Common Mistakes That Lead to Leaks or Regret
Skipping the basin wrench
Trying to tighten the mounting nut with a regular wrench from below is like trying to unscrew a jar lid through a mail slot. You’ll strip the nut, skin your knuckles, and curse. Spend the $15.
Forgetting to clean the old caulk
Old caulk leaves a greasy film that prevents the new caulk from bonding. Water seeps under the base, rots the countertop, and grows mold. Scrape thoroughly.
Overtightening supply line nuts
Those brass compression nuts are soft. One overzealous crank and you’ll crack the nut or crush the ferrule. Hand‑tight plus a tiny nudge is all you need.
Not checking the deck plate fit before caulking
You don’t want to realize the plate is too narrow only after the silicone is setting. Dry‑fit everything first.
Ignoring the pop‑up drain
Many single‑hole faucets come with a pop‑up drain assembly that’s different from your old one. You may need to replace the drain tailpiece or the whole assembly. Have a drain kit on hand.
The typical cost is $10, 20.
When to Call a Pro (And When You Absolutely Shouldn’t)
This is a DIY‑friendly job for most people. But there are hard stops.
Call a plumber if:
- The shut‑off valves are seized or missing. Swapping valves means turning off the main water supply and possibly soldering. That’s beyond a basic swap.
- Your countertop is stone and you need to drill or fill holes. Granite requires wet drilling with diamond bits. One mistake and the slab is ruined.
- You see signs of water damage or rot under the sink. Mold and soft wood need remediation before you install anything new.
- The old supply lines are soldered directly onto the shut‑off valves. That’s an old‑school setup that’s best handled by someone with a torch.
You can do it yourself if:
- You have working shut‑off valves and standard threaded connections.
- Your countertop is laminate, solid surface, or tile.
- You’re comfortable working in a cramped under‑sink space for 45 minutes.
- You have the tools listed above, especially the basin wrench.
If you’re on the fence, watch a few videos of the tight under‑sink work. If that makes you anxious, hire a pro. The peace of mind is worth the $100, 150 labor cost.
Frequently Asked Questions
Can I install a single‑hole faucet on a 3‑hole sink without a deck plate?
No. Without a deck plate or hole covers, two holes remain open. They collect debris and let moisture into the countertop.
You need a plate, new sink, or accessory covers to seal them.
What size deck plate do I need for a 4‑inch spread?
A mini‑widespread deck plate designed for 4‑inch center‑to‑center spacing. It typically measures about 6, 7 inches wide and covers three holes in a triangle or straight line.
Do I need to replace the drain when swapping faucets?
Often yes. Many single‑hole faucets include a matched pop‑up drain assembly. If your old drain doesn’t match the new lift rod mechanism, replace the whole drain.
Cost is roughly $10, 20.
How long does the whole job take?
Plan for 45, 90 minutes if you have the tools and no surprises. Add 30 minutes if you need to cut stuck nuts or clean heavy corrosion.
Can I use plumber’s putty instead of silicone caulk?
Plumber’s putty works on the drain flange but not on the faucet base against laminate countertops. The oil in putty can stain laminate and some solid surfaces. Use clear silicone caulk for the base seal.
What if my sink has an odd hole pattern like 6 inches?
You’ll need a custom deck plate or a sink replacement. Standard plates only cover 4‑inch and 8‑inch spreads. Measure carefully and check with a hardware store for specialty sizes.

Similar Posts
































