How To Fix Chipped Tile
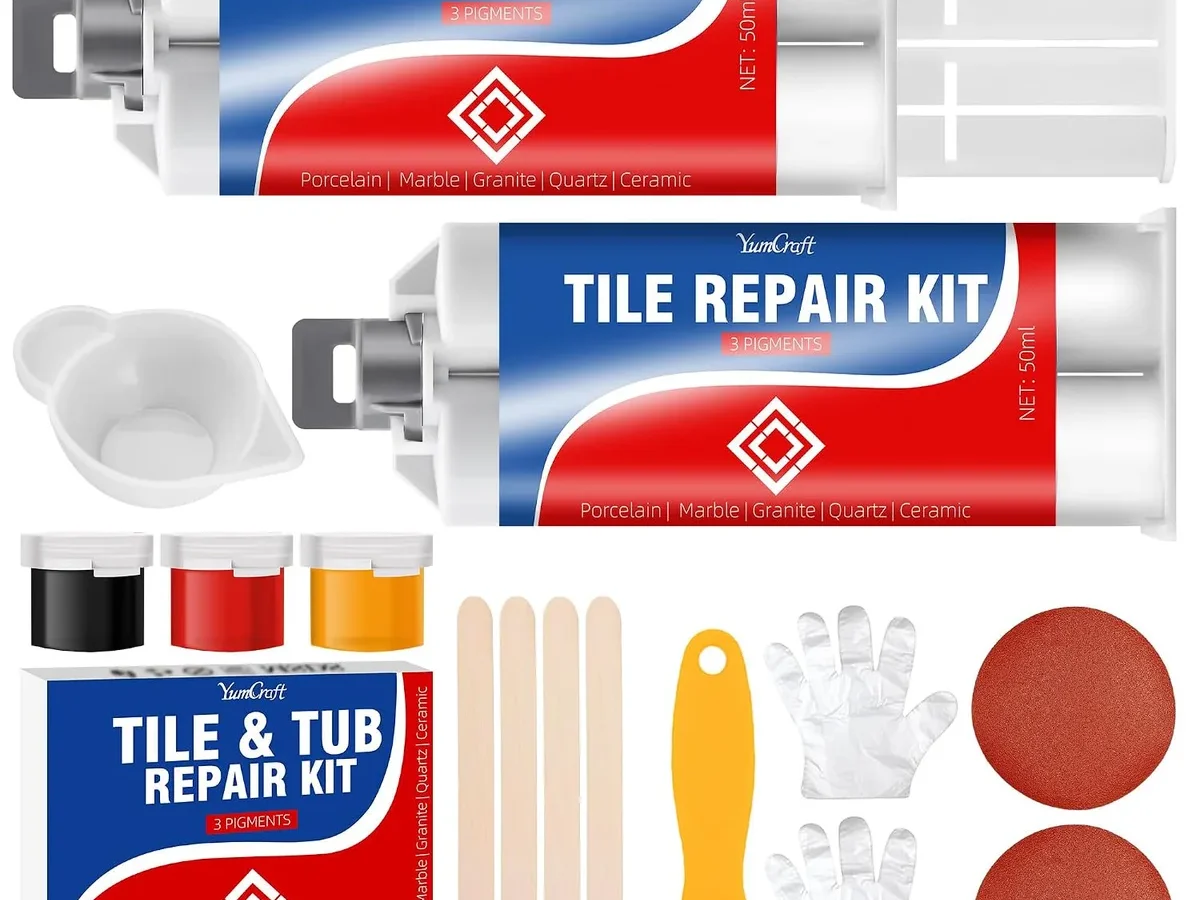
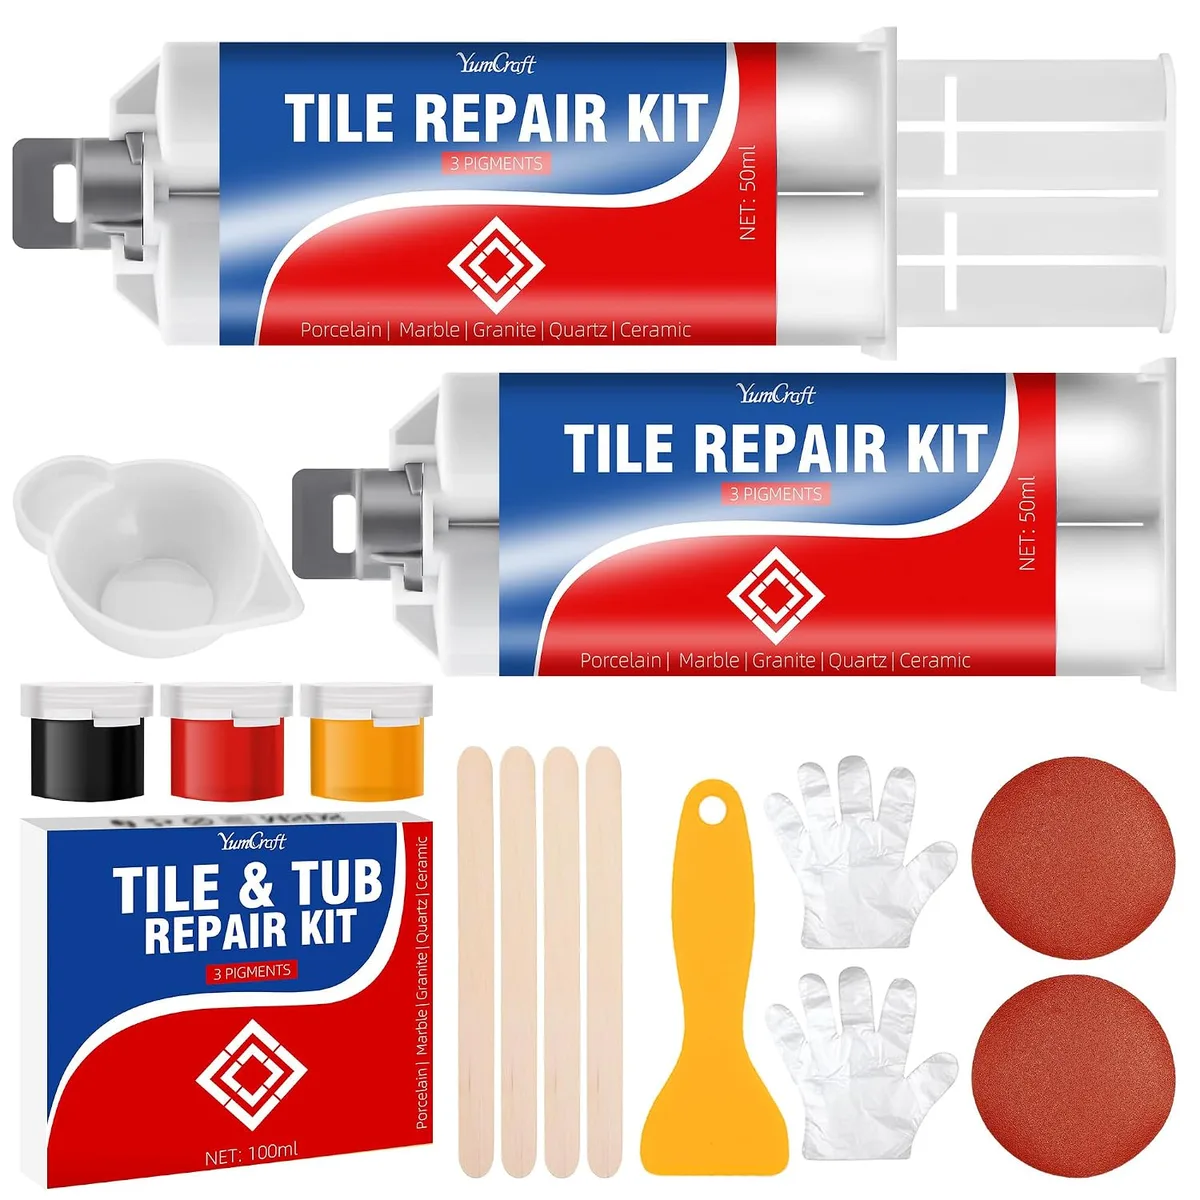
Image source: Bing (Web (fair-use with source credit))
You know that feeling when you're carrying something heavy across the kitchen and you hear it, that awful clink, and look down to find a fresh chip in your tile floor? Your stomach drops. You wonder if the whole tile needs to come out, if you're looking at a pricey repair, or if there's even a way to fix it without making it look worse.
Learning how to fix chipped tile is one of those DIY skills that saves you real money, but only if you do it right. Per manufacturer specifications and Tile Council of North America guidelines, the fix depends entirely on three things: the chip size, the tile material, and the location. A glossy bathroom wall tile and a matte porcelain kitchen floor tile need completely different approaches.
Grabbing the wrong repair method can ruin the tile permanently. Let's walk through how to diagnose your chip and pick the right fix.
Quick Answer
Clean the chip with isopropyl alcohol. For small glaze chips, use clear nail polish. For deeper chips, apply two-part epoxy putty.
Match the color with acrylic paint. Let the repair cure for 24 hours. Seal the area afterward.
The Short Answer: Can You Fix It or Do You Need to Replace It?
Most chipped tiles can be repaired. The trick is knowing where your chip falls on the spectrum. A tiny nick in the surface glaze is a five-minute fix.
A deep gouge that exposes the porous tile body underneath is more involved but still doable. A crack that runs across the whole tile or a chip larger than half an inch across usually means you are better off replacing the tile entirely.
The biggest factor is the tile material. Glazed ceramic and porcelain tiles have a hard, glass-like surface layer. Once that layer chips off, the softer body underneath is exposed.
That exposed body absorbs moisture and stains easily, which is why you need to seal the repair properly. Natural stone like marble or travertine chips differently. Stone tends to fracture along natural grain lines.
The repair requires matching not just the color but the stone's texture and veining.
Your tile's location matters too. A chip on a bathroom floor near the shower gets moisture exposure every single day. That repair needs to be waterproof.
A chip on a backsplash that never gets wet is much easier to handle. As of 2026, the general industry rule from TCNA guidelines is that any chip in a wet area needs a fully cured, waterproof epoxy repair rather than a quick cosmetic touch-up.
Step 1 – Diagnose Your Chip: Size, Depth, and Location Matter
Before you buy anything, take a close look at the damage. Get down at eye level with the tile and examine it in good lighting. Run your fingernail across the chip.
If your nail catches on a sharp edge, that is a chip you need to fill. If the surface feels smooth despite the visual mark, you may only need a color touch-up.
Here is how to categorize what you are looking at:
| Chip Type | Appearance | Repair Approach |
|---|---|---|
| Surface glaze nick | Light scratch or tiny missing spot, no color change in the depth | Nail polish or acrylic touch-up |
| Shallow chip | Visible missing piece, but only in the glaze layer (shows white or light body underneath) | Paint fill plus clear topcoat |
| Deep chip (into body) | Darker or differently colored material visible, fingernail catches | Epoxy putty plus color matching |
| Crack (hairline) | Thin line running across tile surface | Grout or epoxy fill if hairline; replace if structural |
| Missing corner | Corner of tile broken off entirely | Replace tile if possible; epoxy rebuild is temporary |
If the chip exposes the tile body and that body is a different color than the surface, you cannot simply paint over the chip. The color differential will show through. You need to fill the depth first with a body-colored material, then layer the surface color on top.
For natural stone, run your finger over the chip. If the stone feels rough or powdery, that means the stone is friable and the chip may continue to flake. Stone chips need a stabilizing sealer before any repair material goes on.
If the chip is in polished marble, the glossy finish is gone in that spot and cannot be fully restored without professional diamond-polishing equipment.
Branch A – Small Surface Chips (Glaze Damage Only): The Quick Fix
If your chip is shallow and only affects the glossy surface layer, you are in the easiest repair category. This is common with ceramic wall tiles in kitchens and bathrooms. The glaze is thin, and a dropped pot or a knocked-over bottle can nick it.
You do not need epoxy or putty for this. You need color and a topcoat.

Image source: Bing (Web (fair-use with source credit))
Start by cleaning the area with isopropyl alcohol. Use 70 percent or higher. Dip a cotton swab in the alcohol and scrub the chip to remove grease, soap residue, and loose dust.
Let it dry completely. Any moisture trapped under the repair will cause it to lift within weeks.
Next, find a color match. Small craft acrylic paint in a matte or gloss finish works well. If the tile is white or off-white, test your paint on a hidden area first.
White tiles often have a slight warm or cool undertone, and a generic bright white will stand out. For colored tiles, bring a small sample to a craft store and hold it against paint bottles in natural light.
Apply the paint with a toothpick. Dab it into the chip, filling the depression slightly above the tile surface. Do not brush it on.
Brushing leaves streaks. One careful dab is enough. Let the paint dry for 30 minutes.
If the chip still looks shallow, apply a second dab.
Once the paint is fully dry, seal the repair with clear nail polish. The polish recreates the glossy glaze layer and protects the paint underneath. Apply one thin coat with the brush applicator, let it dry for 15 minutes, then apply a second coat.
The repair should blend into the surrounding tile surface.
This fix works well for wall tiles that do not see foot traffic. It is not durable enough for floor tiles. If you try this on a kitchen floor, the nail polish will wear off within a few weeks of regular walking.
Branch B – Deeper Chips Into the Tile Body: The Epoxy Method
When the chip goes past the glaze and exposes the tile's body, paint alone will not work. The body absorbs the paint unevenly, and the color looks blotchy. You need a filler that bonds with the tile material and provides a stable surface for color matching.
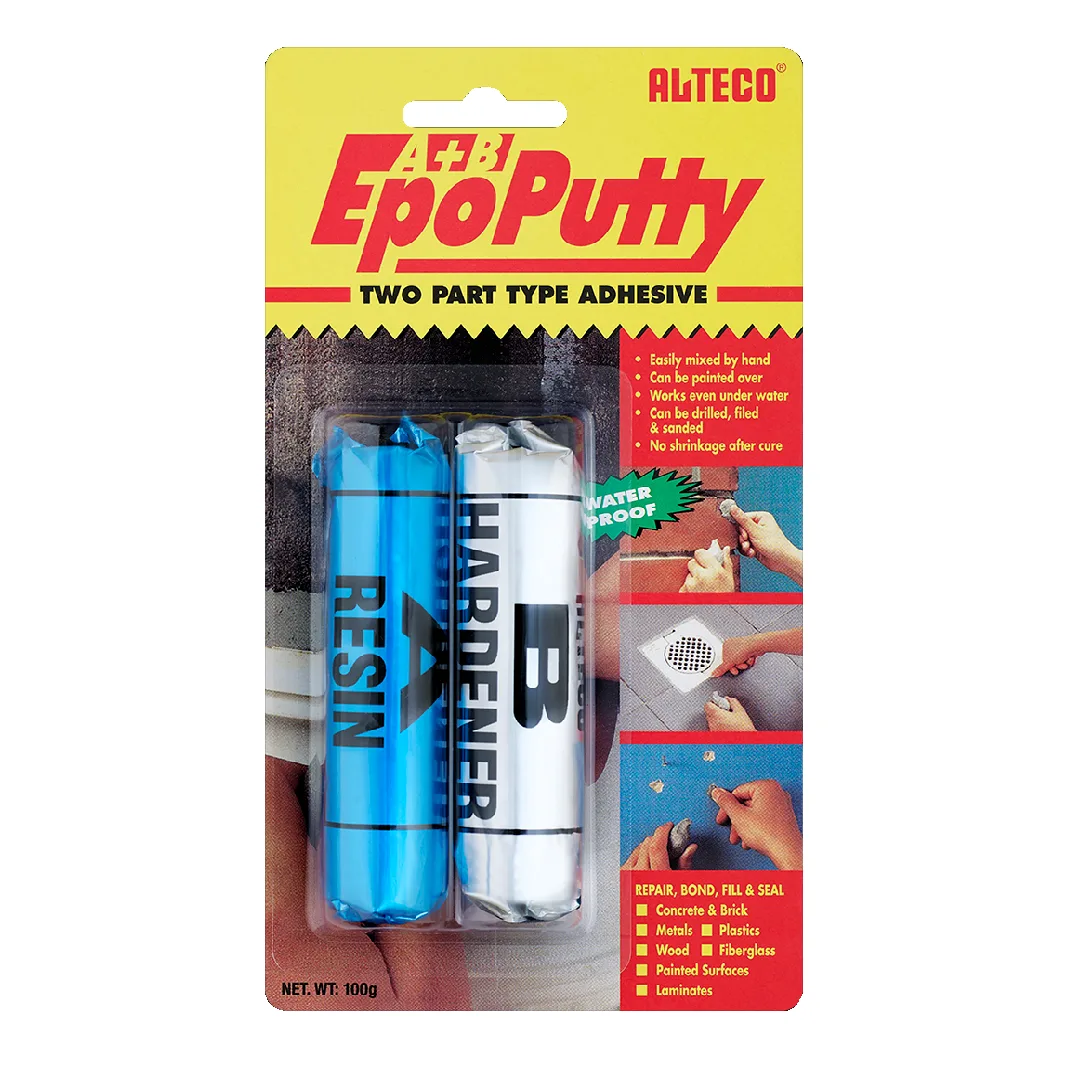
Image source: Bing (Web (fair-use with source credit))
Two-part epoxy putty is the standard choice. You can find it at any hardware store. It comes as a stick or in two separate tubes that you mix together.
The putty hardens into a dense, waterproof material that bonds to ceramic and porcelain.
Start with the same cleaning step. Scrub the chip with alcohol. Use a small file or 400-grit sandpaper to lightly roughen the edges of the chip.
This helps the epoxy grip the tile. Be careful not to scratch the surrounding glaze. You only want to rough up the chipped area itself.
Mix the epoxy according to the package directions. Most putties require you to knead the two parts together until the color is uniform. You have about three to five minutes of working time before the epoxy starts to set.
Press a small amount into the chip with your finger or a plastic tool. Overfill it slightly. The putty shrinks a tiny amount as it cures, so a slight mound is better than a dip.
Wait 15 to 20 minutes. The epoxy will become firm but not fully hard. Use a razor blade or a craft knife held flat against the tile surface to shave off the excess putty.
Scrape it flush. If you wait until the epoxy is fully cured, sanding it flat is much harder and can scratch the surrounding tile.
Let the epoxy cure fully. Most brands need 24 hours before they reach full hardness and waterproof resistance. Do not step on the tile or get it wet during that time.
Once cured, color matching is the same as with the small chip method. Use acrylic paint on top of the epoxy. The epoxy provides a neutral white or light gray base, so your paint color will read true.
Seal with clear nail polish or a tile-specific sealer. For floor tiles, use a floor-grade polyurethane sealer instead of nail polish. It resists abrasion much better.
Branch C – Natural Stone and Specialty Tiles: A Different Approach
Natural stone is a whole different animal. Marble, travertine, slate, and limestone all behave differently than ceramic or porcelain. You cannot use standard epoxy putty on polished marble without causing visible discoloration.
The chemicals in some epoxies seep into the stone's porous structure and create a dark ring around the repair.
For chips in natural stone, start with a pH-neutral stone cleaner. Avoid vinegar, bleach, or any acidic cleaner. Acid etches stone permanently.
Clean the chip gently with a soft cloth and let it dry for at least an hour.
Use a stone-specific epoxy repair kit. These kits come in colors that match common stone varieties. Mix the epoxy and apply it the same way you would for ceramic.
The difference is in the finishing step. After the epoxy cures, you need to polish the repair to match the stone's surface finish. For honed stone (matte finish), wet-sand the repair with 600-grit then 1000-grit sandpaper.
For polished stone, you need a polishing compound and a soft buffing pad.
If the stone is unsealed, apply a penetrating sealer over the entire tile after the repair cures. This prevents moisture from working its way into the crack between the repair and the stone. Unsealed stone in a shower or kitchen will fail within months without that step.
Porcelain tiles with a through-body color are easier. Through-body porcelain means the color runs all the way through the tile, not just on the surface. If you chip a through-body tile, the exposed body is the same color as the surface.
You can fill the chip with clear epoxy and skip the paint step entirely. The clear epoxy lets the tile's natural color show through. This is the closest you can get to an invisible repair without replacing the tile.
Mistakes That Ruin a Tile Repair (And How to Avoid Each One)
The most common mistake is skipping the cleaning step. Grease, soap scum, and wax from floor polish all prevent the repair material from bonding. Even a thin invisible film of residue causes the epoxy to peel off within weeks.
Clean with alcohol, not water. Water leaves minerals behind that also interfere with bonding.
The second mistake is using too much repair material. A big blob of epoxy is harder to shape and takes longer to cure. It also looks obvious.
Less is more. Press in a small amount and add more if needed. You can always add, but you cannot easily remove excess without damaging the surrounding glaze.
The third mistake is rushing the cure time. Epoxy putty may feel hard to the touch after an hour, but it is not fully cured. Walking on it or wiping it with water before the full cure time breaks the bond.
Check the manufacturer's cure time. Most two-part epoxies need 24 hours. Some need 48 in humid conditions.
Color mismatch is the fourth common error. People hold a paint chip up to the tile under store lighting, get home, and find it is completely wrong. Natural light changes everything.
Take the paint outside or hold it against the tile in the actual room. Layer thin coats instead of one thick coat. You can build up to the right shade gradually.
The fifth mistake is using the wrong sealer. Clear nail polish works fine on wall tiles. It is not durable enough for floors.
On floor tiles, use a water-based polyurethane sealer or a tile-specific clear coat. The sealer needs to handle abrasion from shoe traffic and grit.
For natural stone, the biggest mistake is using an acidic cleaner before the repair. Acid etches the stone surface and creates a rough, dull patch around the chip. Even after the repair, that etched area will look different from the surrounding stone.
Stick to pH-neutral stone cleaner only.
When to Give Up and Replace the Tile Instead
Some chips are not worth repairing. A chip larger than half an inch across will look patched no matter how good your color matching is. The repair seam will be visible.
Replace the tile instead.
A crack running across the full width of the tile means the structural integrity is compromised. Even if you fill the crack, the tile can break further under foot traffic. Cracked tiles should always be replaced, especially on floors.
If you have a spare tile from the original installation, replacement is straightforward. If you do not have a spare, finding a matching tile from a different batch is difficult. Tile dye lots vary between production runs.
A so-called matching tile from the same brand can be a slightly different shade. In that case, repair the existing tile rather than replace it with a mismatched one.
Tiles in wet areas with visible cracks behind them are a red flag. The crack may indicate a problem with the substrate, the mortar bed, or water damage behind the wall. A cosmetic repair on the surface will not fix the underlying issue.
Pull the tile, inspect the substrate, and address the root cause before reinstalling.
Cost is a factor too. A single tile replacement costs between $15 and $50 for the tile itself plus labor if you hire someone. A repair kit costs $12 to $25.
For a single chip on a wall tile, repair makes financial sense every time. For a floor tile in a high-traffic area with a deep chip, replacement is the better long-term investment.
FAQ – Quick Answers to Common Tile Chip Questions
Can I use super glue to fix a chipped tile?
Super glue works in a pinch for a very small chip on a wall tile that never gets wet. The problem is that super glue is brittle. It does not flex with temperature changes or minor floor movement, and it yellows within a year.
Epoxy putty is a better choice for any repair you want to last.
How long does a tile chip repair last?
A properly done epoxy repair with a sealed topcoat lasts three to five years on a floor tile in normal use. Wall tile repairs can last longer since they do not see abrasion. The repair lifespan depends on how well you prepped the surface and whether you used the right sealer for the location.
Will the repaired chip look obvious?
In good lighting and from eye level, a repaired chip is usually visible if you know where to look. The goal is to make it blend, not disappear. The repair should be unnoticeable in normal room light and at standing height.
Getting down on hands and knees, you will spot it. That is normal and expected.
Can I fix a chip in a textured tile?
Yes, but matching the texture is difficult. For a lightly textured tile, apply the epoxy and press a piece of plastic wrap against it while it cures. The plastic leaves a subtle pattern that mimics light texture.
For heavily textured tiles like slate or tumbled marble, accept that the repair area will be smoother than the surrounding tile.
Do I need to replace the tile if I do not have a spare?
Not necessarily. If the chip is small and the tile is in a low-visibility spot like behind a toilet or under a cabinet, repair it and move on. If the chip is front and center in a kitchen backsplash and you cannot find a matching tile, consider buying a decorative accent tile or a contrasting tile to replace the damaged one.
That turns the repair into a design choice.
Can I paint the entire tile to hide the repair?
You can, but tile paint is not as durable as factory glaze. Painting the whole tile means you need to paint the surrounding tiles too for consistency. That is a much bigger project.
Reserve this approach for situations where the tile color no longer matches the room and you are willing to repaint multiple tiles. For a single chip, spot repair is better.
Final Decision Guide: Repair or Replace?
| Situation | Best Move |
|---|---|
| Small glaze chip on wall tile | Repair with nail polish or acrylic |
| Deep chip on floor tile, under 1/2 inch | Repair with epoxy |
| Deep chip on floor tile, over 1/2 inch | Replace tile |
| Cracked tile, any size | Replace tile |
| Natural stone chip, small | Stone epoxy kit |
| No spare tile, visible location | Repair, then accent tile if needed |
| Water damage suspected behind tile | Remove and inspect |

Similar Posts
































