How to Mount Lens on Mirrorless Camera
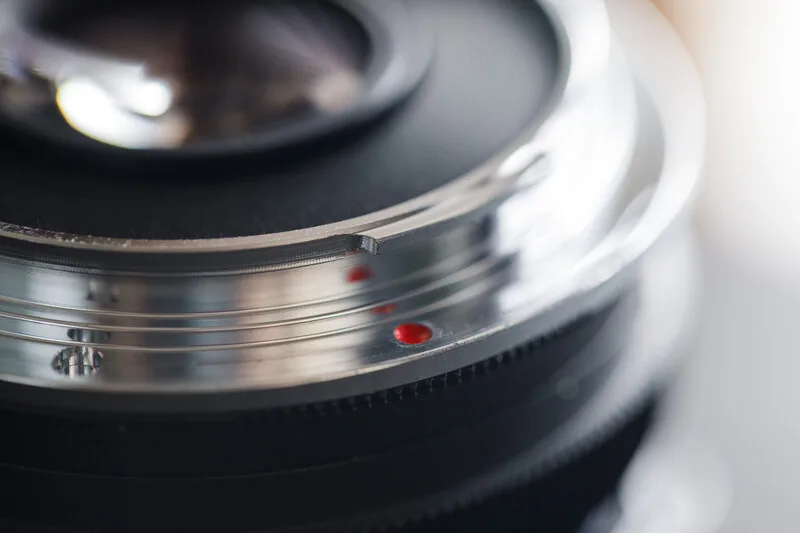
Learning how to mount lens on mirrorless camera is one of the first skills every photographer needs. Get it wrong, and you risk damaging the electronic contacts or letting dust settle on the sensor. Get it right, and swapping lenses becomes second nature.
The good news is that the process is simpler than it looks once you understand the key visual cues.
Manufacturer specifications show that mirrorless cameras use a flange focal distance of 16 to 20 millimeters, which is shorter than DSLR systems. This design leaves the sensor more exposed during lens changes. That makes proper technique even more important.
Let's walk through exactly what you need to do.
Quick Answer
Align the white dot on the lens with the dot on the camera body. Place the lens straight into the mount. Rotate the lens clockwise until you hear a click.
Power off the camera before you start. Never force the lens if it resists.
Image source: Web (Bing) / fstoppers.com (Web image (fair-use with source credit))
Why Visuals Matter More Than You Think
Mounting a lens on a mirrorless camera is a physical task that relies on sight and touch. You can't just read about it and expect to get it right on the first try. The alignment marks are small.
The rotation direction varies by brand. And the lock mechanism gives a subtle click that's easy to miss.
Text instructions alone leave room for costly mistakes. When you tilt the lens slightly instead of placing it flat, you risk scratching the bayonet tabs. When you miss the alignment dot by even a few degrees, you might force the lens into the wrong position.
Camera forum discussions show that tilted insertion is one of the most common beginner errors.
This is why a visual guide makes a real difference. Seeing the exact position of the index mark, the angle of the lens, and the spot where your fingers should go transforms a confusing process into a simple one. The same goes for understanding which direction to rotate.
On a Sony E-mount camera, you rotate clockwise. On a Nikon Z-mount, you also rotate clockwise. But on some older lens adapters, that direction flips.
If you're just getting started with your camera, building good habits early saves you from expensive repairs later. The sensor in a mirrorless camera is vulnerable. A single dust speck can show up in every shot at small apertures.
And a scratched mount can lead to loose connections or communication errors between the lens and body.
The short version is this: take the time to look at what you're doing. Don't rush. And if you're unsure about proper gear storage, that's worth checking too.
A clean camera is a happy camera.
The Core Anatomy of a Lens Mount
Before you pick up the lens, you need to know what you're looking at. The mounting system on a mirrorless camera has four main parts that work together.
The index mark is a small white dot or line on the lens barrel and another on the camera body. These dots must align perfectly before you insert the lens. Some brands use a red dot instead of white.
Fujifilm uses a small raised dot on the lens and a matching mark on the body.
The bayonet tabs are the metal fingers that stick out from the back of the lens. They slide into matching slots on the camera mount. Once you rotate the lens, these tabs lock into place.
The number of tabs varies by system. Sony E-mount uses three tabs. Nikon Z-mount uses four.
The electronic contacts are the gold or silver pins on both the lens and the camera body. They transfer data between the two components. Touching these pins with your fingers can leave oils that interfere with communication.
Keep them clean and dry.
The lens release button is the small button on the camera body near the mount. You press this to unlock the lens when you want to remove it. The button location differs by brand.
On Sony bodies, it sits on the right side of the mount. On Canon RF bodies, it sits on the left.
Here is a quick reference for the major mirrorless systems as of 2026:
| Mount System | Index Mark Color | Bayonet Tabs | Rotation Direction | Release Button Location |
|---|---|---|---|---|
| Sony E | White | 3 | Clockwise | Right side of mount |
| Nikon Z | White | 4 | Clockwise | Left side of mount |
| Canon RF | Red | 4 | Clockwise | Left side of mount |
| Fujifilm X | Raised dot | 3 | Clockwise | Right side of mount |
| Micro Four Thirds | Red | 3 | Clockwise | Varies by manufacturer |
Every system rotates clockwise to lock. That is a consistent rule across all major mirrorless mounts. The only exception is some third-party lens adapters, which may rotate the opposite direction.
Step-by-Step: How to Mount a Lens on a Mirrorless Camera
Now let's walk through the actual process. Follow these steps in order, and you'll have the lens mounted securely in under ten seconds.
Step 1: Power off the camera. This is non-negotiable. Changing lenses with the camera powered on keeps the sensor electrically charged, which attracts dust. It also risks a short circuit if the contacts touch while data is transferring.
Turn the power switch to Off.
Step 2: Remove the body cap. Twist the cap that covers the camera mount and set it aside. If you're in a dusty environment, keep the camera pointed downward so falling debris doesn't land on the sensor.
Step 3: Remove the rear lens cap. Hold the lens in one hand and twist off the cap with the other. Keep the rear element facing down to avoid dust settling on the glass.
Step 4: Align the index marks. Look for the white dot on the lens barrel and the matching dot on the camera body. Rotate the lens until both dots are lined up. The lens should sit perfectly straight against the mount.
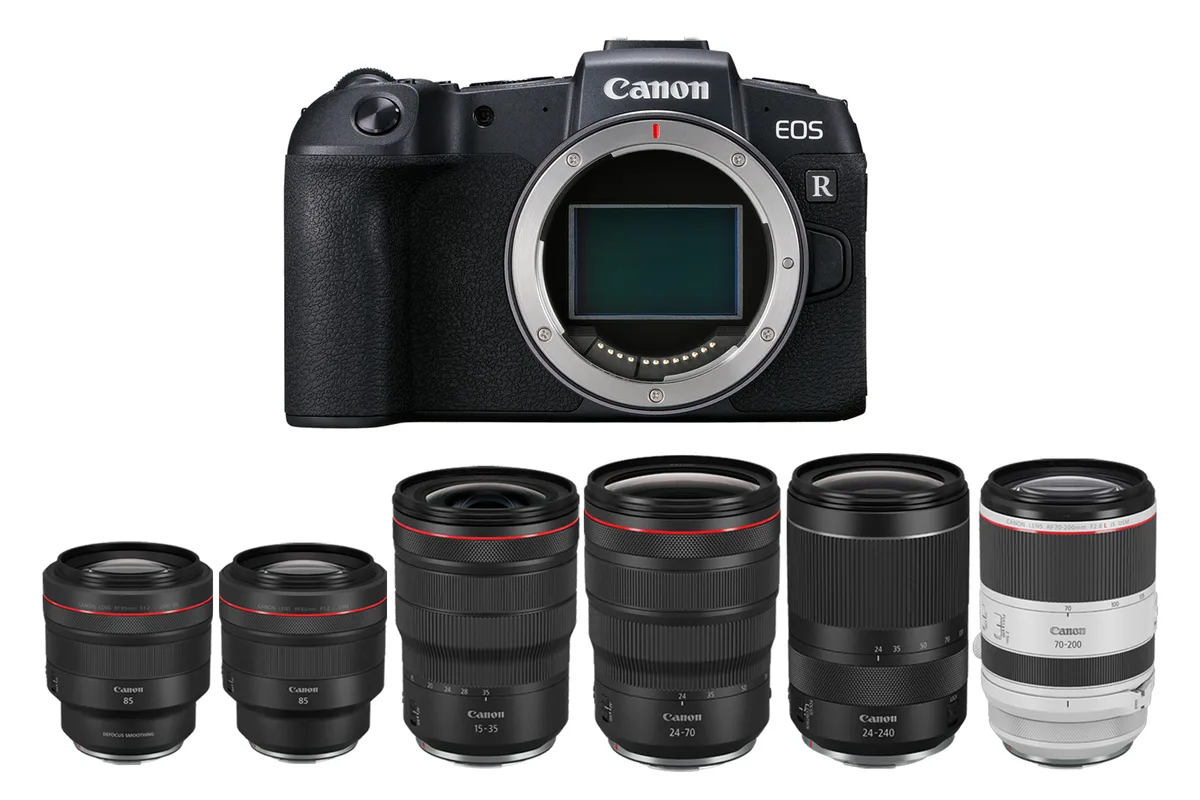
Image source: Web (Bing) / storage.googleapis.com (Web image (fair-use with source credit))
Step 5: Seat the lens into the mount. Place the lens gently into the opening. You should feel the bayonet tabs slide into the slots. The lens should sit flush with the camera body.
If it doesn't, don't force it. Pull it out, check the alignment, and try again.
Step 6: Rotate clockwise until you hear a click. Turn the lens in the clockwise direction. You will feel resistance as the tabs lock into place. The click is both audible and tactile.
Some lenses also have a locking ring that tightens further.
Step 7: Verify the lock. Gently try to rotate the lens counterclockwise without pressing the release button. If it holds firm, the lens is mounted correctly. If it moves, rotate it further until you feel the click.
Step 8: Power on and test. Turn the camera on. Look through the viewfinder or at the rear screen. You should see the aperture and focus controls working.
Take a test shot to confirm communication.
If you've already learned the process for DSLR bodies, note that mirrorless cameras handle lens changes differently. The shorter flange distance means no mirror flips up, but the sensor is right there. Be extra careful with dust.
Common Visual Mistakes That Lead to Damage
Even experienced photographers make errors when they rush. Here are the most common ones and how to spot them.
Forcing the lens when the dots don't line up. This is the number one mistake. You might think the dots are close enough, but even a two-degree misalignment can cause the bayonet tabs to scrape against the mount. The result is metal shavings inside the camera.
If the lens doesn't slide in easily, stop and check the alignment.
Tilting the lens during insertion. When you tilt the lens, one side of the bayonet goes in before the other. This can bend the tabs or scratch the mount. Always keep the lens parallel to the camera body.
Think of it as placing a lid on a jar.
Touching the electronic contacts. Your fingers have natural oils that can corrode the gold pins over time. It's a quiet problem that shows up months later as intermittent autofocus failures. If you do touch the contacts, clean them gently with a microfiber cloth or a lens cleaning pen.
Not rotating the lens far enough. A partial lock might feel secure, but the lens can work itself loose during shooting. Always rotate until you hear and feel the click. If you're unsure, try the gentle counterclockwise test described above.
Leaving the sensor exposed for too long. Every second the camera is open is a chance for dust to land on the sensor. Have the lens ready in your hand before you remove the body cap. Minimize the time between cap removal and lens mounting.
Mounting the lens with the camera powered on. As mentioned earlier, this keeps the sensor charged and attracts dust. It also risks a voltage spike through the contacts. Always power off.
If you run into problems, knowing how to fix common issues is a useful skill. Many lens mounting problems are simple to solve once you know what to look for.
How Different Mirrorless Mounts Vary (Sony, Nikon, Canon, Fujifilm)
While the basic process is the same across all mirrorless systems, the details matter. Here is what you need to know for each major brand.
Sony E-mount. Sony uses a standard white dot for alignment. The release button is on the right side of the mount, near the grip. The mount has three bayonet tabs.
The flange distance is 18 millimeters, one of the shortest in the industry. Sony bodies tend to have a more pronounced click when the lens locks.
Nikon Z-mount. Nikon's Z-mount has a wider diameter than most competitors at 55 millimeters. This allows for larger rear lens elements and better light transmission. The release button is on the left side.
The mount has four bayonet tabs for extra stability. The flange distance is 16 millimeters, which is the shortest of the full-frame mirrorless systems.
Canon RF-mount. Canon uses a red dot instead of white for the index mark. The release button is on the left side. The mount has four bayonet tabs and a 54-millimeter diameter.
The flange distance is 20 millimeters, slightly longer than Sony and Nikon. Some Canon RF lenses have a control ring on the lens barrel that you need to be aware of when gripping the lens.
Fujifilm X-mount. Fujifilm uses a raised dot rather than a painted mark. The release button is on the right side. The mount has three bayonet tabs.
The flange distance is 17.7 millimeters. Fujifilm bodies often have a dust-reduction sensor shake feature that activates automatically after lens changes.
Micro Four Thirds. This system is used by Panasonic and OM System (formerly Olympus). The index mark is typically red. The mount has three bayonet tabs.
The flange distance is 19.25 millimeters. The release button location varies by manufacturer. Panasonic tends to place it on the right, while OM System places it on the left.
If you switch between systems, pay attention to the release button location and the index mark color. It's easy to muscle memory the wrong position when you're used to a different brand. The same principle applies when you're taking a lens off safely.
Each system has its own feel, but the core mechanics are the same.
Lens Removal: The Reverse Process Done Right
Taking a lens off is just as important as putting one on. Do it wrong, and you risk dropping the lens or exposing the sensor to dust.
Start by powering off the camera. Press and hold the lens release button. While holding it, rotate the lens counterclockwise until it stops.
The bayonet tabs will disengage. Lift the lens straight out of the mount. Keep the camera body facing downward while the mount is open.
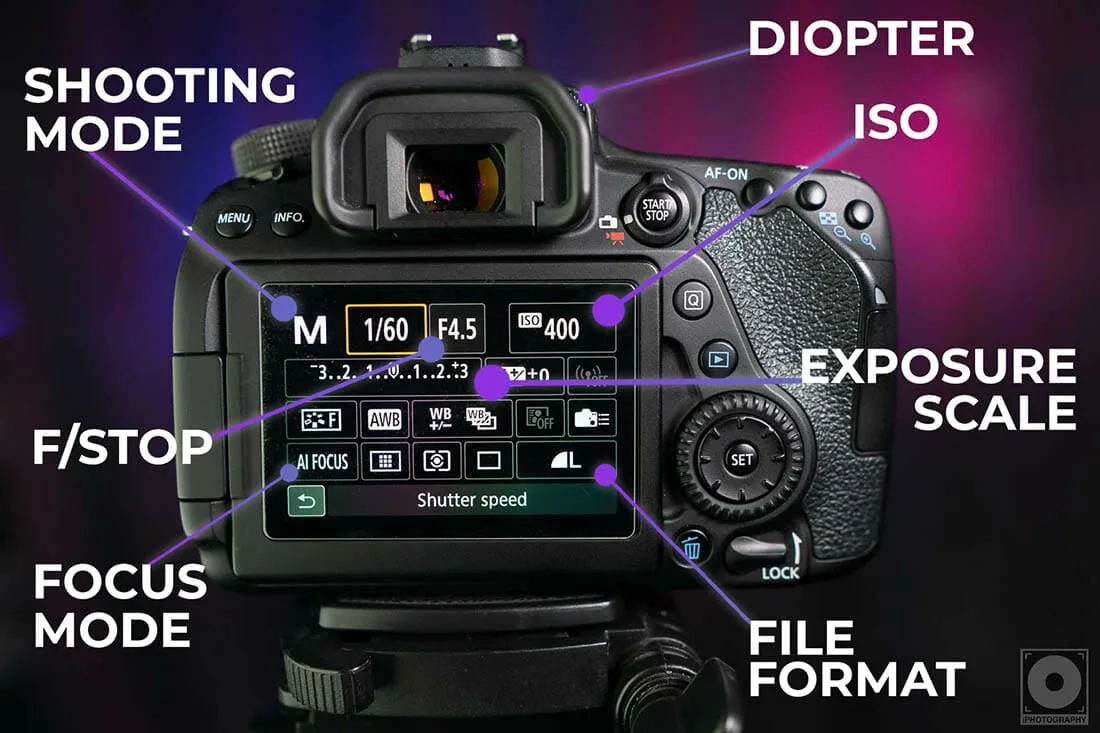
Image source: Bing (Web (fair-use with source credit))
Put the rear lens cap on immediately. Put the body cap on the camera. This protects both components from dust and scratches.
Store the lens in a clean, dry place. If you're new to interchangeable lens cameras, practice the removal process a few times until it feels smooth.
Frequently Asked Questions
Do I need to power off the camera before changing lenses?
Yes. Always power off the camera before removing or mounting a lens. The sensor stays electrically charged when the camera is on, which attracts dust.
Powering off also prevents data transfer errors through the electronic contacts.
What happens if I force the lens into the mount?
Forcing the lens can scratch the bayonet tabs or the mount itself. It can also bend the electronic contact pins. If the lens doesn't seat easily, the index marks are not aligned.
Pull it out, check the dots, and try again.
Can I change lenses in dusty or windy conditions?
You can, but you need to be careful. Point the camera body downward during the swap. Shield the mount opening with your body or a jacket.
Keep the swap as quick as possible. Consider using a lens-changing tent if you shoot in extreme environments regularly.
Why doesn't my lens click into place?
The most common reason is that the index marks are not fully aligned. Check the dots again. Another possibility is that you are not rotating the lens far enough.
Some lenses need a firm rotation to engage the locking pin. Try rotating with a bit more pressure.
Is it safe to use third-party lenses on mirrorless cameras?
Yes, as long as the lens uses the correct mount. Third-party lenses from brands like Sigma, Tamron, and Viltrox are built to the same mount specifications. The mounting process is identical.
Just make sure the lens is designed for your specific mirrorless system.
How do I clean the electronic contacts on my lens?
Use a microfiber cloth or a lens cleaning pen. Gently wipe the gold or silver pins on the back of the lens. Do not use liquids or abrasive materials.
Keep the contacts on the camera body clean too. Dust and oil are the main causes of communication errors.
Final Pro Advice: Building a Safe Lens-Swapping Habit
The single most important rule is this: power off, point down, and never rush. That one habit prevents the vast majority of mount scratches, sensor dust, and electrical issues.
Keep the rear lens cap and body cap in the same pocket or pouch. That way you always know where they are during a swap. Practice the motion a few times at home before you need to do it in the field.
Muscle memory makes a big difference.
The Camera & Imaging Products Association (CIPA) sets the standards for these mounts. Every major manufacturer follows the same basic bayonet design. That means the process is consistent across brands.
Once you learn it on one mirrorless camera, you can apply it to any other.
A clean mount and a steady hand will keep your gear working for years. That's the whole goal.

Similar Posts