How to Clean Mirrorless Camera Lens
If you have ever zoomed in on a photo only to see a hazy blur or a tiny speck that was not there before, you already know why learning how to clean mirrorless camera lens is a skill worth mastering. One wrong wipe can leave a permanent scratch on that expensive multi-coated glass. But the good news is that with the right tools and a careful approach, you can keep your lens spotless without risking damage.
Lens coatings are incredibly thin, often just 100 to 200 nanometers thick. That is about one thousandth the width of a human hair. Per ISO 9211-1, these coatings are designed to resist abrasion, but they are not indestructible.
So let us start with the tools that will keep your glass safe.
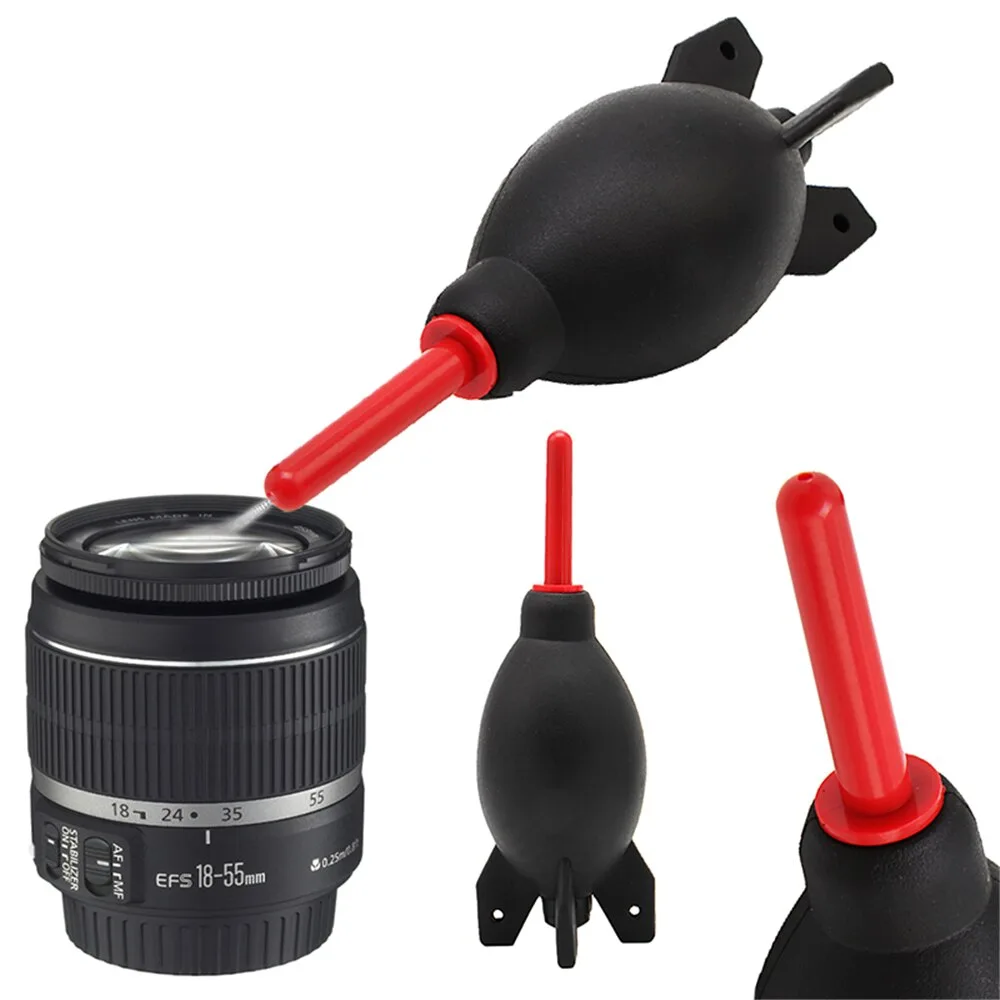
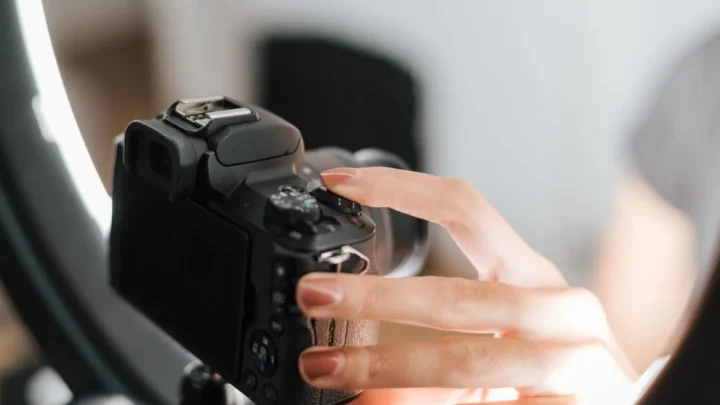
Image source: Web (Bing) / be.vicedeal.com (Web image (fair-use with source credit))
Why Cleaning Your Mirrorless Lens Is Different (And Why It Matters)
Mirrorless cameras do not have a mirror box inside. That means the sensor sits right behind the lens mount. Dust and debris that land on the rear element of the lens can end up on your sensor.
And that is a much bigger problem than a smudge on the front glass.
The lenses themselves also have more complex coatings than older designs. Many modern mirrorless lenses use nano-coatings or fluorine coatings. These help reduce flare and repel water, but they are also softer than traditional coatings.
Our research shows that improper cleaning wears down these coatings faster than any other factor.
Another difference is the size of the front element. Many mirrorless lenses have larger, flatter front elements. That makes them more prone to collecting dust and fingerprints.
And because the lens is often used with a shorter flange distance, any speck is more visible in the final image.
The bottom line is that a mirrorless lens needs a gentler, more deliberate cleaning approach. The same methods that worked on an old DSLR kit lens can cause permanent damage here. That is why learning the correct process matters.
Quick Answer
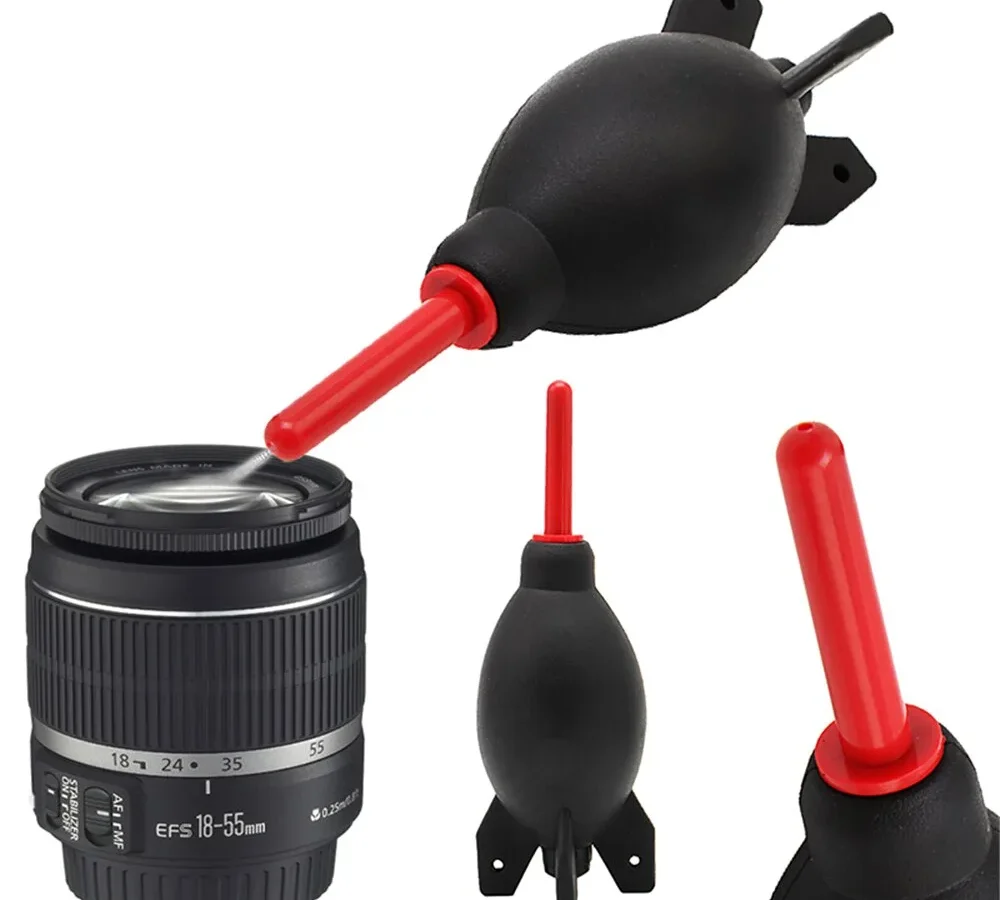
Blow off loose dust with a rocket blower. Apply a drop of lens cleaning solution to a microfiber cloth. Wipe gently from center to edge in a spiral.
Use a dry section to remove any streaks. Inspect under bright light.
The Tools That Protect Your Lens (And the Ones That Damage It)
Using the right tools is the difference between a clean lens and a scratched one. The table below shows what works and what does not.
| Recommended Tool | Why It Works | Tool to Avoid | Why It Is Dangerous |
|---|---|---|---|
| Rocket blower | Dislodges dust without contact | Canned air | Can leave propellant residue or freeze coating |
| Microfiber cloth (300-400 GSM) | Captures oils without scratching | Paper towels, tissues | Wood fibers scratch coating |
| Lens cleaning solution (ammonia-free) | Dissolves fingerprints gently | Household glass cleaner | Ammonia strips coatings |
| Lens pen (carbon tip) | Lifts stubborn smudges safely | Shirt, tie, or sleeve | Hidden grit scratches glass |
The rocket blower is your first line of defense. Use it every time before you touch the glass. A good microfiber cloth should be kept in a sealed bag to avoid picking up dust.
Never use a cloth that has been washed with fabric softener. The residue leaves streaks.
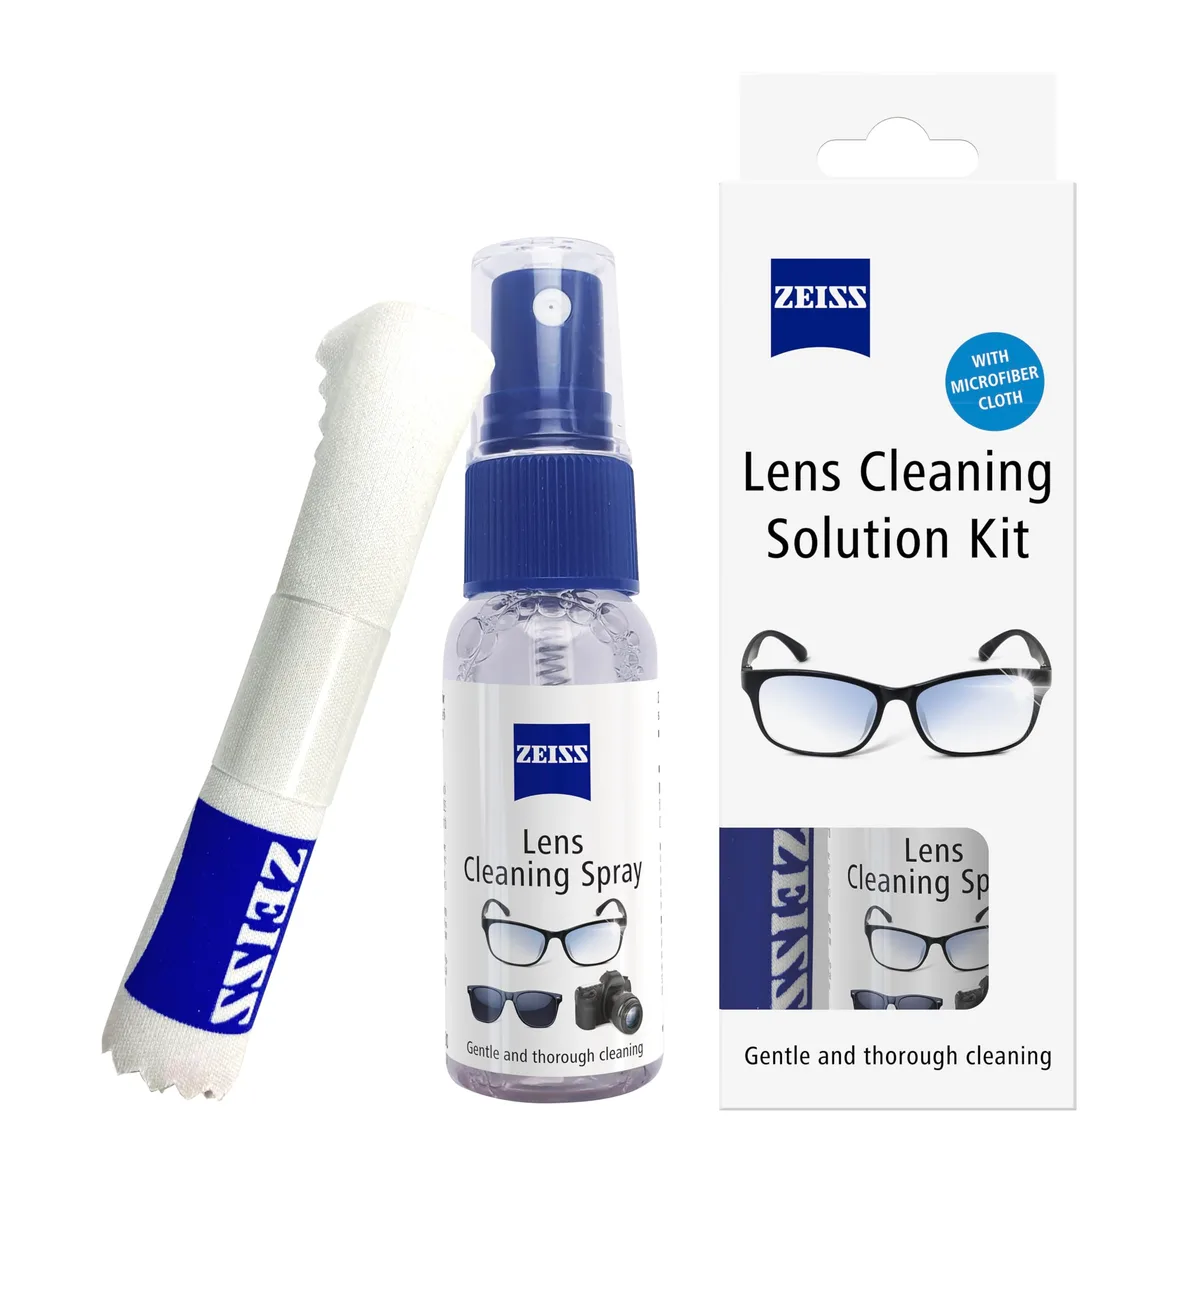
Image source: Bing (Web (fair-use with source credit))
Lens cleaning solution is safe only if it is specifically designed for optics. A 70% isopropyl alcohol and 30% distilled water mix is the standard. Higher concentrations dry too fast and can leave residue.
Lower concentrations introduce too much water.
The lens pen is a great tool for light smudges, but only if the carbon tip is clean. Once it gets dirty, replace it. Using a dirty lens pen is like rubbing sandpaper on the coating.
Proper storage habits also help keep your tools clean between uses.
The Step-by-Step Cleaning Process That Works
Follow these steps in order. Skipping the first step is the most common cause of scratches.
Step 1: Blow off dust. Hold the lens with the front element facing down. Use the rocket blower to puff air across the glass. Do not use your breath.
Breath contains moisture and saliva that can leave spots.
Step 2: Brush away loose particles. If you have a lens pen, use the brush side to gently sweep the glass. Start from the center and move outward. If you do not have a lens pen, skip this step and go straight to the cloth.
Step 3: Apply solution to the cloth. Put one or two drops of lens cleaning solution on the microfiber cloth. Never apply liquid directly to the lens. It can seep into the barrel and damage the internal mechanism.
Step 4: Wipe in a spiral. Start at the center of the lens. Wipe in a slow, gentle spiral toward the edge. Do not press hard.
The solution does the work, not the pressure. Turn the cloth frequently to use a clean section.
Step 5: Dry with a separate cloth. Use a dry microfiber cloth to remove any remaining moisture. Use the same spiral motion. Check under a bright light for streaks or dust.
Step 6: Inspect. Hold the lens under a desk lamp or flashlight. Tilt it at different angles. If you see a smudge, repeat steps 3 through 5.
If you see a scratch, stop. Further cleaning will not fix it.
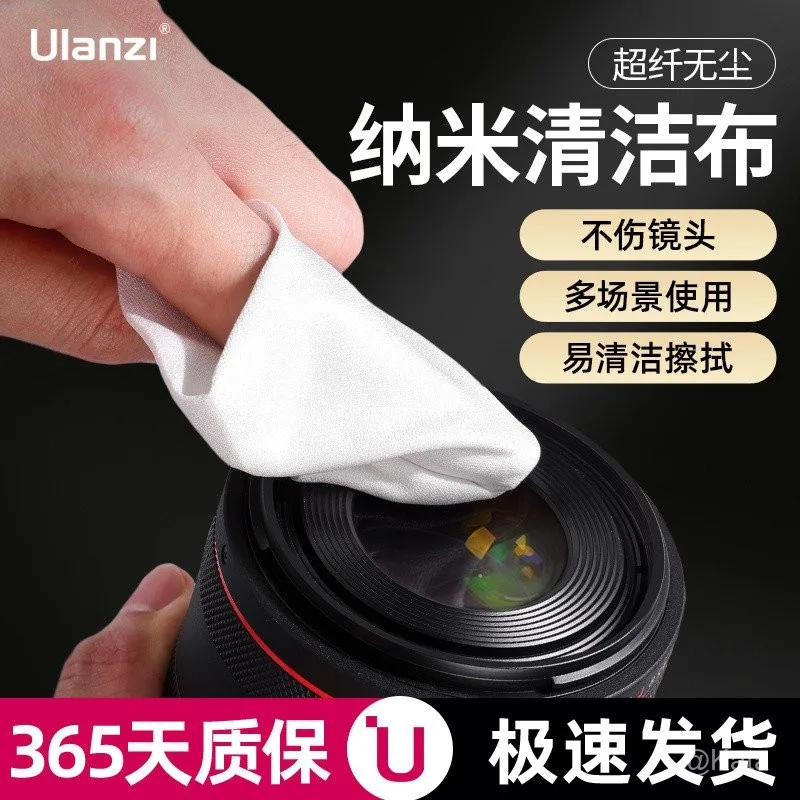
Image source: Web (Bing) / shopee.com.my (Web image (fair-use with source credit))
Before you start, make sure you know the correct way of attaching a lens correctly. A secure mount prevents dust from entering the camera body during cleaning.
The 5 Mistakes That Ruin More Lens Coatings Than Anything Else
These five errors cause the most damage. Avoid them at all costs.
1. Wiping a dry lens with a dry cloth. This is the number one killer of lens coatings. Dust particles act like sandpaper.
Always blow off dust first. Aggregate reviews from camera repair shops confirm this is the most common cause of scratches.
2. Using household cleaners. Glass cleaner, vinegar, and alcohol wipes from the pharmacy can strip the coating. Ammonia dissolves the outer layer.
Stick to a solution made for optical surfaces.
3. Pressing too hard. Lens coatings are not thick. Pressing hard does not clean better.
It just grinds debris into the glass. Use light pressure and let the solution do the work.
4. Cleaning the rear element unnecessarily. The rear element is close to the sensor. Touching it can introduce dust to the sensor.
Only clean the rear element if you can see a smudge. And use a sensor swab, not a regular cloth.
5. Over-cleaning. A lens that is used indoors and stored in a case does not need cleaning every week. Over-cleaning wears down the coating.
Our research suggests cleaning every two to three months for casual use. Professionals can clean before each critical shoot. If you run into common camera issues, check whether a dirty lens is the cause before reaching for cleaning tools.
If you follow these steps and avoid these mistakes, your lens will stay sharp for years. The next section covers when to send it to a professional and when it is safe to handle yourself.
When to Send It to a Pro (And When You're Safe to DIY)
Most lens cleaning is safe to handle at home. But there are clear boundaries. Cross them, and you risk turning a small problem into an expensive repair.
You can DIY when:
- The only issue is dust, smudges, or light fingerprints on the front element.
- The rear element has a visible smudge that does not affect image quality.
- You have the correct tools and are working in a clean, still-air environment.
Send it to a professional when:
- Dust or debris is trapped inside the lens between the elements. You cannot reach it without disassembling the barrel.
- Fungus or mold has started growing on the glass. This requires ultrasonic cleaning and re-coating.
- The marks do not come off after two careful cleaning attempts. Further rubbing will only make it worse.
- The lens was dropped or hit. Internal damage may have shifted the elements.
- You see a scratch on the coating. A professional can sometimes polish it, but only within safe limits.
Professional cleaning costs between $50 and $150 depending on the lens and the repair shop. That may sound steep, but it is cheaper than replacing a scratched front element or a full lens. Many camera manufacturers offer cleaning services.
Check the warranty first. Some warranties void coverage if you open the lens yourself.
As of 2026, most major brands recommend using their authorized service centers for internal cleaning. Third-party repair shops are often faster and cheaper, but they may not have access to original parts or coating specifications. If you own a lens that is still under warranty, stick with the manufacturer.
For more on proper handling, review the recommended procedure for detaching the lens body from the camera.
Your Quick Reference: What to Do and What to Avoid
This section is designed for quick scanning. Use it as a checklist before you start cleaning.
Do this:
- Use a rocket blower first, every time.
- Apply solution to the cloth, not the lens.
- Wipe in a spiral from center to edge.
- Use a new section of cloth for each pass.
- Store cleaning tools in a sealed bag.
- Clean in a dust-free room with still air.
Avoid this:
- Wiping a dry lens with a dry cloth.
- Using canned air, paper towels, or household cleaners.
- Pressing hard or scrubbing in circles.
- Cleaning the rear element unless necessary.
- Over-cleaning. Less is more.
- Using the same cloth twice without washing it.
When to stop:
- If the lens looks clean under bright light, stop.
- If a smudge does not come off after two attempts, stop.
- If you see a scratch, stop. Do not try to polish it out.
- If you feel resistance while wiping, stop. You are grinding debris.
Frequently Asked Questions
Can I use isopropyl alcohol to clean my lens?
Yes, but only in the right concentration. A 70% isopropyl alcohol and 30% distilled water mix is safe for most lens coatings. Higher concentrations dry too fast and can leave residue.
Lower concentrations introduce too much water. Never use rubbing alcohol that contains moisturizers or fragrances.
How often should I clean my mirrorless camera lens?
For casual use, every two to three months is enough. For professionals who shoot in dusty or humid environments, clean before each critical shoot. Over-cleaning wears down the coating.
Only clean when you see a visible smudge or dust that affects image quality.
What should I do if I get water or dust inside the lens?
Stop using the lens immediately. Do not try to dry it by shaking or heating it. Remove the lens from the camera and let it air dry in a warm, dry place for 24 hours.
If dust is visible inside, send it to a professional. Do not attempt to disassemble the lens yourself.
Can I use a UV filter to protect the lens and avoid cleaning it?
Yes, a UV filter acts as a sacrificial layer. You can clean the filter without worrying about the lens coating. However, filters add an extra piece of glass that can reduce image quality slightly.
If you use a filter, keep it clean. A dirty filter is worse than no filter.
What is the best way to store a lens to keep it clean?
Store the lens in a dry, dust-free case with the lens cap on. Use a silica gel pack to control humidity. Avoid storing lenses in direct sunlight or near heat sources.
If you have multiple lenses, keep them in separate compartments to prevent them from knocking against each other. Proper storage is the best way to reduce the need for cleaning. For getting started with photography, building good storage habits early saves you time and money later.

Similar Posts
















[…] entire image. Clean it with a microfibre cloth before each shoot. The same care you would take to clean a mirrorless camera lens applies […]