How to Position a Trail Camera
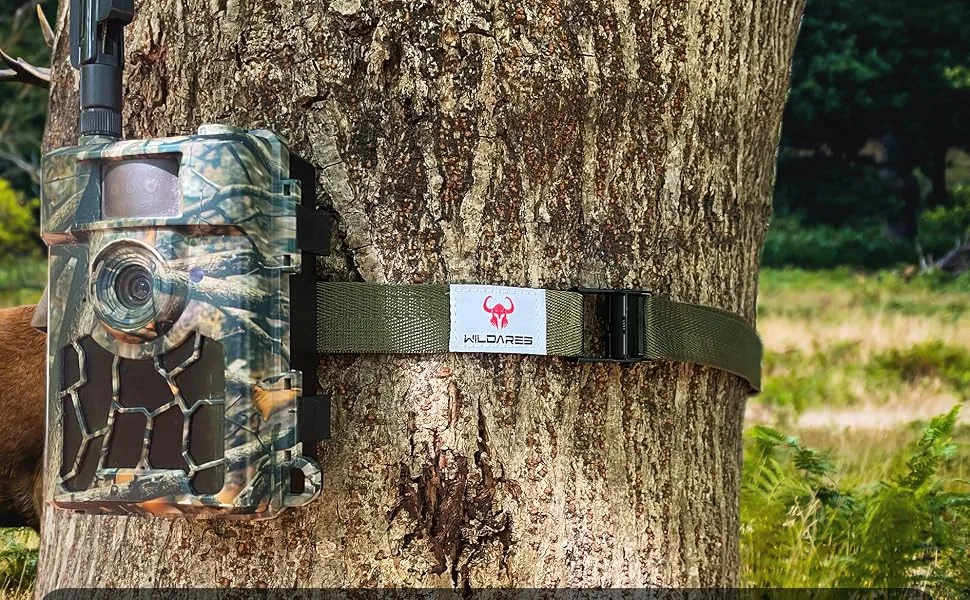
You checked your trail card and found nothing but pictures of swaying grass, blurry raccoon tails, and one overexposed sunrise. That’s frustrating. Most people assume the camera is faulty.
But the real problem is almost always placement. Knowing how to position a trail camera correctly is the single biggest factor separating blank cards from usable data.
Manufacturer specifications show the average detection zone on a trail camera covers about 40 to 60 degrees horizontally. That’s a narrow cone. A few inches off in height or angle can shift the entire field of view past your target.
Let’s walk through the three decisions that determine whether you’ll capture deer or empty frames.
Quick Answer
Position your camera 20 to 30 feet from the target area. Set the height at 4 to 6 feet for deer. Point the camera north or south to avoid sun wash.
Clear all vegetation from the detection zone. Test the setup with a walk-through.
Image source: Bing (Web (fair-use with source credit))
Why Most Trail Camera Photos Are Disappointing (And It’s Rarely the Camera)
The most common mistake is mounting the camera too high. People think higher means better coverage. In reality, an animal’s body triggers the sensor.
If the camera is six feet up and pointed straight ahead, the detection zone passes right over a deer’s back.
Check any forum and you’ll see the same complaint. “My camera gets nothing.” Nine times out of ten, the camera works fine. The issue is how it’s mounted.
Here are the most common placement errors from aggregate reviews:
- Camera set too high or too low for the target species
- Detection zone blocked by tall grass or low branches
- Camera facing directly into sunrise or sunset
- Camera placed too close to the trail, causing false triggers
- Camera mounted on a small tree that sways in the wind
Every single one of these is fixable. You don’t need a new camera. You just need to move the one you have.
If you’re still getting blank cards after repositioning, the camera itself might need a factory reset to clear any glitchy settings.
Decision 1: What Are You Trying to Capture? – Target Species and Behavior
Your first decision is the most important. What animal are you after? Different species stand at different heights.
They also move through the landscape differently.
Deer
For whitetail deer, the ideal height is 4 to 6 feet. Angle the camera slightly downward. The detection zone should cover the animal’s chest and shoulders.
This gives you the best chance of a full-body shot. For a scrape, set the camera at 3 to 4 feet and aim it directly at the scrape from about 10 feet away.
Bear
Bear are taller. Set the camera at 5 to 7 feet. Bear tend to look up more than deer, so a slightly higher camera is less noticeable.
Use a wider angle if possible to capture the full body.
Turkey
Turkeys are ground birds. Set the camera at 3 to 4 feet. Angle it down significantly.
You want the detection zone to cover the ground in front of the camera, not the air above it.
Predators (Coyote, Fox, Bobcat)
Predators move along edges and trails. Set the camera at 3 to 5 feet. Use a faster trigger speed, 0.3 seconds or less.
Predators move quickly and don’t stop to feed like deer.
Security and Property Monitoring
Set the camera higher for security, around 7 to 8 feet. Angle it down enough to capture a person’s face. This also makes it harder for someone to steal or tamper with the camera.
| Target Species | Recommended Height | Notes |
|---|---|---|
| Whitetail deer | 4 – 6 feet | Angle down slightly for chest-area shot |
| Bear | 5 – 7 feet | Less likely to notice higher camera |
| Turkey | 3 – 4 feet | Angle down significantly |
| Coyote / Fox | 3 – 5 feet | Use fast trigger speed |
| Security / People | 7 – 8 feet | Angle down to capture face |
Decision 2: Where Is the Sign? – Location Types by Scenario
Once you know your target, find the right spot. The best location depends on the type of sign you see.
Scrapes and Rubs
Scrapes are active communication points. Place the camera 10 to 15 feet from the scrape. Set it at 3 to 4 feet.
Angle it at the licking branch above the scrape. Deer will stop and work the branch, giving you a clear shot. Don’t place the camera directly over the scrape.
That’s too close and will spook deer.
Trails and Funnels
Trails in thick cover are natural pinch points. Set the camera 20 to 30 feet from the trail. This gives you enough distance to capture the full body.
Angle the camera slightly across the trail, not straight down it. A slightly angled view catches more of the animal’s side and reduces false triggers from wind-blown branches.
Creek Crossings and Bottlenecks
Creek crossings are high-traffic areas. Place the camera 15 to 25 feet from the crossing. Set it at 4 to 5 feet.
Point it at the narrowest part of the crossing. Deer will slow down here, giving you a better chance of a clear photo.
Food Plots and Feeders
Food plots are open areas. Place the camera at the edge of the plot, not in the center. Set it at 4 to 5 feet.
Point it toward the plot, but keep it in the shadows of the tree line. This hides the camera and reduces sun glare. For feeders, set the camera 10 to 15 feet away and 3 to 4 feet high.
Angle it so the feeder is in the middle of the frame.
Bedding Areas
Bedding areas are sensitive. If you place a camera too close, you’ll stress the deer. Set the camera at least 25 yards from the bedding area.
Use a long-range detection mode if your camera has one. Or set it on a trail leading into the bedding area instead of directly inside it.
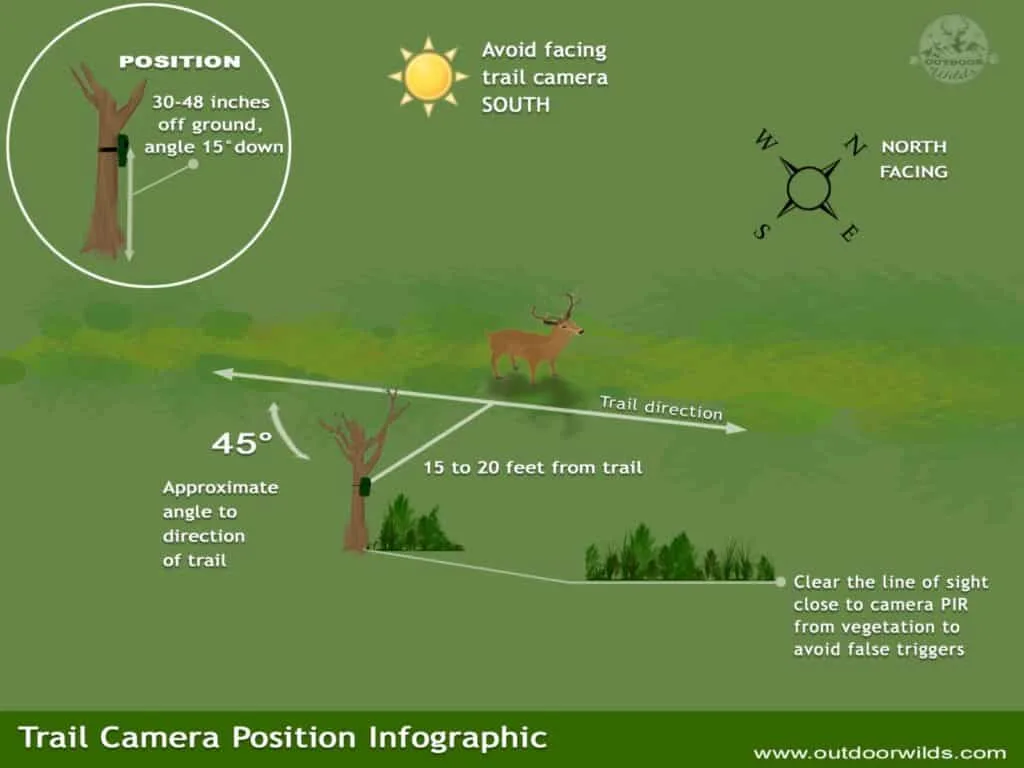
Image source: Bing (Web (fair-use with source credit))
Decision 3: How Much Cover Do You Need? – Security vs. Visibility
The third decision is about how visible you want the camera to be. This depends on whether you’re on private land or public land.
Private Land
On private land, you have more control. You can mount the camera in plain sight if you want. But even on private land, hide it from the road.
A visible camera is an invitation for theft.
Use a tree with a thick trunk. Mount the camera on the side of the tree that faces away from any trail or road. Use a security box and a Python cable.
This makes it harder to steal.
Public Land
On public land, hide the camera well. Use a smaller tree. Mount the camera low, around 3 to 4 feet.
Cover it with natural vegetation. Use a camouflage pattern that matches the tree bark. Avoid using bright straps or cables.
Some states have restrictions on trail cameras during hunting season. Check your local regulations before setting up. The U.S.
Fish and Wildlife Service maintains a list of state wildlife agency contacts that can help you find the rules for your area.
Theft Prevention
Theft is a real problem. The best prevention is to make the camera hard to find. Use a lock box.
Use a Python cable that wraps around the tree. Mount the camera high enough that it’s not obvious at eye level. Avoid placing it right next to a trail or road where someone can grab it quickly.
If you live in an area with high theft, consider using a cellular camera that sends photos directly to your phone. That way you don’t have to visit the camera often, which reduces the risk of being seen.
Summary of Security Levels
| Location | Security Level | Recommended Setup |
|---|---|---|
| Private land, no road access | Low risk | Mount at 4-6 feet, no lock box needed |
| Private land, near road | Medium risk | Use lock box, mount away from road |
| Public land | High risk | Use camouflage, low mount, lock box |
| High theft area | Very high risk | Use cellular camera, hidden mount |
Step-by-Step Guide: How to Position Your Camera for Each Scenario
Follow these steps in order. They work for any trail camera, any target species, any location.
Step 1: Scout the Area First
Walk the area before you mount anything. Look for tracks, droppings, rubs, scrapes, and trails. Find the funnel points where animals naturally pass.
Don’t rely on guesswork. Let the sign tell you where to set up.
Step 2: Choose the Right Tree
Pick a tree that is 4 to 8 inches in diameter. It should be straight and sturdy. Avoid trees that sway in the wind.
The tree should be 20 to 30 feet from the target area. Make sure it offers some natural cover.
Step 3: Set the Height
Use the height table from Decision 1. Mark the tree at the correct height. For deer, that’s 4 to 6 feet.
For bear, 5 to 7 feet. For security, 7 to 8 feet.
Step 4: Clear the Detection Zone
Remove all grass, branches, and leaves from the camera’s field of view. Walk through the detection zone yourself. Watch the camera’s indicator light to see where the edges are.
Clear anything that could blow in the wind and trigger a false shot.
Step 5: Mount the Camera
Use the strap or mount that came with the camera. Tighten it firmly. The camera should not wobble.
If it does, use a mounting bracket for a more stable setup.
Step 6: Angle the Camera
Point the camera at the target area. Tilt it slightly downward. A good rule is to aim for the animal’s chest area.
If you’re targeting a trail, angle the camera slightly across the trail, not straight down it.
Step 7: Test the Setup
Walk in front of the camera at the target distance. Check the test photos. Adjust the angle if needed.
Repeat until you get clear, full-body shots.
Step 8: Secure the Camera
Use a lock box and cable if theft is a concern. Cover the camera with natural vegetation. Make sure the lens and sensor are clear.
Step 9: Check Card and Battery
Insert a formatted SD card and fresh batteries. Lithium batteries last longer in cold weather. Set the camera to the correct mode: photo, video, or hybrid.
Step 10: Walk Away Quietly
Leave the area without disturbing it. Don’t leave human scent on the tree or nearby brush. Come back after 2 to 4 weeks to check the card.
Common Mistakes That Ruin Your Setup (And How to Fix Them)
Camera Pointed Too High
This is the most common mistake. The detection zone passes over the animal’s back. Fix it by lowering the camera and angling it down.
The animal’s chest and shoulders should be in the center of the frame.
Camera Pointed Too Low
Grass and weeds fill the frame. This causes false triggers and wasted card space. Fix it by raising the camera slightly and clearing the vegetation.
Facing Sunrise or Sunset
The sun washes out the photos. The sensor may not trigger properly. Fix it by pointing the camera north or south.
Use a compass app on your phone to get the right direction.
Camera Too Close to the Trail
The animal triggers the camera too late. You get a photo of the tail or back legs. Fix it by moving the camera 20 to 30 feet from the trail.
Camera Too Far from the Trail
The animal is too small in the frame. The sensor may not detect it at all. Fix it by moving the camera closer.
The ideal distance depends on your camera’s detection range.
Wind Causing False Triggers
Small branches and grass blowing in the wind trigger the sensor. Fix it by clearing all vegetation from the detection zone. Use a sturdy tree that doesn’t sway.
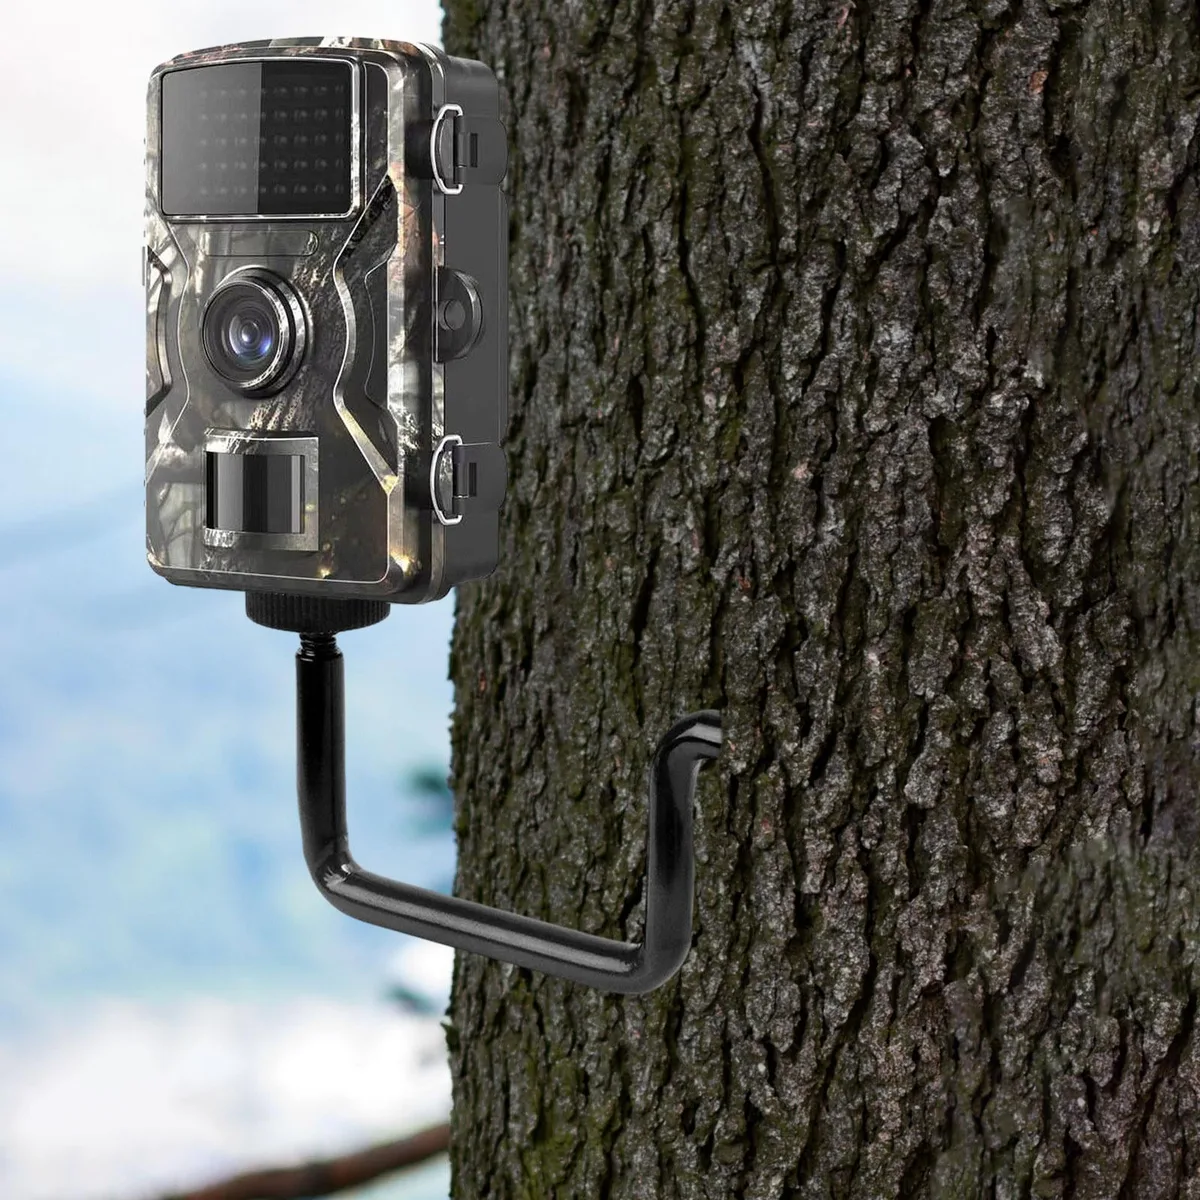
Image source: Web (Bing) / walmart.com (Web image (fair-use with source credit))
Frequently Asked Questions
What height should I set my trail camera for deer?
Set it at 4 to 6 feet. Angle it slightly downward so the detection zone covers the chest and shoulders. This gives you the best chance of a full-body shot.
How far should a trail camera be from a feeder?
Set it 10 to 15 feet from the feeder. Set the height at 3 to 4 feet. Angle it so the feeder is in the center of the frame.
Should I point my trail camera north or south?
Point it north or south. This avoids direct sunlight at sunrise and sunset. Sun glare washes out photos and can prevent the sensor from triggering.
How do I stop false triggers on my trail camera?
Clear all vegetation from the detection zone. Remove branches, grass, and leaves that blow in the wind. Mount the camera on a sturdy tree that doesn’t sway.
How often should I check my trail camera?
Check it every 2 to 4 weeks. If you have a cellular camera, you can check it remotely. Avoid checking too often.
Human scent can spook animals.
What is the best angle for a trail camera on a trail?
Angle the camera slightly across the trail, not straight down it. This catches more of the animal’s side. It also reduces false triggers from wind-blown branches.

Similar Posts