How to Connect DSLR Camera to WiFi
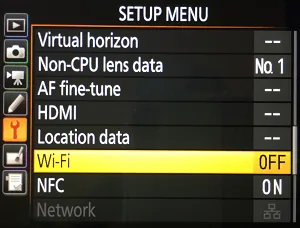
Learning how to connect DSLR camera to WiFi doesn't have to be a headache. It's pretty straightforward once you know the right sequence. The trick is understanding your camera's specific menu layout and which connection mode to use.
Manufacturer specifications indicate that most DSLRs use the 2.4 GHz band for WiFi, with a typical range of 10 to 30 meters. As of 2026, nearly every mid-range and above DSLR includes built-in WiFi. But the connection process varies significantly between brands.
Let's break down how to get it working.
Quick Answer
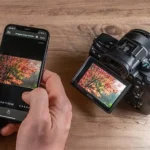
To connect your DSLR to WiFi, enable the camera's WiFi setting in the menu. Then install your brand's camera app on your phone. Connect your phone to the camera's WiFi network.
Use the SSID and password shown on the camera screen. Open the app to transfer photos or control the camera remotely.
Frustrated with Your Camera's WiFi? You're Not Alone
Getting frustrated with finicky wireless connections is normal. But once you understand the two main connection modes, you can handle any camera.
Image source: Bing (Web (fair-use with source credit))
That's the core issue. The menu might look different across brands, but the process is identical.
WiFi Direct vs. Infrastructure Mode: What's the Difference?
WiFi Direct creates a direct peer-to-peer connection between your camera and phone. No router is needed. This is the most common mode for DSLR WiFi.
It's fast and simple to set up.
Infrastructure mode connects your camera to your home WiFi network. Your phone also connects to the same network. This allows internet access while transferring photos.
It's useful for direct cloud uploads.
| Connection Mode | Router Needed | Internet Access | Best For |
|---|---|---|---|
| WiFi Direct | No | No | Quick transfers, remote shooting |
| Infrastructure | Yes | Yes | Cloud uploads, multi-device setup |
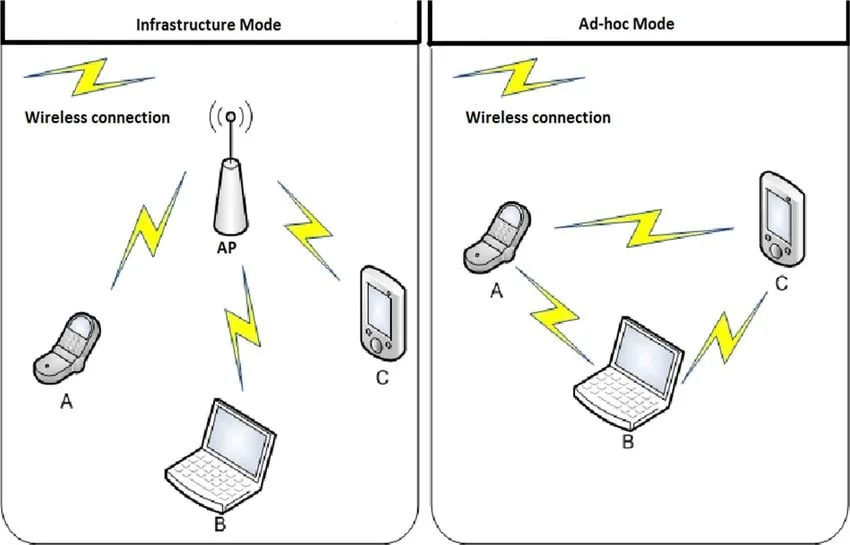
Image source: Web (Bing) / researchgate.net (Web image (fair-use with source credit))
Most cameras default to WiFi Direct. Check your camera's manual to confirm which mode it uses. If you're setting up a WiFi security camera system, you might already be familiar with Infrastructure mode.
The same concept applies here. Choose WiFi Direct for quick photo transfers in the field. Choose Infrastructure mode if you want to upload to the cloud automatically.
How to Connect Your DSLR to WiFi (Model-Specific Guide)
Canon
Press the WiFi button on the camera body. Select Connect to Smartphone from the menu. A QR code appears on the screen.
Scan it with the Canon Camera Connect app. This works for a wide range of models, including those optimized for street photography. For the most current instructions, check Canon's official support page.
Nikon
Enable WiFi in the setup menu. Choose Connect to Smart Device. The camera displays its SSID and password.
Connect your phone to that network. Open SnapBridge to pair.
Sony
Press the Menu button and find the WiFi settings. Select Send to Smartphone. The camera creates a network.
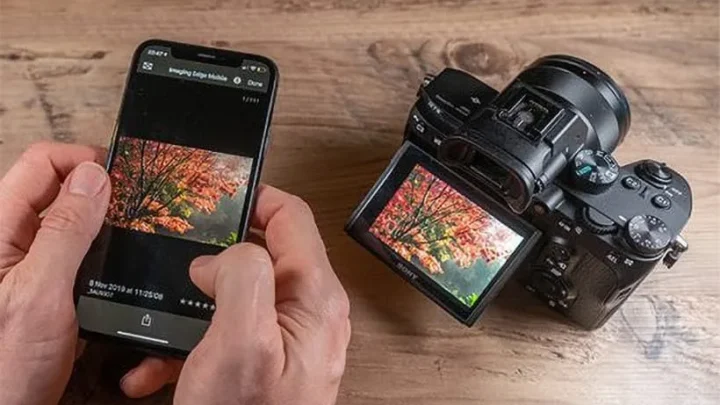
Connect your phone to it. Open Imaging Edge Mobile to transfer photos. Sony's mirrorless cameras, which are great for low light conditions, use a similar setup.
Fujifilm
Go to the WiFi settings in the setup menu. Choose Pairing Registration. The camera shows a QR code.
Scan it with the Fujifilm Camera Remote app.
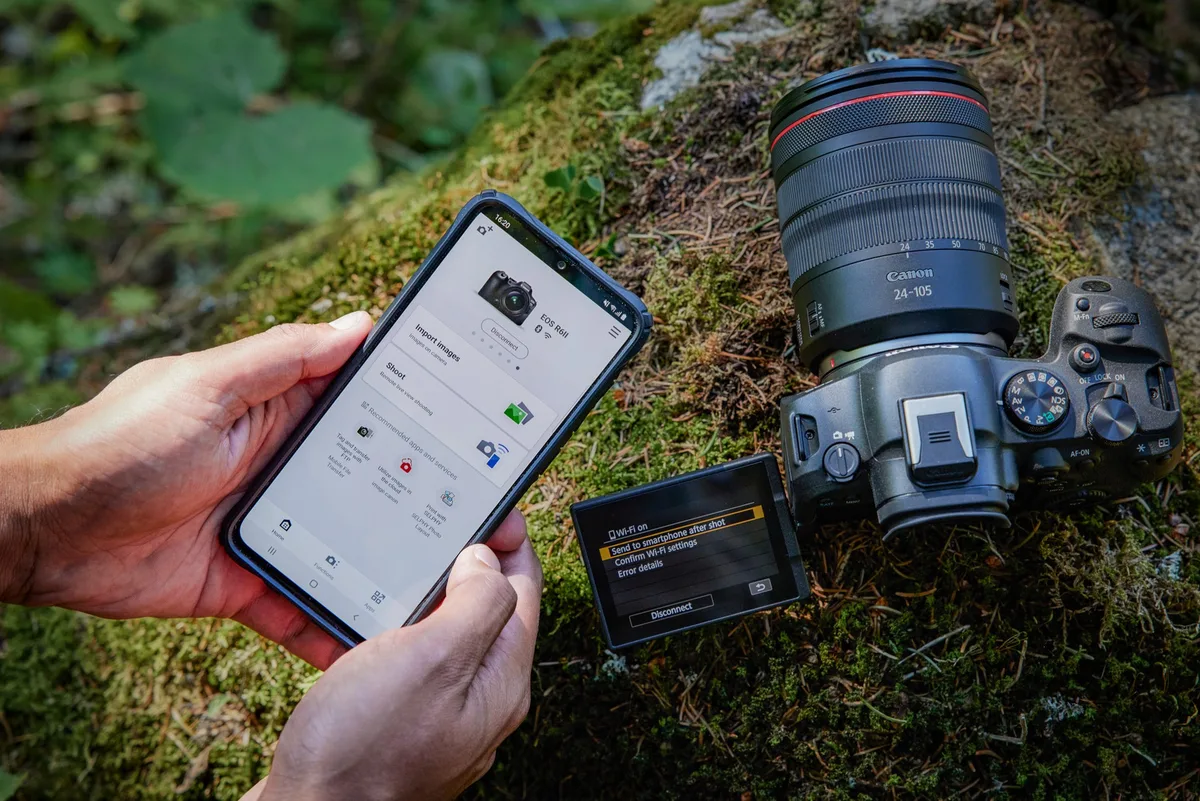
Image source: Bing (Web (fair-use with source credit))
These steps cover the major brands. The exact menu names vary by model year. Check your manual for specific menu paths.
Common WiFi Connection Problems (and How to Fix Them)
Your phone can't find the camera's network. This is the most common issue. The camera's WiFi is likely in sleep mode.
Wake it up by pressing the shutter button halfway. Then try scanning again.
The connection drops during transfer. Move your phone closer to the camera. Keep the camera within 10 meters.
WiFi signals weaken with distance. Avoid other 2.4 GHz devices running nearby.
The app says connection failed. Restart both devices. Then try the pairing process again.
Forgetting the camera's network on your phone often helps. This clears old settings that cause conflicts.
The transfer is very slow. JPEG files transfer faster than RAW files. If you need speed, shoot in JPEG.
Or use a card reader for large batches. WiFi is best for single photos or small batches. If you're using a camera for city photography and need quick transfers, WiFi is convenient but slow for RAW files.
Your camera shows no WiFi option in the menu. This usually means the camera doesn't have built-in WiFi. You can add a WiFi adapter or use a WiFi SD card.
These are affordable workarounds for older DSLRs.
Frequently Asked Questions About DSLR WiFi
Why won't my phone find the camera's WiFi network?
The camera's WiFi may be in standby mode. Press the shutter button halfway to wake it. Also check that your phone's WiFi is on.
Some cameras only broadcast the network for 30 seconds.
Does WiFi drain the camera battery quickly?
Yes, WiFi uses significant power. Expect about 10 to 20 percent battery drain per hour of active use. Turn off WiFi when you're not transferring files.
Carry a spare battery for long sessions.
Can I transfer RAW files over WiFi?
Yes, but it's slow. RAW files are much larger than JPEGs. A single RAW file can take 30 seconds or more.
Use a card reader for bulk transfers. If you own a camera for bird watching photography, you likely shoot in RAW. In that case, a card reader is much faster.
My camera has no built-in WiFi. Can I add it?
Yes, you can use a WiFi adapter or a WiFi SD card. Brands like Toshiba and Eye-Fi make compatible cards. They replace your regular SD card.
Setup is similar to built-in WiFi.
Do I need an internet connection to use camera WiFi?
No, WiFi Direct doesn't need an internet connection. The camera and phone communicate directly. Infrastructure mode does need a router.
But WiFi Direct works anywhere.

Similar Posts