How to Store a Mirrorless Camera
So you finally invested in a mirrorless camera. Maybe you saved up for months. Maybe you finally traded in that old DSLR.
Either way, you want to keep it safe when you are not using it. The problem is that knowing how to store a mirrorless camera properly is not as simple as tossing it in a drawer. Get it wrong, and you could be looking at a costly repair bill or a ruined sensor.
Manufacturer specifications indicate that ideal storage humidity sits between 35 and 45 percent relative humidity. Anything above 60 percent, and you are inviting fungus to grow inside your lenses. Anything below 20 percent, and the internal lubricants can dry out.
That is a narrow window. But with the right approach, you can hit it every time. Let us walk through exactly what you need to do.
Quick Answer
Store your mirrorless camera in a dry place. Remove the battery and memory card first. Keep humidity between 35 and 45 percent.
Use a dry cabinet or silica gel. Never store it with the lens attached.
Why Accurate Storage Matters for Your Mirrorless Camera
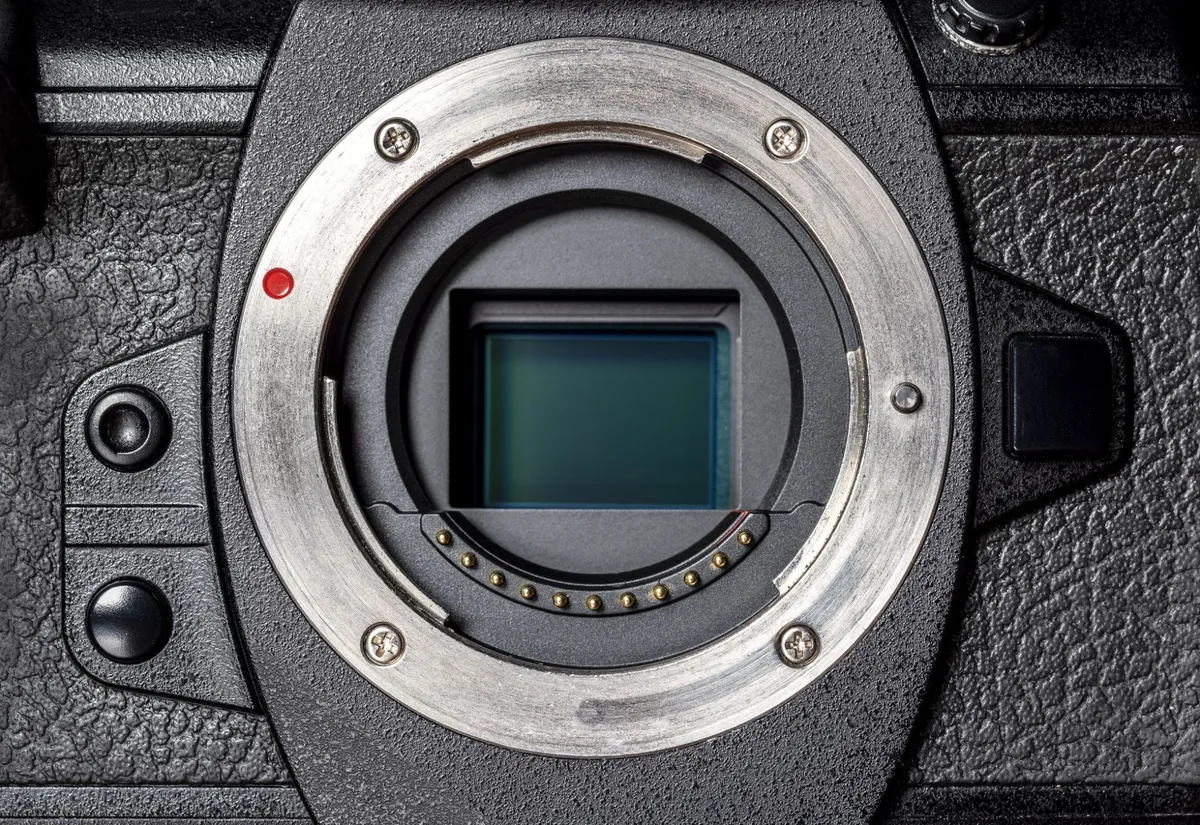
A mirrorless camera is not like a point-and-shoot. It has an exposed sensor that sits right behind the lens mount. That sensor is delicate.
It is also expensive to replace. Dust, moisture, and fungus can ruin it permanently.
The same goes for your lenses. Modern mirrorless lenses have electronic contacts, complex focusing motors, and multiple glass elements coated with anti-reflective layers. Moisture can fog those coatings.
Fungus can etch into the glass itself. Once that happens, no amount of cleaning will bring back the original sharpness.
Batteries are another concern. Lithium-ion cells degrade over time. If you store them fully charged, they lose capacity faster.
If you store them completely dead, they can drop below a safe voltage and become unusable. We have covered the basics of keeping your battery in good shape in our guide on improving your camera battery life, which covers similar principles.
The bottom line is simple. Storage is not an afterthought. It is part of owning and maintaining expensive gear.
Getting it right means your camera works perfectly five years from now. Getting it wrong means you are shopping for a replacement.
The Two Biggest Risks: Humidity and Battery Neglect
If you only remember two things from this article, make them these. First, humidity is the enemy. Second, batteries need special treatment.
Humidity and Fungus
Fungus spores are everywhere. They are in the air, on your clothes, and on your gear. They are harmless until they find a warm, damp, dark place to grow.
The inside of a camera lens is exactly that. Fungus feeds on the organic compounds in lens coatings and lubricants. It spreads in a web of fine threads that scatter light and ruin image quality.
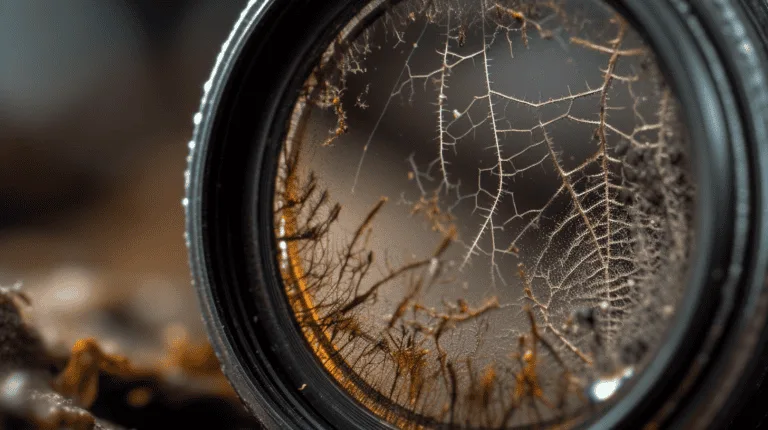
The magic number is 60 percent relative humidity. Below that, spores stay dormant. Above it, they start growing.
The longer the humidity stays high, the more likely you are to see damage. In tropical climates, where humidity can hit 80 or 90 percent for months, fungus can appear within weeks.
Temperature matters too. Rapid changes cause condensation inside the lens. If you bring a cold camera into a warm room, moisture can form on the sensor and internal glass.
That moisture creates the perfect environment for spores to take hold. Always let your camera acclimate for an hour or two before you open a bag or the lens cap.
Battery Storage Mistakes
Lithium-ion batteries are finicky. Storing them at 100 percent charge accelerates chemical aging. Storing them at 0 percent charge risks irreversible damage.
The sweet spot is around 40 to 60 percent charge.
You should also remove the battery from the camera if you are not using it for more than a few days. Even when the camera is turned off, the battery slowly drains. Leave it long enough, and it can drop below the safe voltage threshold.
That is a dead battery you cannot revive.
Check the battery every three to six months. If the charge has dropped, top it back up to 50 percent. This keeps the cells healthy and extends the overall lifespan.
The same logic applies to storing older camera equipment from your DSLR days.
How to Prepare Your Camera for Storage (Step by Step)
Preparation is everything. You cannot just put the camera in a bag and call it done. Follow these steps every time you plan to store your gear for more than a week.
Step 1: Remove the Battery and Memory Card
Take the battery out first. Check the charge level. If it is above 60 percent, use the camera for a bit or drain it slightly.
If it is below 30 percent, charge it to around 50 percent. Then store the battery separately in a cool, dry place.
Remove the memory card too. Cards left in the camera can corrode over time, especially in humid conditions. Store them in a card case or a sealed plastic bag.
Step 2: Remove the Lens and Attach the Body Cap
This is critical. Never store a mirrorless camera with a lens attached for long periods. The lens mount is a mechanical connection.
Dust and moisture can migrate between the lens and the body. More importantly, the rear element of the lens and the sensor face each other with almost no gap. If moisture gets trapped, it can cause fogging or fungus on both surfaces.
Instead, remove the lens. Attach the body cap to the camera. This seals the sensor chamber.
Also attach the rear lens cap to the lens. Store the lens separately, preferably upright with the rear element facing down.
Step 3: Remove the Strap
Camera straps are handy when you are shooting. They are a nuisance in storage. The metal buckles and plastic clips can scratch the camera body.
The strap itself can trap moisture against the camera. Remove it and store it separately.
Step 4: Clean the Camera and Lens
Wipe down the exterior with a microfiber cloth. Pay attention to the grip areas, where oils from your hands can attract dust. Inspect the lens for smudges or fingerprints.
Clean the glass with a lens brush and a drop of cleaning solution if needed.
Do not blow compressed air into the sensor chamber unless you know what you are doing. If you need to clean the sensor, follow manufacturer guidelines or take it to a professional.
Step 5: Check the Weather Seals
Many mirrorless cameras have rubber gaskets around the battery compartment and lens mount. These seals can dry out or crack over time. Inspect them before storage.
If they look worn, apply a thin layer of silicone grease made for camera seals. This keeps them flexible and effective.
Choosing the Right Storage Environment: Cabinet, Box, or Bag
Once your camera is prepped, you need a place to put it. Not all storage options are equal. Here is how to choose based on your situation and budget.
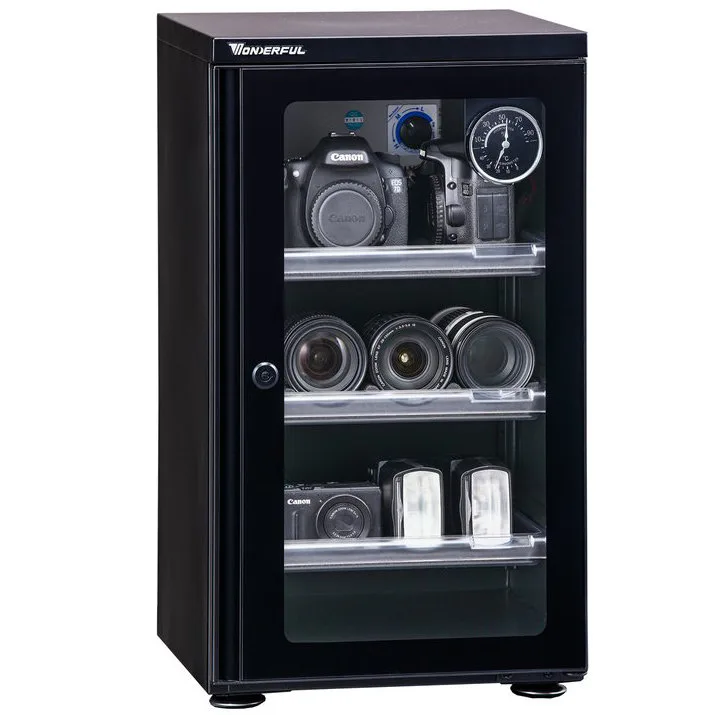
Dedicated Dry Cabinet
A dry cabinet is the gold standard. It is a sealed cabinet with a built-in dehumidifier that maintains a set humidity level. You plug it in, dial in 40 percent, and forget about it.
As of 2026, most dry cabinets use thermoelectric dehumidifiers that run quietly and maintain consistent levels.
- Best for people with multiple lenses and bodies.
- Cost ranges from 100 to 500 dollars depending on size.
- Maintains consistent humidity without manual effort.
- Takes up floor or desk space.
Airtight Container with Silica Gel
If you do not want to spend money on a dry cabinet, an airtight plastic bin works well. Pair it with silica gel desiccant packs. The silica gel absorbs moisture inside the container.
You can buy rechargeable silica gel that changes color when it is saturated. When it turns pink, you dry it in the oven.
- Best for budget-conscious users or those with limited space.
- Cost is under 50 dollars for the container and silica gel.
- You need to check and recharge the gel regularly.
- Works well for short-term storage or travel.
Camera Bag
A camera bag is fine for carrying gear. It is not ideal for long-term storage. Bags have foam padding that traps moisture.
They are rarely airtight. If you must use a bag, leave the zippers slightly open for airflow and place a silica gel pack inside.
- Use only for short-term storage (a few days).
- Never store a bag in a damp basement or hot attic.
- Check the bag regularly for mold or mildew.
Room Storage
Storing the camera on a shelf or in a drawer is the worst option. You have no control over humidity or temperature. Rooms fluctuate.
A closet in a humid house can easily hit 70 percent RH. Avoid this unless you live in a very dry climate and monitor the humidity carefully.
Here is a quick comparison.
| Storage Option | Cost | Effort | Humidity Control | Best For |
|---|---|---|---|---|
| Dry cabinet | 100-500 dollars | Low | Excellent | Long-term, multiple bodies |
| Airtight container + silica gel | Under 50 dollars | Medium | Good | Budget, short-term, travel |
| Camera bag | Free | Low | Poor | Short-term, daily use |
| Open shelf | Free | None | None | Not recommended |
Storage Mistakes That Cost You Money
Even careful photographers make mistakes. Here are the most common ones and how to avoid them.
Leaving the Lens Cap On
It sounds counterintuitive, but storing a lens with the front cap on can trap moisture. If the cap is not vented, condensation can form between the cap and the glass. Instead, store lenses with the rear cap on and the front element exposed.
Or use a third-party cap that has a small vent hole.
Storing the Camera in a Car or Attic
Cars get hot. Attics get hot and humid. Both are terrible for electronics.
The interior of a car can exceed 140 degrees Fahrenheit on a sunny day. That temperature can melt lubricants, distort plastics, and damage the battery. Never store your camera in a vehicle for more than a few hours.
Skipping Monthly Checks
You stored your camera correctly. Great. Now do not forget about it.
Check the gear once a month. Look for signs of moisture, mold, or corrosion. Rotate the zoom and focus rings on the lens a few times.
This prevents the lubricants from settling and keeps the mechanisms smooth.
Storing a Wet Camera
If you used your camera in the rain or near the ocean, do not seal it in a bag. The trapped moisture will cause more damage than the rain itself. Let the camera air dry in a room with low humidity for at least 24 hours.
Remove the battery and memory card. Point the lens mount downward so any moisture can drain out. Only then pack it for storage.
Ignoring the Camera Manual
Your camera manufacturer knows its products best. The manual often includes specific storage recommendations. For example, some cameras have internal flash capacitors that need to be discharged before long-term storage.
Others have specific battery storage voltages. Check the manual. It takes five minutes.
The National Institute of Standards and Technology also publishes guidelines on humidity control for sensitive electronics, which can serve as a useful reference for your storage environment.
Frequently Asked Questions
Can I store my mirrorless camera with a lens attached?
No, not for long periods. The gap between the rear lens element and the sensor is tiny. Moisture and dust can get trapped in that space.
Always remove the lens and attach the body cap. Store the lens separately with its rear cap on.
How long can I store a mirrorless camera without using it?
You can store it for months or even years with proper preparation. Remove the battery and keep it at 50 percent charge. Check the charge every three months.
Keep the humidity between 35 and 45 percent. Under those conditions, the camera will be fine for extended periods.
Is it safe to store a camera in a basement or garage?
No, it is not safe. Basements are often damp and prone to mold. Garages experience extreme temperature swings.
Both environments can damage the sensor, lens, and battery. Keep your camera in a climate-controlled indoor space instead.
How often should I check on stored camera gear?
Check your gear once a month. Look for signs of moisture, mold, or corrosion. Rotate the zoom and focus rings on each lens a few times.
This prevents the internal lubricants from settling. If you use silica gel, check the color indicator to see if it needs recharging.
Do I need a dry cabinet, or is silica gel enough?
Silica gel in an airtight container works well for most people. You just need to monitor it and recharge the gel when it saturates. A dry cabinet is more convenient and maintains consistent humidity automatically.
Choose based on your budget and how much gear you own.
The Bottom Line: Protect Your Gear, Save Your Money
Storing a mirrorless camera is not complicated. But it does require attention to detail. The single most important factor is humidity control.
Keep it between 35 and 45 percent, and you eliminate the biggest risk to your gear.
The second most important step is battery care. Remove the battery. Store it at half charge.
Check it every few months. That simple habit can add years to the battery's lifespan.
Prep your camera before storage every single time. Remove the lens. Attach the body cap.
Take off the strap. Clean the exterior. Check the weather seals.
It takes five minutes and prevents expensive problems.
Choose a storage method that fits your situation. A dry cabinet is the best option if you have the budget. An airtight container with silica gel is nearly as good for a fraction of the cost.
Avoid camera bags for long-term storage. Never use an attic, basement, or car.
If you want to learn more about caring for your gear, our guide on troubleshooting common camera issues covers what to do when something goes wrong. And if you are switching systems, knowing how to handle interchangeable lenses safely is still useful knowledge for any camera owner.
The bottom line is straightforward. Your camera is an investment. Treat it like one.
Store it correctly, and it will serve you well for years. Cut corners, and you will be shopping for a replacement. The choice is yours.

Similar Posts















[…] you are keeping your gear for years, the same thinking applies to proper storage techniques. Keeping equipment dry and safe prevents expensive […]
[…] more on keeping your gear in good shape, properly storing your camera between trips helps prevent future […]
[…] is also a good time to check proper storage before you pack it up for the new […]