How to Use DSLR Camera Manual Mode
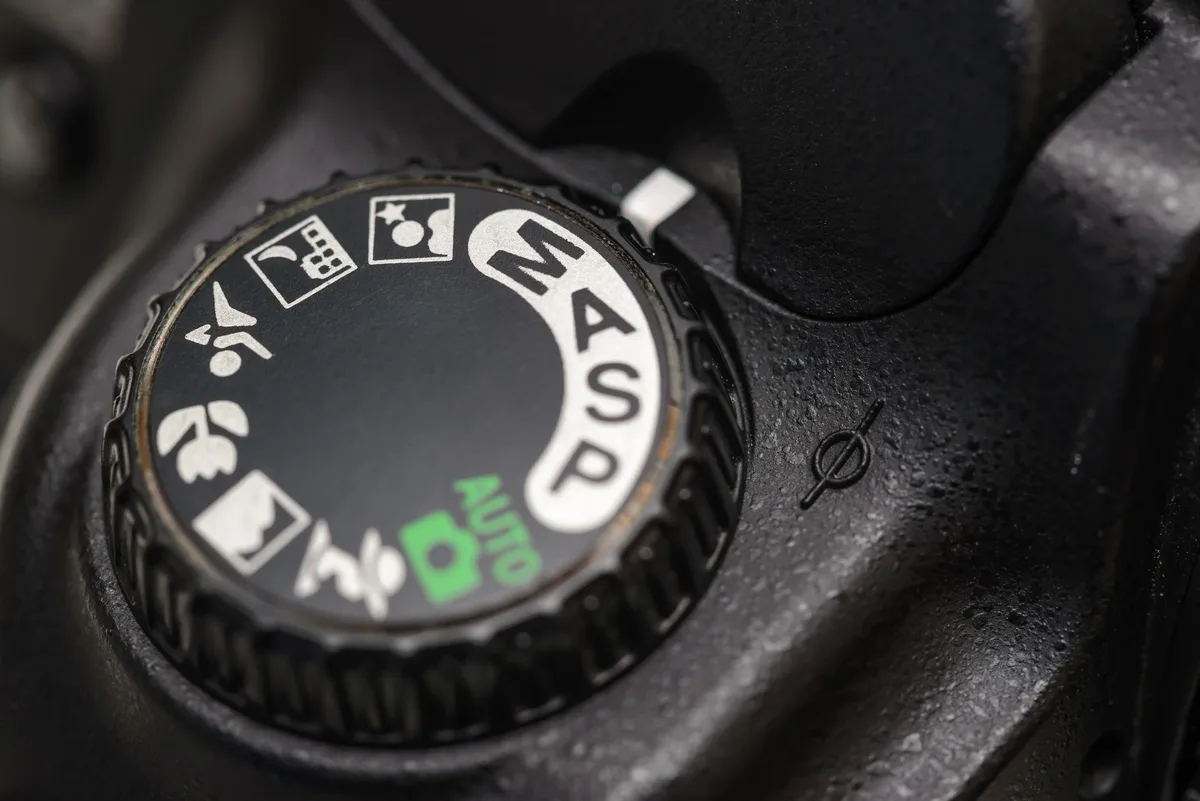
Your DSLR's manual mode is the most powerful tool on the camera, but it's also the most frustrating when you're just starting out. The dial labeled M unlocks full creative control once you learn how to use DSLR camera manual mode. Until then, it's a fast track to underexposed landscapes and blown-out portraits.
Manufacturer specifications indicate that most modern DSLR sensors capture between 10 and 15 stops of dynamic range. That's a lot of room to work with, but only if you know which setting to adjust first. Manual mode follows a predictable set of rules.
Once you learn them, you'll wonder why you ever shot in auto.
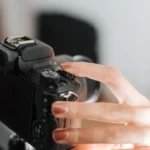
Image source: Web (Bing) / adorama.com (Web image (fair-use with source credit))
The Real Problem: Why Your Manual Mode Shots Keep Failing
Quick Answer
Set your mode dial to M. Pick your priority: aperture or shutter speed. Adjust the second setting until the meter reads zero.
Raise or lower ISO to balance exposure. Take a test shot. Check the histogram.
Repeat until the exposure looks right.
The problem is not manual mode itself. It's knowing which setting to prioritize first. Your camera's light meter tells you if the exposure is balanced, but it can't tell you what look you want.
That's your job.
Landscape photographers need deep depth of field. Portrait shooters want blurred backgrounds. Sports photographers need fast shutter speeds.
Each scenario requires a different decision tree. Manufacturers design DSLR meters to read an average scene, but they fail in high contrast conditions. Shooting in challenging conditions like backlit sunsets or dark interiors forces the meter to guess.
The fix is learning what each setting controls and when to touch it. The light meter becomes a guide, not a boss.
Your Manual Mode Decision Tree: Where to Start, What to Change
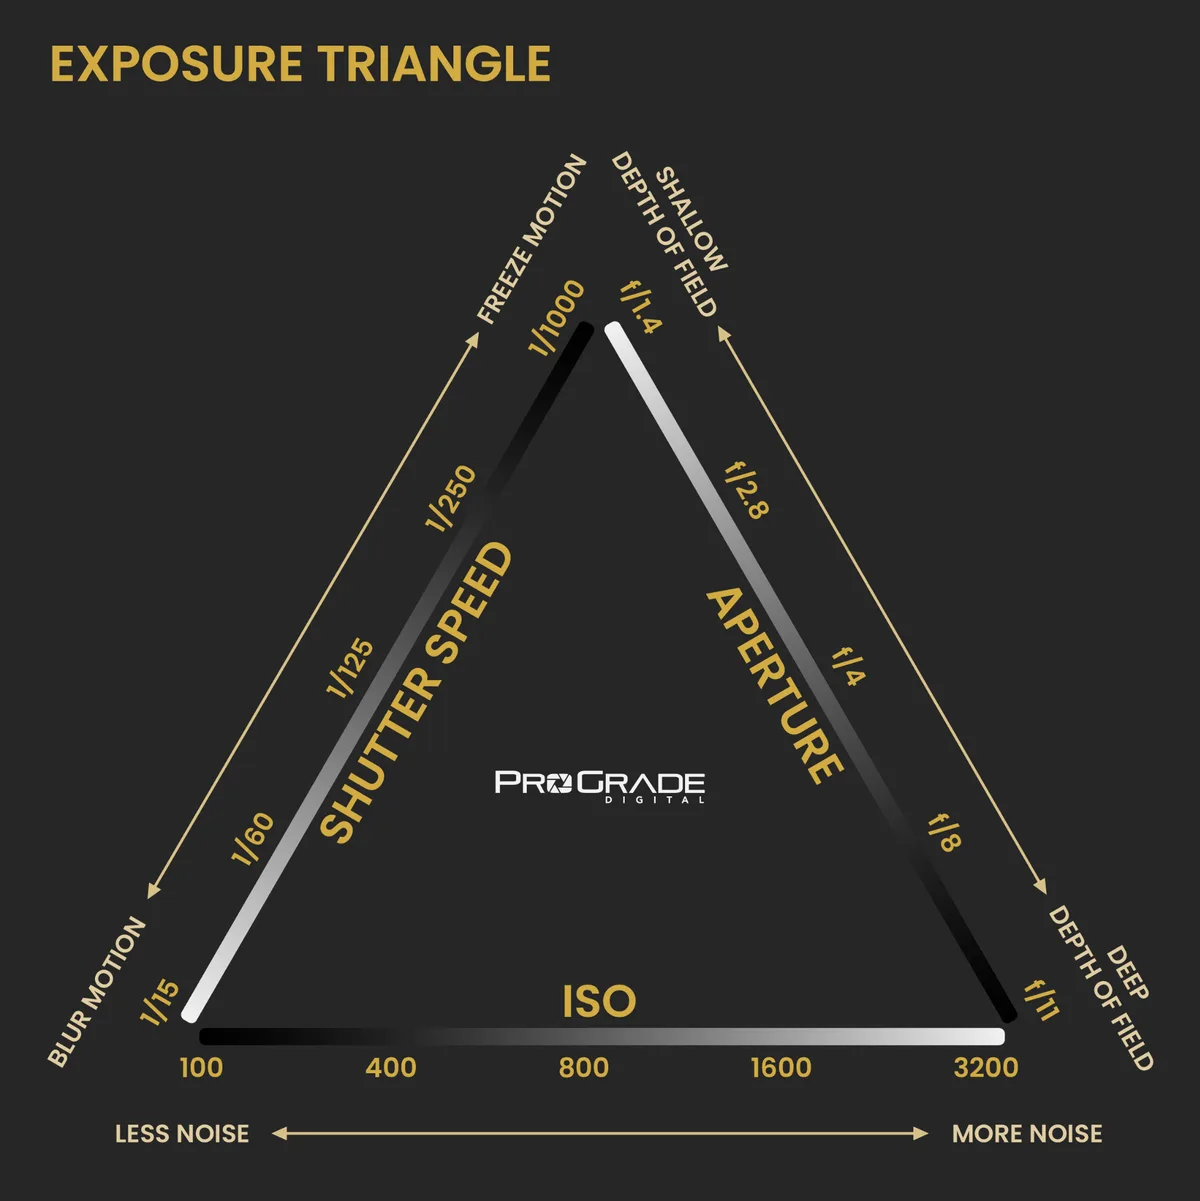
Image source: Web (Bing) / pinterest.com (Web image (fair-use with source credit))
The exposure triangle controls everything. Aperture controls depth of field. Shutter speed controls motion blur.
ISO controls sensor sensitivity. The trick is knowing which knob to turn first.
Start with the question: what matters most in this shot?
| If you want… | Set this first | Then adjust | Example settings |
|---|---|---|---|
| Blurred background (portrait) | Aperture (wide open) | Shutter speed, then ISO | f/2.8, 1/125s, ISO 100 |
| Frozen action (sports) | Shutter speed (fast) | Aperture, then ISO | f/4, 1/1000s, ISO 400 |
| Maximum sharpness (landscape) | Aperture (sweet spot) | Shutter speed, keep ISO low | f/8, 1/60s, ISO 100 |
| Street photography | Shutter speed (medium) | Aperture, then ISO | f/5.6, 1/250s, ISO 200 |
If you want a blurred background, set aperture first. Open wide to f/2.8 or f/1.8. Then adjust shutter speed to balance the meter.
Raise ISO if needed.
If you want to freeze action, set shutter speed first. Use 1/500s or faster. Then adjust aperture to balance the meter.
Open the aperture if you're running out of light.
If you're shooting landscapes, set aperture for sharpness at f/8 to f/11. Put the camera on a tripod. Shutter speed can be slow.
Keep ISO at 100. This is where a body suited to landscape work with a good tripod makes a real difference.
For street photography, prioritize shutter speed. 1/250s freezes most walking subjects. Use a wider aperture for quick adjustments in changing light.
The decision tree always follows the same logic. Pick your non-negotiable setting first. Then solve for the other two.
The Most Common Manual Mode Mistakes (And How to Fix Them)
Three mistakes cause 90 percent of bad manual mode shots. Here's what they are and how to fix each one.
Mistake one: trusting the meter in every situation. The light meter wants everything to be middle gray. A snow scene fools it into underexposing. A dark room fools it into overexposing.
Fix this by checking the histogram. If the graph is pushed to one side, adjust. Switching to spot metering for high contrast scenes helps a lot.
Mistake two: forgetting to reset settings. You shoot a sunset at f/22 and 1/30s. Then you turn around to photograph a bird. The same settings give you a black frame.
Fix this by making a habit of checking your settings before every new shot. After-dark photography especially punishes this mistake.
Mistake three: raising ISO too late. Many photographers keep ISO at 100 out of habit. They slow their shutter speed until they get camera shake. Fix this by raising ISO first when light drops.
Noise is better than blur.
The One Rule That Makes Manual Mode Click
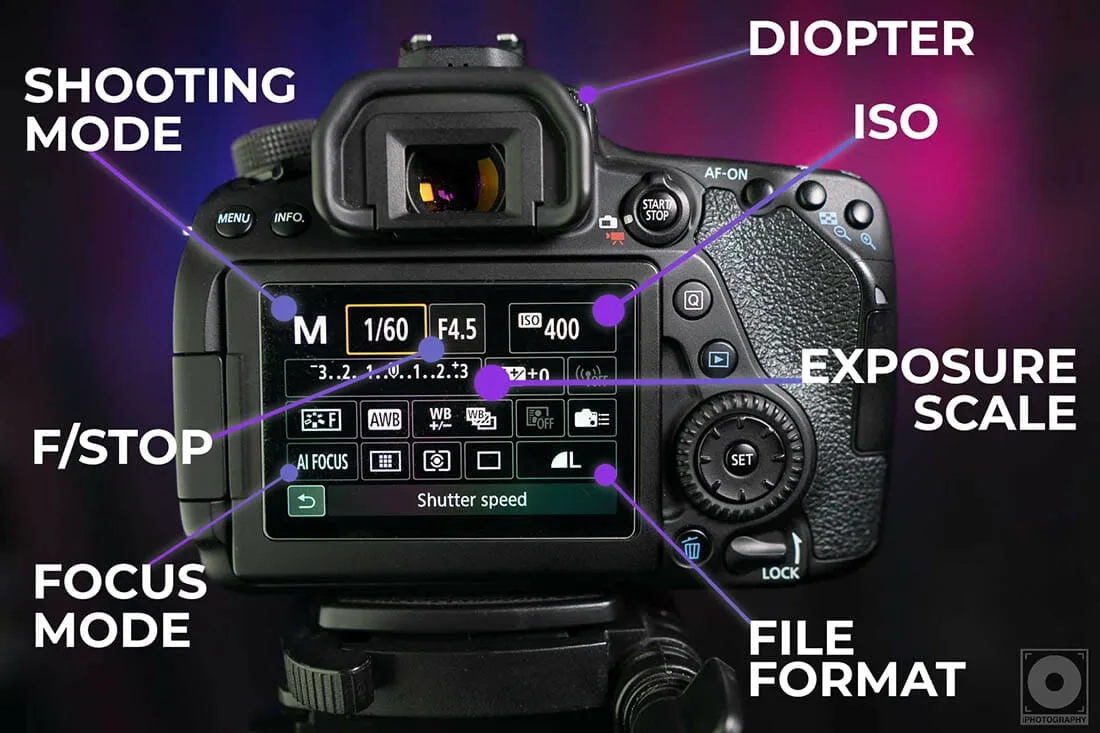
Image source: Web (Bing) / iphotography.com (Web image (fair-use with source credit))
The Sunny 16 rule is the single most useful shortcut in manual mode. On a bright sunny day, set your aperture to f/16. Set your shutter speed to match your ISO.
At ISO 100, use 1/100s. At ISO 200, use 1/200s. The exposure will be correct.
This rule works because the sun's brightness is consistent. The International Organization for Standardization has confirmed this relationship for decades. Per ISO standard testing, the relationship holds across all modern DSLR sensors as of 2026.
The rule scales with conditions. Overcast sky? Open up to f/8.
Shade? Try f/5.6. Sunset?
Try f/4. Each stop of aperture matches a change in light. For fast-moving subjects, you can adjust the rule to prioritize shutter speed first.
Once you internalize the Sunny 16 rule, you no longer need to trust the meter blindly. You have a baseline. You know what a correct exposure looks like.
Manual mode stops being guesswork.
FAQs: Quick Answers to Your Manual Mode Questions
What is the first setting I should change in manual mode?
It depends on your subject. If you care about depth of field, change aperture first. If you care about motion, change shutter speed first.
The priority changes with the scene. There is no single correct answer. You decide what matters most in each shot.
How do I know if my exposure is correct?
Check your camera's light meter. The indicator should be at zero. Then review the histogram on playback.
A balanced histogram with no clipping on either side means a good exposure. If the graph touches the left or right edge, you have lost detail.
Why are my manual mode photos too dark?
Your shutter speed is likely too fast or your aperture is too small for the available light. Raise your ISO, open your aperture, or slow your shutter speed. Check which one fits your creative needs.
Start with ISO if you need a quick fix.
What does the light meter actually measure?
It measures reflected light and compares it to a middle gray standard. The meter wants everything to average out to 18 percent gray. That's why snow scenes need plus compensation and dark scenes need minus.
The meter is not always right.
Should I use auto ISO in manual mode?
Yes, it works well in changing light. You set aperture and shutter speed. The camera adjusts ISO to keep exposure balanced.
It is a good stepping stone to full manual control. Many pros use it for event photography.
How long does it take to learn manual mode?
Most people get comfortable after a few practice sessions. Consistent use over a weekend builds the habit. Within a month, you will adjust settings without thinking.
The key is shooting in similar conditions until the steps feel natural.

Similar Posts













[…] You just turn a dial and watch the scene change. This is a major improvement over the older DSLR workflow. […]