How to Use Eye Autofocus on Mirrorless Camera
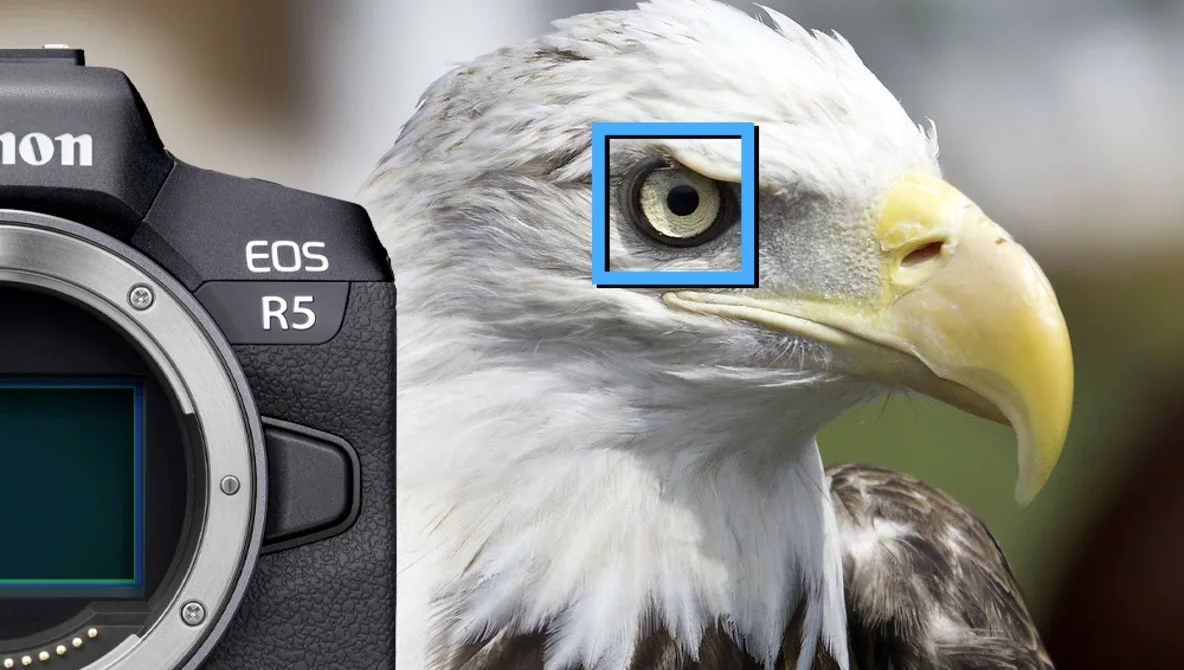
Trying to figure out how to use eye autofocus on a mirrorless camera? You are not alone. Eye AF is one of the most powerful autofocus features available today.
But it can be confusing if you don't know where to start. The good news is that setting it up is straightforward once you understand the basics.
Manufacturer specifications indicate that modern Eye AF systems can detect and track a human eye from up to 10 meters away. They work even in low light conditions down to -4 EV on many flagship models. As of 2026, nearly every mirrorless camera on the market includes some form of eye detection.
Let's start with what you will actually see in your viewfinder when Eye AF is active.
Quick Answer
Enable Eye AF in your camera menu. Select the subject detection mode. Assign it to a custom button.
Point the camera at a face. Half-press the shutter to lock on.
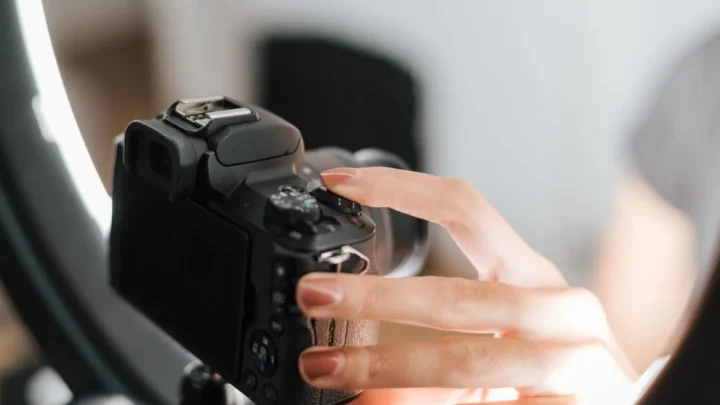
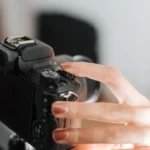
Image source: Web (Bing) / fstoppers.com (Web image (fair-use with source credit))
What Eye AF Looks Like in Your Viewfinder and Screen
When Eye AF is active, a small tracking box appears around the detected eye. On Sony cameras, this shows as a white or green square that follows the subject. Canon cameras display a larger face detection box with a smaller eye indicator inside.
Nikon and Fujifilm cameras use similar visual cues. The box tracks the subject as they move across the frame.
The indicator color changes depending on the camera brand and focus status. A green box usually means the camera has locked focus on the eye. A white or gray box means the camera is tracking but has not yet achieved focus.
Some cameras show a larger box for face detection and a smaller box inside for the eye. This two-box system is common on Canon and Nikon bodies.
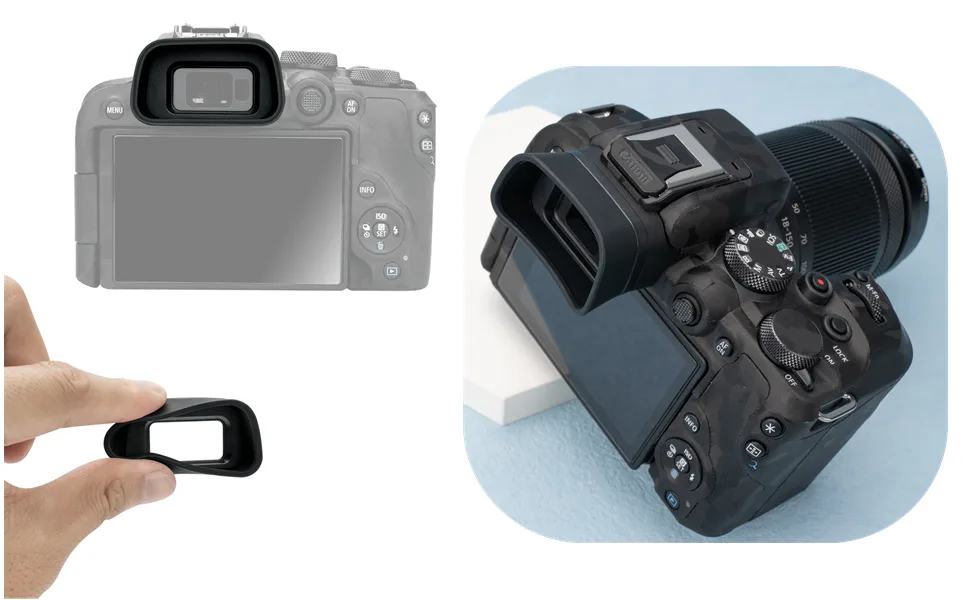
Image source: Web (Bing) / amazon.ca (Web image (fair-use with source credit))
In the viewfinder, the box appears overlaid on the scene. On the rear LCD screen, it is often more visible. The box size varies by brand.
Sony uses a relatively small square. Canon uses a slightly larger rectangle. Nikon uses a thin outline around the eye area.
When Eye AF is not working, you may see a larger face detection box without the smaller eye indicator. Or the box may disappear entirely. This is a visual cue that the camera cannot detect the eye.
Common reasons include the subject wearing sunglasses, a mask, or facing away from the camera.
The viewfinder display also shows the current Eye AF mode. Many cameras display an icon indicating whether the camera is set to human, animal, or bird detection. This icon appears in the corner of the viewfinder or along the bottom of the screen.
It is worth reviewing your general camera settings to make sure Eye AF is enabled before you start shooting.
Where to Find Eye AF in Your Camera Menu (Brand by Brand)
Each camera brand places Eye AF in a slightly different menu location. Here is a quick breakdown.
Sony: Go to the AF2 tab in the main menu. Set Face/Eye Priority in AF to On. Then select Subject Detection and choose Human, Animal, or Bird.
On newer models, you can also set the detection to Auto.
Canon: Open the AF menu and select Subject to Detect. Choose People, Animals, or Vehicles. Then enable Eye Detection.
On R-series bodies, there is also a Detect Subject submenu in the shooting menu.
Nikon: Navigate to the Photo Shooting Menu and select AF-Area Mode. Choose Auto-Area AF. Then set Subject Detection to Human, Animal, or Bird.
On Z-series cameras, you can also enable Eye AF in video mode from the same menu.
Fujifilm: Go to the AF/MF Setting menu. Select Face/Eye Detection and set it to On. Then choose whether to prioritize the left or right eye.
Fujifilm cameras also offer a custom setting for Eye AF sensitivity.
Panasonic and OM System: Look for Face/Eye Detection in the AF menu. On Panasonic cameras, it is under the Custom menu. On OM System (Olympus) bodies, it is in the AF Mode submenu.
If you are unsure about your specific model, check the official user manual from the manufacturer. Sony provides detailed support documentation for their Eye AF systems on their official support page. Canon also has a dedicated page for Eye Detection AF settings on their website.
Getting the proper exposure settings for your scene also helps the camera detect eyes more reliably. Bright, even lighting gives the best results.
How to Set Up Eye AF for One-Tap Access
The fastest way to use Eye AF is to assign it to a custom button. This lets you toggle Eye AF on and off instantly without diving into the menu.
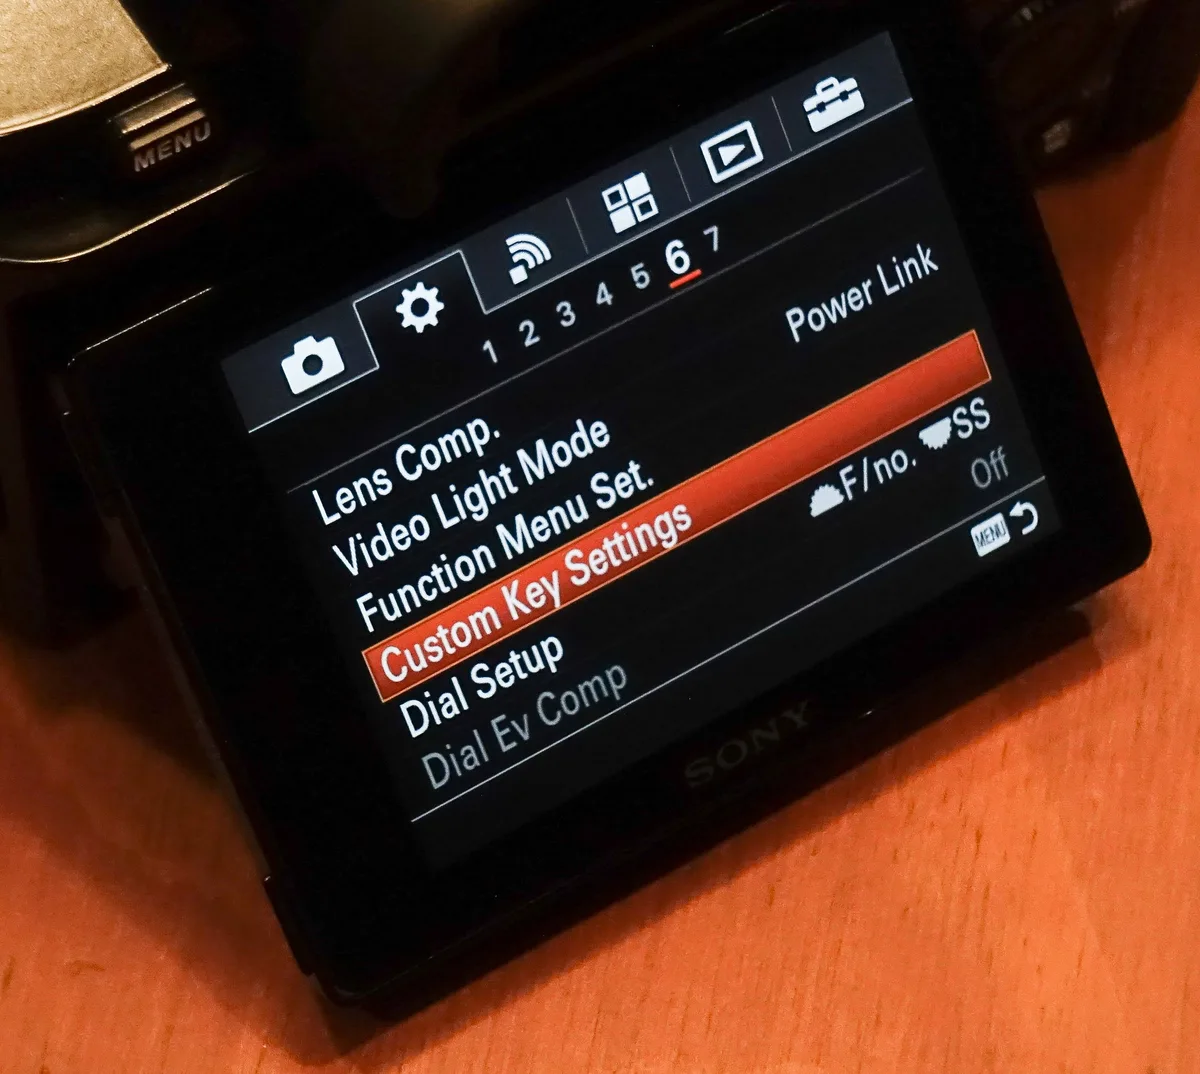
Image source: Web (Bing) / alphauniverse.com (Web image (fair-use with source credit))
Sony: Assign Eye AF to the AF-ON button or a custom key. Go to the Custom Key Settings in the menu. Select the button you want to use.
Choose Eye AF from the list. Now pressing that button activates Eye AF instantly.
Canon: Use the Custom Controls menu. Select the button you want to assign. Choose Eye Detection AF from the available functions.
This allows you to hold the button to activate Eye AF while shooting.
Nikon: Go to the Custom Controls menu. Select the AF-ON button or a function button. Choose Subject Detection from the list.
Set it to Eye AF. This gives you one-tap access.
Fujifilm: Use the Function Button settings. Assign Face/Eye Detection to a button. This lets you toggle the feature on and off with a single press.
Back-button focus with Eye AF is a popular setup. You disable the shutter half-press for focusing. Instead, you use the AF-ON button to activate Eye AF.
This gives you complete control over when the camera tracks the eye. It is especially useful for portrait photography where you want to lock focus on the eye and recompose.
Matching Eye AF Mode to Your Subject: Human, Animal, or Bird
Most modern mirrorless cameras offer multiple Eye AF modes. Choosing the right one for your subject makes a big difference.
Human mode: This is the default for most cameras. It detects and tracks human eyes. Use this for portraits, weddings, events, family photos, and street photography.
It works best when the subject is facing the camera and their eyes are visible.
Animal mode: This mode detects eyes of cats, dogs, and other mammals. It is ideal for pet photography and wildlife photography. Many cameras can track animal eyes even when the animal is moving quickly.
The detection range is often shorter than human mode, so get closer to your subject.
Bird mode: Available on newer Sony, Canon, and Nikon models. It detects bird eyes specifically. Birds have a different eye shape and position compared to mammals.
Bird mode adjusts the detection algorithm to account for this. It works well for bird photography, especially with fast primes.
Auto mode: Some cameras offer an Auto setting that detects the subject type automatically. It switches between human, animal, and bird modes as needed. This is convenient but can be less reliable in mixed scenes.
For example, if you are shooting a person with a dog, the camera might switch between modes.
For shooting wildlife, it is better to manually select the correct mode. This gives you consistent tracking. If you are at a zoo, use animal mode.
If you are photographing birds in flight, use bird mode. The camera will lock onto the eye faster and hold the lock longer.
Common Visual Mistakes That Break Eye AF
Even the best Eye AF systems have limitations. Here are the most common visual mistakes that cause Eye AF to fail.
Glasses and reflections: Glasses can confuse the camera. Reflections on the lenses, glare, or dirty glasses can make the eye hard to detect. The camera may lock onto the frame or the reflection instead.
Removing glasses or using a polarizing filter can help.
Masks and face coverings: Masks, scarves, or hats that cover the lower half of the face make eye detection difficult. The camera needs to see the full face to identify the eye position. A mask that covers the nose and mouth may still allow Eye AF to work if the eyes are clearly visible.
But a full face covering will block detection entirely.
Sunglasses: Dark sunglasses hide the eyes completely. The camera cannot detect an eye behind dark lenses. It may switch to face detection only.
Taking off the sunglasses or using a subject that is not wearing them is the only fix.
Side profiles: When the subject is facing away from the camera, the eye is not visible. Eye AF requires the eye to be visible in the frame. A side profile where only one eye is partially visible may still work.
But a full profile where the eye is hidden will fail.
Backlighting and low contrast: Strong backlighting creates a silhouette. The camera struggles to see the eye details. Similarly, low contrast scenes with flat lighting make detection harder.
The camera may lose the lock or fail to acquire it.
Crowded scenes: Multiple faces in the frame confuse the camera. It may lock onto the wrong eye or switch between subjects. Using a smaller AF zone or tapping the face on the touch screen can help.
The camera will prioritize the selected face.
Dark environments: In very low light, the camera cannot see the eye clearly. Most Eye AF systems work down to about -4 EV. Below that, detection becomes unreliable.
Adding light or using a faster lens can improve results.
If you encounter common camera issues with Eye AF, try resetting the camera's AF settings or updating the firmware. Many manufacturers release firmware updates that improve Eye AF performance.
How to Test If Your Eye AF Is Actually Working
The simplest test uses a willing subject. Have them stand about two meters away facing the camera. Half-press the shutter.
Watch the viewfinder for the eye tracking box. If the box appears around the eye and stays locked as they move, Eye AF is working.
The head turn test: Ask your subject to slowly turn their head from facing you to a three-quarter profile. A working Eye AF system follows the visible eye. If the box disappears or jumps to the wrong eye, the system needs adjustment.
You may need to change the subject detection mode or update the firmware.
The movement test: Have your subject walk toward the camera slowly. The eye tracking box should stay locked on their eye. If it falls behind or jumps to the background, the tracking sensitivity needs adjustment.
Many cameras let you adjust tracking sensitivity in the AF menu. Increasing it helps with fast movement.
The multiple subject test: Stand two people side by side. Half-press the shutter. The camera should lock onto one person's eye.
Now tap the other person's face on the touch screen. The camera should switch to the new subject. This tests the camera's ability to handle crowded scenes.
The low light test: Dim the room lights until the camera shows a shutter speed around 1/60th at f/2.8 at base ISO. Point the camera at your subject. If the eye tracking box appears and stays locked, the system works in low light.
If it flickers or disappears, you are below the camera's detection threshold.
The animal test: If your camera supports animal eye AF, test it with a pet. Have the pet sit still at about three meters. Half-press the shutter.
The tracking box should appear around the animal's eye. If it does not, make sure you have selected Animal mode in the subject detection menu. The camera will not detect animal eyes in Human mode.
For a complete Eye AF test, run through all five scenarios. Document which ones pass and which ones fail. This helps you understand your camera's limitations.
It also helps you choose the right settings for each shooting situation.
Frequently Asked Questions
Does Eye AF work with all lenses?
Eye AF works with nearly all autofocus lenses from the same brand. Third-party lenses may have limited support. Lenses with slow apertures (f/5.6 or smaller) can struggle in low light.
Fast primes at f/1.2 to f/2.8 give the best Eye AF performance.
Can I use Eye AF in video mode?
Yes, most modern mirrorless cameras support Eye AF in video. The feature works the same way as in stills. Some cameras limit Eye AF in video to certain frame rates or resolutions.
Check your camera's video menu for the Eye AF setting.
Why does Eye AF stop working after a few shots?
The camera may lose the eye lock if the subject moves outside the AF zone. It can also stop if the subject turns away from the camera. Pressing the AF-ON button or half-pressing the shutter re-activates the tracking.
Some cameras have a tracking timeout setting in the menu.
Does Eye AF work with back-button focus?
Yes, back-button focus works well with Eye AF. Assign Eye AF to the AF-ON button. Disable the shutter half-press for focusing.
Now you control when the camera tracks the eye. This is a popular setup for portrait photographers.
How do I turn off Eye AF?
Go to the camera menu and set Face/Eye Detection to Off. You can also assign a custom button to toggle Eye AF on and off. This lets you switch between Eye AF and manual focus point selection quickly.
Is Eye AF available on older mirrorless cameras?
Many older mirrorless cameras received Eye AF through firmware updates. Check your camera manufacturer's support page for the latest firmware. If your camera does not support Eye AF, you can use face detection instead.
Face detection is less precise but works on most cameras.

Similar Posts