How to Use Flash on DSLR Camera
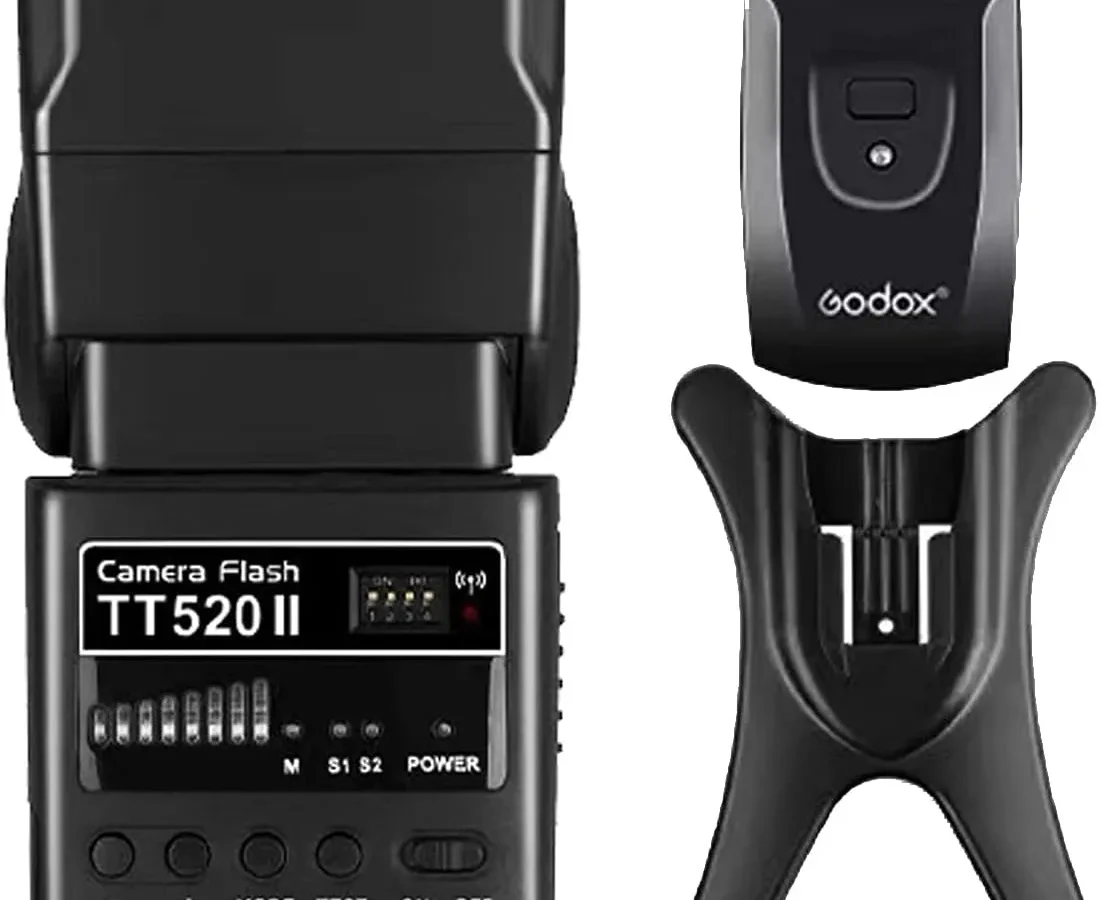
Your flash photos come out looking harsh, washed out, or just plain bad. That's exactly why learning how to use flash on DSLR camera is one of the most valuable skills you can pick up as a photographer. The built-in pop-up flash is rarely the answer.
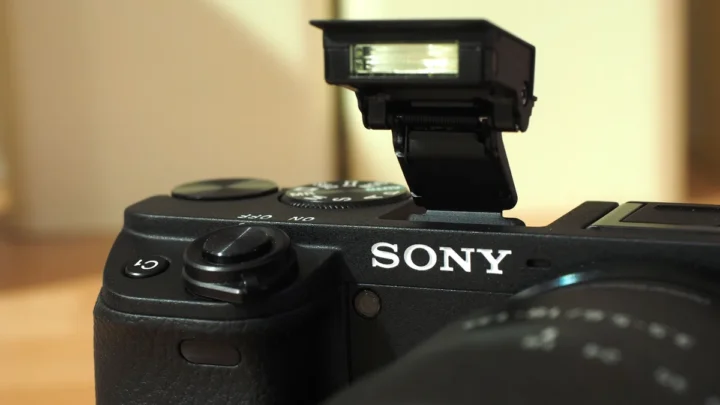
It creates flat, unflattering light and leaves your subjects looking like deer in headlights.
Most DSLR hot-shoe flashes have a guide number between 30 and 60 meters at ISO 100. That means they can throw light much farther than the built-in unit. But power alone won't fix bad technique.
The real trick is understanding when to bounce, when to go off-camera, and when to dial in manual control. Let's walk through the decisions that actually matter.
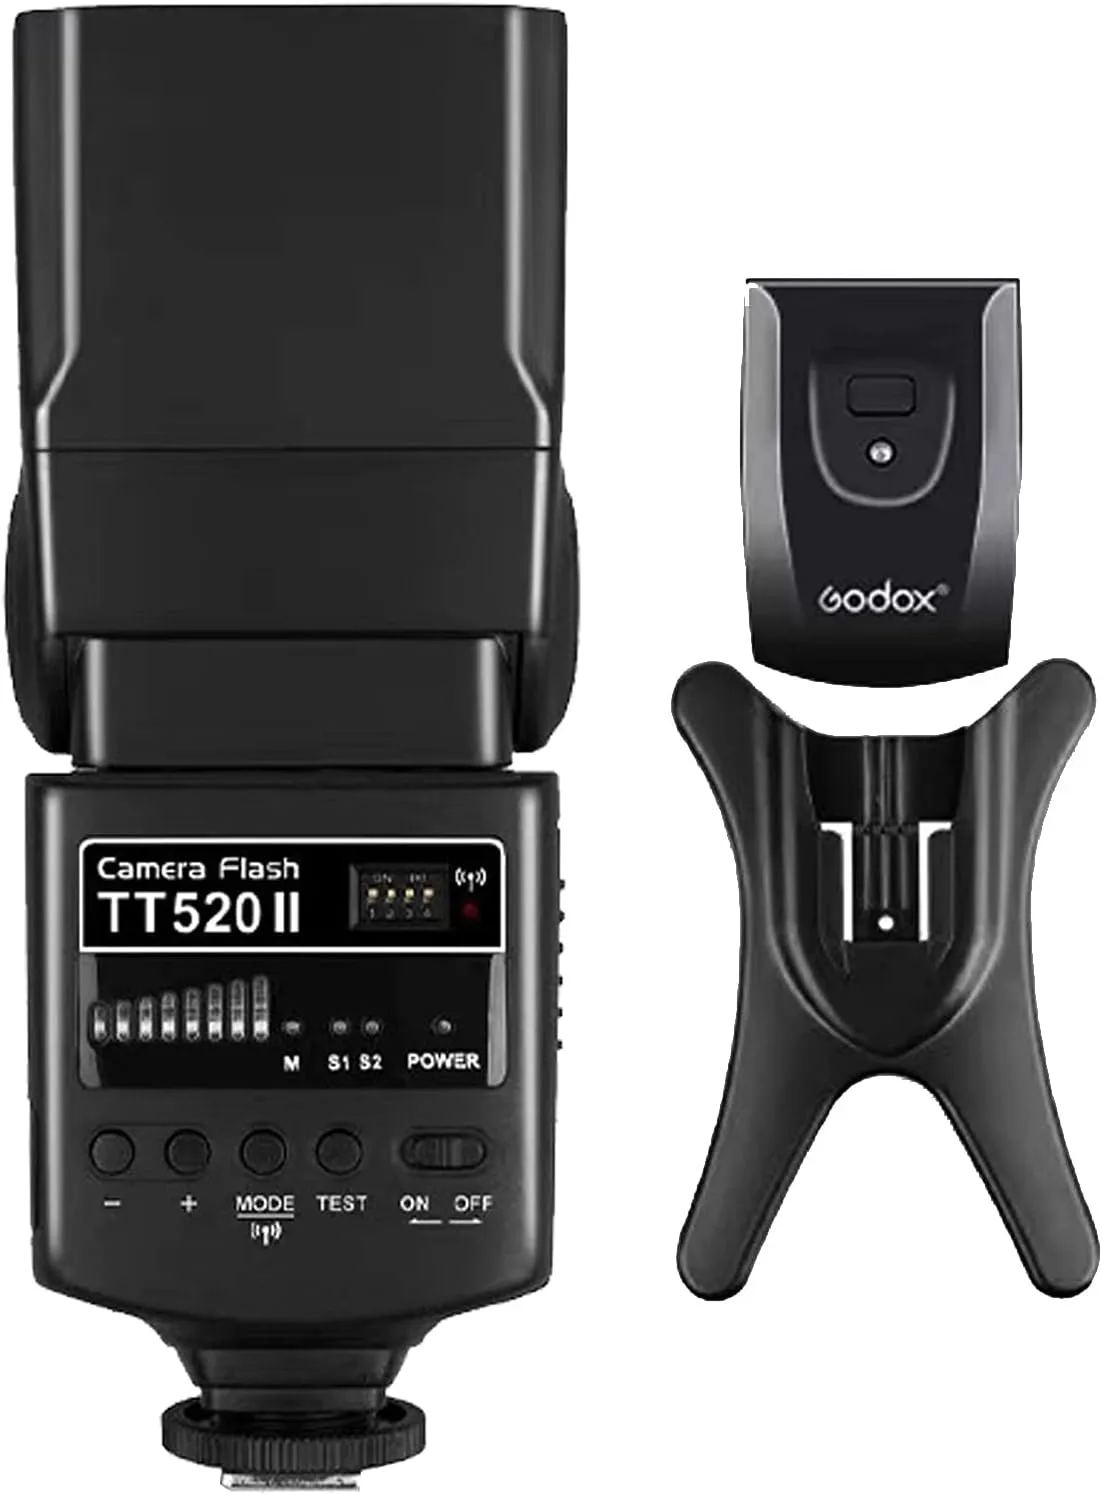
Image source: Web (Bing) / nepal.ubuy.com (Web image (fair-use with source credit))
Quick Answer
Mount your flash on the hot shoe. Set it to TTL mode. Tilt the head toward a white ceiling.
Dial flash exposure compensation to, 1. Take a test shot. Adjust from there.
For outdoor fill, enable High-Speed Sync. Keep the flash power low to avoid washing out your subject.
The Real Problem with Flash on DSLR
The biggest mistake beginners make is pointing the flash straight at the subject. That direct on-axis light creates harsh shadows, shiny foreheads, and red-eye. It also flattens facial features and makes skin look unnatural.
Shoot indoors with a bare speedlight pointed forward, and you get a bright subject against a pitch-black background. The flash exposes for the subject, leaving the ambient light underexposed. The result looks like a cutout pasted onto a dark room.
The fix is simple in theory. Redirect or soften the light. But the right approach depends on your environment and your subject.
That's where the decision tree starts.
Your First Decision: On-Camera vs. Off-Camera Flash
Do you need to move fast and shoot dozens of frames in a row? Or do you have time to set up a single carefully lit shot? Your answer decides which flash method to use.
On-camera flash (mounted on the hot shoe) is best for event photography, weddings, and run-and-gun situations. With TTL (Through The Lens) metering, the camera measures the light and adjusts flash power automatically. It's fast and reliable when you're moving between rooms.
Off-camera flash (triggered by a radio transmitter) gives you total control over light direction. Place the flash to the side, behind a diffuser, or high on a light stand. It's the go-to for portraits, product shots, and creative lighting.
The Rochester Institute of Technology's School of Photographic Arts and Sciences teaches off-camera lighting as a core skill for serious photographers.
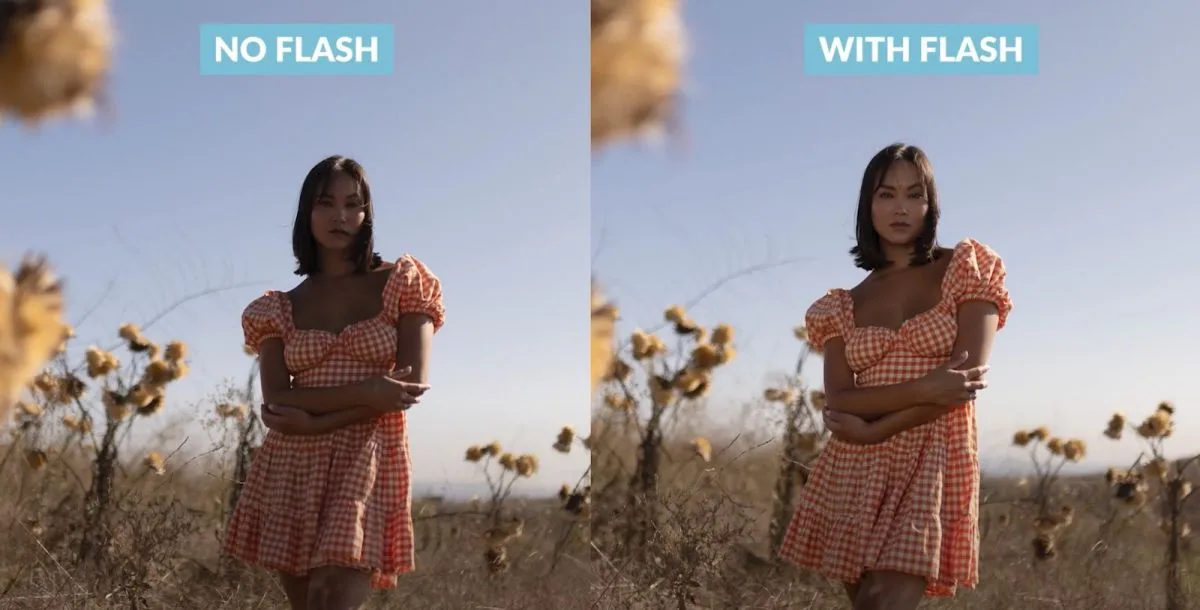
Image source: Web (Bing) / slrlounge.com (Web image (fair-use with source credit))
| Setup | Best For | Speed | Control |
|---|---|---|---|
| On-camera TTL | Events, parties, quick shots | Very fast | Moderate |
| On-camera manual | Controlled environments | Medium | High |
| Off-camera manual | Portraits, creative lighting | Slower | Total |
| Off-camera TTL | Run-and-gun with off-camera | Fast | High |
Start with on-camera TTL and learn to use exposure compensation. Once you understand how the flash responds to different scenes, graduate to off-camera with a radio trigger. Most modern speedlights support both modes, so you're not locked in.
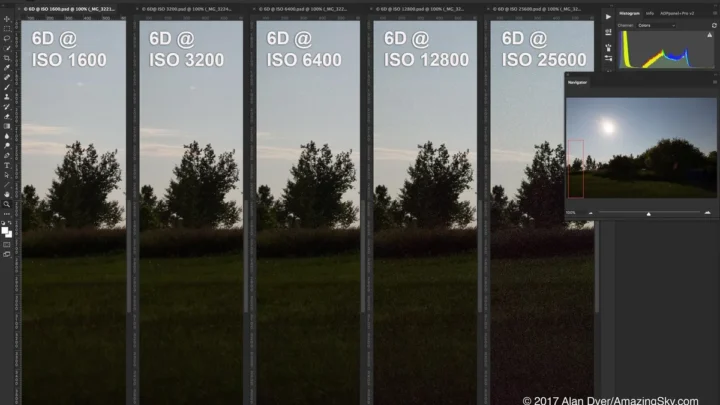
If you're shooting in tricky lighting, a body with strong low-light performance makes flash work easier.
Step-by-Step Flash Setup for Any Situation
Scenario 1: Indoor event or party (on-camera TTL)
- Mount the flash on the hot shoe and lock it.
- Set the camera to Manual mode. Start with 1/125s shutter and f/4 aperture.
- Set the flash to TTL mode.
- Dial Flash Exposure Compensation (FEC) to, 1 stop. Adjust based on the preview.
- Tilt the flash head 45 to 60 degrees toward the ceiling if it's white and low. If the ceiling is dark or high, use a diffuser or bounce card.
- Fire a test shot. If the subject is too bright, lower FEC. If too dark, raise it.
Scenario 2: Outdoor fill flash in sunlight (on-camera HSS)
- Enable High-Speed Sync (HSS) on the flash and camera.
- Set the camera to Aperture Priority or Manual. Use a wide aperture for shallow depth of field.
- Point the flash straight at the subject with a diffuser.
- Set FEC to, 1.7 or, 2 stops. You want to fill shadows, not overpower the sun.
- Check the shutter speed. HSS lets you shoot above the normal sync speed of 1/200s or 1/250s.
Scenario 3: Studio-style portrait (off-camera manual)
- Place the flash on a light stand with a softbox or umbrella.
- Use a radio transmitter on the camera hot shoe.
- Set both the flash and transmitter to the same channel and group.
- Set the flash to manual power. Start at 1/8 power.
- Set the camera to Manual mode. Start with 1/125s, f/5.6, ISO 100.
- Move the light closer or farther to adjust exposure. Use a flash meter if you have one.
- Take a test shot and adjust power up or down.
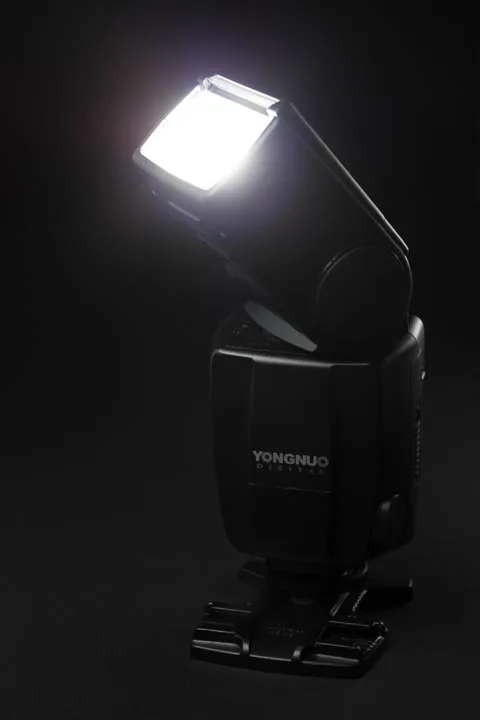
Image source: Web (Bing) / discoverdigitalphotography.com (Web image (fair-use with source credit))
Mistakes That Wreck Flash Photos (And How to Fix Them)
1. Leaving the flash zoom at its default setting. The flash head zoom should match your lens focal length. Shooting at 50mm means setting the flash zoom to 50mm.
This concentrates the light where you need it and avoids wasting power.
2. Bouncing off a colored ceiling. A yellow or red ceiling turns your subject into a sunset. Stick to white ceilings or use a gel on the flash to correct the color cast.
3. Ignoring the sync speed limit. Without HSS, your shutter speed cannot exceed the camera's flash sync speed of 1/200s or 1/250s. Go faster and you get a black bar across the frame.
Enable HSS if you need a faster shutter.
4. Overpowering the ambient light. The flash should complement the existing light, not replace it. Use FEC in the negative range to keep the scene looking natural.
Aggregate reviews from experienced shooters consistently recommend starting at, 1 stop for fill flash.
5. Using the built-in flash as a primary light. The pop-up flash is fine for emergency fill. But it's weak, creates harsh shadows, and can't be bounced or diffused effectively.
A dedicated speedlight is cheap insurance against bad light.
Frequently Asked Questions About Flash on DSLR
What is the difference between TTL and manual flash mode?
TTL stands for Through The Lens. The camera measures the light and sets the flash power automatically. Manual mode lets you set the power yourself.
TTL is faster for changing scenes. Manual gives you consistent, repeatable results.
Do I need a radio trigger for off-camera flash?
Not necessarily. Some flashes have optical slave modes that fire when they see another flash. But radio triggers are more reliable in bright sunlight or when the flash is behind an obstacle.
They also work over longer distances.
Can I use my flash with a shutter speed faster than 1/200s?
Yes, if your flash and camera support High-Speed Sync (HSS). HSS lets the flash fire a series of rapid pulses so it stays on during the entire exposure. Without HSS, the shutter speed is capped at the camera's flash sync speed.
Why does my flash produce a yellow or orange tint?
That usually happens when you bounce the flash off a colored ceiling or wall. The light picks up the color of the surface. Use a white ceiling or attach a color correction gel to balance the flash with the ambient light.
How do I fix red-eye in flash photos?
Red-eye happens when the flash is too close to the lens axis. Use a bounce flash or a modifier to spread the light. If you're using the built-in flash, turn on red-eye reduction mode.
It fires a pre-flash to contract the subject's pupils.
Is it safe to use third-party flashes on my DSLR?
Yes, as of 2026, most third-party flashes from brands like Godox and Yongnuo are safe for modern DSLRs. But check the sync voltage. Older third-party units can have high trigger voltages that damage the camera's hot shoe.
Stick to recent models with low-voltage circuitry.

Similar Posts