How to Use Mirrorless Camera for Landscapes
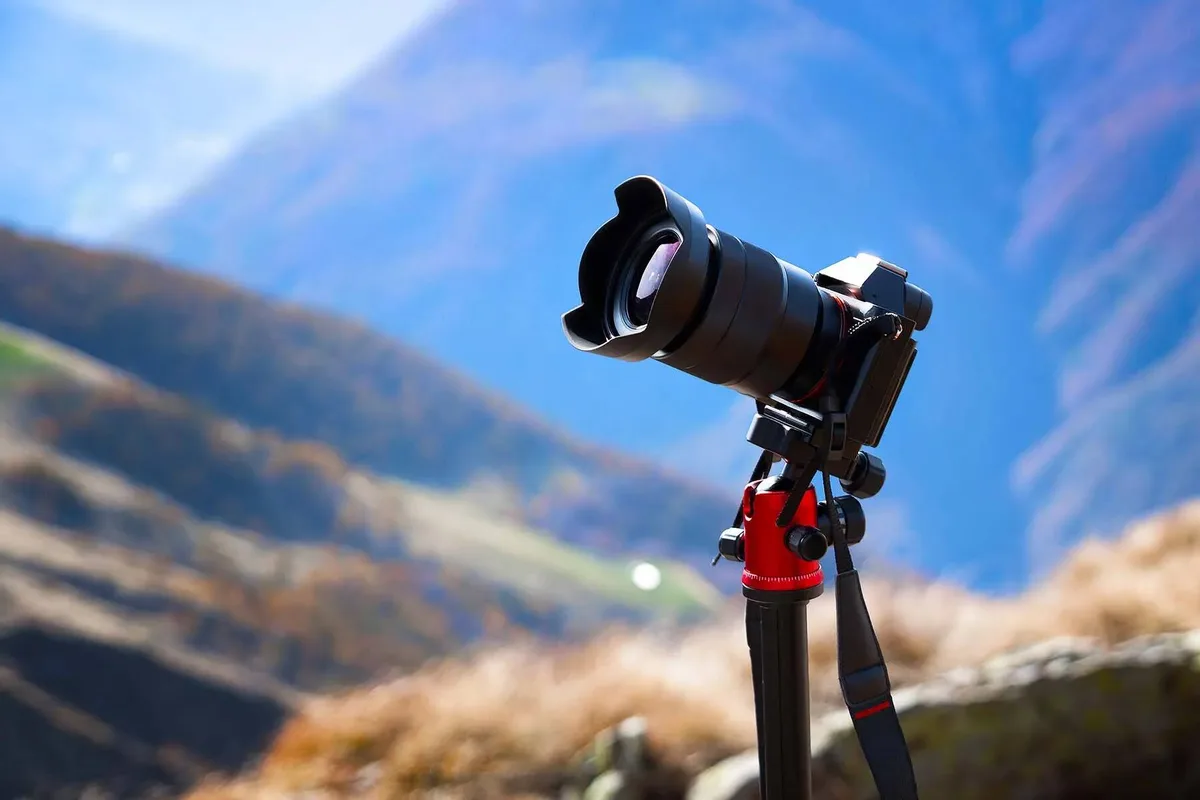
Image source: Web (Bing) / robots.net (Web image (fair-use with source credit))
Learning how to use a mirrorless camera for landscapes is honestly easier than you might think. The key advantage is the electronic viewfinder, which shows you exactly what the final image will look like before you press the shutter. That alone saves you hours of guesswork and missed shots.
Manufacturer specifications indicate that most mirrorless sensors offer 12 to 15 stops of dynamic range, meaning you can recover shadow and highlight detail that would be lost on older cameras. Combined with tools like focus peaking and a live histogram, your camera becomes a powerful landscape tool.
Quick Answer
Set your camera to manual mode. Choose an aperture of f/8 to f/11. Set ISO to 100.
Focus manually using focus peaking. Check the histogram to protect highlights. Bracket your exposure by one stop.
Use a tripod and a remote shutter release. That is the core workflow.
Why Mirrorless Cameras Are Built for Landscapes (and DSLRs Aren't)
The electronic viewfinder is the biggest difference. A DSLR uses a mirror and an optical viewfinder, which shows you the scene as your eyes see it. A mirrorless camera shows you the exposure, white balance, and depth of field in real time.
You can see when your sky is blown out before you take the shot.
Focus peaking is another tool that DSLRs simply don't have. It highlights the areas in focus with a colored overlay, usually red or yellow. This makes manual focus for landscapes fast and accurate.
You can nail hyperfocal distance without a chart or calculator.
The live histogram in the viewfinder is equally important. It shows you the tonal distribution of the image. You can adjust your exposure on the spot.
The traditional DSLR approach works well, but the mirrorless system makes it easier.
| Feature | Mirrorless Advantage | DSLR Limitation |
|---|---|---|
| Viewfinder | Exposure preview, histogram, peaking | Optical viewfinder, no preview |
| Focus aids | Focus peaking, magnification | Only optical confirmation |
| Weight | Typically lighter, smaller | Heavier, bulkier body |
| Shutter noise | Silent electronic shutter | Mechanical mirror slap |
The Three Settings That Matter: Aperture, ISO, and Shutter Speed
Landscape photography is about controlling depth of field and sharpness. The three settings you need to master are aperture, ISO, and shutter speed.
Aperture controls depth of field and sharpness. The sweet spot for most landscape lenses is f/8 to f/11. At f/8, you get maximum sharpness across the frame.
At f/11, you gain more depth of field but risk diffraction, which softens the image. At f/16 or smaller, that softness becomes noticeable. Stick to f/8 or f/11 for 90 percent of your shots.
ISO controls the sensor's sensitivity to light. You want the lowest native ISO, usually 100 or 200. This gives you the cleanest file with the least noise.
Only raise ISO if you are shooting handheld in low light. For any tripod-based landscape, keep it at 100.
Shutter speed controls motion blur. For landscapes, you are usually on a tripod, so shutter speed is not a concern. Use it to fine-tune exposure.
If your histogram shows the image is too bright, increase shutter speed. If it is too dark, decrease it. For more detailed control, you can review how to set exposure on a DSLR camera, as the principles transfer directly.
| Setting | Recommended Value | Why |
|---|---|---|
| Aperture | f/8 to f/11 | Maximum sharpness and depth of field |
| ISO | 100 or 200 | Cleanest file, no noise |
| Shutter speed | Varies (check histogram) | Adjusts exposure, no motion blur on tripod |
Focus Peaking and the Histogram: Your Two Most Important Tools
These two tools eliminate the biggest frustrations in landscape photography: missed focus and blown highlights. Learn them, and your hit rate will improve dramatically.
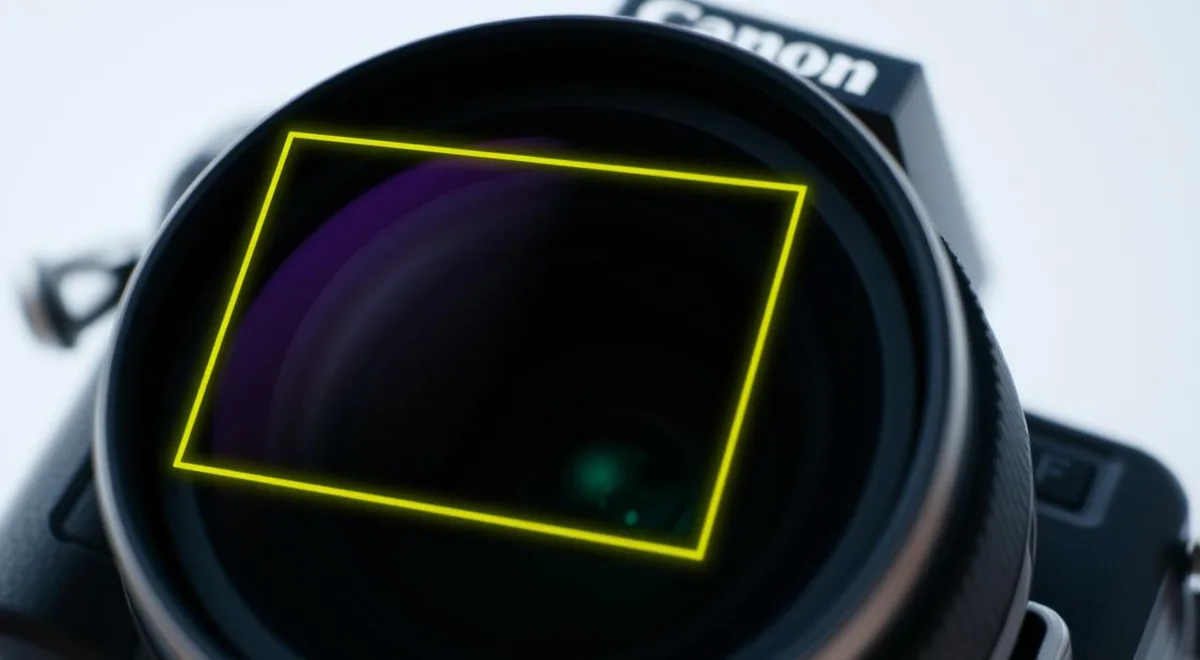
Focus peaking is a visual aid that shows you exactly what is in focus. When you turn it on, the camera overlays a colored glow on the sharp edges of the scene. To use it, switch your lens to manual focus.
Turn the focus ring until the peaking glow appears on your main subject. Then fine-tune until the glow is strongest. You can see depth of field change in real time.
This is particularly useful for understanding how to set focus points on a DSLR camera, though the mirrorless version is even more intuitive.
The histogram is a graph that shows the brightness distribution in your image. The left side is shadows, the right side is highlights. You want the graph to be a smooth curve that does not touch the left or right edge.
If it touches the right edge, your highlights are clipped (pure white with no detail). If it touches the left edge, your shadows are crushed (pure black). Adjust your exposure compensation or shutter speed until the histogram sits comfortably within the frame.
Zebra stripes are an optional overlay that shows you exactly which areas are overexposed. They appear as diagonal stripes on the screen or viewfinder. Set the zebra level to 95 percent or 100 percent.
When you see stripes, reduce your exposure. This is a safety net for protecting highlight detail.
The Field Workflow: From Setup to Shot
This is the step-by-step process you can use every time you set up for a landscape shot. It takes about two minutes once you practice it.
Step 1: Set up the tripod. Spread the legs wide. Level the head. Use the bubble level if your tripod has one.
If it is windy, hang your bag from the center hook for stability. Never extend the center column unless you have to. It is the weakest point.
Step 2: Compose the shot. Move around. Crouch down. Climb a rock.
Find the strongest composition. Look for leading lines, foreground interest, and a clear subject. Walk around the scene.
The difference between a good shot and a great shot is often three feet to the left.
Step 3: Set the focus. Switch to manual focus. Turn on focus peaking. Zoom in on your main subject.
Turn the focus ring until the peaking glow is strongest. If you want everything sharp from front to back, focus about one third of the way into the scene. This is the hyperfocal distance shortcut.
Step 4: Set the exposure. Set aperture to f/8 or f/11. Set ISO to 100. Adjust shutter speed until the histogram looks good.
Check the zebra stripes. If you see stripes, increase shutter speed. If the histogram is too far left, decrease shutter speed.
Step 5: Bracket the exposure. Take three shots: one at the correct exposure, one underexposed by one stop, and one overexposed by one stop. This gives you insurance for later editing. Use the self-timer or a remote shutter release to avoid camera shake.
If you are new to the process, the beginner DSLR guide covers similar fundamentals.
Step 6: Fire the shutter. Use a two-second timer. This allows any vibration from pressing the button to settle. Do not touch the camera during the exposure.
Common Mistakes That Kill Your Landscape Shots
Even experienced photographers make these mistakes. Here are the ones to watch for.
Relying on the EVF alone. The electronic viewfinder is powerful, but it can be misleading. On a bright day, the EVF may look brighter than the actual exposure. The histogram is the only reliable indicator.
Do not trust the screen. Trust the graph.
Forgetting to check the corners. Many lenses are sharp in the center but soft in the corners. This is especially true at wider apertures. At f/8 or f/11, this is usually not a problem.
But if you are using a cheap lens or a wide aperture, check the corners on the rear screen. If they are soft, stop down the aperture.
Shooting at the wrong time of day. The best light is at golden hour (the hour after sunrise and the hour before sunset). At midday, the light is harsh, the shadows are short, and the contrast is high. The image will look flat.
If you cannot shoot at golden hour, look for overcast days. The clouds act as a giant softbox, creating soft, even light.
Not using a tripod when you should. A tripod is essential for sharp landscapes, especially at slow shutter speeds. If your shutter speed is below 1/60th of a second, use a tripod. Even if you have in-body stabilization, a tripod gives you a sharper image.
The only exception is if you are shooting handheld at golden hour with a fast shutter speed. For most landscape work, the tripod is non-negotiable.
The Gear That Actually Makes a Difference
You do not need the most expensive camera body to shoot great landscapes. But a few pieces of gear genuinely improve your results. Here is what matters.
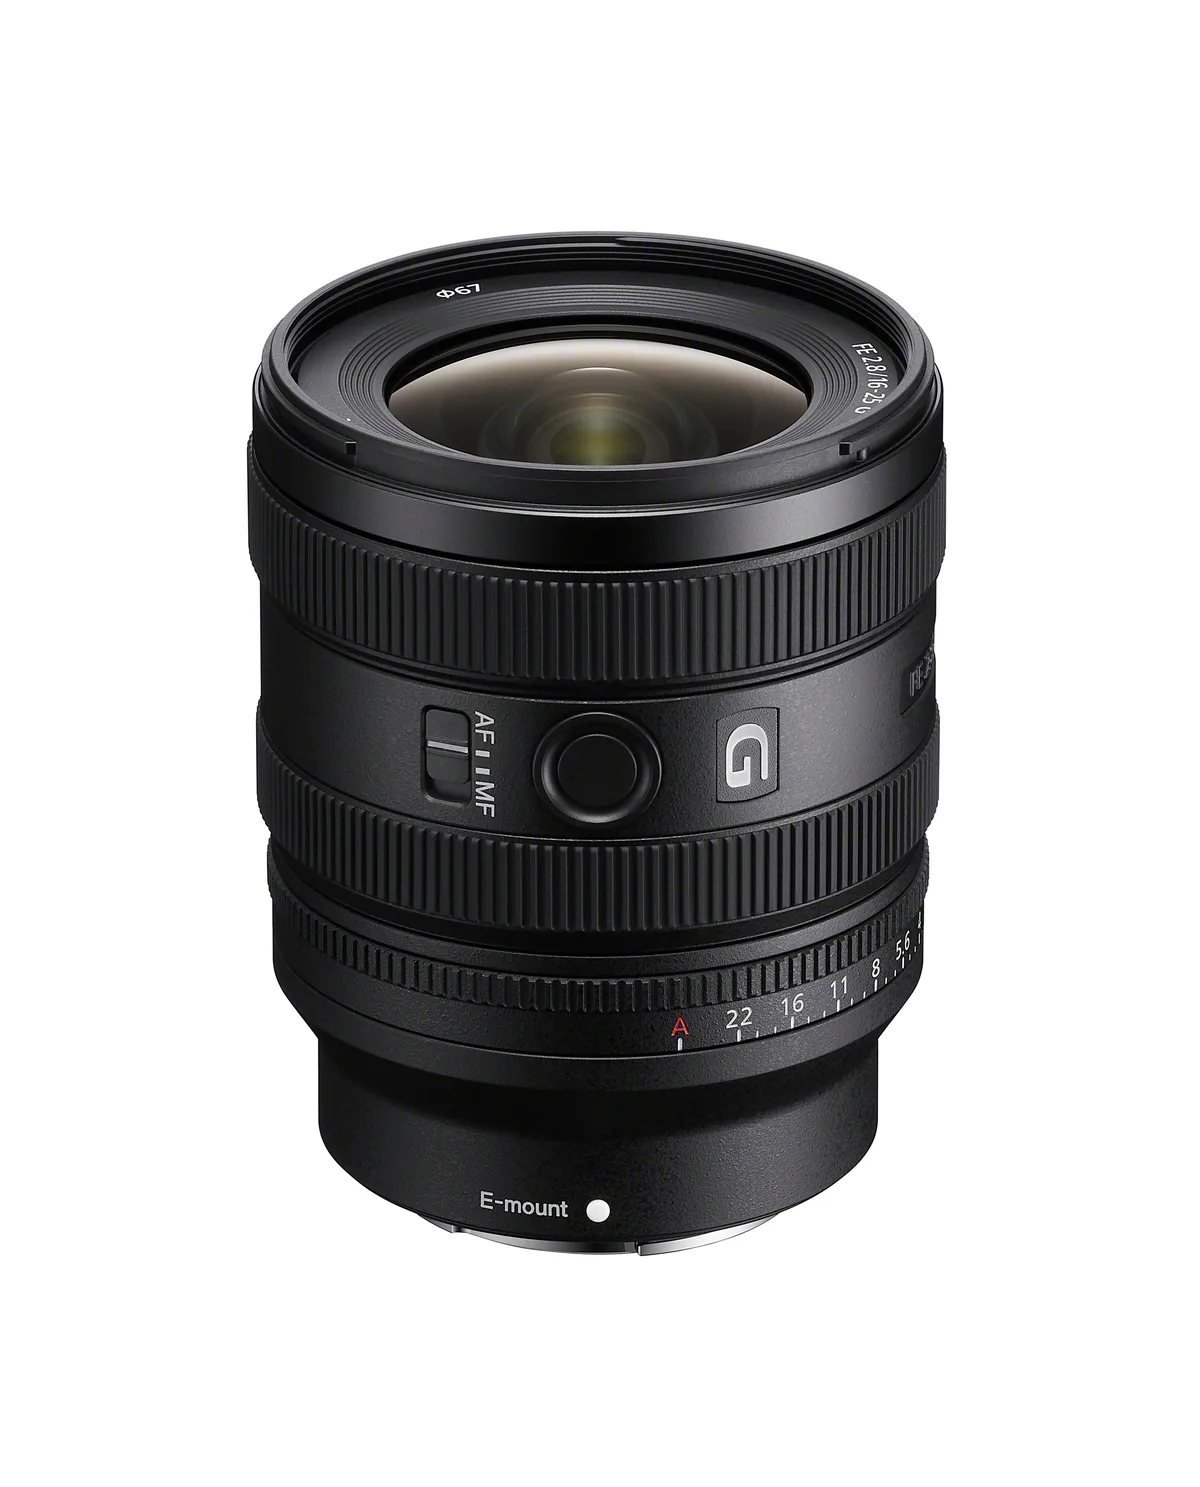
Lenses are the most important investment. A wide-angle lens lets you capture sweeping vistas. A 16-35mm full-frame equivalent is the standard choice.
A prime lens, like a 24mm f/1.8, is often sharper and lighter. A zoom lens offers more versatility. A wide-angle zoom, such as a 16-35mm, is the most versatile starting point for most landscape photographers.
Tripods are the second most important piece. Look for one that is stable enough for your camera and light enough to carry. Carbon fiber tripods are lighter than aluminum.
They cost more but reduce fatigue on long hikes. The tripod head matters too. A ball head with a separate panning lock is ideal for adjusting composition.
Filters are optional but useful. A circular polarizer reduces reflections and increases color saturation. A neutral density filter allows longer exposures in bright light.
A graduated ND filter balances a bright sky with a darker foreground. You can skip the UV filter. It does almost nothing for landscape photography.
Accessories that help. A remote shutter release prevents camera shake. An L-bracket makes it easier to switch between horizontal and vertical composition. A rain cover protects your gear in wet conditions.
A lens cleaning cloth is essential for keeping dust and water off the glass. Proper storage habits also help extend your gear's life.
| Gear | Why It Matters | Budget Pick |
|---|---|---|
| Lens | Sharpness, field of view | 16-35mm f/4 zoom |
| Tripod | Stability, sharp images | Aluminum with ball head |
| Filter | Control reflections, long exposures | Circular polarizer |
| Remote | Avoid camera shake | Wired or wireless release |
Post-Processing: How to Turn RAW Files Into Keepers
Shooting RAW gives you the most flexibility in editing. The file contains all the sensor data. You can recover shadows and highlights that would be lost in JPEG.
Here is a simple workflow.
First, adjust white balance. The wrong white balance makes an image look too warm or too cool. Use the eyedropper tool on a neutral gray area. Or adjust the temperature slider until the image looks natural.
Adjust until the image looks natural.
Second, recover highlights and shadows. Drag the highlight slider down to bring back detail in the sky. Drag the shadow slider up to reveal detail in the foreground. Do not go too far.
Over-recovering creates noise and halos. A subtle adjustment of 10 to 20 points is usually enough.
Third, add contrast and clarity. The contrast slider adds punch to the image. The clarity slider adds mid-tone contrast and texture. Use it sparingly.
Too much clarity makes the image look harsh. A small amount, around 10 to 20, is usually enough.
Fourth, sharpen and reduce noise. Sharpening is essential for landscapes. Use a radius of 1.0 and a masking slider to avoid sharpening the sky. Noise reduction is useful for high ISO shots.
For ISO 100 shots, you rarely need it. If you are shooting handheld at higher ISO, apply a small amount of luminance noise reduction.
Fifth, export. Save as a JPEG for sharing online. Save as a TIFF for printing. Use sRGB color space for web.
Use Adobe RGB for print. The file size for a 24MP RAW is around 30 to 50 MB. A JPEG export is usually 5 to 10 MB.
Always back up your photos to an external drive or cloud service.
Frequently Asked Questions
Do I need a full-frame mirrorless for landscapes?
Full-frame sensors offer more dynamic range and better low-light performance. But APS-C and Micro Four Thirds cameras are perfectly capable. The lens quality matters more than the sensor size.
Many professional landscape photographers use APS-C cameras for travel due to their lighter weight.
What is the best aperture for landscape photography?
The sweet spot is f/8 to f/11 for most lenses. This gives you maximum sharpness across the frame and enough depth of field to keep the foreground and background in focus. At f/16 or smaller, diffraction softens the image.
Stick to f/8 or f/11 for 90 percent of your shots.
How do I focus for landscapes with a mirrorless camera?
Switch to manual focus. Turn on focus peaking. Zoom in on your main subject using the magnify button.
Turn the focus ring until the peaking glow is strongest. If you want everything sharp from front to back, focus about one third of the way into the scene. This is the hyperfocal distance shortcut.
Can I use a mirrorless camera for astro-landscapes?
Yes. Mirrorless cameras are excellent for astro-landscapes. Use a fast wide-angle lens, such as a 14mm or 20mm at f/1.8 or f/2.8.
Set ISO to 3200 or 6400. Use a shutter speed of 15 to 25 seconds. Turn on manual focus and use focus peaking on a bright star.
The electronic viewfinder helps you see the result in the dark.
Why are my landscape photos soft even with a tripod?
The most common cause is camera shake from pressing the shutter button. Use a remote shutter release or the two-second self-timer. Another cause is a loose tripod head or a tripod that is too light.
Check that all locks are tight. A third cause is diffraction at small apertures. Stick to f/8 or f/11.

Similar Posts