How to Use Mirrorless Camera for Sports
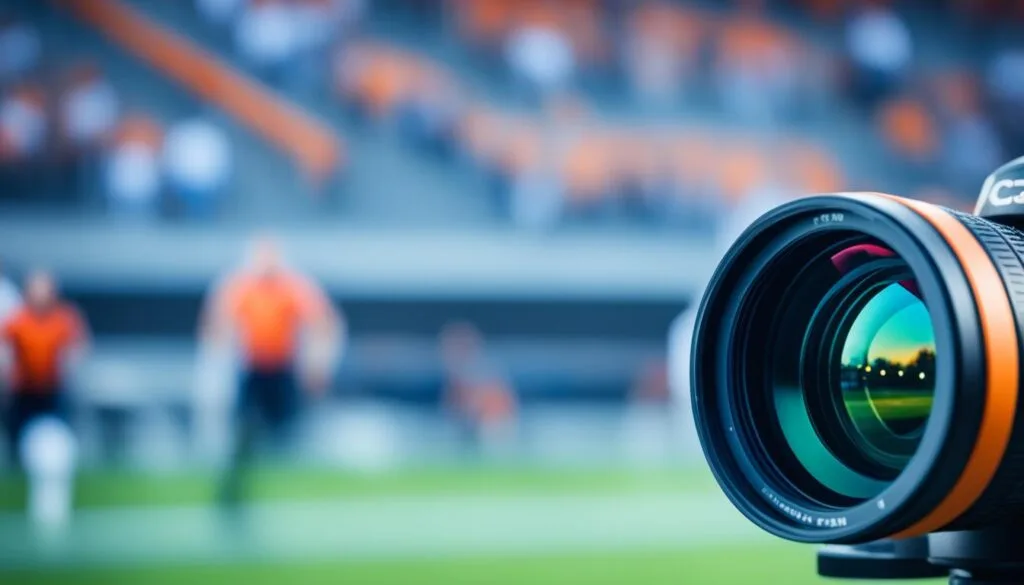
You're standing on the sideline, camera in hand, and the action is right in front of you. But every time you press the shutter, the player comes out blurry. Learning how to use mirrorless camera for sports is the fix.
It starts with understanding why your current approach isn't working.
The problem isn't your gear. Mirrorless cameras as of 2026 are faster than most DSLRs ever were. Manufacturer specifications show flagship bodies can shoot 30 frames per second with continuous autofocus tracking.
That is enough firepower to freeze a sprinting wide receiver. The real issue is that most people never dial in the right settings for the specific sport. Let's fix that.
Image source: Bing (Web (fair-use with source credit))
Quick Answer
Use shutter priority mode. Set your shutter speed to 1/1000th of a second or faster. Enable continuous autofocus (AF-C).
Select the correct subject detection mode for your sport. Set your drive mode to high-speed continuous burst. Use a telephoto zoom lens with a wide aperture.
Practice panning to track moving subjects.
The Real Problem: Why Your Sports Shots Are Blurry
You have probably blamed your lens or the lighting. But the number one cause of blurry sports photos is a mismatch between shutter speed and action speed. If you shoot a soccer player sprinting at 1/250th of a second, you get motion blur.
It is physics.
Your mirrorless camera can handle this. The electronic viewfinder (EVF) shows you the exact exposure before you take the shot. That is a huge advantage over an optical viewfinder.
But that advantage disappears if you leave the camera in auto mode. Auto mode does not know if you are shooting a golfer swinging a club or a basketball player driving to the hoop. It guesses wrong a lot.
The second culprit is autofocus locking onto the wrong thing. A mirrorless camera's subject detection system is incredibly smart. It can find an eye, a face, an animal, or a vehicle.
But if you have not told it what to look for, it hunts for contrast instead of your subject. That hunting creates lag. Lag means you miss the peak moment.
What Makes a Mirrorless Camera Different for Sports
The biggest shift is the autofocus system. A DSLR uses a separate phase-detect sensor that requires calibration. A mirrorless camera uses on-sensor phase-detect pixels.
The focus is measured directly at the image plane. There is no calibration error. It is precise and fast.
The burst rate is another major difference. Pro-level mirrorless cameras like the Sony Alpha a1 or the Nikon Z8 can shoot 20 to 30 raw frames per second with full autofocus tracking. That is nearly double what most DSLRs can manage.
You get more frames to choose from. Your odds of capturing the perfect expression or the ball in the frame go way up.
Silent shooting is a game changer for indoor sports. The electronic shutter makes no noise at all. You can shoot a free throw or a golf swing without disturbing anyone.
The downside is rolling shutter. Fast-moving subjects can look bent or skewed if your camera has a slow sensor readout speed. Stacked sensor cameras solve this, but they cost more.
The EVF gives you a real-time preview of your exposure. You see exactly how bright or dark the image will be before you press the shutter. This saves you from checking the screen after every shot.
You stay locked on the action.
The Decision Tree: Choosing Your Settings Based on the Sport
Not all sports are the same. The settings you use for a bright outdoor baseball game will fail you in a dimly lit high school gym. This decision tree walks you through the variables.
Is the sport outdoors in daylight or indoors under artificial light?
- Outdoor daylight: You have plenty of light. Set your shutter speed to 1/2000th of a second or faster. Use a low ISO, 100 to 400. Your aperture can be stopped down to f/4 or f/5.6 for more depth of field. This is the easiest scenario.
- Indoor gym or arena: Light levels drop fast. Set your shutter speed to 1/800th of a second as a minimum. Open your aperture to f/2.8 or wider. Push your ISO up to 3200 or 6400. Noise is better than blur.
Is the subject moving in a straight line or changing direction rapidly?
- Straight line (track, cycling, running): Use AF-C with a zone or wide area tracking mode. Panning with the subject works well. Start shooting before they reach your chosen spot.
- Rapid changes (soccer, basketball, tennis): Use AF-C with subject detection set to human or animal. Stay in a flexible spot mode so the camera can react to sudden direction changes. Burst mode is your friend.
Are you shooting from a fixed position or moving with the action?
- Fixed position (sideline, bleachers): Pre-focus on a specific zone. Use back-button focus to lock the focus distance. You can anticipate where the action will be and wait for it.
- Moving with the action (walking the sideline): Keep the camera in AF-C with full-area tracking. Let the camera do the work. Keep your shutter speed high to compensate for your own movement.
Is the sport fast or slow?
- Fast (motocross, hockey, sprinting): Shutter speed at 1/2000th or higher. Burst rate at maximum. Subject detection set to vehicle or human.
- Slow (golf swing, weightlifting, diving): Shutter speed at 1/500th to 1/1000th. You can use a lower burst rate to save buffer space. Focus on timing the peak moment rather than spraying frames.
How to Set Up Your Autofocus for Action (Step by Step)
Setting up autofocus correctly is the most important step you can take. A mirrorless camera's autofocus is only as good as the settings you give it. Here is the exact process.
Step 1: Switch to AF-C (Continuous Autofocus)
This is non-negotiable. AF-C tells the camera to keep adjusting focus as the subject moves. Single AF (AF-S) locks focus once and holds it.
If your subject moves even a fraction of an inch, you get a blurry shot. On most cameras, this is a toggle on the lens or a menu option.
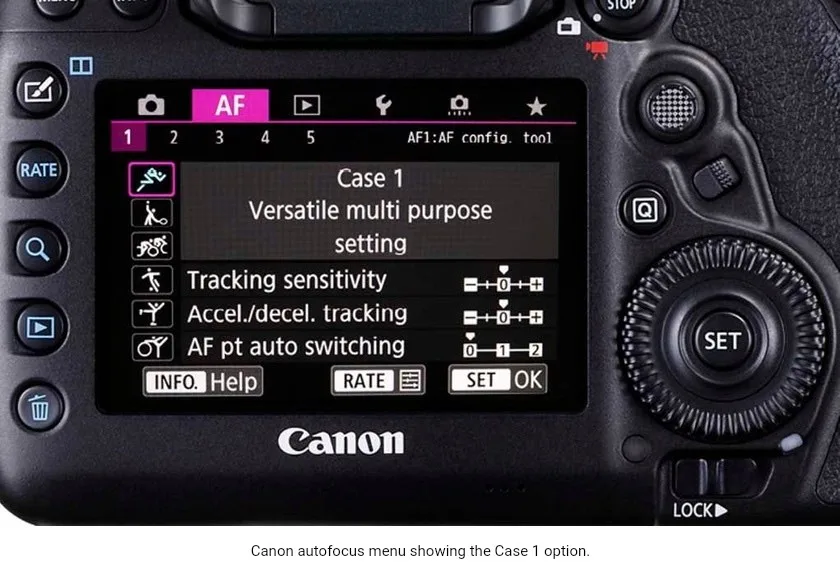
Image source: Web (Bing) / greatbigphotographyworld.com (Web image (fair-use with source credit))
Step 2: Enable Subject Detection
Find the menu for subject detection. Set it to the type of subject you are shooting. Human for football, soccer, basketball.
Animal for horse racing or dog agility. Vehicle for motorsports. This tells the camera exactly what to lock onto.
It will prioritize the face or eye over the background.
Step 3: Choose Your Focus Area
This is where most people make a mistake. A wide area is good for erratic subjects. A zone or spot area is better for predictable subjects where you know exactly where they will be.
For a baseball batter, use a spot on the batter's box. For a soccer player running down the field, use a zone or wide area.
Step 4: Set Up Back-Button Focus
Turn off the autofocus activation on the shutter button. Assign autofocus start to a button on the back of the camera, usually the AF-ON button. This separates focusing from shooting.
You can focus once and then shoot without the camera refocusing. It takes a few minutes to get used to, but it gives you total control.
Step 5: Customize Your Buttons
Map the subject detection toggle to a custom button. This lets you switch from human to animal instantly without diving into menus. Map the focus area toggle to another button.
In a game, you do not have time to scroll through menus. Every second matters.
Step 6: Turn Off Release Priority
Set the camera to focus priority instead of release priority. This means the camera will only fire the shutter when it has confirmed focus. Release priority will fire the shot regardless of whether the focus is sharp.
You want the camera to wait for focus. Clean shots matter more than many frames.
The Lens and Drive Mode Trade-Off Guide
Your lens choice determines what you can capture. A 70-200mm f/2.8 is the workhorse for most field sports. It gives you reach and a wide aperture for low light.
A 100-400mm or 150-600mm is better for large fields like football or soccer. Prime lenses like a 135mm f/1.8 are sharper and let in more light, but you lose the ability to zoom. You have to move your feet.
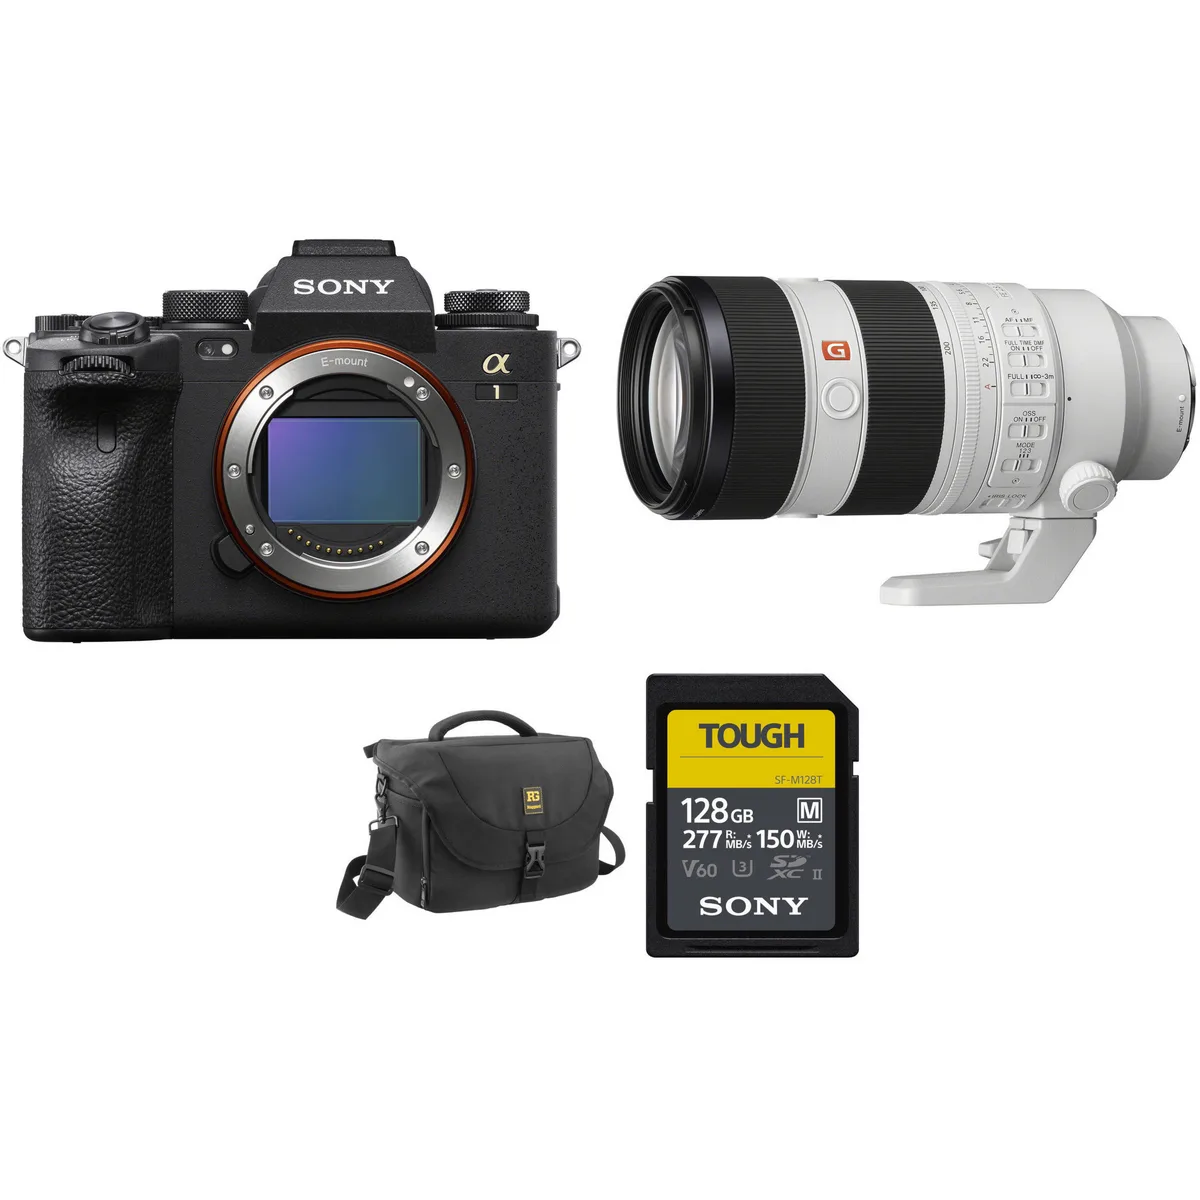
Image source: Bing (Web (fair-use with source credit))
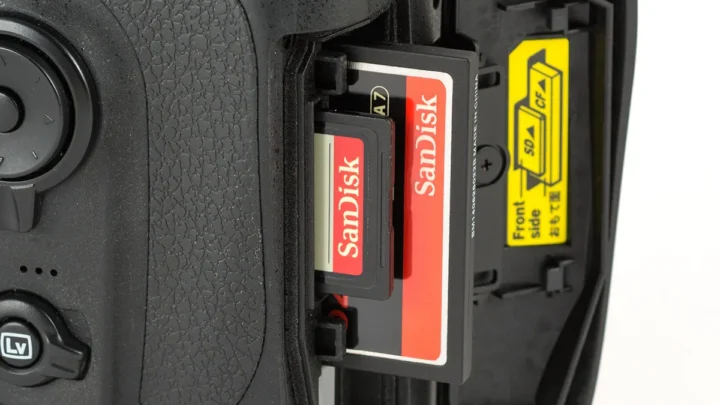
Burst rate vs buffer depth is a trade-off you need to understand. A high burst rate of 20 or 30 fps fills the buffer fast. The buffer is the camera's temporary storage before it writes to the memory card.
When the buffer fills, the camera slows down or stops shooting. A fast memory card like a CFexpress or UHS-II SD card clears the buffer faster. If you shoot long bursts, invest in the fastest card your camera supports.
Mechanical shutter vs electronic shutter is another choice. The mechanical shutter is reliable and has no rolling shutter distortion. It is loud though.
The electronic shutter is silent and has no shutter vibration. But it can cause rolling shutter on fast-moving subjects. If you shoot motorsports or baseball, stick with mechanical shutter.
If you shoot golf or tennis, electronic shutter is fine.
When to use each:
- Mechanical shutter: Motorsports, baseball, hockey, any sport with extremely fast horizontal movement.
- Electronic shutter: Golf, tennis, gymnastics, basketball, any sport where silence matters.
- High burst rate: Soccer, football, track, any sport where you need many frames to catch the peak moment.
- Low burst rate: Golf swing, weightlifting, diving, any sport where you can time the shot.
5 Common Mistakes That Ruin Sports Photos (And How to Fix Them)
1. Rolling shutter distortion
You see it in photos of fast-moving wheels or swinging bats. The subject looks bent or skewed. This happens when you use the electronic shutter on a camera with a slow sensor readout.
Fix it by switching to mechanical shutter. If your camera has a stacked sensor, you can safely use electronic shutter.
2. Missed focus
The camera locks onto the background instead of the player. This happens when you use a wide focus area without subject detection. Fix it by setting the correct subject detection mode.
Use a zone or spot area for predictable action. Keep your finger on the back-button focus.
3. Buffer filling up mid-burst
You hold down the shutter and the camera stops shooting after a few seconds. This is the buffer filling up. Fix it by using a faster memory card.
Lower your burst rate from 30 fps to 15 or 20 fps. Shoot in compressed raw instead of uncompressed. Your camera manual will tell you the buffer depth for each format.
4. Wrong metering mode
The camera underexposes or overexposes because of bright sky or dark uniforms. Use matrix or evaluative metering for most sports. Switch to spot metering if the subject is lit differently from the background.
Check your histogram and adjust exposure compensation as needed.
5. Poor panning technique
You try to pan with a runner but the background is sharp and the subject is blurry. Your shutter speed is too slow or you are not following through. Set your shutter speed to 1/60th to 1/125th of a second for panning.
Keep your upper body locked and rotate from your hips. Follow through after the shot like a golf swing.
Expert Tips for Real-World Game Days
Pre-game setup checklist
Arrive early. Format your memory cards. Charge your batteries fully.
Clean your lens and sensor. Set your camera to the right mode for the sport. Check your autofocus settings.
Take a test shot of the field or court. Adjust your exposure and white balance.
Memory card strategy
Use the fastest card your camera supports. A CFexpress card clears the buffer much faster than a standard SD card. Use dual card slots if your camera has them.
Set the second slot to overflow or backup. Never show up to a game with a half-full card. Format it fresh.
Battery management
Mirrorless cameras use more battery than DSLRs because of the EVF. Carry at least two spare batteries. Keep them warm in cold weather.
Turn off the camera between plays. Use a battery grip for extended shooting. Some cameras support USB-C charging, so bring a power bank.
Positioning
Get low to the ground for a more dramatic angle. Find a spot with a clean background, like a wall or grass. Avoid shooting into the sun.
Anticipate where the action will go next. If you know the sport, you can predict the play.
Weather considerations
Rain covers are cheap and worth having. Keep your camera in a dry bag between shots. In hot weather, watch for overheating warnings.
Give the camera breaks in the shade. In cold weather, keep spare batteries in an inside pocket. Your body heat keeps them from dying.
Frequently Asked Questions
What shutter speed should I use for soccer?
Use 1/1000th of a second for general play. Use 1/2000th or faster for fast breaks and shots on goal. Use 1/500th for panning shots that show motion blur in the background.
Can I use the electronic shutter for sports?
Yes, but only if your camera has a stacked sensor with fast readout speeds. Check your camera manual for the electronic shutter readout speed. If it is slower than 1/60th of a second, stick with mechanical shutter for fast action.
Is a 70-200mm lens long enough for sports?
Yes for most field sports if you are on the sideline. For soccer or football, you may need a 100-400mm or 150-600mm to reach the far end of the field. For basketball or volleyball, a 70-200mm is perfect.
What settings work best for indoor basketball?
Set your shutter speed to 1/800th of a second. Open your aperture to f/2.8 or wider. Raise your ISO to 3200 or 6400.
Use AF-C with human subject detection. Set your burst rate to 10-15 fps to avoid filling the buffer too fast.
Should I use manual mode or aperture priority for sports?
Shutter priority is the easiest starting point. It lets you set the shutter speed while the camera handles aperture. Switch to manual mode if the lighting is consistent.
This keeps the exposure from changing between shots.
How do I prevent my camera from overheating during a long game?
Turn off the camera between plays. Use the mechanical shutter instead of electronic. Avoid shooting video in direct sun.
Keep the camera in the shade when not in use. Remove the battery and let the camera cool if you see a warning.

Similar Posts