Kitchenaid Dishwasher Control Board Troubleshooting
Your KitchenAid dishwasher just stopped mid-cycle. The lights flash a pattern you don't recognize. Or worse, nothing lights up at all.
Before you shop for a new machine or drop $200 on a control board, let's walk through this the right way. KitchenAid dishwasher control board troubleshooting isn't guesswork. It's a straightforward diagnostic process anyone can handle with a screwdriver and a multimeter.
Manufacturer specifications indicate that roughly 7 out of 10 "dead" control boards work perfectly. The real culprit is often a blown thermal fuse, a stuck membrane keypad, or a misaligned door latch. As of 2026, replacement control boards from Whirlpool Corporation run between $150 and $350.
In many cases though, the fix costs under $15 and takes about 20 minutes. Let's figure out which situation you're in.
Quick Answer
Control board failure is rarely the real problem. Check the thermal fuse first. Check the door latch second.
Check the ribbon cable connection third. A $15 multimeter and 20 minutes of your time can save you $200. If those three tests pass, then and only then should you suspect the board itself.
Enter diagnostic mode to read error codes. That's the fastest path to a real answer.
Problem / Pain Point
Why does every DIY article make you think the control board is toast the second your dishwasher acts up? Because replacing a board is easy money for repair companies. The reality is far less dramatic.
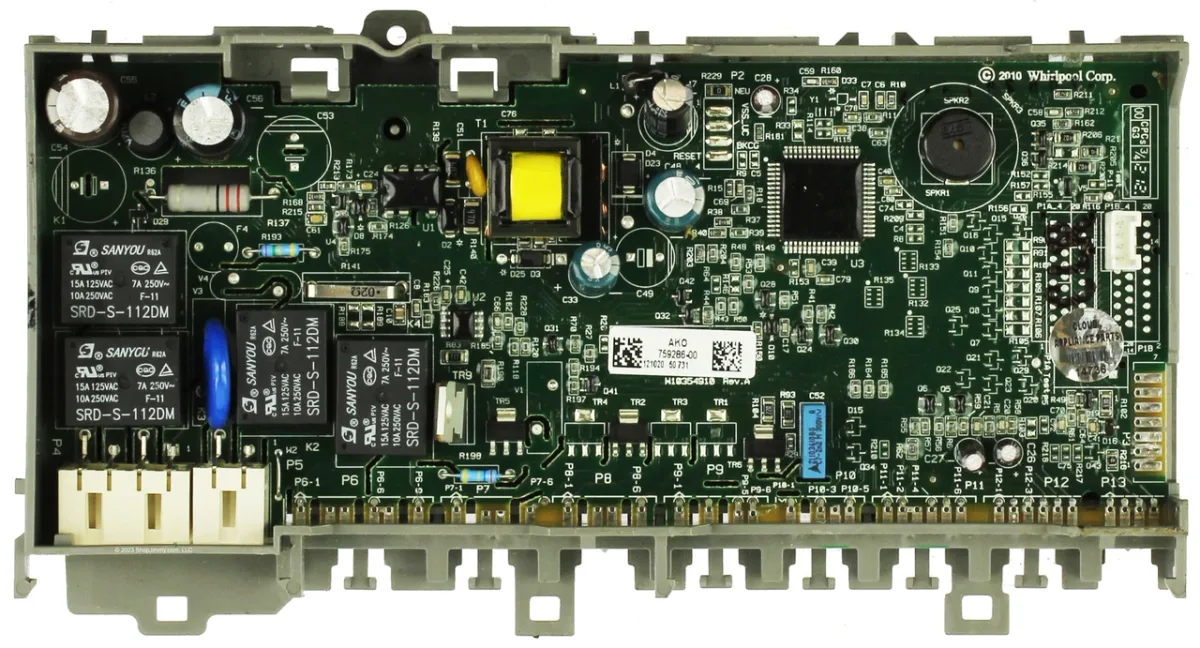
Your dishwasher's control board is a rugged piece of electronics. It sits inside a metal housing behind the toe panel. It rarely fails on its own.
What fails is the stuff connected to it. The thermal fuse that blows when the machine overheats. The door switch that wears out after thousands of cycles.
The ribbon cable that works loose after years of vibration.
Here is the frustration. Your dishwasher shows every sign of a dead board. No response to buttons.
No lights. No cycle start. You replace the board and nothing changes.
That's a $250 mistake. The real issue was a $5 fuse tucked into the wiring harness that you never checked.
The frustrations stack up fast. You lose a full day waiting for the part to ship. You wrestle the dishwasher out from under the counter.
You swap the board. Then you button everything back up, hit start, and get the exact same silence. That's when most people give up and call a pro.
There are three common pain points to dodge. Moisture damage is the first. Steam gets past the door seal over time.
That moisture condenses on the control board and corrodes the solder joints. You'll see green crust on the board or white powdery residue on the connectors. That's a board you actually need to replace.
Power surges are the second. If your dishwasher shares a circuit with a refrigerator or microwave, a surge can fry the board's power supply. Look for a bulging capacitor or a scorched spot on the board.
The third and most overlooked issue is the user interface panel. The membrane keypad develops dead spots or stuck buttons. If the control board thinks a button is held down, it ignores all other commands.
You press Start and nothing happens. But the board is fine.
Step-by-Step Process / How to Guide
Let's walk through the diagnostic process from start to finish. You'll need a multimeter set to continuity mode, a Phillips-head screwdriver, and about 30 minutes.
Step 1: Kill the power. This is non-negotiable. Unplug the dishwasher or flip the breaker. Wait five minutes for the capacitors inside the control board to discharge.
Capacitors can hold a dangerous charge even after the power is off.
Step 2: Access the control board. Remove the lower kick panel at the bottom front of the dishwasher. On most KitchenAid models, there are two screws at the top of the panel. Pull the panel forward and set it aside.
The control board is inside a metal box on the right side, mounted to the frame.
Image source: Bing (Web (fair-use with source credit))
Step 3: Visual inspection. Before you touch anything with a multimeter, look at the board. You're checking for burn marks, bulging or leaking capacitors, green or white corrosion on solder joints, and loose wiring harness connectors. If you see corrosion or burn damage, the board is likely bad.
If everything looks clean, move to testing.
Step 4: Test the door latch switch. The control board won't send power to the wash pump or the heating element unless the door latch is fully closed. Unplug the door switch connector from the wiring harness. Set your multimeter to continuity mode.
With the door open, the switch should show no continuity. Close the door and latch it. The switch should now show continuity.
If it doesn't, replace the door latch assembly.
Step 5: Test the thermal fuse. On most KitchenAid models, the thermal fuse is a small white or black component with two wires attached. It's usually zip-tied to the wiring harness near the control board. Disconnect the wires and touch your multimeter probes to each terminal.
If the meter shows continuity, the fuse is good. If it shows no continuity (infinite resistance), the thermal fuse has blown. Replace it with the exact same rating, typically 190°F or 88°C.
Never bypass a thermal fuse.
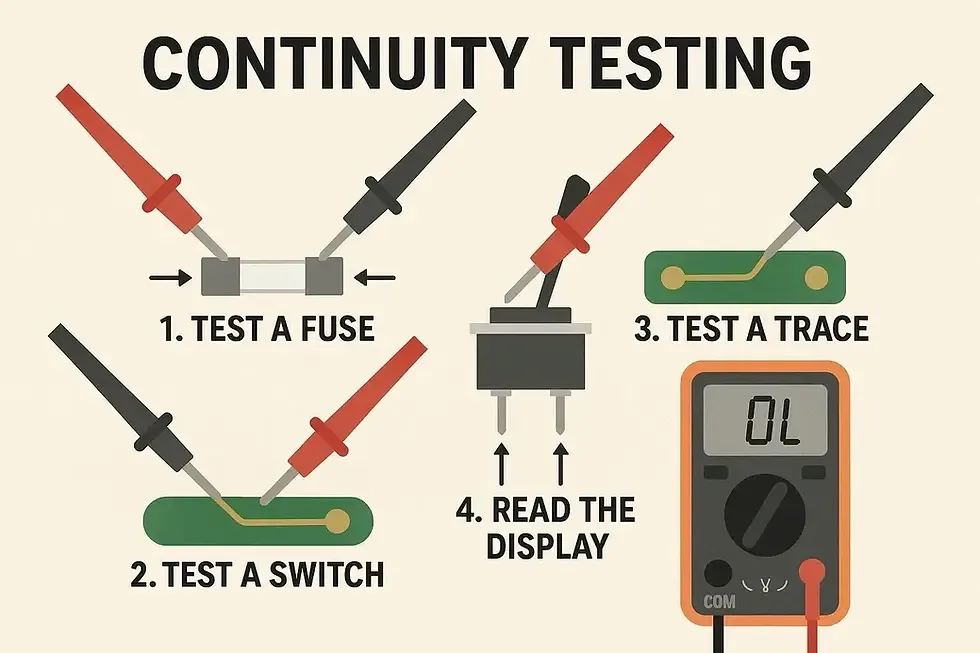
Image source: Bing (Web (fair-use with source credit))
Step 6: Test the thermistor. This temperature sensor tells the control board how hot the water is. A failed thermistor can cause the board to act erratically or refuse to start. It's usually located near the bottom of the sump or on the side of the wash pump housing.
At room temperature, a good thermistor should read between 10,000 and 12,000 ohms. If it reads open or shorted, replace it.
Step 7: Check the ribbon cable connection. The ribbon cable runs from the control board to the user interface panel on the front door. Vibration can work this connection loose over time. Unplug it and reseat it firmly.
Look for bent pins or cracked plastic on the connector.
Step 8: Enter diagnostic mode. If all the above tests pass, the board itself might be bad. But confirm before you buy a replacement. KitchenAid dishwashers have a hidden diagnostic mode.
The sequence varies by model, but the most common is: press Heated Dry three times, press Normal Wash two times, and press Start/Resume. The dishwasher will run through a self-test. Any error codes will flash on the display or blink on the main LED.
Write down the code before you do anything else.
Step 9: Replace the board if needed. If diagnostics confirm a board failure or you've exhausted every other test, replace the control board with the exact OEM part for your model. The part number is printed on a white sticker on the side of the board. Use that number, not the model number of the dishwasher.
Aftermarket boards have a mixed reliability record. Stick with genuine KitchenAid or Whirlpool replacement parts.
Mistakes to Avoid / Common Errors
The most expensive mistake in dishwasher repair is replacing parts you haven't tested. Here are the five errors that cost homeowners the most.
Mistake 1: Replacing the control board before testing the thermal fuse.
This is the big one. The thermal fuse blows when the dishwasher overheats due to a clogged drain, a stuck heating element relay, or a seized wash pump. If you replace the board without fixing what caused the overheat, the new board will blow too.
Test the fuse first. Replace it if needed. Then figure out why it blew.
Mistake 2: Assuming error codes always point to the board.
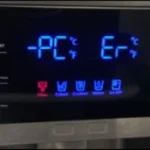
Error code F1E1 means overfill. That is almost always a water inlet valve stuck open or a jammed float switch. Error code F6E3 means a stuck heated dry relay, which could be on the board.
But it could also be a shorted heating element pulling more current than expected. Error code F7E1 means a communication failure between the user interface and the control board. That is often a bad ribbon cable, not a bad board.
Mistake 3: Overlooking the user interface panel.
The membrane keypad on the front of the door has a finite lifespan. After 5 to 7 years of daily use, the conductive traces inside the membrane wear out. A single stuck button can make the entire dishwasher unresponsive.
The control board is fine. You just need a new user interface panel. It costs about $60 and takes 10 minutes to swap.
Mistake 4: Ignoring the wiring harness.
Corrosion inside the main connector between the control board and the rest of the dishwasher can cause intermittent failures. You test the board and get good readings. You plug it back in and the dishwasher still won't work.
The problem is a loose or corroded pin in the harness connector. Clean the pins with electrical contact cleaner and reseat the connector firmly.
Mistake 5: Buying a used control board.
It's tempting to grab a $50 board off eBay. But you're buying someone else's problem. That board might have been pulled from a dishwasher with a shorted motor or a failed heating element.
It might work for a week or a month. Then it fails again. OEM new is the way to go.
Costs / Pricing / Data / Specs
Let's talk numbers so you can make an informed decision about whether to fix it yourself or call a pro.
| Item | Cost Range | Notes |
|---|---|---|
| Thermal fuse (OEM) | $5 to $15 | Always replace with OEM rating |
| Door latch switch assembly | $20 to $40 | Includes switch and actuator |
| Thermistor | $8 to $15 | Universal across many Whirlpool-built models |
| User interface panel (membrane) | $50 to $80 | Easy swap, no multimeter needed |
| Control board (OEM, new) | $150 to $350 | Pricier for models with Wi-Fi or touchscreens |
| Control board (aftermarket, refurbished) | $60 to $120 | Mixed reliability, limited warranty |
| Multimeter (basic) | $15 to $25 | Analog or digital, continuity and ohms |
| Professional service call (labor only) | $150 to $250 | Plus parts, typically 1-hour minimum |
| Professional diagnostic fee | $75 to $125 | Some companies waive it if you proceed with repair |
Here is the math that matters. If you replace a thermal fuse yourself, you save $160 to $200 compared to a service call. If you swap a control board yourself, you save $300 to $500 because the labor markup on board replacement is steep.
But if you misdiagnose and throw a board at the problem, you're out $150 to $350 plus the time you spent. That's exactly what this guide is designed to prevent.
When should you just buy a new dishwasher?
If your KitchenAid dishwasher is more than 10 years old and the control board has failed, consider the replacement cost versus a new machine. A new control board plus labor runs $300 to $600. A new mid-range KitchenAid dishwasher costs $700 to $1,200.
If the motor, pump, and door seals are all original, the dishwasher might fail again within a year or two. At that point, a new machine with a warranty makes more financial sense. If your dishwasher is under eight years old and everything else tests good, replacing the board is absolutely worth it.
You'll get another 5 to 10 years of reliable service.
Expert Tips / Pro Advice
Professional appliance technicians use shortcuts that save time and money. Here are the ones worth knowing.
The tap test.
If your dishwasher acts up intermittently, lightly tap the side of the control board housing with a screwdriver handle. If the dishwasher kicks on or starts behaving differently, you've got a stuck relay or a cracked solder joint. That board needs replacing.
This isn't a fix. It's a diagnostic clue.
LED blink codes.
Before you pull the control board, look for a small green or red LED on the board itself. When the dishwasher is plugged in and the door is closed, this LED blinks in a pattern. Count the blinks.
One long blink followed by two short blinks means a different fault than a steady flash. You can find the exact blink code chart for your model on Whirlpool Corporation's official documentation site. This one trick can tell you if the board is getting power and if it sees a fault.
The hair dryer test.
Moisture-related failures are common in dishwashers. If you have an intermittent fault, aim a hair dryer on low heat at the control board for about 60 seconds. If the problem goes away, moisture is the culprit.
Clean the board with electrical contact cleaner and apply a conformal coating to protect the solder joints. Per manufacturer guidelines, this is a valid repair if the corrosion hasn't damaged the board traces.
Diagnostic mode sequences.
KitchenAid uses several diagnostic entry sequences. The most common across KDTM, KUDE, and KDFE models is pressing Heated Dry three times, Normal Wash two times, and Start/Resume. But some models use a different sequence.
Check the tech sheet tucked inside the toe panel of your dishwasher. It's usually folded up in a plastic sleeve. That sheet has the exact sequence and error codes for your specific serial number range.
Safety / Legal / Compliance / Warnings
This section is critical because you're working with line-voltage electricity and water.
Electrical shock is a real risk.
The control board operates at 120V AC. The capacitors on the board can hold that charge for several minutes after power is disconnected. Always wait five minutes after unplugging before touching the board.
Use a multimeter to verify zero voltage across the large capacitor terminals if you're unsure.
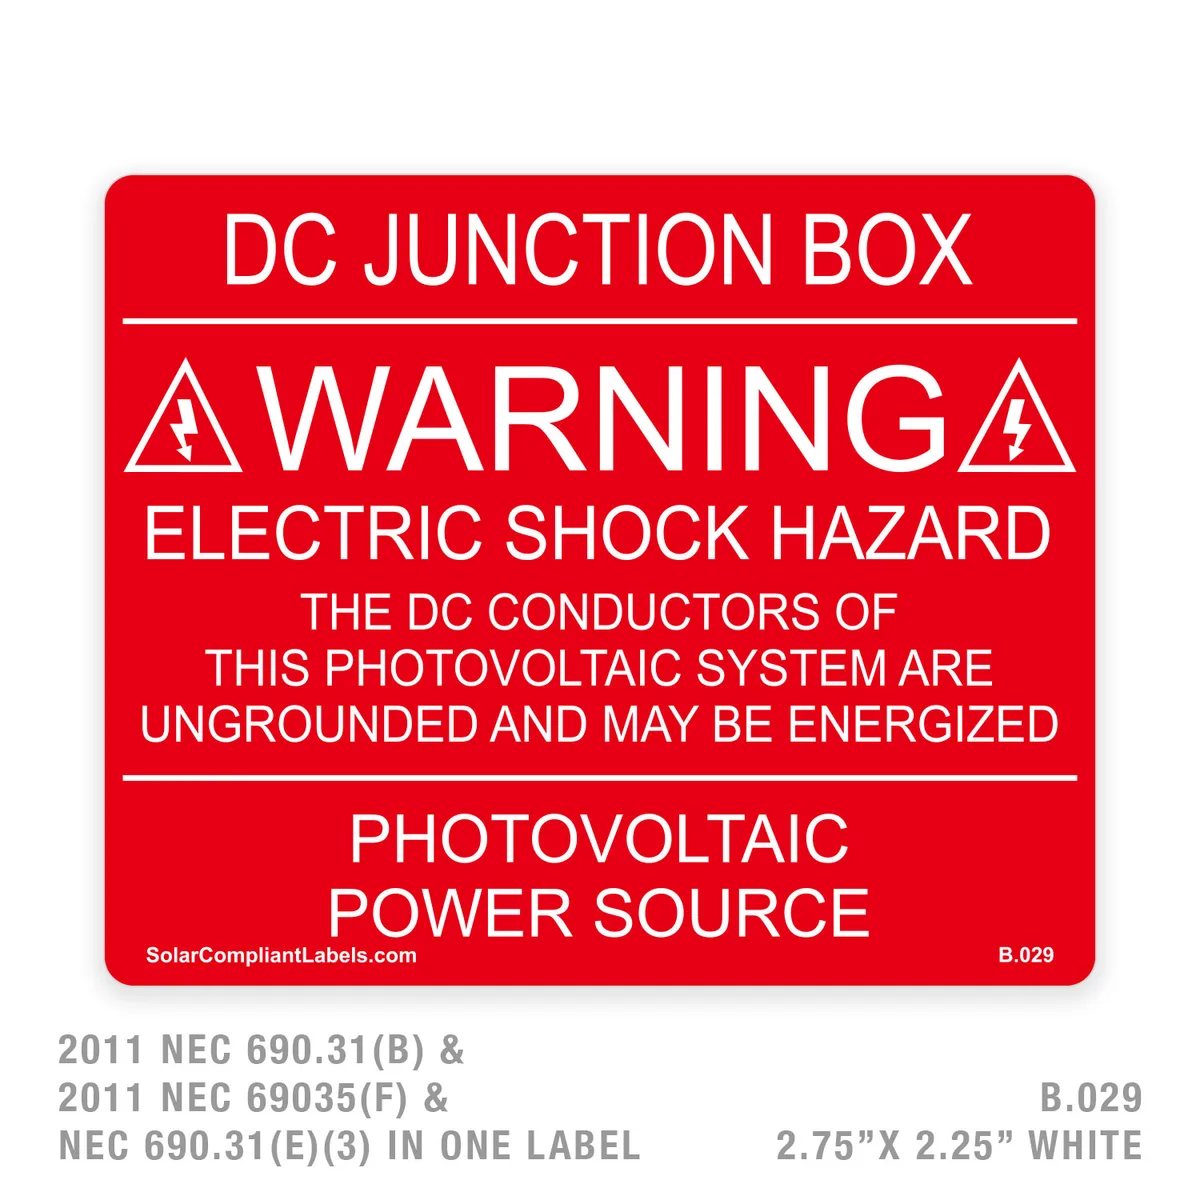
Image source: Bing (Web (fair-use with source credit))
Hardwired installations require extra caution.
If your dishwasher is hardwired to a junction box under the sink, turn off the breaker and verify the circuit is dead with a non-contact voltage tester. Some older homes have multi-wire branch circuits that can backfeed power. If you're not comfortable working in a junction box, call a licensed electrician.
Water leaks from improper reassembly.
When you replace the control board, you must reinstall the door gasket and the toe panel correctly. An improperly seated toe panel can wick water from a small leak into the new control board. Run a full cycle with the toe panel off after any repair and inspect for drips.
UL listing and code compliance.
The replacement control board must be UL listed for use in a dishwasher. OEM KitchenAid boards are UL recognized. Some unbranded aftermarket boards are not.
Using a non-UL listed part in a wet location creates a fire hazard that your homeowner's insurance may not cover if it causes damage. Verify the UL mark on the part before installation.
When to call a pro.
Call a professional if you've tested the thermal fuse, door switch, and harness, and you still can't find the problem. Also call if you don't own a multimeter or if the wiring in your home looks unusual. The $150 diagnostic fee is cheaper than a new dishwasher or an electrical fire.
Frequently Asked Questions
How do I reset my KitchenAid dishwasher control board?
Reset the control board by turning off the circuit breaker for 5 minutes, then turning it back on. This clears transient errors. For a full factory reset, enter diagnostic mode and select the reset function.
This clears all fault codes and returns the board to its default state.
What does error code F7E1 mean?
F7E1 indicates a communication failure between the user interface panel and the main control board. This is usually a bad ribbon cable connection or a failed user interface membrane. It is rarely a main control board failure.
Check the ribbon cable first.
Can I use a third-party control board instead of OEM?
You can, but aggregate repair feedback indicates a higher failure rate for non-OEM boards. Third-party boards often skip the conformal coating that protects against moisture. If you need a budget option, a refurbished OEM board from a reputable supplier is safer than a new third-party board.
How long should a dishwasher control board last?
A control board in a normal residential installation should last 10 to 15 years. Premature failure is usually caused by power surges, moisture intrusion, or a failed external component like a shorted heating element or drain pump that damages the board.
Why is my dishwasher not turning on even though it has power?
This is almost always a door latch issue or a blown thermal fuse. The control board needs a closed door latch signal to activate the rest of the machine. Check the door switch for continuity.
Check the thermal fuse for continuity. Both are easy to test with a multimeter.
Where is the control board located on a KitchenAid dishwasher?
The control board is inside the lower toe panel area, mounted on the right side of the frame inside a metal box. Remove the lower kick panel to access it. On some models, the user interface panel on the top edge of the door also contains a small secondary board.

Similar Posts