Rheem Marathon Water Heater Troubleshooting
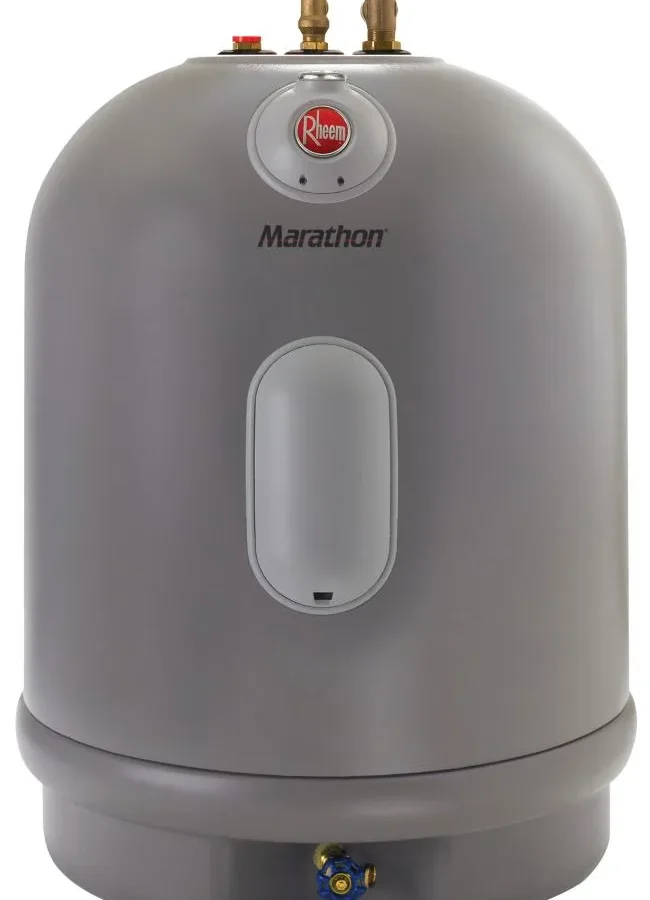
Your Rheem Marathon suddenly went cold. That's stressful, especially when this water heater is supposed to last a lifetime. Rheem Marathon Water Heater Troubleshooting isn't as hard as it sounds once you know where the real problems hide.
In most cases, the tank itself is perfectly fine and the culprit is a small electrical part.
Manufacturer specs confirm the Marathon uses two 4,500-watt heating elements and two thermostats. As of 2026, that design hasn't changed. Almost every no-heat issue traces back to one of those four components.
Let's walk through it step by step.
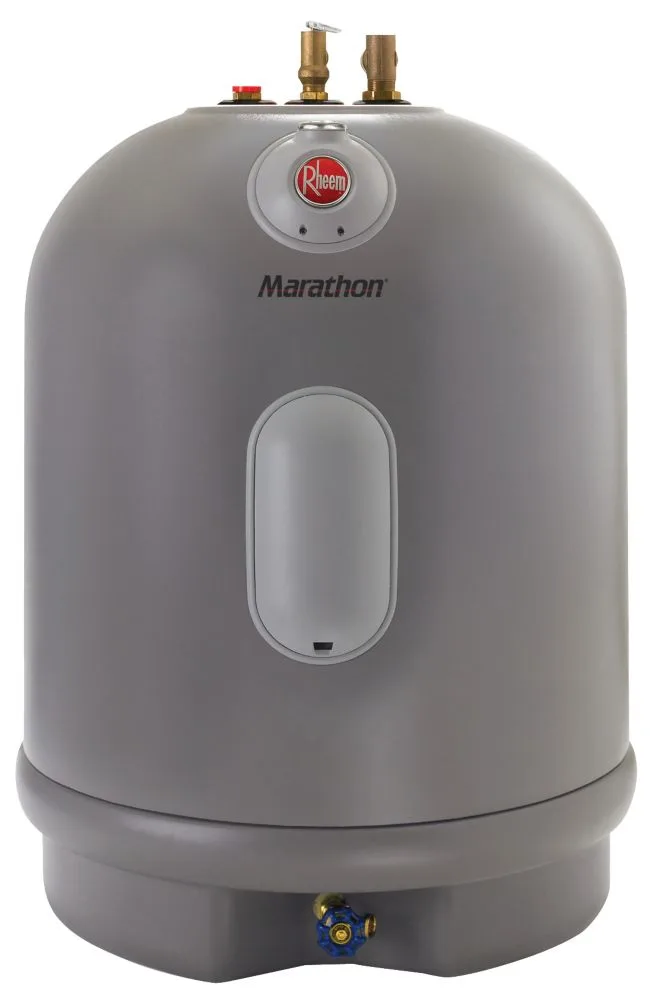
Image source: Bing (Web (fair-use with source credit))
The Most Common Problem That Confuses Everyone
You lose hot water, and your brain jumps straight to the worst case. But here's the thing: the Marathon's polybutylene tank doesn't rust, corrode, or leak the way steel tanks do. That's exactly why Rheem backs it with a lifetime tank warranty.
The tank is the last suspect, not the first. If your Marathon stops heating, the problem is almost always on the electrical side. The upper heating element, the lower heating element, one of the thermostats, or the high-limit reset switch.
Those parts fail, and they're easy to replace.
The confusion usually comes from the warranty. Owners assume a tank failure and start shopping for a replacement. But a Marathon doesn't die like a standard water heater.
It just develops an electrical fault. The water stays in the tank, the tank stays sealed, and the system needs a cheap part swapped out.
This is good news. It means a repair is often under $50 in parts and about an hour of your time.
The Quick Fix You Should Try First (The Reset Button)
Before you buy anything, check the high-limit reset button. This little red button sits behind the upper access panel on the front of the tank. It trips when the water inside gets too hot, often because a thermostat stuck closed.
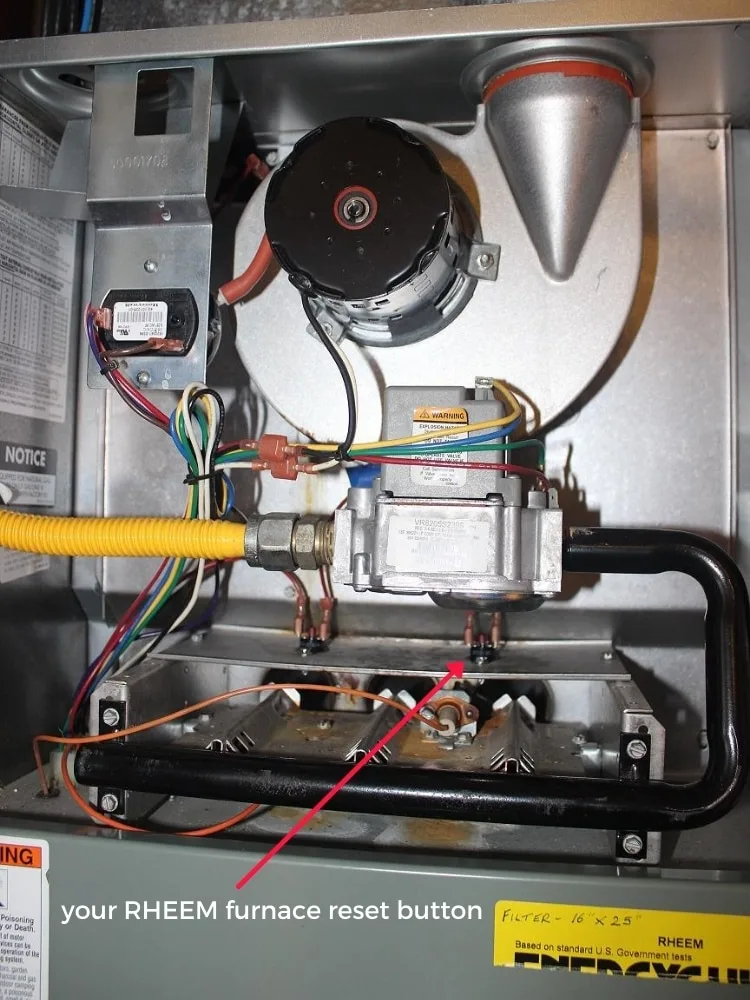
Image source: Bing (Web (fair-use with source credit))
Here's what to do:
- Turn off the breaker at the electrical panel.
- Remove the upper access panel and pull back the foam insulation.
- Look for the red button near the upper thermostat.
- Press it firmly until you feel it click.
- Put the panel back and restore power.
- Wait 15 to 20 minutes and check the hot water.
If hot water returns, you're done. Good. But if the button trips again, don't just keep pressing it.
That's like resetting a smoke alarm instead of finding the fire. You need to test the upper thermostat and the upper element with a multimeter.
The reset button is a safety device, not a daily switch. If it keeps popping, something is genuinely wrong.
Before We Start: How the Marathon Is Different Inside
The Rheem Marathon doesn't work like a typical electric water heater. Most residential tanks have a glass-lined steel tank and a sacrificial anode rod. The Marathon has neither.
Its tank is molded from polybutylene, a tough engineered plastic that won't corrode.
That difference changes your troubleshooting approach.
- No anode rod to check or replace. It doesn't have one.
- No glass lining to crack or wear out.
- Rust is not a possible failure mode.
- Sediment can still collect, but the tank won't rust through.
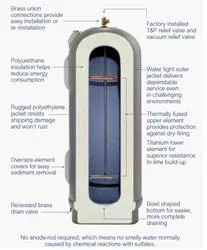
Image source: Bing (Web (fair-use with source credit))
So what actually fails? The electrical components. You've got two 4,500-watt elements, an upper thermostat, a lower thermostat, and the high-limit reset.
These are standard parts, and you test them the same way you'd test any electric water heater.
The unit runs on 240 volts and needs a dedicated 30-amp breaker. Your wiring setup matters here. You can confirm electrical details in Rheem's official water heater documentation, which covers the Marathon's specs and installation requirements.
One more thing: because the tank won't corrode, a Marathon rarely "wears out." When one stops heating, it's almost always a simple electrical failure. That's the mental shift most owners need to make.
Diagnose by Symptom (The Main Decision Workflow)
Match your symptom below and follow that branch. If the reset button didn't fix the problem, this is where you actually find the culprit.
| Symptom | Likely Cause | Next Step |
|---|---|---|
| No hot water at all | Tripped breaker, bad upper element, failed thermostat | Check breaker, test elements |
| Lukewarm water | Dead lower element | Test lower element |
| Water too hot | Thermostat set too high or stuck closed | Lower temp, test upper thermostat |
| Popping or rumbling noise | Sediment at the bottom of the tank | Drain and flush the tank |
| Breaker trips repeatedly | Shorted element or wiring fault | Test elements to ground, call an electrician |
No Hot Water At All
Check the breaker first. If it tripped, reset it once. Then test the voltage at the top of the heater with a multimeter.
You should see roughly 240 volts between the two hot wires. No voltage means the problem is upstream, not in the tank.
If power is good, turn the breaker off and remove the upper access panel. Test the upper heating element by touching the multimeter leads to the two element terminals. A good 4,500-watt element reads between 12 and 16 ohms.
If you see zero or infinite resistance, that element is dead and needs replacing.
If the upper element tests fine, test the upper thermostat. It should have continuity when the water is cold. No continuity means the thermostat won't call for heat.
That part gets replaced too.
If you're not comfortable working around live voltage, stop and call a licensed electrician. It's a simple repair, but electricity doesn't care how confident you feel.
Water Is Lukewarm
This is usually the lower heating element. The upper element heats the top third of the tank first. Once that water is hot, the system switches power to the lower element.
If the lower element is dead, you get a tank full of warm, not hot, water.
Shut off the breaker, drain the tank below the lower element, and test that element the same way. A good element reads 12 to 16 ohms. If it's open or shorted, replace it.
Here's a common mistake: people replace the upper element because it's easier to reach. That won't fix lukewarm water. The lower element is what finishes the job.
Water Is Too Hot
First, check the thermostat dials. Someone may have cranked them all the way up. Thermostats on the Marathon typically top out around 150°F.
Drop the setting back to 120°F or lower and give the tank time to cool.
If the dials look normal but the water is scalding, the upper thermostat may be stuck closed. That can keep both elements energized at the same time, turning the tank into an overdrive heater. Replace the upper thermostat and test again.
Popping or Rumbling Noise
That racket is sediment. Even though the polybutylene tank won't corrode, hard water minerals still settle at the bottom. The lower element gets buried in scale, overheats locally, and causes that popping or rumbling sound.
Drain the tank completely through the drain valve. Then open the cold water supply for a few seconds to stir up remaining sediment and flush it out. Do this once a year.
If the noise disappears after a good flush, the fix is done.
Breaker Trips Repeatedly
A breaker that trips again and again isn't random. It's a short circuit. A heating element with cracked insulation can leak current to the tank or the wiring.
Test each element from its terminals to the metal mounting flange. Any continuity means the element is shorted to ground. If both elements test clean, inspect the wiring inside the access panels for scraped insulation or loose connections.
If everything looks fine, call an electrician. Don't keep flipping the breaker back on.
What Most DIYers Get Wrong (And How to Avoid It)
Aggregate reviews from Marathon owners show a clear pattern: most reported failures are elements and thermostats, not the tank. But people still waste time and money chasing the wrong fix. Here's where it goes sideways.
- Pressing the reset button over and over without testing anything. That just delays the real repair.
- Replacing the upper element when the lower one is dead. Test both before you buy parts.
- Forgetting to turn off the breaker. This is the most dangerous mistake in the whole process.
- Assuming the tank needs an anode rod. It doesn't. There's nothing to replace.
- Cranking the thermostat to maximum to "fix" lukewarm water. That doesn't solve a dead element.
- Ignoring water dripping from the temperature and pressure relief valve. That's a safety concern, not a nuisance.
Read the symptom, test the component, and replace only what fails. That's the entire game.
One more thing: don't replace both elements out of habit. Single-element failures are the norm. The multimeter tells you exactly which one is bad.
Trust the reading, not the guess.
Simple Maintenance That Keeps It Running
A Marathon doesn't ask for much. But the little it asks for matters. Skip these few steps, and you'll chase problems that never should have started.
The drain and flush is the big one. Hard water minerals settle on the bottom and bury the lower element. That element then overheats, sputters, and eventually burns out.
Aggregate reviews show that owners who flush yearly rarely replace lower elements.
Here's the routine:
Drain and flush the tank once a year. Hook a garden hose to the drain valve, run it to a floor drain or outside, and open the valve. Let the tank empty completely. Then open the cold water supply for ten seconds to stir up what's left. Close the valve, refill the tank, and restore power.
Test the temperature and pressure relief valve annually. Lift the lever and let it snap back. You should hear a gush of water and then a clean seal. If water keeps dripping after the valve reseats, replace the valve.
Keep the area around the tank clear of clutter. The foam insulation is thick, but the air intake for the T&P valve drain needs to stay unobstructed. Don't stack boxes or storage bins right against the heater.
Check the thermostat settings after any power outage. A long electrical surge can sometimes bump the dials. It's a two-second fix that saves you from a surprise cold shower.
Inspect the access panels for signs of moisture. If you see rust or water stains around the screws, the foam insulation might be holding condensation. That can cause false readings on the thermostat. Let the area dry out fully.
That's the whole list. Five minutes of work, once a year. Most owners do it while the tank is already empty for the annual flush.
Frequently Asked Questions
How do I reset my Rheem Marathon water heater?
Turn off the breaker at the panel. Remove the upper access panel and pull back the insulation. Press the red high-limit reset button until you feel it click.
Replace the panel and restore power. Wait 20 minutes for the water to heat up.
Why is my Rheem Marathon water heater not getting hot?
The most common causes are a tripped breaker, a failed upper heating element, or a stuck thermostat. Check the breaker first. If that's fine, test the upper element with a multimeter.
A good 4,500-watt element reads 12 to 16 ohms.
How long does a Rheem Marathon water heater last?
The polybutylene tank is backed by a lifetime tank warranty. The electrical components, the elements and thermostats, typically last 6 to 10 years. They are replaceable parts, which means the tank can outlive the components by decades.
Does a Rheem Marathon water heater have an anode rod?
No. The Marathon has a polybutylene tank that does not corrode, so there is no need for a sacrificial anode rod. You will never need to inspect or replace one.
Why is my Rheem Marathon water heater making a popping noise?
That popping or rumbling sound is sediment buildup on the bottom of the tank. The lower element heats water trapped under the scale, causing it to boil and pop. Drain and flush the tank to remove the sediment.
Can I replace the heating element myself?
Yes, if you are comfortable working with 240-volt electricity. Turn off the breaker, drain the tank below the element, and remove the old element with an element wrench. The new element threads in the same way.
Test both elements before you order parts so you replace the right one.

Similar Posts
































