Trail Camera Water Damage Troubleshooting
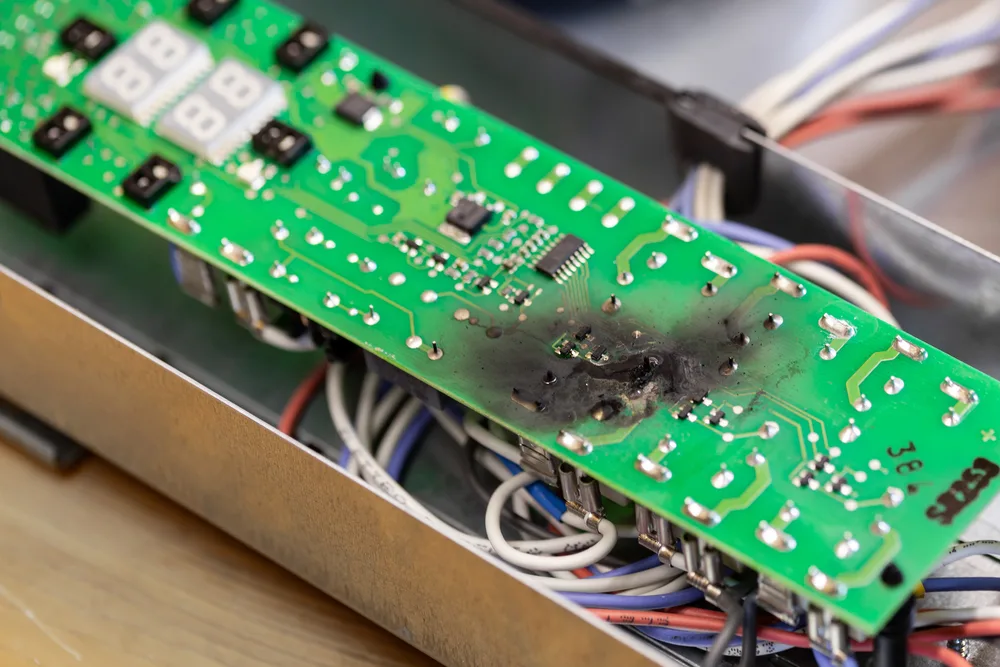
If you need trail camera water damage troubleshooting right now, every minute counts. Water inside that sealed housing starts corroding tiny solder joints almost immediately. Panic grabs people first.
That is totally normal.
Manufacturer specifications for most trail cameras list an IP66 or IP65 rating. Per IEC standard 60529, IP66 means the enclosure handles powerful water jets but not submersion. Many cameras with IP65 are only splash-proof.
A hard rain over several days can push moisture past the sealing gaskets. Understanding that rating difference is the first step in knowing how bad the damage might be.
Quick Answer
Remove batteries and SD card immediately. Open the housing. Clean all internal components with 99% isopropyl alcohol.
Do not use rice or heat above 140°F (60°C). Drying takes 24 to 72 hours. Success depends on whether the camera was powered on when water entered.
Image source: Web (Bing) / storage.googleapis.com (Web image (fair-use with source credit))
Before You Do Anything Else – Remove the Batteries
The absolute first move is pulling those batteries. Not checking if it still works. Not shaking it.
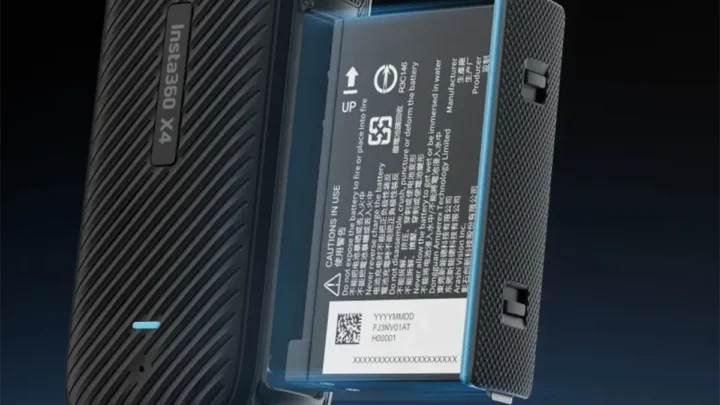
Not even opening the SD card slot yet. Batteries out, right now.
Water and electricity create electrolysis inside the camera. As of 2026, every trail camera uses lithium or alkaline cells that can short through water droplets bridging the battery contacts. A short generates heat.
Heat inside a sealed housing can warp plastic and kill the main board fast.
Remove the batteries even if the camera looks dry. Condensation inside the housing pools around terminals within minutes. Dry the battery contacts with a clean cloth.
Set the cells aside somewhere warm. Do not reuse them until the camera is fully functional.
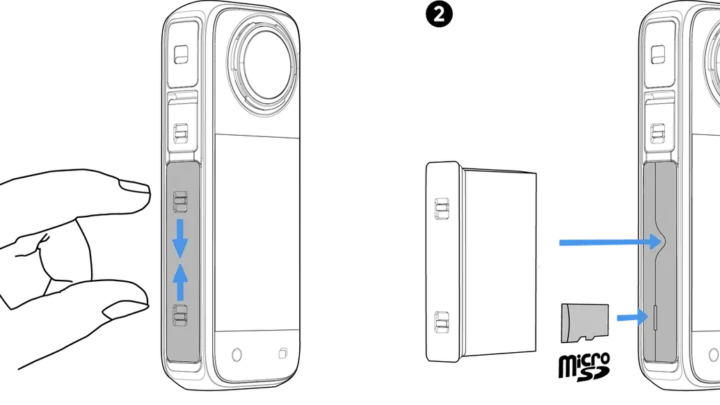
If the SD card is accessible, pop that out too. Wipe it dry. A wet card inserted into a dry reader can short that device.
Let it sit at room temperature for 24 hours before attempting to read it.
Many trail cameras share design similarities with action cameras. The approach for a camera that won't power on after water exposure follows the same logic. Moisture trapped in the power switch housing is a common point of failure.
A stuck power button often means residue is still bridging the contacts.
| Action | Timing | Result if Skipped |
|---|---|---|
| Remove batteries | Immediately | Electrolysis damages PCB traces |
| Remove SD card | Within 1 minute | Corroded card contacts |
| Dry external housing | Within 5 minutes | Moisture wicks into seams |
| Open main housing | Within 15 minutes | Prolonged internal corrosion |
What Water Actually Does to a Trail Camera's Electronics
Water damage is not a single event. It is a chain reaction that continues long after the camera looks dry.
Pure water is not very conductive. But the water that enters a trail camera is never pure. It carries dissolved minerals, dirt, leaf debris, and sometimes salt.
Once that conductive film bridges two electrical contacts, it creates a path for current where it was never designed to flow.
The result is galvanic corrosion. Different metals inside the camera form a tiny battery with the water as electrolyte. Copper traces, tin solder, and gold plating on contacts all react differently.
Metal ions migrate from one component to another. That green crust or white powdery residue on the circuit board is the physical evidence.
The IEC 60529 standard defines the IP rating system. IP65 means dust-tight and protected against low-pressure water jets. IP66 means protected against powerful water jets.
IP67 means protected against temporary submersion. A camera rated IP65 left in a driving rainstorm for three days will likely take on water at the gasket seam.
Corrosion does not stop when the water evaporates. The residue left behind remains conductive and can continue attacking the board. That is why simply letting the camera air out rarely works.
You have to remove the residue.
If you are dealing with moisture behind the lens or display, the fix for a fogged-up lens follows a similar principle. Removing trapped humidity is critical before the moisture damages the camera's image sensor or IR filter mechanism.
Your Exact Next Moves Based on How It Got Wet
The way you handle the recovery depends entirely on how the camera got wet and whether it was running at the time. One size fits all advice will ruin some cameras and save others. Here is how to make the right call.
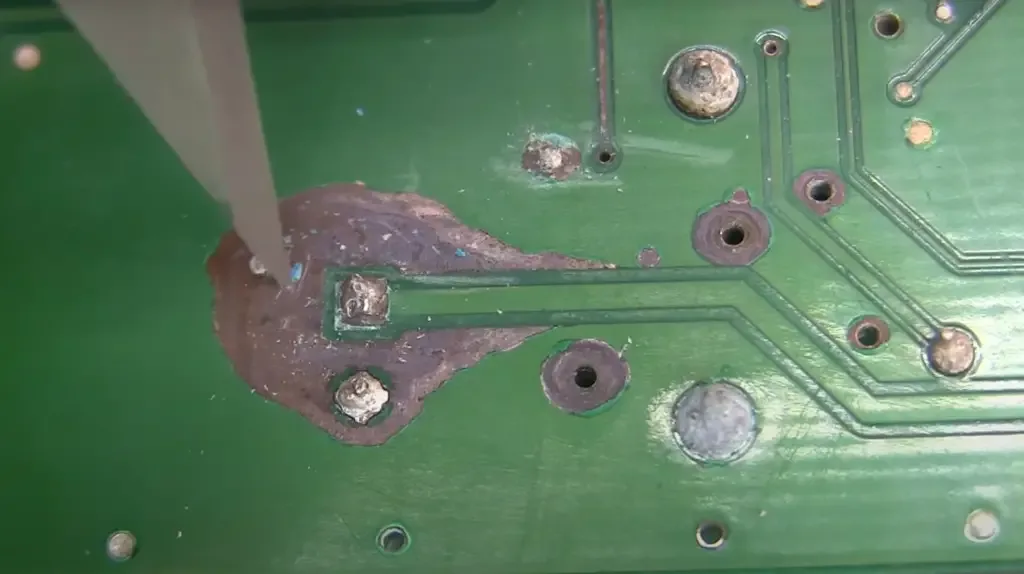
Image source: Web (Bing) / storage.googleapis.com (Web image (fair-use with source credit))
Branch A: Freshwater, Camera Was Off
This is the best case scenario. Disconnect the batteries. Open the housing.
Remove the circuit board if you can. Rinse the board with 99% isopropyl alcohol to displace water. Let it dry for 48 hours.
Reassemble with a fresh gasket. Success rate is roughly 80 percent.
Branch B: Freshwater, Camera Was On
The detection circuit was live when water bridged the power rail. You need the same isopropyl alcohol flush, plus a soft brush to remove corrosion from the microcontroller pins. Check the power switch with a multimeter.
If it shows continuity when it should not, the switch module is likely dead. Success rate drops to around 50 percent.
Branch C: Saltwater or Mud, Camera On or Off
Saltwater is the worst. Chloride ions penetrate coatings and corrode metal so fast that visible damage appears within hours. Flush the board with distilled water first to remove salt crystals.
Then flush with isopropyl alcohol. Dry for 72 hours minimum. Expect to replace the battery contacts and possibly the entire board.
Success rate is below 30 percent.
Branch D: Condensation or Humidity Only
You might not see standing water. Fog inside the lens or moisture on the IR sensor means humidity has been trapped for days. Open the housing in a dry room.
Place the camera in a container with silica gel desiccant for 48 hours. No water flush needed. No alcohol scrub.
Just dry air and patience. Success rate is above 90 percent.
Mistakes That Ruin Cameras for Good
The first mistake is the rice trick. Rice does not absorb moisture well inside a sealed enclosure. It releases starch dust that clogs the microphone port and switch mechanisms.
Trash the rice. Use silica gel or a food dehydrator at 95°F (35°C) instead.
The second mistake is applying power too soon. People put fresh batteries in a damp camera to see if it survived. That immediate power test can short out circuits that might have recovered with more drying time.
Wait at least 72 hours if the camera got wet inside.
The third mistake is using heat guns or ovens. Temperatures above 140°F (60°C) can melt solder joints and warp the plastic housing. The IR sensor window is especially sensitive to heat distortion.
A hairdryer on the cool setting is acceptable. A heat gun is not.
The fourth mistake is ignoring the gasket. Reusing the same rubber seal after water ingress is like putting a used cork back in a bottle. The gasket has already compressed to its limit.
It will not seal again. Replace it with a new one.
The fifth mistake is spraying contact cleaner everywhere. Some contact cleaners contain lubricants that leave a residue. That residue traps future moisture.
Stick with 99% isopropyl alcohol for trail camera electronics.
The sixth mistake is forgetting the battery contacts. Corroded battery springs can zero out voltage even if the board is perfect. Clean them with alcohol or replace them.
A battery that overheats during the drying test can indicate a short still present on the board.
When Repair Makes Sense vs. When to Trash It
Not every wet camera is worth saving. The math is simple. Compare the cost of the camera against the time and parts needed to fix it.
If the camera cost under $60, replacing it is usually smarter. Newer models at that price point often have better seals anyway. The time spent disassembling and drying an inexpensive camera is not worth it when you can pick up a replacement for the same cost as a couple of meals.
If the camera cost between $60 and $150, repair makes financial sense if the damage is limited to the battery compartment or outer gasket. A $10 gasket kit and an hour of your time can bring it back. But if the main board shows visible corrosion, the repair cost in parts alone often exceeds half the camera value.
If the camera cost over $150, repair is almost always worth attempting. High end trail cameras use conformally coated boards that resist corrosion better. They also have replaceable component modules.
A full board replacement may still be cheaper than buying new.
A corrupted memory card from water exposure is a separate issue. The data on the card might still be recoverable even if the camera itself is toast. Focus on the camera first, then deal with the card.
| Camera Value | Water Condition | Recommended Action |
|---|---|---|
| Under $60 | Any moisture | Replace |
| $60 to $150 | Surface wet only | Repair with new gasket |
| $60 to $150 | Board corrosion visible | Replace or professional fix |
| Over $150 | Any wet damage | Attempt repair first |
| Over $150 | Saltwater, board damage | Weigh cost of replacement board vs new camera |
What the Pros Do That Most People Skip
Camera shops and wildlife research teams see dozens of water damaged trail cameras each season. Their recovery workflows look different from the average DIY approach. The difference comes down to three things: tools, timing, and gasket care.
The first pro move is using a vacuum chamber. Removing the board and placing it in a vacuum chamber at 25 inches of mercury for 30 minutes pulls moisture from under components where alcohol cannot reach. For trail camera owners without that equipment, a food dehydrator at 95°F (35°C) for 12 hours mimics the effect.
Do not exceed that temperature.
The second pro move is a full disassembly. Most DIY attempts only open the main housing. The sensor module, IR board, and antenna assembly each have separate gaskets that trap water.
Professionals pull every accessible component, clean each one with 99% isopropyl alcohol, and inspect the contact pins under magnification.
The third pro move is applying dielectric grease to every O-ring and battery contact. A thin layer prevents future moisture from bridging the terminals. Many cameras die from a second wet event after a first repair because the gasket was left bare.
Grease costs five dollars. It is the cheapest insurance you can buy.
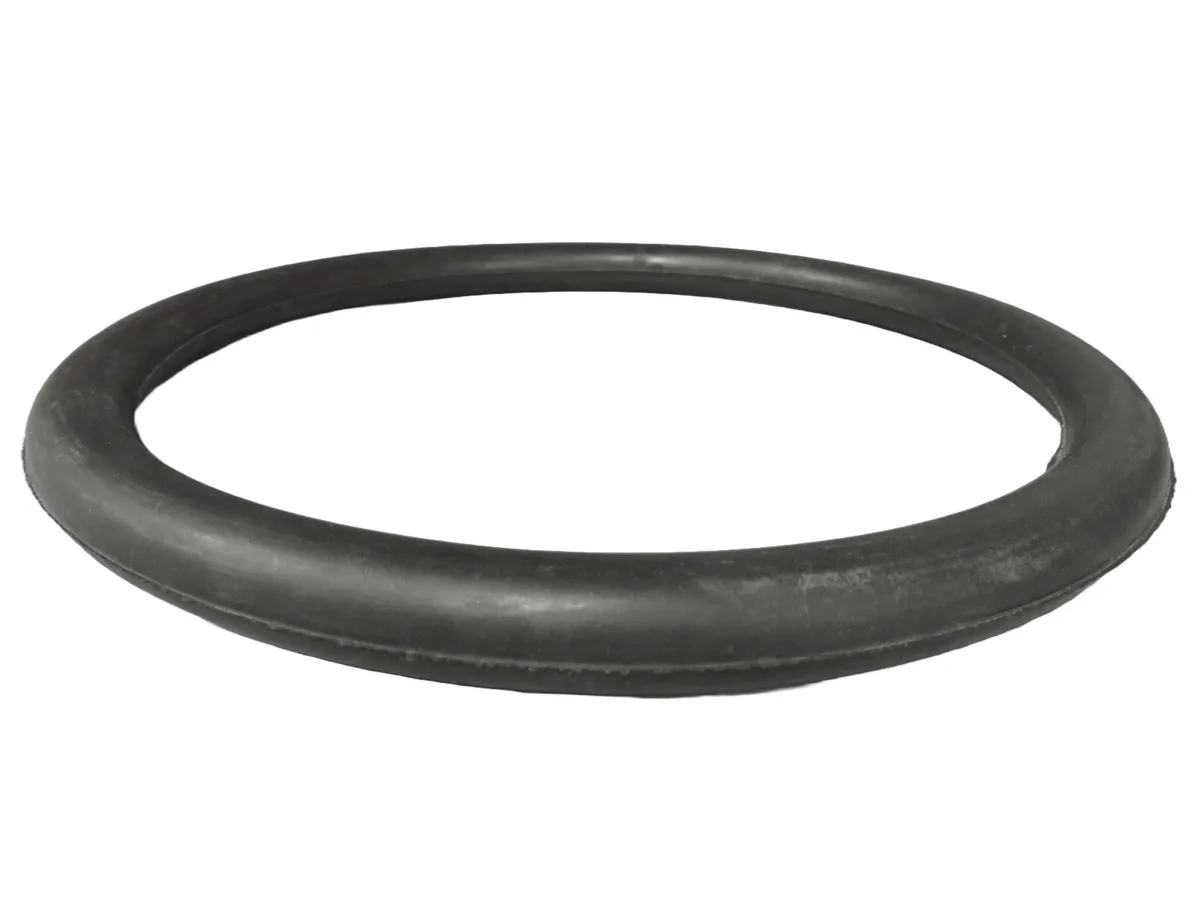
Image source: Bing (Web (fair-use with source credit))
Replacing the gasket is the fourth pro move. That rubber seal has already compressed to its maximum deformation. Even if it looks fine, it will not seal with the same force.
Manufacturer support pages for most trail camera brands sell replacement gasket kits for under fifteen dollars. Order one before you attempt the repair.
The fifth pro move is the multimeter continuity check. Before reassembly, professionals verify that no two adjacent power pins show a short. A reading below 10 ohms between battery positive and ground means the board still has a conductive path.
More alcohol cleaning is needed.
Patience is the real skill here. Pros wait a full week before declaring a camera dead.
Frequently Asked Questions
How long should I let a wet trail camera dry before testing it?
Let it dry for a minimum of 72 hours in a warm dry space. The board needs to lose moisture trapped under the microcontroller and sensor components. Testing earlier risks shorting the circuit and causing permanent damage.
Can I use rice to dry a trail camera?
Do not use rice. Rice dust clogs the microphone port and switch mechanisms. It does not absorb moisture effectively inside a sealed camera housing.
Use silica gel desiccant packs or a food dehydrator set to 95°F (35°C) instead.
Will my waterproof trail camera survive being submerged?
Not if it is rated IP65 or IP66. Those ratings cover rain and water jets, not submersion. Only IP67 certified cameras are guaranteed against temporary submersion.
Even then, the seal can fail if the gasket is old or damaged.
What should I do if my trail camera smelled like smoke after getting wet?
Remove the batteries immediately if you have not already. A burning smell means a component likely shorted and overheated. The board is probably damaged beyond repair.
Replace the camera for safety reasons.
Can I fix a trail camera that sat wet for a week before I found it?
It is worth attempting if the camera was off and the water was fresh. The corrosion will be advanced but not necessarily complete. Flush the board with 99% isopropyl alcohol and scrub visible residue with a soft brush.
Success rates drop to roughly 30 percent at this stage.
Will a new gasket fix a camera that keeps getting fogged up?
Yes, a fresh gasket combined with dielectric grease on the seal surface typically stops condensation ingress. Make sure the housing screws are torqued evenly. Overtightening warps the plastic and creates new gaps.

Similar Posts