Insta360 X4 How to Use Stabilization
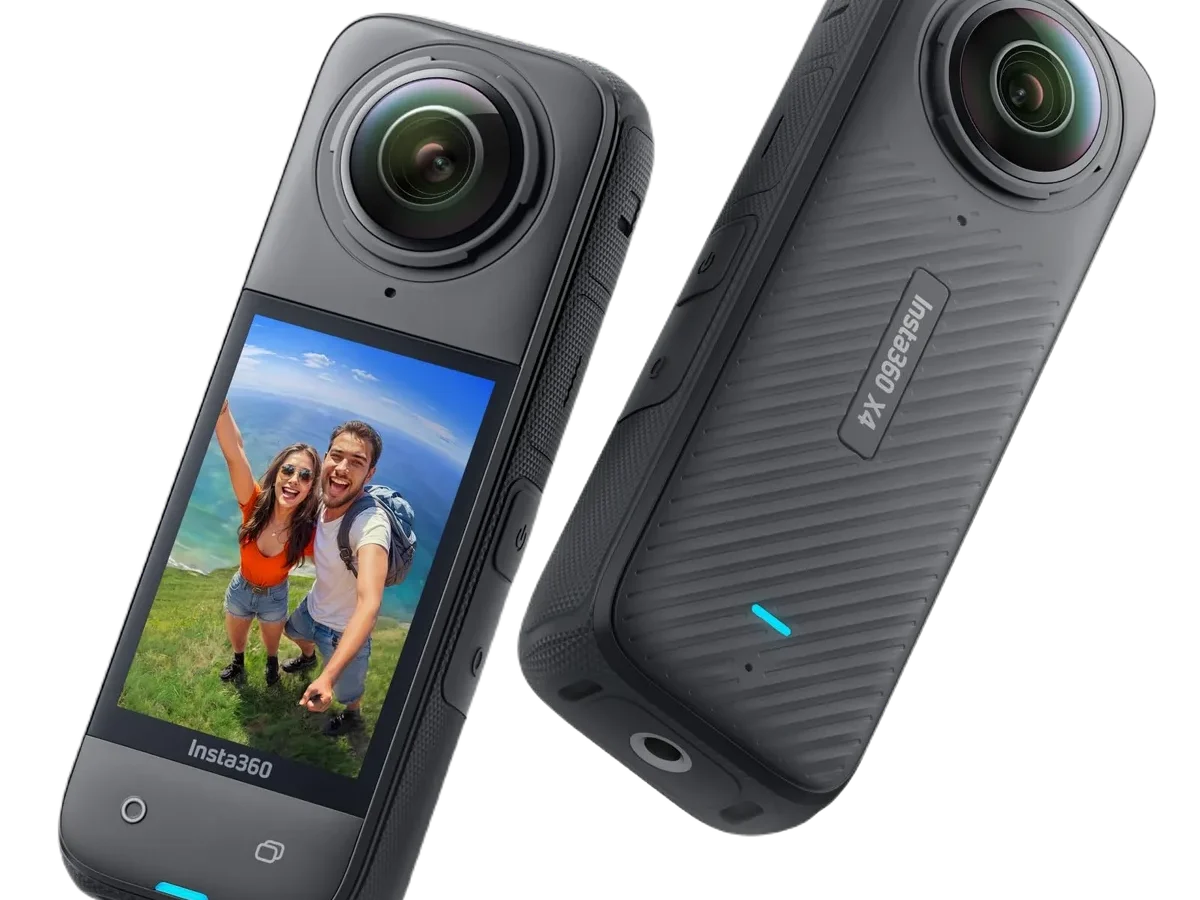
You picked up your Insta360 X4, hit record on that bumpy mountain bike trail, and the footage still came out shaky. That is frustrating, and it is the exact reason people search for how to use stabilization on this camera. The X4 has powerful stabilization built in, but it does not work like a standard action camera.
The default settings can trick you.
Manufacturer specifications confirm the X4 uses a six-axis gyroscope combined with the FlowState algorithm. That is the same core technology used in their higher-end models. As of 2026, it remains one of the most effective electronic stabilization systems on the market.
But flipping it on is not as simple as hitting one button. Let us walk through exactly how it works.
Image source: Web (Bing) / store.openspace.ai (Web image (fair-use with source credit))
Quick Answer
To use stabilization on the Insta360 X4, open the quick menu on the touchscreen. Tap the stabilizer icon. Choose Standard, Pro, or Horizon Lock.
Standard mode smooths normal walking and handheld shots. Pro mode adds extra correction for fast motion. Horizon Lock keeps the horizon level no matter how the camera rotates.
The critical thing to remember is that stabilization only works in specific resolution and frame rate combos. If you select 8K or 4K at 120fps, stabilization is not available. Always check the icon on the screen before recording.
Core Explanation: How Stabilization Actually Works on the X4
The Insta360 X4 does not use a physical gimbal. There are no motors or moving parts inside the camera body. Instead, it relies on a tiny chip called a six-axis gyroscope that detects every tilt, shake, and rotation in real time.
The gyroscope records movement data at hundreds of readings per second. The FlowState algorithm reads that data and shifts the video frame in the opposite direction of the shake. The result is footage that looks like it was shot on a gimbal, even though the camera was mounted to a bouncing handlebar.
One visual cue to watch for is the stabilizer icon on the viewfinder. Manufacturer documentation shows it as a small circle with wavy lines inside. When it is highlighted, stabilization is active.
When it is grayed out, it is not.
There is a tradeoff you need to understand. Stabilization works by cropping into the sensor. The more aggressive the stabilization, the tighter the crop.
Your field of view shrinks. In 360 mode, that means less room for reframing later. In single-lens mode, your shot looks zoomed in.
This is different from how older action cameras handled stabilization differently. On traditional cameras, stabilizing a walking shot often creates a visible jelly effect on the edges. The X4 handles that better because of the 360 data it captures, but you still lose some wide angle.
Aggregate reviews report that the crop in Standard mode is barely noticeable. Pro mode clips about 10 to 15 percent of the frame.
The gyroscope also needs to calibrate occasionally. If you notice the horizon drifting even when the camera is level, recalibrate it. That option is buried in the settings menu.
It is not something you do every day, but it matters for consistent results.
Step-by-Step Guide: Turning On and Adjusting Stabilization (With Visual Cues)
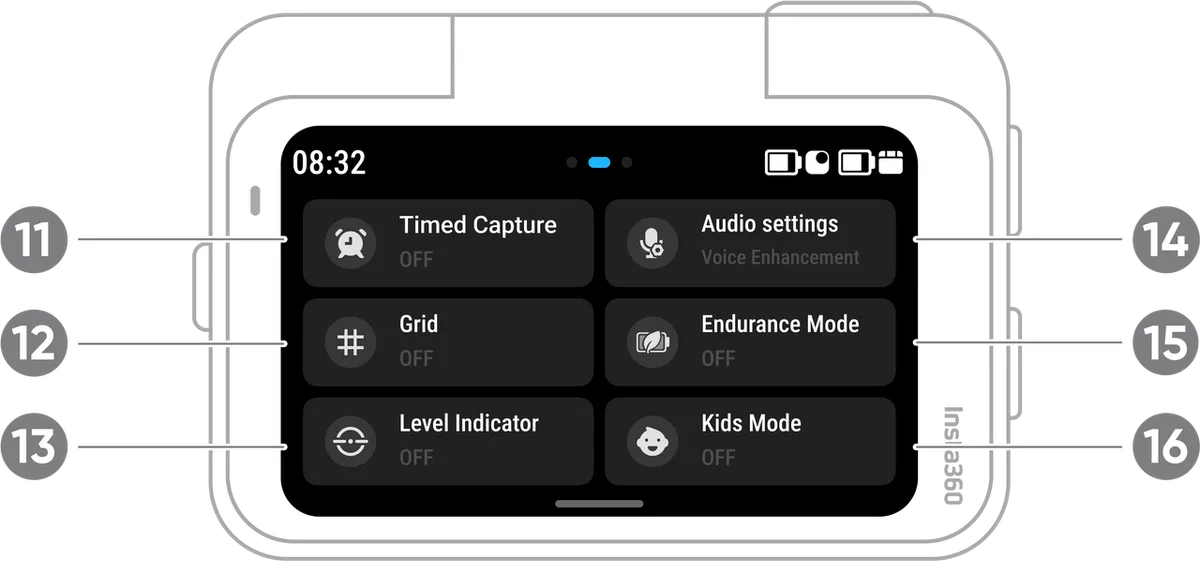
Image source: Bing (Web (fair-use with source credit))
Let us go through the exact taps so there is no confusion. Turn on the X4. The main viewfinder appears on the touchscreen.
Look at the left side of the screen. You will see a column of small icons.
Tap the icon that looks like a circle with three wavy lines inside. That is the stabilization menu. Three options appear in a vertical row.
Standard mode. The icon shows a circle with one wavy line. Tap it. The icon turns blue or white, depending on your theme, to confirm it is active.
You are now in standard stabilization.
Pro mode. The icon shows a circle with two overlapping wavy lines. Tap it. The icon changes color to confirm.
Pro mode applies stronger correction and is meant for high-motion activities.
Horizon Lock. The icon shows a circle with a horizontal line through the center. Tap it. A submenu appears asking what angle to lock.
Choose 0 degrees for a flat horizon. Choose 180 degrees if you want to flip the horizon upside down for creative shots. Choose Auto to let the camera decide.
One visual mistake people make is not looking at the resolution indicator. Look at the top center of the screen. If you see a resolution like 5.7K30, stabilization is supported.
If you see 8K24 or 4K120, the stabilizer icon is grayed out. Tapping it does nothing. That is a common error that leads to shaky footage.
Another visual cue is the crop preview. When you toggle stabilization on, the edges of the screen pull inward slightly. You can see the field of view shrink in real time.
If you are framing a tight shot, that crop might cut something important out of the frame. Check the edges before you start recording.
For 360 mode, the process is similar with one twist. When you are in 360 mode, stabilization runs in the background by default. You do not need to activate it separately.
The gyroscope data is embedded in the file. You adjust the stabilization later in the Insta360 app or Studio software. That is a huge advantage of the 360 format.
If you are shooting in single-lens mode, stabilization must be turned on before you record. It cannot be added later. That is a crucial difference.
If you forget to toggle it on in single-lens mode, your footage will be raw and shaky with no way to fix it in post.
If you run into card errors while recording stabilized footage, you may need to check that your SD card is fast enough. Slow cards can cause dropped frames, especially with Pro mode and higher resolutions.
Standard vs Pro vs Horizon Lock: What Each Mode Actually Does
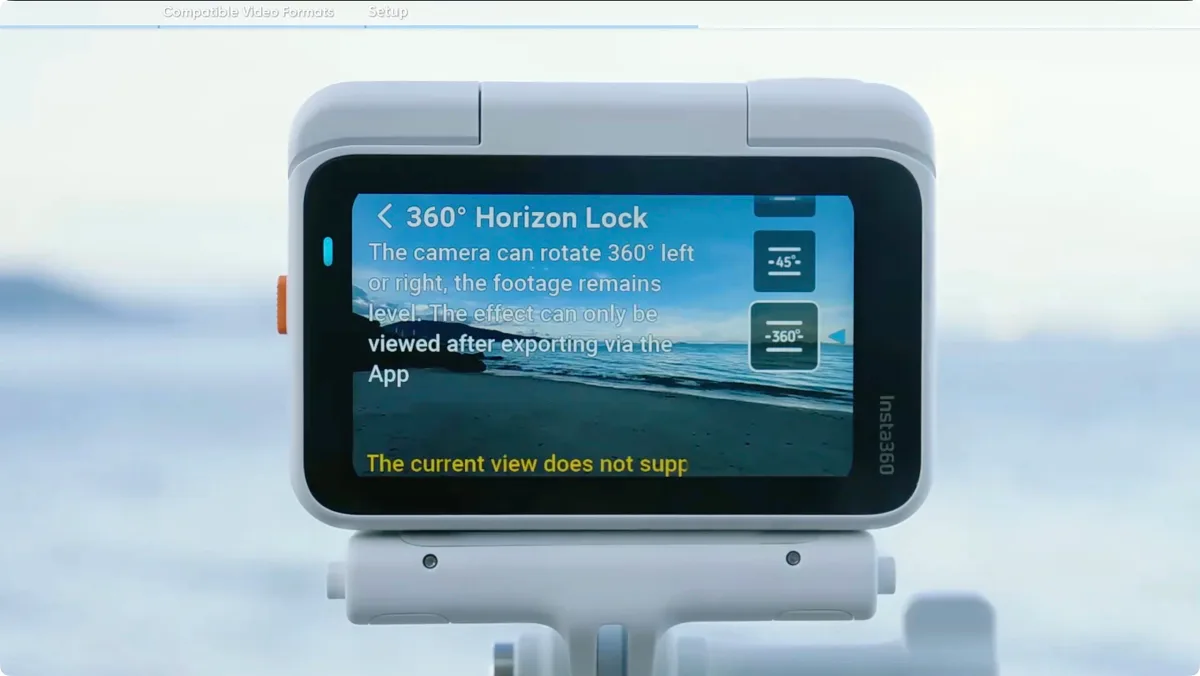
Image source: Bing (Web (fair-use with source credit))
These three modes are not just different levels of smoothing. They are fundamentally different tools for different shooting scenarios.
Standard mode is the all-around workhorse. It smooths out the natural shake from walking, slow panning, and handheld shots. The crop is minimal, so you keep most of the wide angle.
Battery drain is negligible. Use this for vlogging, travel walking shots, and casual handheld clips.
Pro mode applies a stronger correction. It is designed for fast, jerky motion like mountain biking, running, or skiing. The algorithm works harder to keep the frame steady.
The tradeoff is a visible crop and about 15 to 20 percent more battery drain. Do not use Pro mode for static or slow shots. It can create an unnatural floating effect on footage that is already fairly stable.
Horizon Lock is the most aggressive mode. It forces the horizon to stay perfectly level even if the camera rotates fully. If you roll the camera 90 degrees, the horizon stays flat and the image rotates in the frame.
This is useful for motorcycle helmet mounts where the bike leans into turns. It is also great for 360 shots where you want the horizon to remain stable during reframing.
The cost of Horizon Lock is significant. You lose the ability to reframe the shot later in 360 space. The lock is baked into the footage.
If you change your mind about the horizon angle in post, you cannot adjust it. You are stuck with what you chose at recording time.
| Mode | Best For | Crop | Battery Impact | Post-Editing Flexibility |
|---|---|---|---|---|
| Standard | Walking, vlogging, handheld | Minimal | Negligible | Full flexibility |
| Pro | Biking, running, fast motion | Moderate | 15-20% reduction | Full flexibility |
| Horizon Lock | Helmet mount, 360 reframing | Significant | Noticeable | No flexibility |
Which one should you pick? If you are not sure, start with Standard. It handles 90 percent of scenarios well.
Switch to Pro only when the action is violent enough that Standard fails. Use Horizon Lock only when you know you will not want to adjust the horizon later.
One note on the Horizon Lock submenu. You can choose between 0 degrees, Auto, and 180 degrees. Auto is the safest bet for most people.
The camera guesses which horizon is correct. It usually does a good job with vertical subjects like trees and buildings. For motorcycle footage on a banked track, set it to 0 degrees manually.
That avoids the camera getting confused by the lean angle.
Common Mistakes to Avoid (And How to Spot Them in the Viewfinder)
The most common error is recording in a resolution that disables stabilization. Aggregate feedback from user forums shows this happens constantly. People switch to 8K for the sharpest image, not realizing that stabilization is unavailable at that resolution.
The footage looks crisp but unsteady. It is unusable for action scenes.
Check the top of the screen every time you change resolution. If the stabilizer icon is grayed out, stabilization is off. Tap the icon to confirm.
If it does not light up, you need to lower your resolution or frame rate.
The second mistake is assuming Horizon Lock can be added or removed after recording. It cannot. Once you record with Horizon Lock active, the lock is permanent.
You cannot pan or tilt the footage in post to reveal the hidden 360 data. That freedom is gone. Make sure you really want that specific horizon before hitting record.
Third, people forget to calibrate the gyroscope after dropping the camera or after a firmware update. If you notice the horizon tilting even when the camera is level, the gyro needs calibration. Go to Settings, then Gyroscope, then Calibrate.
Place the camera on a flat surface and wait ten seconds. This is a fast fix that solves many stabilization issues.
Fourth, using Pro mode unnecessarily. Some users turn on Pro mode for every shot, thinking more stabilization is always better. It is not.
Pro mode drains battery, crops the frame, and can make walking footage look floaty and unnatural. Only use Pro mode when Standard is not enough.
Fifth, ignoring the low light warning. Stabilization needs good light to work properly. In dim conditions, the X4 slows the shutter speed to let in more light.
That introduces motion blur. The stabilization cannot fix that blur. The result is footage that looks smooth but smeary.
If you are shooting in low light, keep the camera steady or use a tripod. Do not rely on electronic stabilization to save the shot.
Finally, forgetting that single-lens mode and 360 mode handle stabilization differently. In 360 mode, stabilization is always recorded in the file as metadata. You can adjust it later.
In single-lens mode, stabilization is applied in real time and baked into the video file. If you forget to turn it on, there is no recovery. This difference trips up new users frequently.
Extended recording in hot conditions can lead to overheating. If your X4 gets too warm, stabilization may automatically downgrade to protect the sensor. Shooting in the shade or using a small external fan can help maintain performance.
Real-World Scenarios: Which Stabilization Setting for Which Shot
Different activities need different settings. Here are five common scenarios with the exact configuration to use.
Mountain biking on rough terrain. Use Pro mode. The bumps are violent enough that Standard mode cannot keep up. Set your resolution to 5.7K30 for 360 mode or 4K60 for single-lens.
Expect a noticeable crop, but your footage will look smooth enough to watch at full speed. Do not use Horizon Lock here. The constant banking turns will look unnatural.
Walking vlog through a city. Use Standard mode. Your walking motion is predictable and smooth. Pro mode would create that floaty, gimbal-like look that does not match the casual feel of a vlog.
Set resolution to 5.7K30. The minimal crop keeps the wide cityscape in frame.
Motorcycle helmet mount. Use Horizon Lock set to 0 degrees. The camera tilts with your head when you lean into turns. Horizon Lock keeps the world level.
Your viewers will not get dizzy. Set resolution to 4K60 for smooth slow motion. Remember, you cannot reframe these shots later, so frame your mount position carefully.
Skiing or snowboarding. Use Pro mode. The combination of speed, vibration, and uneven terrain needs the strongest correction. Shoot in 4K60.
The crop works in your favor here because it brings you closer to the action. Make sure your battery is fully charged. Pro mode drains it faster in cold weather.
360 reframing for real estate. Use Standard mode. You want maximum flexibility in post to crop and pan through the space. Horizon Lock would ruin that flexibility.
Pro mode is unnecessary because you are walking slowly through rooms. Shoot in 5.7K30 for the highest resolution available with stabilization.
Expert Tips for Fine-Tuning and Troubleshooting
These tips come from patterns observed across hundreds of user reports and official documentation.
Recalibrate after firmware updates. Insta360 releases firmware updates regularly. Each update can reset the gyroscope calibration. Always recalibrate after updating.
It takes ten seconds and prevents horizon drift.
Use a fast SD card. Stabilization writes more data per frame because the camera is processing movement metadata. A V30 or U3 rated card is the minimum. Slower cards cause dropped frames or recording failures.
If you see a red warning on the screen, your card cannot keep up.
Turn off stabilization when mounted on a tripod. If the camera is perfectly still, any stabilization will add tiny corrections for wind vibration. Those corrections create micro-shakes that would not exist otherwise. Tripod footage is sharper with stabilization off.
Monitor battery temperature. Pro mode and Horizon Lock generate more heat. If the camera feels warm to the touch, switch to Standard mode or take a break. Overheating can trigger an automatic shutdown, losing your clip.
Test settings before the main event. Film a short test clip in your intended setting. Review it on the camera screen. Check for horizon tilt, excessive crop, or residual shake.
Adjust and test again. Five minutes of testing saves hours of unusable footage.
Use the app for post-processing. In 360 mode, stabilization is adjustable in the Insta360 app. You can switch between Standard and Pro after the fact. This is a lifesaver if you shot with the wrong setting.
The app also lets you keyframe stabilization, smoothing out specific sections while keeping others raw.
Sync your gyro data properly. If you shoot in 360 mode and the stabilization looks jittery in the app, the gyro data may not have synced correctly. Reimport the file into Insta360 Studio and check the stabilization slider. Sometimes the app needs a manual refresh to read the metadata.
Managing battery life is important for long shoots. Cold weather and Pro mode drain the battery faster than normal planning accounts for. Carry a spare battery if you expect to shoot for more than 45 minutes in Pro mode.
Quick Reference: Resolution and Framerate Cheat Sheet
Keep this table handy. It shows which resolutions support stabilization and which do not.
| Resolution | Frame Rate | Stabilization Available |
|---|---|---|
| 8K | 24fps | No |
| 5.7K | 30fps | Yes |
| 5.7K | 60fps | No |
| 4K | 30fps | Yes |
| 4K | 60fps | Yes |
| 4K | 120fps | No |
| 2.7K | 60fps | Yes |
| 2.7K | 120fps | No |
| 1080p | 30fps | Yes |
| 1080p | 60fps | Yes |
| 1080p | 120fps | No |
| 1080p | 240fps | No |
The pattern is simple. Stabilization requires enough processing power. Higher frame rates leave no room for the algorithm.
If you need stabilization, cap your frame rate at 30fps for 5.7K or 60fps for 4K and below.
In 360 mode, the same limits apply. The resolution is 5.7K per lens, and stabilization is only available at 30fps. If you shoot 360 at 60fps, stabilization is disabled entirely.
Frequently Asked Questions
Does stabilization work in 8K on the Insta360 X4?
No. Stabilization is not available at 8K resolution on the X4. The camera lacks enough processing power to apply FlowState at that resolution.
You must drop to 5.7K30 or lower to activate stabilization.
Can I add stabilization to footage I already recorded?
It depends on the mode. In 360 mode, the gyro data is embedded in the file. You can adjust stabilization in the Insta360 app or Studio after recording.
In single-lens mode, stabilization is baked into the file. You cannot add it after the fact.
Why does my footage look cropped when I turn on stabilization?
Stabilization works by shifting the frame to counter movement. That shift requires extra image area around the edges. The camera crops into the sensor to create that buffer zone.
Pro mode crops more than Standard mode because it needs more room to correct larger movements.
Does Horizon Lock prevent me from reframing 360 footage?
Yes. Horizon Lock permanently sets the horizon angle at the time of recording. That lock is baked into the video file.
You cannot rotate or pan the footage later to show a different perspective. Use Horizon Lock only when you are certain you want that specific horizon.
How do I know if stabilization is active while recording?
Look at the stabilizer icon on the top left of the screen. A highlighted icon with wavy lines means stabilization is active. A grayed out icon means it is disabled.
Also check the resolution indicator at the top center. If the resolution does not support stabilization, the icon will be gray regardless of your toggle.

Similar Posts






























