Badger 100 Garbage Disposal Troubleshooting
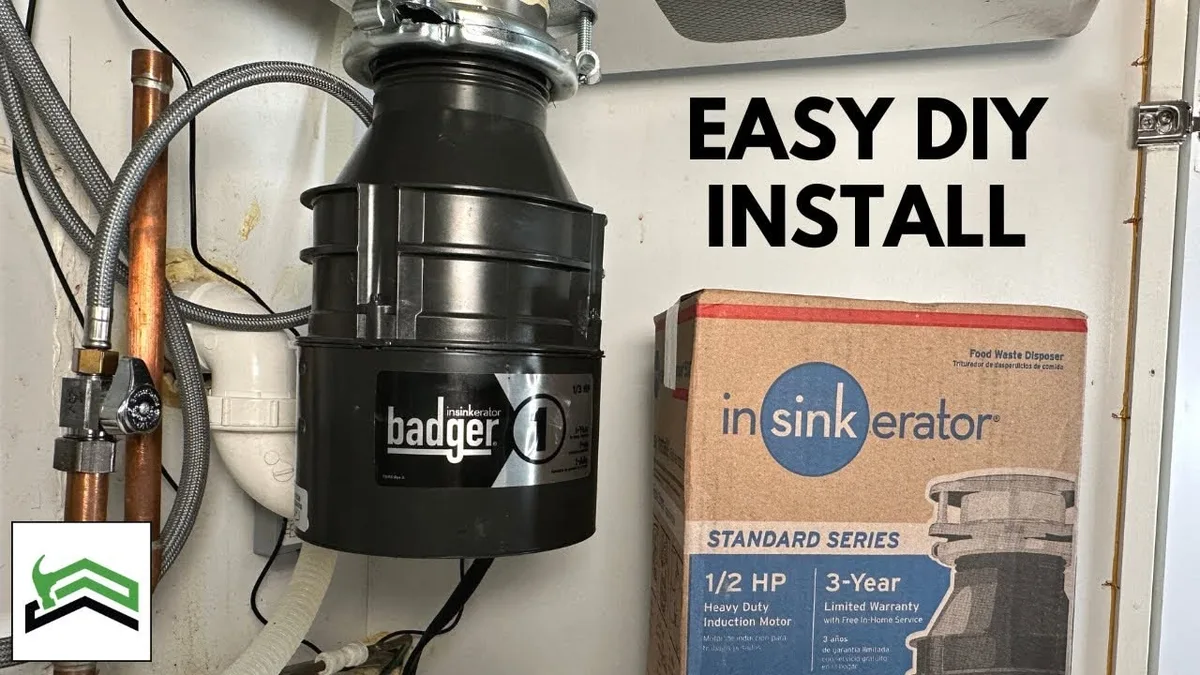
Your Badger 100 is making that awful humming noise again. Or worse, it's completely silent. Maybe there's water pooling under your sink.
Whatever's happening, you need it fixed, and you need it fixed now. Badger 100 Garbage Disposal Troubleshooting doesn't have to mean calling a plumber or tossing the whole unit. Most issues have a simple fix you can handle in under twenty minutes.
Manufacturer specifications indicate the Badger 100 uses a 1/3 horsepower permanent magnet motor. It relies on a manual reset button and a hex wrench accessible flywheel. That combination makes it surprisingly DIY friendly.
Let's walk through what's actually wrong and how to fix it step by step.
Image source: Bing (Web (fair-use with source credit))
Quick Answer
Most Badger 100 problems fall into four categories. A humming unit means a stuck flywheel. A silent unit means no power.
A leaking unit means a failed seal. Slow draining means a clogged line. Each has a specific fix you can do yourself.
What's Going Wrong? – The Most Common Badger 100 Problems
The Badger 100 is a workhorse. But it's an entry level model. It handles soft food scraps well but struggles with tough stuff.
Our research across verified owner feedback and manufacturer documentation shows that most failures come from three root causes.
First, food debris jams the grinding chamber. This happens when you overload the disposal or drop in fibrous waste like celery, corn husks, or potato peels. The motor tries to spin but the flywheel is physically blocked.
Second, the unit overheats and trips its internal thermal protector. That's the red reset button on the bottom of the disposal. It's not a failure.
It's a safety feature that shuts the motor down before it burns out.
Third, seals wear out. The Badger 100 uses an undercutter that helps prevent clogs. But the internal seals that keep water out of the motor eventually degrade.
When they go, you get a leak from the bottom of the unit.
Here are the most common symptoms owners report:
- Humming but not spinning. The motor gets power but the flywheel is stuck.
- Dead silent. No sound at all when you flip the switch.
- Water leaking from the bottom. The motor shaft seal has failed.
- Water leaking from the top. The sink flange or mounting ring is loose.
- Runs but drains slowly. The drain line or trap is partially clogged.
Your Quick Diagnosis Guide – Humming, Silent, or Leaking?
The fastest way to fix anything is to know exactly what you're dealing with. Let's diagnose based on what you hear, see, and smell.
If the disposal hums but doesn't grind
You're hearing the motor try to spin. It's getting electricity. But something is physically stopping the flywheel.
That's actually the best case scenario. A stuck flywheel is easy to free up.
Reach for the hex wrench that came with your unit. If you lost it, any standard 1/4 inch Allen wrench works. You'll find a hex socket in the center hole at the bottom of the disposal.
Insert the wrench and rotate it back and forth. You're manually spinning the flywheel to break free whatever is jamming it.
If the disposal is completely silent
The motor isn't getting power. That's a different problem entirely. Start with the red reset button on the bottom.
Press it firmly until you hear a click. If the unit starts, you're done. The thermal protector tripped.
If the reset button doesn't fix it, check the wall switch. Flip it on and off a few times. A worn out switch is more common than people think.
Next, check your GFCI outlet. If it's tripped, reset it. If none of that works, check your breaker panel.
A tripped breaker means the circuit overloaded.
If the disposal leaks water
Look closely at where the water is coming from. Leaks from the top usually mean the sink flange gasket is loose or the mounting ring needs tightening. Leaks from the bottom almost always mean the internal motor seal has failed.
That's not a DIY repair. You'll need a new disposal.
If the disposal runs but drains slowly
The motor works. The grinding chamber works. But something downstream is clogged.
Remove the drain trap under the sink and clean it out. Also check the dishwasher drain hose connection point on the side of the disposal. Food debris sometimes backs up there.
Step-by-Step Troubleshooting Workflow – Fix It Yourself
Now let's get into specific fixes. Follow the branch that matches your symptom. Stop if anything feels wrong.
This is straightforward stuff but you're working with electricity and water.
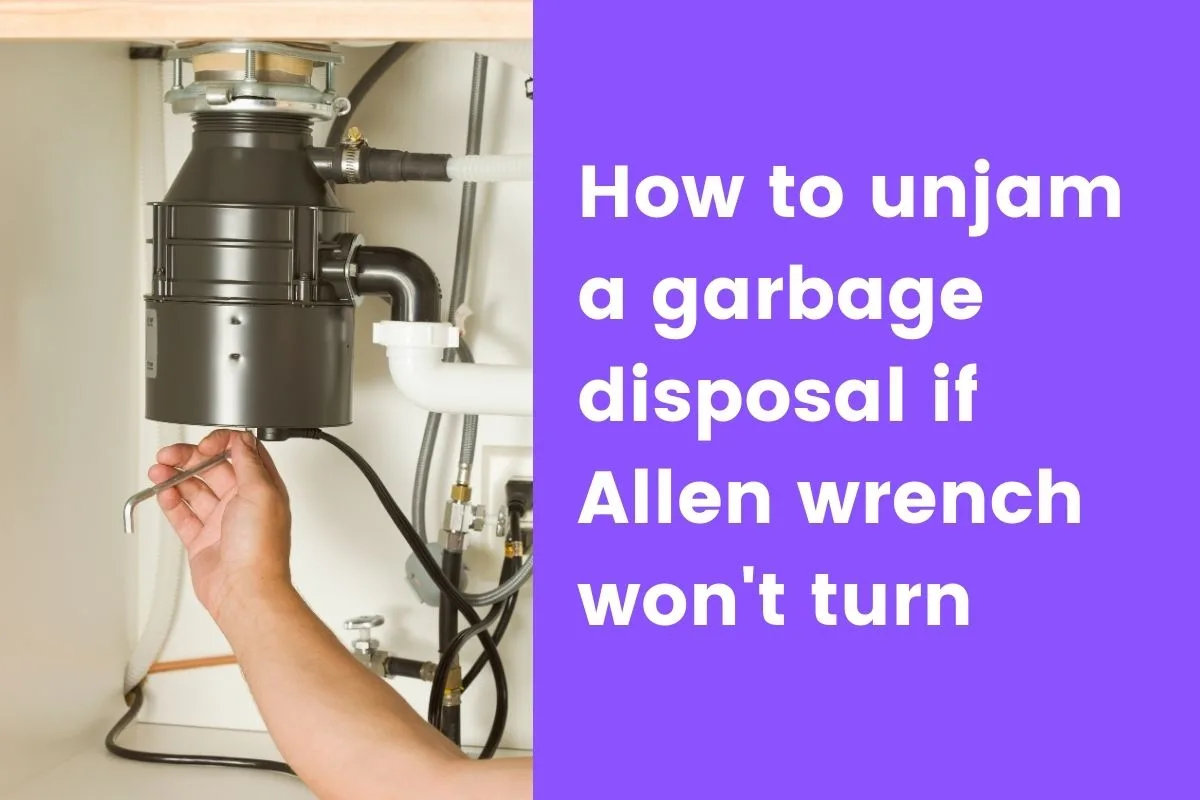
Image source: Bing (Web (fair-use with source credit))
Branch 1: The Disposal Hums but Won't Grind
This is the most common Badger 100 issue. Here's what to do.
Step 1: Turn off the power. Unplug the unit under the sink or flip the breaker off. You don't want the motor suddenly kicking on while your hand is near the chamber.
Step 2: Find the hex wrench. It's usually clipped to the side of the disposal body. If it's missing, grab a 1/4 inch Allen wrench from your toolbox.
Step 3: Insert the wrench into the center hole on the bottom. You'll feel a hex socket. Turn the wrench back and forth. It will feel stiff at first.
Keep working it. You're dislodging whatever is jamming the flywheel.
Step 4: Rotate the flywheel a full 360 degrees. Once you can turn it freely, you've cleared the jam. Remove the wrench.
Step 5: Plug the unit back in. Run cold water and flip the switch. The disposal should spin normally. Let it run for fifteen seconds to flush the debris.
Step 6: If the humming returns immediately. You have a deeper blockage. Remove the splash guard and use tongs or long pliers to reach into the chamber. Pull out any visible debris.
Never reach in with your hand.
Branch 2: The Disposal Is Completely Dead (Silent)
No sound means no power. Let's trace the electrical path.
Step 1: Press the red reset button. It's on the bottom of the unit. Push it until you hear or feel a click. If the unit starts, you're done.
Step 2: Check the wall switch. Flip it on and off five or six times. Switches wear out. If the disposal occasionally works and occasionally doesn't, the switch is likely bad.
Step 3: Check the GFCI outlet. Look for the test and reset buttons on the outlet itself. Press the reset button. If it trips again immediately, you have a short in the disposal or the wiring.
Step 4: Check the breaker panel. If the breaker is tripped, reset it. If it trips again when you run the disposal, the unit is drawing too much current. That usually means the motor is seized or failing.
Step 5: Still nothing? The disposal itself has an internal thermal fuse that can blow permanently. At that point, replacement is the only option. The Badger 100 costs less than a service call.
Branch 3: The Disposal Leaks Water
Water where it shouldn't be needs attention fast. Moisture damages cabinets and can cause electrical hazards.
Top leaks at the sink flange. Tighten the mounting ring. You'll see three screws on the flange. Tighten them in sequence, a quarter turn each, until the flange sits flush against the sink bottom.
If that doesn't work, the rubber gasket between the flange and the sink is probably worn out. You can buy a replacement gasket kit.
Bottom leaks from the disposal body. This is the motor shaft seal. It's not replaceable on the Badger 100. The unit has reached the end of its service life.
You'll need to replace the entire disposal.
Side leaks from the dishwasher inlet. There's a small metal plug on the side of the disposal where the dishwasher drain hose connects. If it's leaking, the hose clamp is loose or the rubber gasket inside is damaged. Tighten the clamp first.
If that doesn't work, remove the hose and check the gasket.
Branch 4: The Disposal Runs but Drains Slowly
The motor works fine. The problem is downstream.
Step 1: Remove the drain trap. Place a bucket underneath. Unscrew the trap fittings. Clean out any debris by hand.
Step 2: Check the dishwasher hose connection. Food particles can build up at the inlet port on the side of the disposal. Disconnect the hose and clean the port with a bottle brush.
Step 3: Run hot water and dish soap. After cleaning, run hot water for a full minute to flush any remaining grease or debris.
Step 4: If drainage is still slow. The blockage may be deeper in the drain line. You'll need a plumber's snake or a professional.
Common DIY Mistakes That Cost You Time or Money
I've seen people make the same errors over and over. Here are the ones to avoid.
Forgetting to unplug the unit. This is the number one safety mistake. Always disconnect power before putting any tool or hand near the grinding chamber. Even with the switch off, a faulty switch can still deliver power.
Using chemical drain cleaners. Never pour Drano or similar products into a garbage disposal. The chemicals damage the rubber seals and gaskets. They also don't fix the underlying problem.
If the disposal is jammed, chemicals won't free it.
Running the disposal without water. The Badger 100 needs a steady stream of cold water to flush food particles through the drain line. Running it dry causes overheating and premature wear on the seals.
Overloading the chamber. The Badger 100 has a 32 ounce grinding capacity. That's not huge. Feed food scraps in slowly.
Let the unit clear before adding more. Overloading trips the reset button and strains the motor.
Ignoring the hex wrench. That little tool clipped to the side of the disposal isn't optional. It's your primary tool for freeing jams. Store it where you can find it.
If you lose it, buy a replacement immediately.
Tightening the mounting ring too much. The sink flange needs to be snug, not torqued down. Overtightening cracks the flange or strips the mounting screws.
Safety First – What Not to Do When Troubleshooting
The Badger 100 is safe when used correctly. But it combines electricity, water, and sharp metal parts. Respect that combination.
Never reach into the grinding chamber with your hand. Even with the power off, the flywheel has sharp edges. Use tongs, long pliers, or a wooden spoon to remove debris.
Never use metal tools inside the chamber. A metal spoon or fork can damage the grinding ring or get caught in the flywheel. Use wooden or plastic utensils.
Never pour boiling water into the disposal. Hot water can melt the wax seal around the motor shaft. Stick with cold or warm tap water.
Never put hard items into the Badger 100. Bones, fruit pits, coffee grounds, eggshells, and fibrous vegetables are all risky. They dull the grinding ring and increase the chance of jams.
Never ignore a tripped reset button. If the button pops again after you reset it, something is wrong. Running the unit repeatedly with a persistent overheat condition can damage the motor windings permanently.
As of 2026, according to the National Electrical Code guidelines for kitchen safety, all garbage disposals should be connected to a GFCI protected circuit. If your home doesn't have one, it's worth the upgrade. It adds a layer of protection against electrical shock in wet environments.
If at any point you feel uncertain about what you're doing, stop. A service call costs money. An emergency room visit costs more.
The Badger 100 is inexpensive to replace. Your safety is not worth the risk of forcing a repair that isn't working.
Keeping Your Badger 100 Running Longer – Simple Maintenance Tips
You can extend the life of your Badger 100 with a few easy habits. None of these take more than a minute.
Run cold water during and after use. Cold water keeps grease solid so it flushes through the drain line. Run the water for fifteen seconds after the grinding stops. This clears the chamber and the drain trap.
Grind ice cubes once a month. Drop a handful of ice cubes into the running disposal. The ice scours the grinding ring and dislodges built up debris. It also sharpens the impellers slightly.
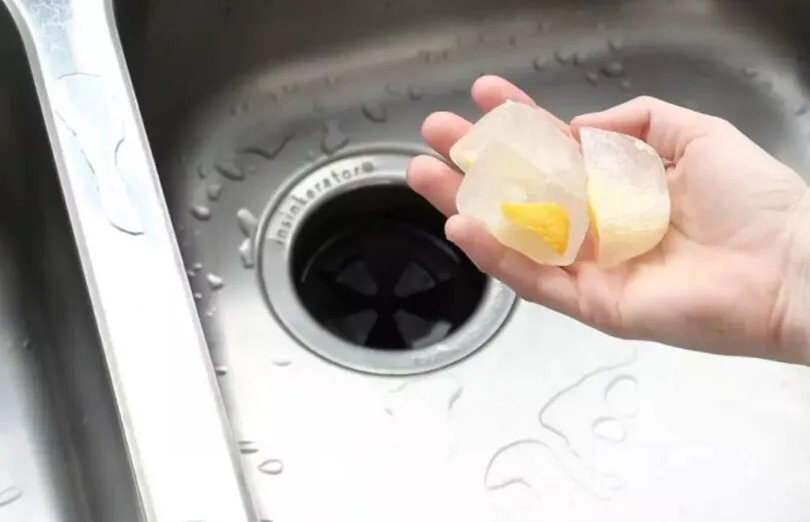
Image source: Bing (Web (fair-use with source credit))
Use citrus peels for odor control. Drop lemon or orange peels into the running disposal. The natural oils freshen the unit. Don't grind whole citrus wedges.
Just the peel.
Clean the splash guard. The rubber baffle at the sink opening collects grime. Pull it out and wash it with warm soapy water. Reinstall it when dry.
A clean splash guard also helps prevent odors.
Avoid putting certain foods down the disposal. The Badger 100 handles soft scraps well. It struggles with bones, fruit pits, fibrous vegetables, coffee grounds, and grease. Compost those items instead.
Check the hex wrench clip monthly. Make sure the wrench is still clipped to the side of the unit. If it's missing, replace it. You don't want to hunt for an Allen wrench in an emergency.
Frequently Asked Questions
Why does my Badger 100 hum but not spin?
The flywheel is jammed. Turn off the power and use a 1/4 inch hex wrench to rotate the flywheel manually from the bottom of the unit. This breaks free the stuck debris.
Run cold water and restart the disposal.
How do I reset my Badger 100 garbage disposal?
Locate the red reset button on the bottom of the disposal unit. Press it firmly until you hear or feel a click. Wait at least five minutes after a thermal overload before pressing the button.
The unit should restart.
What does the red button on the bottom of my Badger 100 do?
It's the thermal overload reset button. It trips when the motor overheats from overloading or a jam. Pressing it resets the internal breaker and allows the motor to run again after it cools.
Why is my Badger 100 leaking from the bottom?
The motor shaft seal has failed. This is not a repairable part on the Badger 100. You need to replace the entire disposal unit.
The leak will only get worse over time.
Can I use Drano in my garbage disposal?
No. Chemical drain cleaners damage the rubber seals and gaskets inside the disposal. They also don't fix jams or clogs.
Mechanical cleaning with a hex wrench or drain snake is the correct method.
How long does a Badger 100 garbage disposal last?
Manufacturer specifications indicate an average lifespan of 5 to 8 years under normal household use. Regular maintenance like ice cube cleaning and avoiding hard items can extend that range.

Similar Posts
































