Carrier Air Conditioner Troubleshooting
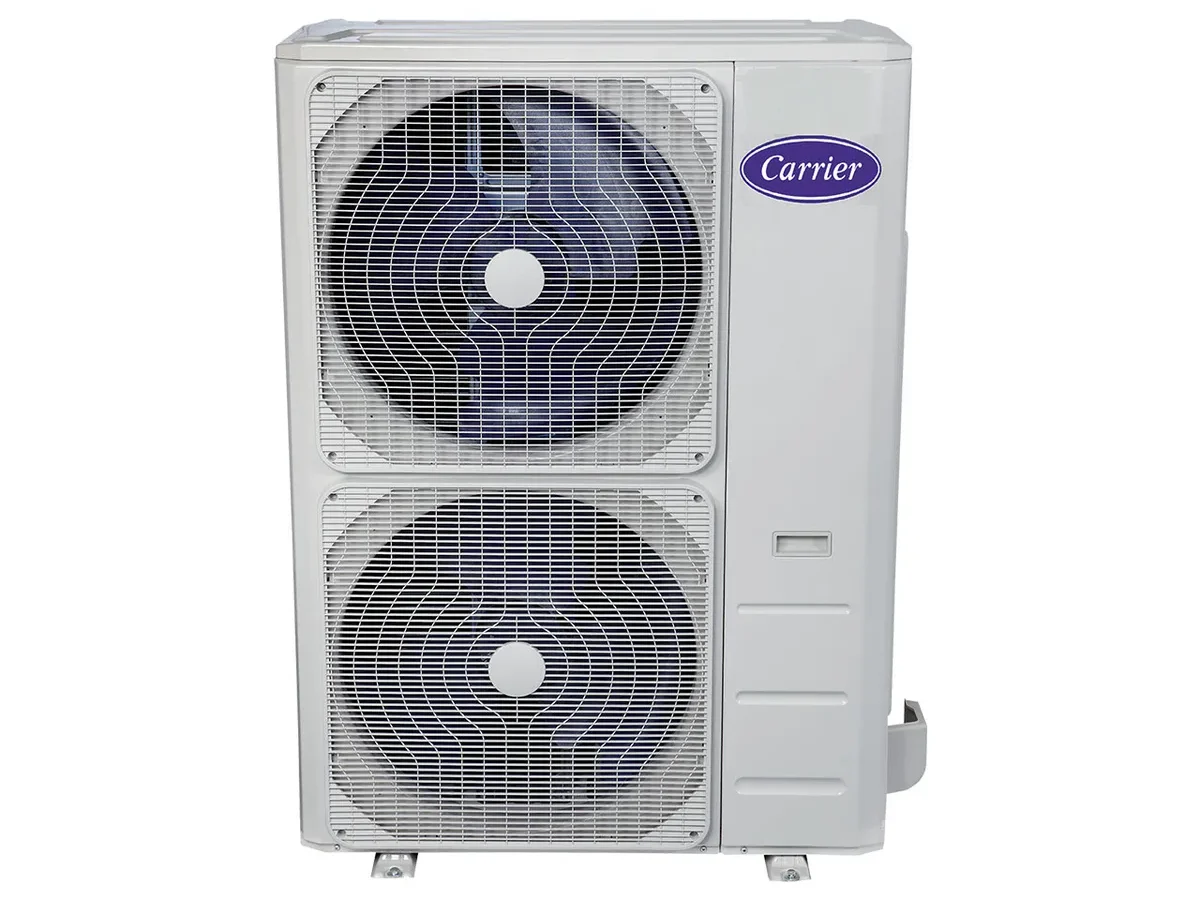
Your Carrier AC has stopped cooling. The house is getting warm. You're looking at a thermostat that says "Cool On" but nothing's happening.
Carrier Air Conditioner Troubleshooting doesn't have to mean an immediate service call. A surprising number of common failures are things you can diagnose and sometimes fix yourself without touching refrigerant or high-voltage components.
Industry data from the Air Conditioning Contractors of America indicates that roughly 40% of all summer service calls are for problems homeowners could have solved on their own. Dirty filters, tripped breakers, and failed capacitors account for the majority of those. This guide walks through exactly what to check, what's safe to do, and where the line is between a DIY fix and a call to a licensed pro.
Quick Answer
Carrier Air Conditioner Troubleshooting starts with three checks. Check the thermostat for power and correct settings. Check the air filter.
Check the breaker.
If the unit runs but doesn't cool, check the outdoor fan and listen for a clicking contactor. If the unit won't run at all, check the disconnect switch and capacitor.
Never bypass safety switches. Never touch refrigerant lines. Call a pro for anything involving compressor, coils, or electrical components you cannot safely test.
Why Getting This Right Matters – The Stakes, Safety, and Your Warranty
Air conditioning troubleshooting isn't like fixing a squeaky door. You're working with 240-volt electrical circuits, pressurized refrigerant lines, and expensive equipment that's under warranty. One wrong move can cost you hundreds in damaged components.
A bad move can hurt you.
Let's start with the electrical risk. Your outdoor condenser unit runs on 240 volts AC. That's enough to cause serious injury or death if you touch the wrong terminal.
Capacitors store that charge even after you've killed the power. A run capacitor can hold 300 to 400 volts for minutes after shutdown. A multimeter and a discharge resistor are mandatory tools if you plan to open the electrical compartment.
Then there's the warranty angle. Carrier provides a 10-year parts warranty on compressors and other key components when you register the product. That warranty is conditional.
If a non-licensed technician opens the sealed refrigeration system, the warranty can be voided. Same goes for using non-approved replacement parts. Know where that line is before you start.
Refrigerant handling is another legal boundary. Under EPA regulations, only certified technicians with Section 608 certification can purchase and handle R-410A or R-32 refrigerant. Releasing it into the atmosphere carries fines.
If your Carrier system is low on refrigerant, it has a leak. That's not a DIY repair. It requires locating the leak, repairing it, and properly charging the system.
As of 2026, Carrier has phased out R-22 in all new equipment. Older units still running on R-22 are increasingly expensive to service. Replacement refrigerant costs three to four times what it did five years ago.
That's worth factoring into any repair decision.
The point here is simple. Know what you're getting into. The next sections will walk through what you can safely check.
If something falls outside those boundaries, stop and call a Carrier dealer.
The Most Common Carrier AC Problems (and What They Actually Mean)
Not all AC problems are equal. Some are quick fixes. Others are signs of major internal failure.
Here's what Carrier owners report most often, based on aggregated service records and manufacturer documentation.
AC Runs But Doesn't Cool
This is the number one complaint. The thermostat says it's running. You hear the indoor blower.
But the air coming out of the vents is warm or room temperature.
Most likely causes in order of frequency:
- Dirty air filter restricting airflow
- Frozen evaporator coil from restricted airflow or low refrigerant
- Failed run capacitor preventing the compressor or outdoor fan from running
- Dirty outdoor condenser coil
- Low refrigerant charge due to a leak
The good news: the first three are DIY-addressable. The last two require a pro.
AC Won't Turn On at All
Dead unit. Thermostat shows "Cool On" but nothing happens. No indoor fan.
No outdoor hum.
Likely causes:
- Tripped breaker at the main panel or disconnect
- Dead thermostat batteries or blown fuse inside the indoor unit
- Failed contactor (the relay that sends power to the outdoor unit)
- Failed control board
- Bad transformer (converts 240V to 24V for thermostat)
Check the breaker first. It's the fastest thing to rule out. If the breaker trips again immediately, you have a short.
Don't keep resetting it.
Short Cycling
The system turns on, runs for two to five minutes, then shuts off. It repeats this cycle over and over.
Short cycling is hard on the compressor and wastes electricity. Common causes:
- Thermostat located near a heat source or in direct sunlight
- Oversized unit for the space (installation error)
- Dirty air filter causing the system to overheat
- Low refrigerant triggering the low-pressure safety switch
- Faulty temperature sensor
If a filter change and thermostat relocation don't fix it, you need a tech to measure pressures and airflow.
Ice on the Copper Lines or Outdoor Unit
Frost or ice on the large copper line (suction line) or on the outdoor unit in summer is not normal. It indicates a frozen evaporator coil.
Two main causes:
Restricted airflow. Dirty filter, closed supply registers, or a blocked return vent. The coil gets too cold and condensation freezes.
Low refrigerant. The pressure drops, the coil temperature drops below freezing, and ice forms. This one needs a pro.
Turn the system off at the thermostat. Let the ice melt completely before restarting. Running a frozen system can damage the compressor.
Noises That Mean Something
Carrier condensers are generally quiet. If you hear something new, pay attention.
- Clicking sound but fan doesn't spin. The contactor is pulling in, but the capacitor isn't sending power to the fan motor. Common capacitor failure.
- Humming sound, no movement. Compressor trying to start but locked up or getting no start capacitor. This can also mean a bad compressor.
- Squealing or screeching. The condenser fan bearing is failing. It will seize eventually.
- Bubbling or hissing. A refrigerant leak somewhere in the copper lines.
What You Can Safely Check Yourself – A Step-by-Step DIY Guide
Here's the workflow. Follow it in order. Don't skip steps.
Tools you'll need:
- Multimeter capable of reading voltage and capacitance
- Screwdrivers (Phillips and flathead)
- Nut driver set (1/4-inch and 5/16-inch common)
- Non-contact voltage tester
- Insulated gloves
- Camera (to photograph wiring before disconnecting anything)
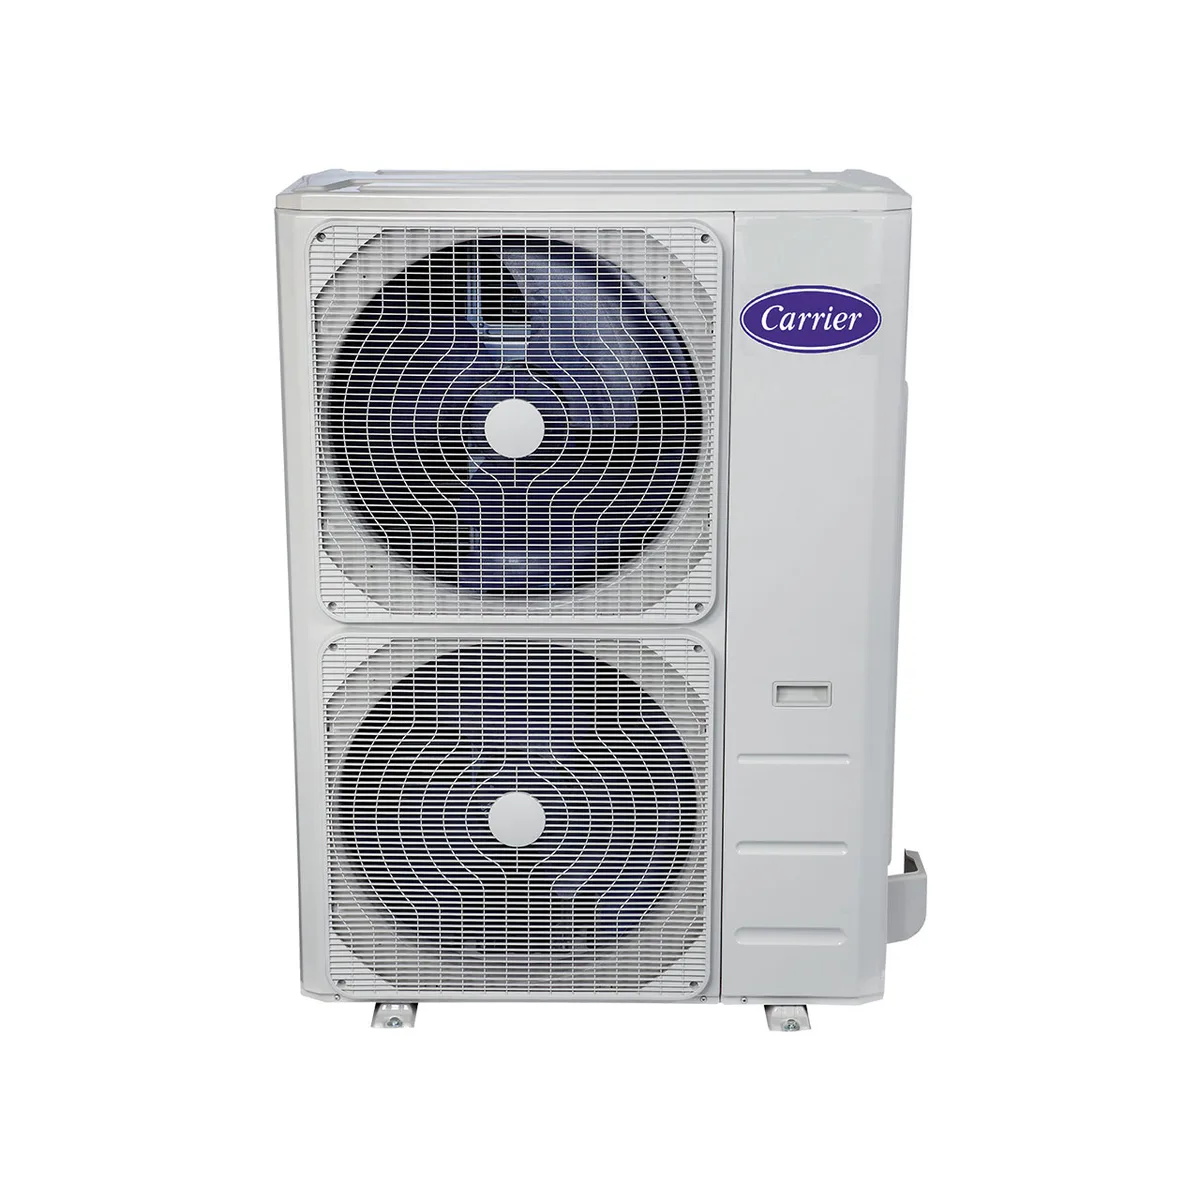
Image source: Bing (Web (fair-use with source credit))
Step 1: Check the Thermostat
Start here. It's the most overlooked thing.
Set the thermostat to "Cool" and drop the setpoint at least five degrees below room temperature. Wait two minutes. Listen for a relay click.
If the screen is blank, check the batteries. Many Carrier thermostats use AA batteries as backup. If the thermostat is hardwired, check the 24-volt fuse inside the indoor air handler.
It looks like a car blade fuse. A blown fuse usually means a wiring short somewhere.
If the thermostat has a "Cool On" or "System On" indicator but nothing happens, move to step two.
Step 2: Check the Air Filter
This one fixes more AC problems than almost anything else.
Pull the filter out of the return grille or the slot at the indoor unit. Hold it up to the light. If you can't see light through it, replace it.
Carrier recommends a 1-inch pleated filter changed every 30 to 90 days depending on usage, pets, and air quality. A 4-inch media filter lasts three to six months.
A restricted filter starves the evaporator coil of air. The coil gets too cold. Ice forms.
Airflow drops further. The system can freeze solid in a few hours.
Step 3: Check the Breaker and Disconnect
Go to your main electrical panel. Find the breaker labeled "AC" or "Furnace." It should be a double-pole 15, 20, 30, or 40 amp breaker. Flip it fully off, wait five seconds, then fully on.
Now go outside to the disconnect box near the condenser unit. This is a gray metal box mounted on the wall. Pull the handle or remove the pull-out block.
Reinsert it.
Listen for the outdoor unit to start. If the fan spins and the compressor hums, you've fixed it. If the breaker trips again immediately, stop.
Step 4: Inspect the Condenser Unit
Look at the outdoor unit. Is the fan spinning? If not, the capacitor or fan motor is likely bad.
Is the coil clean? If the aluminum fins are clogged with dirt, grass clippings, or cottonwood seeds, airflow is blocked. Spray the coil from the inside out with a garden hose.
Do not use a pressure washer. The fins are soft and bend easily.
Is the unit surrounded by tall grass, weeds, or debris? Carrier requires at least 12 inches of clearance on all sides. Trim it back.
If the fan isn't spinning but the contactor clicks, the capacitor is the most likely culprit.
Step 5: Test the Capacitor (Safely)
This is as far as DIY troubleshooting should go for most homeowners.
Turn off power at the disconnect and the breaker. Confirm zero voltage with your non-contact tester. Wait three minutes for the capacitor to discharge naturally.
Locate the oval or cylindrical capacitor inside the electrical compartment. It's connected to the fan motor and compressor terminals. Photograph the wiring before removing anything.
Set your multimeter to capacitance mode (microfarads, marked "μF" or "mfd"). Touch the probes to the capacitor terminals. Compare the reading to the label on the side of the capacitor.
A 35/5 μF capacitor reading 32/4.5 is marginal. Reading 25/3 or less is failed. Reading zero is dead.
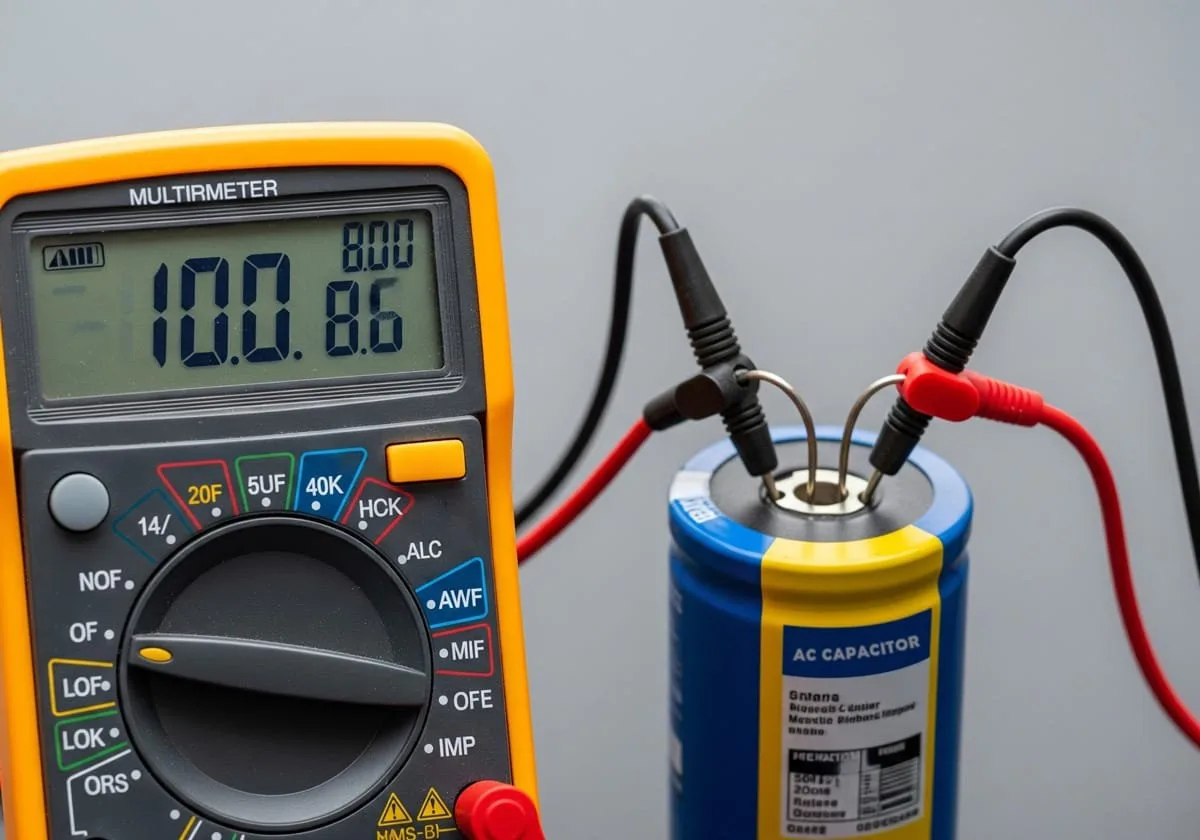
Image source: Bing (Web (fair-use with source credit))
A bulging top or oil leaking from the capacitor is visible failure. Replace it.
Capacitors cost $10 to $25 at an HVAC supply house or online. They're model-specific. Match the microfarad rating exactly.
The voltage rating can be equal or higher, never lower.
Step 6: Clear the Condensate Drain Line
If your system is running but water is pooling around the indoor unit, the drain line is clogged.
Find the PVC pipe exiting the indoor unit. Look for a T-fitting with a cap. Remove the cap.
You'll see standing water if it's clogged.
Use a wet/dry vacuum at the outdoor end of the drain line. Suck the clog out. Alternatively, flush the line with a mixture of warm water and white vinegar.
Do not use bleach. Bleach eats the PVC glue over time.
Pour a cup of vinegar down the drain every three months to prevent algae buildup.
When to Stop and Call a Pro – The Red Flags You Should Never Ignore
Some problems don't have a DIY solution. Here are the hard lines.
Refrigerant leaks. If the AC is low on refrigerant, it has a leak. That leak must be found and repaired. Topping it off without fixing the leak wastes money and harms the environment.
Only a licensed EPA-certified technician can handle this.
Compressor failure. A compressor that hums but won't start, or starts with a loud clunk, is failing or seized. Replacing a compressor costs $1,500 to $2,500 on average. Sometimes replacement of the entire outdoor unit makes more financial sense.
Frozen indoor coil. If the evaporator coil has frozen solid, do not run the system. Let it thaw completely. If it refreezes after you replace the filter and ensure good airflow, the problem is likely low refrigerant.
That's a pro job.
Burned smell from vents. A burning plastic or electrical smell indicates a failing blower motor, overheating wiring, or a fried control board. Turn the system off at the breaker immediately.
Wiring that looks charred or melted. Open the electrical compartment on either the indoor or outdoor unit. If you see blackened wires, melted insulation, or corrosion on terminals, stop. You need a licensed electrician or HVAC technician.
Error codes you don't understand. Carrier Infinity and Evolution communicating systems show error codes on the thermostat display. Codes like 33 (low pressure switch open) or 42 (high pressure switch open) indicate serious issues. Look up the code in your manual.
If it references pressure switches, compressor lockout, or sensor failure, call a pro.
Water damage. If the drain pan is overflowing or water has soaked the ceiling below the indoor unit, shut the system down. Clear the drain line or call for help.
The cost of a service call is generally $100 to $250 for diagnostic. That's cheap compared to the cost of a new compressor or a water-damaged ceiling. If you're unsure, call.
The One Mistake That Wrecks Your Warranty (and How to Avoid It)
Carrier offers a 10-year parts warranty on their residential equipment. That's good. It covers the compressor, the fan motors, the control board, and the coils.
But here's where homeowners mess up.
The Mistake: Opening the Sealed System
The sealed refrigeration system includes the compressor, the metering device, and all the copper lines that carry refrigerant between the indoor and outdoor units. The warranty clearly states that only a licensed technician with EPA Section 608 certification can open that system.
If you break that seal by cutting a refrigerant line, loosening a service valve, or adding refrigerant, the warranty on the compressor and coil is voided. Permanently. Carrier will deny the claim.
Registration Matters
The 10-year warranty requires online registration within 90 days of installation. If the original homeowner didn't register, the warranty defaults to five years. If you bought a house with an existing Carrier system, check the registration status on Carrier's website using the serial number.
Non-OEM Parts Can Bite You
Using a generic capacitor or contactor from an online retailer is fine for a quick fix. But if that generic part causes a failure, Carrier can deny the compressor warranty. The safer move is to check that the replacement part meets or exceeds the OEM specifications.
DIY-Friendly Repairs That Don't Void Warranty
- Replacing the air filter
- Cleaning the condenser coil with a garden hose
- Clearing the condensate drain line
- Replacing the thermostat
- Resetting breakers and disconnects
- Replacing a capacitor (with correct specs)
Everything else falls into the "call a pro" zone if warranty coverage matters to you.
Carrier-Specific Quirks: Infinity Error Codes, Puron Refrigerant, and Nuisance Trip
Carrier's Infinity and Evolution systems use a proprietary communication protocol. Standard troubleshooting tricks won't work here.
Common Infinity Error Codes
| Error Code | Meaning | Action |
|---|---|---|
| Code 33 | Low pressure switch open | Refrigerant leak or restricted airflow. Call a pro. |
| Code 42 | High pressure switch open | Dirty coil, overcharge, or fan failure. Clean coil first, then call. |
| Code 47 | Communication fault | Lost signal between indoor and outdoor unit. Check wiring and connections. |
| Code 54 | System lockout | Repeated fault. Power cycle the system at the breaker. If it returns, call a pro. |
| Code 81 | Software mismatch | Indoor and outdoor unit firmware don't match. Requires dealer. |
| Code 82 | Configuration error | System not set up correctly. Needs dealer configuration. |
A power cycle clears some of these temporarily. Turn the system off at the breaker for five minutes. Turn it back on.
If the error reappears within 24 hours, the problem is real.
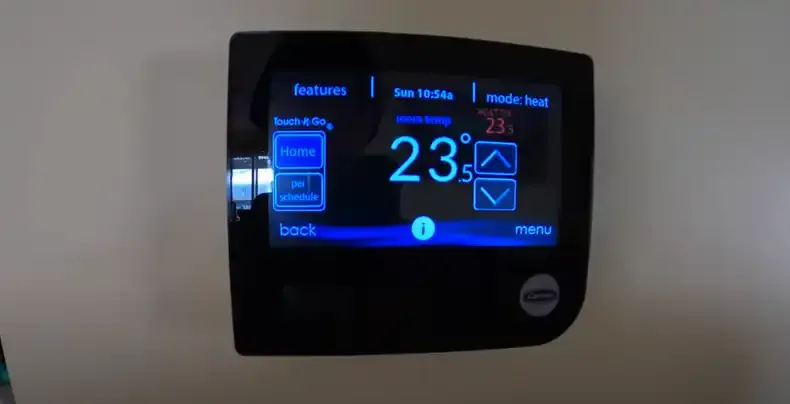
Image source: Bing (Web (fair-use with source credit))
Puron Refrigerant
Carrier calls their R-410A refrigerant "Puron." It's the same chemical. Older Carrier systems (pre-2010) used R-22. You cannot retrofit R-22 systems with R-410A or Puron.
The compressors, oils, and expansion devices are incompatible.
Check the nameplate on your outdoor unit. It lists the approved refrigerant type. Use only what's listed.
Nuisance Trip on High Pressure Switch
Carrier Infinity systems are sensitive to high-pressure events. If the outdoor coil is dirty or the condenser fan is moving slowly, the high-pressure switch can trip. Cleaning the coil with a garden hose often clears it.
If the switch trips repeatedly, the fan motor may be failing.
The Defrost Cycle on Heat Pumps
If you have a Carrier heat pump, the outdoor unit runs a defrost cycle during winter operation. That's normal. In cooling mode during summer, the outdoor unit should not frost up.
If ice appears on the outdoor coil in summer, the control board or defrost sensor has failed. That's a service call.
How to Keep Your Carrier Running All Summer – Maintenance That Actually Works
Preventative maintenance is boring. It's also the cheapest way to avoid a Friday afternoon emergency.
Monthly Filter Changes
A clean filter reduces strain on the blower motor, keeps the evaporator coil clean, and prevents freeze-ups. Set a calendar reminder. Do it on the first of every month during cooling season.
Quarterly Condenser Coil Cleaning
Turn off power to the unit. Remove the top grille if possible. Spray the coil from the inside outward with a garden hose.
Use a gentle fan spray. Do this in spring before the first hot day and again in midsummer.
Semi-Annual Drain Line Flush
Pour one cup of white vinegar down the condensate drain line every six months. This prevents the algae and mold growth that cause clogs.
Annual Professional Inspection
Have a licensed HVAC technician inspect the system once a year. They'll check refrigerant pressures, measure superheat and subcooling, verify electrical connections, and inspect the contactor and capacitor. This costs $100 to $200.
Trim Vegetation
Keep bushes and grass trimmed to at least 18 inches of clearance around the outdoor unit. Never stack anything against it.
Keep Vents Open
Closed supply registers or blocked return grilles disrupt airflow balance. The system is designed for all vents to be open. If you close too many dampers, the indoor coil can freeze.
Frequently Asked Questions
Why is my Carrier AC running but not cooling?
Check the air filter first. A dirty filter restricts airflow and causes the coil to freeze. Replace it.
If that doesn't help, the capacitor may be failing or the refrigerant level may be low.
How do I reset my Carrier air conditioner?
Turn off the thermostat. Turn off the breaker to both indoor and outdoor units. Wait five minutes.
Turn the breaker back on, then the thermostat. This clears most safety lockouts.
What does a flashing light on the outdoor unit mean?
The LED on the control board flashes a pattern. Count the flashes. Three flashes usually means low pressure.
Five means high pressure. Six means communication fault. Check your manual for exact codes.
Can I replace the capacitor myself?
Yes, if you have a multimeter and follow safety procedures. Turn off power, discharge the capacitor, photograph the wiring, and replace with the exact same microfarad rating. Never exceed the original voltage rating.
How often should I service my Carrier AC?
Change the filter monthly. Clean the condenser coil twice a year. Schedule a professional inspection annually.
That's the complete maintenance schedule.
Why does my Carrier AC keep tripping the breaker?
A tripping breaker means a short circuit or an overload. A short circuit is caused by a damaged wire, a failing compressor, or a bad fan motor. An overload is caused by a locked rotor, dirty condenser coil, or a failing capacitor.
Do not keep resetting the breaker. Call a pro.
Final Word: When to Fix It Yourself vs. When It's Time to Replace
Use the 50% rule. If the repair cost exceeds half the cost of a new system, replace it.
Age matters. Units over 12 years old with compressor or coil failure are better replaced than repaired.
R-22 systems are increasingly expensive to service. Any refrigerant leak on an R-22 system is a strong argument for replacement.
For everything else, dirty filters, bad capacitors, tripped breakers, clogged drain lines, the fix is simple and cheap. Respect the high voltage. Respect the warranty.
When in doubt, call a licensed Carrier dealer who works on these systems every day.

Similar Posts