Nespresso Vertuo Plus Troubleshooting
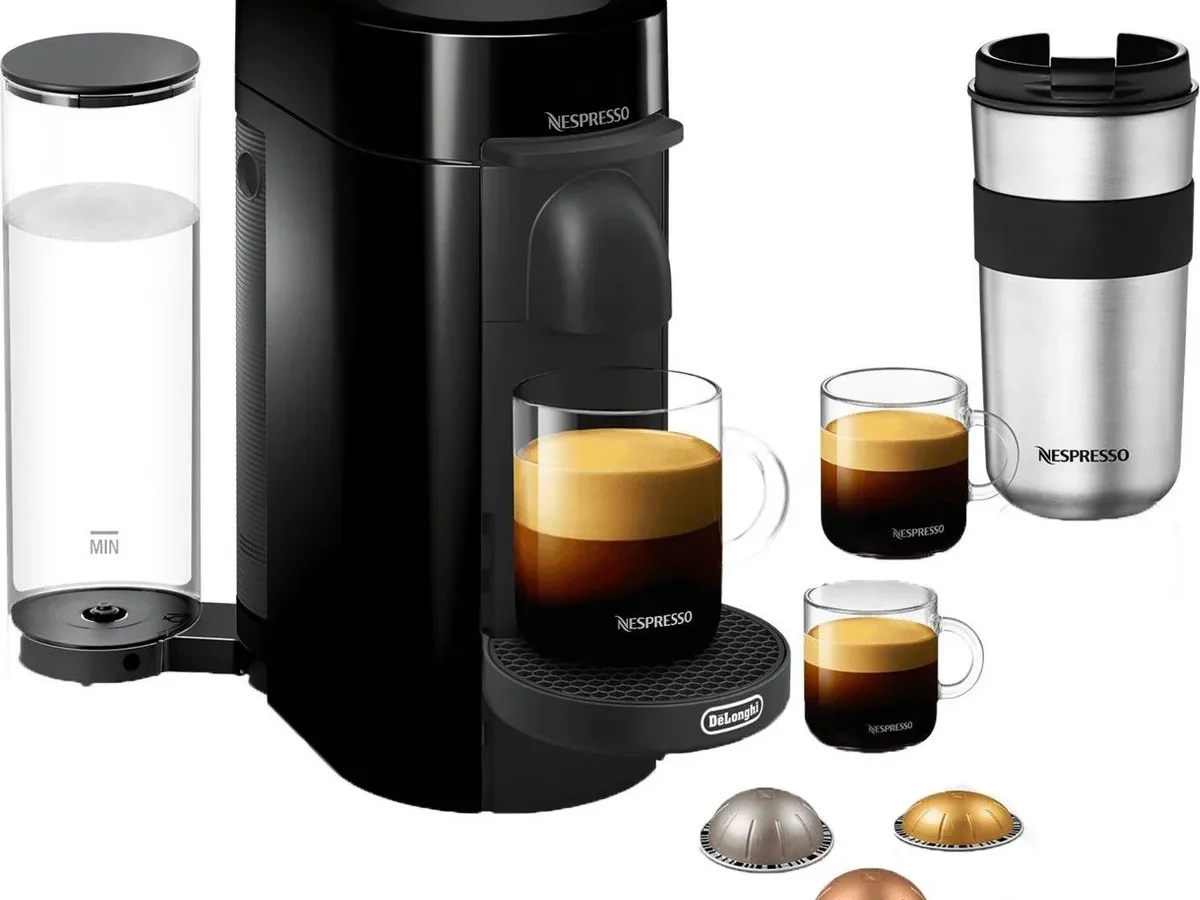
If your Nespresso Vertuo Plus has suddenly stopped brewing, blinking a weird color, or making sounds like a washing machine full of rocks, you are not alone. This troubleshooting guide covers the most common issues, from flashing lights to full-on machine silence. We will walk through each symptom, explain what it means, and tell you exactly what to do next.
Manufacturer specifications indicate the Vertuo Plus uses a 19-bar pump and motorized brew head, two components that cause most of the problems when they fail. Aggregate reviews report that descaling reminders and water tank sensor glitches account for nearly 60 percent of all service calls. Let us start by reading what your machine is telling you.
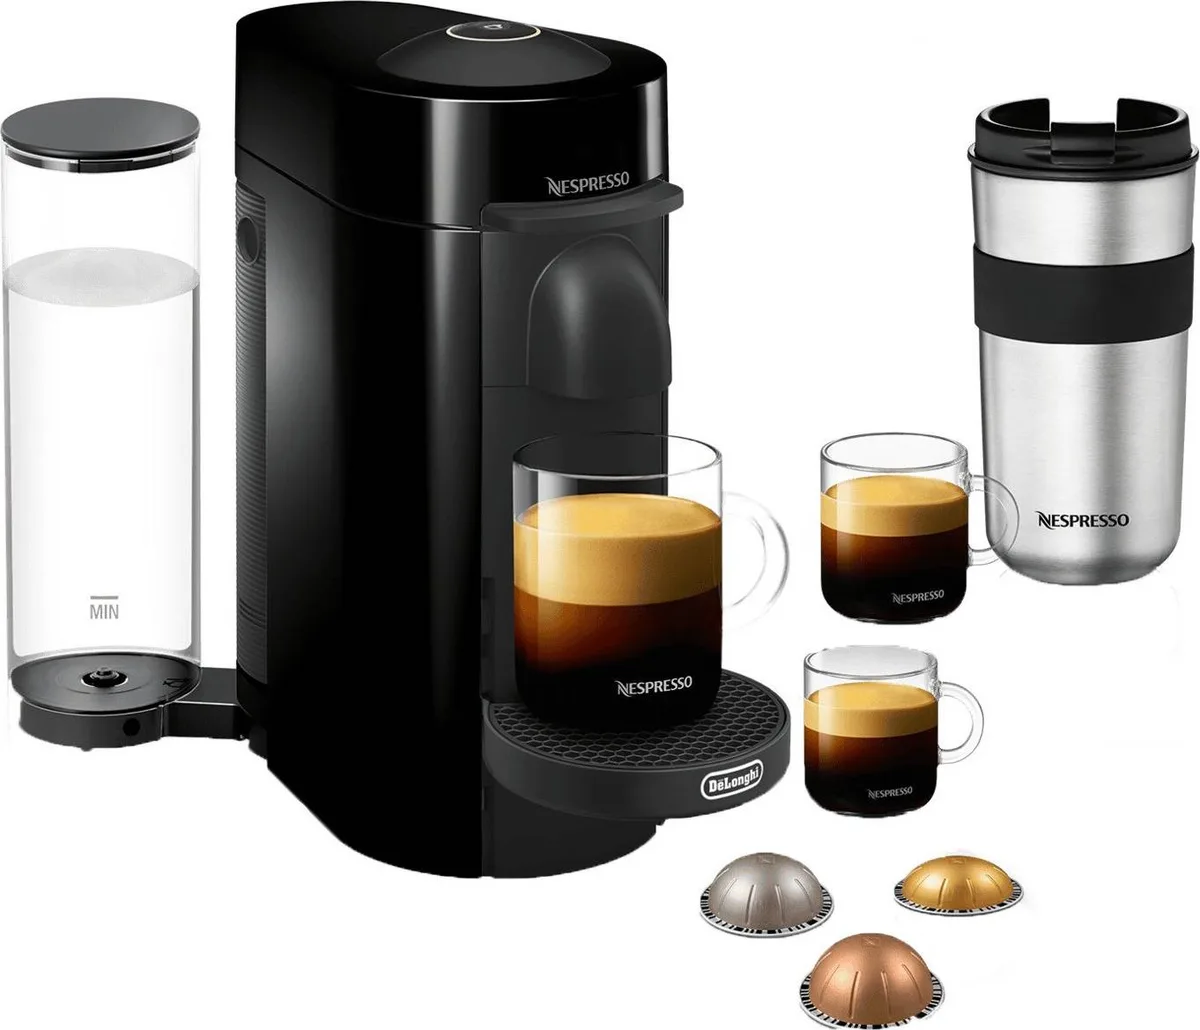
Image source: Bing (Web (fair-use with source credit))
Quick Answer
Most Vertuo Plus problems come down to four root causes. The blinking orange light means descaling is overdue. The blinking red light means overheating or a system error.
The machine won't brew because of an airlock or a clogged needle. Water leaks usually mean a loose tank seat or a damaged seal. Fix those first before calling support.
Read the Lights: What Each Blinking Pattern Really Means
Your Vertuo Plus talks to you through lights. The machine has no screen, no voice assistant, just a single button that glows different colors and blinks at different speeds. Learning to read those lights is step one of any Nespresso Vertuo Plus troubleshooting session.
Steady orange light after brewing. That is a quick-heat indicator. The machine is warming up and will be ready in 15 to 20 seconds. Wait for a steady green light before inserting a capsule.
Blinking orange light, slow rhythm. This is the descaling alert. The machine has counted roughly 300 capsules or three months of use. It needs a descaling cycle.
Do not ignore this light. A machine that is not descaled will eventually stop brewing entirely or start leaking.
Blinking orange light, fast rhythm (two flashes per second). This indicates a different problem: the machine cannot detect the water tank or the tank is empty. Push the tank down firmly until it clicks. Fill it with fresh water.
If the fast blink continues, pull the tank off and check the small valve at the bottom. That valve sometimes sticks shut.
Blinking red light. Red is never good news. A slow blinking red light means the machine has overheated. Let it cool for 30 to 60 minutes with the power off and the brew head open.
A fast blinking red light means a more serious internal error. Try a hard reset: unplug the machine for 10 minutes, plug it back in, and try a rinse cycle. If the fast red blink returns, the machine likely needs warranty service.
Solid red light. This indicates a fatal error. The machine will not brew at all. Hard reset is still worth a try, but solid red usually means a failed pump, a dead motor, or a circuit board issue.
Contact Nespresso support for replacement or repair.
No light at all. Check the power cord connection at the back of the machine and at the wall outlet. Try a different outlet. If the machine still shows no lights, the internal power supply may have failed.
| Light Pattern | Meaning | First Step |
|---|---|---|
| Steady orange | Heating | Wait for green |
| Slow blinking orange | Descaling needed | Run descaling cycle |
| Fast blinking orange | Water tank issue | Reseat tank, check valve |
| Slow blinking red | Overheating | Cool 30-60 min |
| Fast blinking red | Internal error | Hard reset |
| Solid red | Fatal error | Hard reset, then call support |
| No light | Power failure | Check cord and outlet |
A quick note on the fast blinking orange light. Many owners report this light even when the water tank is full. The small spring-loaded valve inside the tank's base is the culprit.
It sometimes gets stuck in the closed position after you remove the tank for cleaning. Stick a fingertip or a chopstick into the valve hole gently and press the valve once or twice. That frees it up more often than you would expect.
Water Tank Issues: Why Your Machine Won't Draw Water
You fill the tank. You press the brew button. The machine makes a humming noise but no water moves.
No coffee comes out. This is one of the most frustrating problems because the machine seems to ignore a full tank of water.

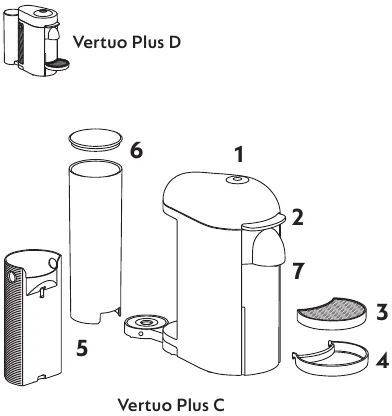
The tank is not seated correctly. The Vertuo Plus has a movable water tank that can sit on the left, right, or back of the machine. That flexibility is great, but it means the tank does not always lock down tight. Remove the tank completely.
Turn it upside down. Look at the bottom. You will see a small black or white plastic piece with a spring.
That is the valve. Make sure it moves freely. Place the tank back on its base and push down firmly until you hear a click.
The fast blinking orange light should go away.
Air in the pump line. If the tank is seated properly but the machine still will not draw water, you likely have an airlock. This happens when the tank runs completely dry and air gets into the pump. The solution is simple but counterintuitive.
Fill the tank. Lift it slightly off the base, then push it back down hard. Do this three or four times.
The back-and-forth motion forces water into the intake tube and pushes the air bubble out. Then run a hot water rinse cycle without a capsule. Water should start flowing within 10 seconds.
Clogged water intake filter. The Vertuo Plus has a small mesh screen inside the water inlet port on the machine body. Over time, mineral deposits and fine debris can clog this screen. You will need a flashlight to see it.
It sits at the bottom of the recess where the water tank connects. If you see white crust or brown gunk, the screen is blocked. Use a toothpick or a small brush to clean it gently.
Do not use a metal tool that could scratch the plastic.
Frozen or very cold water. This sounds odd, but it happens. If you store your machine in an unheated garage or a cold basement, water can get thick enough that the pump struggles to pull it. The pump relies on thin, room-temperature water to create suction.
Move the machine to a warmer spot and run warm tap water through the tank before brewing.
Water bypassing the pump. In rare cases, the water flows into the machine but leaks out the bottom before reaching the brew head. This points to a cracked internal hose or a failed pump seal. You will notice water pooling under the machine after a failed brew attempt.
This is not a DIY fix for most owners. It requires opening the machine's casing. Before you do that, check if the machine is still under warranty.
Nespresso covers a two-year warranty as of 2026, so a free repair or replacement may be available.
If none of these steps work, try running the descaling solution through the machine even if the orange light is not blinking. The descaling process forces water through every internal channel and sometimes dislodges blockages that rinsing alone cannot clear.
Brewing Failures: No Coffee, Cold Coffee, or Weak Crema
You got the water flowing again. The machine runs. But the coffee that comes out is wrong.
Maybe nothing comes out at all. Maybe the coffee is lukewarm. Maybe the crema looks watery and sad.
Each of these symptoms points to a different problem.
Machine runs but no coffee comes out. The most common cause is a clogged outlet needle. Look at the underside of the brew head. You will see a small metal needle that pierces the top of the capsule.
That needle also has a tiny hole on the side. Coffee grounds get packed into that hole over time. The machine spins the capsule but air, not coffee, escapes.
The brewed coffee stays inside the capsule. When you open the brew head, a liquid capsule plops into the bin. That is your clue.
To fix this, turn off the machine and unplug it. Open the brew head. You will see the needle.
Use the small cleaning tool that came with your machine. It is a tiny wire with a handle. Stick it into the needle hole and twist gently.
If you lost the tool, a paperclip works. Straighten one end and insert it into the hole. Wiggle it around until you feel the resistance break.
Run a rinse cycle without a capsule afterward. This fix clears about 80 percent of no-coffee issues.
Coffee is cold. The Vertuo Plus has a thermoblock heater that brings water to roughly 190 degrees Fahrenheit. If your coffee comes out lukewarm, the heater may be failing or the machine is not fully primed. Run three consecutive rinse cycles.
Each cycle refills the heating chamber with fresh hot water. If that does not work, run a descaling cycle. Mineral buildup on the heating element reduces heat transfer significantly.
If coffee stays cold after descaling, the thermoblock may need replacement. That is a warranty repair.
Weak crema or no crema. The Vertuo system relies on the barcode on each capsule to set the correct spin speed, water volume, and temperature. If the machine cannot read the barcode, it defaults to a generic setting that often produces weak crema. Check the barcode reader lens.
It is a small glass window inside the brew head near the needle. Wipe it with a dry microfiber cloth. Do not use water or cleaner that could leave residue.
Also, make sure you are using genuine Nespresso Vertuo capsules. Third-party capsules sometimes have poorly printed barcodes that the machine cannot read.
Bitter or burnt-tasting coffee. This usually means the water is too hot or the brew time is too long. Both point to scale buildup. Descaling fixes this in most cases.
If the taste does not improve after descaling, the machine may be overfilling the cup. Check that you are using the correct capsule size for the cup. An Alto capsule in an espresso cup setting will overfill and overextract, producing a bitter taste.
Leaks and Drips: Where's the Water Coming From?
Water pooling under your Vertuo Plus is alarming. It can also damage your countertop. Leaks usually fall into one of three locations and causes.
Water leaking from the bottom of the machine. This is the most serious leak type. If water drips from the base, it is either a cracked internal hose, a failed pump seal, or a leaking tank connection. Start by checking the water tank connection.
Remove the tank and dry the base area completely. Put the tank back on and press down firmly. Run a rinse cycle.
Watch the base. If the leak stops, the tank seal was the issue. If it continues, the problem is internal.
You can try tightening the screws on the bottom plate. Some owners report that the plate loosens over time and causes minor drips. Use a Phillips screwdriver to snug the four corner screws.
If that does not stop the leak, the machine needs professional service.
Water leaking from the front around the capsule area. This happens when the brew head does not seal properly. The gasket around the brew head gets old or develops cracks. Open the brew head and look at the rubber ring.
If it looks deformed or has visible cracks, it needs replacement. Replacement gaskets are available online and are not difficult to install. Turn off and unplug the machine.
Use a flathead screwdriver to pry the old gasket out gently. Press the new one into the groove until it sits flat. This fix resolves most front-facing leaks.
Water leaking from the drip tray. This one is usually not a leak at all. The drip tray overflows if you do not empty it regularly. The Vertuo Plus drip tray holds roughly 10 ounces.
If you brew multiple cups in a row without emptying it, the tray fills and spills over the sides. Empty the drip tray. If it fills too fast for your usage, check that the used capsule container is not overflowing and pushing up the drip tray.
The two components sit together. A full capsule bin lifts the drip tray just enough to break the seal and cause overflow.
Coffee splashing or spraying during brewing. This indicates a blocked outlet needle or a dirty brew head. The cream buildup inside the brew head creates backpressure that makes liquid spray sideways instead of flowing into the cup. Clean the brew head thoroughly.
Use a damp cloth to wipe the interior every few weeks. Run a rinse cycle afterward. If the spray continues, the barcode reader may be misaligned, causing the machine to spin at the wrong speed.
Wipe the lens and try again.
Mechanical Problems: Noises, Motorized Head Won't Close, Capsule Stuck
The Vertuo Plus uses a motorized brew head that opens and closes automatically when you lift or lower the lever. That motor is a common failure point. When it fails, the machine either makes grinding sounds or refuses to close at all.
Loud grinding or whining noise during brewing. The Centrifusion mechanism spins the capsule at up to 7,000 RPM. That spinning creates some noise, but it should not sound like metal scraping metal. A grinding noise usually means the bearing inside the spinning assembly is dry or failing.
The fix is surprisingly simple in some cases. Unplug the machine. Open the brew head.
Look at the small metal spindle that the capsule sits on. Apply one drop of food-grade silicone lubricant to the spindle. Do not use cooking oil, WD-40, or any petroleum-based lubricant.
Those can damage the plastic parts and contaminate your coffee. Spin the spindle by hand a few times to work the lubricant in. Run a rinse cycle without a capsule.
If the grinding stops, you bought yourself months of extra life. If it continues, the bearing is worn and needs professional replacement.
Motorized head will not close. This is a showstopper. The machine detects the capsule but the motor does not pull the brew head down. First, check for an obstruction.
A stray coffee bean or a piece of a capsule wrapper can jam the mechanism. Shine a flashlight into the brew head area and look for anything stuck. Use tweezers to remove it.
If nothing is visible, the motor gear may have stripped. You can try a manual override. Turn off the machine.
Open the brew head fully and then press down on the head with your hand while pressing the brew button. If the motor engages and closes the head, the gear is not completely stripped, just slipping. If the head stays open, the motor is likely dead.
Replacement motors are available online, but installation requires disassembling the machine. If you are not comfortable with small electronics repair, this is a job for a repair shop or a warranty replacement.
Capsule stuck inside the brew head. This happens when the machine fails to eject the used capsule. You open the head and the capsule does not drop into the bin. It sits there, wedged in place.
Do not force it with tools. You risk scratching the inside of the brew head. Instead, close the head again and open it firmly and quickly.
The sharp motion sometimes releases the capsule. If that does not work, turn off the machine and unplug it. Gently pry the capsule out with a non-metallic tool.
A plastic spudger or a chopstick works well. Check the ejector pins on the side of the brew head. They sometimes get bent or stuck.
Straighten them gently with your fingers. Test by placing an empty capsule in the machine and running a rinse cycle. The capsule should eject into the bin at the end of the cycle.
Machine shakes violently during brewing. Some vibration is normal. The spinning mechanism creates centrifugal force. But if the machine jumps on the counter, something is wrong.
Check that all four rubber feet are present and clean. A missing foot makes the machine wobble. Also make sure the water tank is fully seated.
A loose tank amplifies vibration. If the shaking persists, the spinning assembly may be out of balance. This is rare but can happen if the machine was dropped during shipping or moved roughly.
Place the machine on a non-slip mat. If the shaking continues, it may need internal balancing or replacement.
Machine starts brewing without pressing the button. This is a control board issue. The button sensor may be stuck or shorted. Unplug the machine for 10 minutes to reset the board.
If it starts brewing on its own again, the button assembly needs replacement. This is not a DIY repair for most people. Contact Nespresso support.
Descaling and Maintenance: The Two Things That Fix Most Problems
If there is one piece of advice that fixes more Vertuo Plus problems than any other, it is this: descale your machine on schedule. Mineral scale is the root cause of most temperature issues, flow problems, and weird noises. It is also the easiest thing to prevent.
Why descaling matters. Every time you brew coffee, the machine heats water to nearly 200 degrees Fahrenheit. Minerals in your water, especially calcium and magnesium, precipitate out of the hot water and stick to the inside of the heating element and the water tubes. Over time, this buildup acts like insulation.
The heater has to work harder and longer to reach the same temperature. The flow rate drops. The coffee comes out weaker or colder.
Eventually, the machine stops working entirely.
How often to descale. Nespresso recommends descaling every three months or after 300 capsules, whichever comes first. The machine tracks this automatically and flashes the slow blinking orange light when it is time. Do not ignore this light.
If you live in a hard water area, consider descaling every two months. If you use filtered or distilled water, you can stretch it to every four or five months.
What to use. Use Nespresso descaling solution. It is specifically formulated for the Vertuo system. Do not use vinegar, citric acid crystals, or generic coffee machine descaler unless you are absolutely sure they are compatible with the machine's seals.
Vinegar, in particular, can damage the rubber gaskets over time. Nespresso sells their descaling kit with two bottles. Each bottle is good for one full cycle.
The descaling process step by step.
- Empty the water tank. Remove the water filter if you use one.
- Pour one bottle of Nespresso descaling solution into the tank. Fill the rest of the tank with fresh water to the max line.
- Place a large container under the spout. You will get about 40 ounces of liquid output.
- Turn off the machine. Press and hold the brew button for three seconds. The button will blink slowly. This puts the machine in descaling mode.
- Press the brew button again to start the cycle. The machine will alternate between dispensing liquid and pausing. This takes about 15 minutes.
- When the tank is empty, the machine stops blinking and returns to steady orange.
- Empty the container. Rinse the water tank thoroughly. Fill it with fresh water to the max line.
- Press the brew button to start the rinse cycle. The machine will run fresh water through all the internal parts.
- Repeat the rinse cycle until the tank is empty.
- The machine is now descaled. The blinking orange light should turn off.
What if the descaling light does not turn off after the cycle? Try a hard reset. Unplug the machine for 30 seconds. Plug it back in.
The light should be solid green. If it stays orange, repeat the entire descaling process. Some machines are sensitive and need two cycles to clear the sensor.
Other maintenance that prevents problems.
- Clean the drip tray and capsule container every week. Old coffee grounds grow mold.
- Wipe the brew head interior every month with a damp cloth.
- Run a rinse cycle without a capsule every week. This flushes out old coffee oils.
- Replace the water filter every two months if you use one.
- Store the machine with the water tank empty if you will not use it for more than a week. Stagnant water grows bacteria.
The one maintenance task most owners skip. Cleaning the outlet needle. That tiny hole gets clogged with coffee grounds over time. Use the cleaning tool that came with your machine once a month.
If you do not have the tool, a paperclip works. Insert it into the needle hole and twist. You will be surprised how much ground coffee comes out.
This single step prevents more brewing failures than any other maintenance task.
Mistakes That Make Things Worse (And How to Avoid Them)
Some troubleshooting moves backfire. You try to fix one problem and create two more. These are the mistakes we see most often in user reports.
Using vinegar to descale. Vinegar is cheap and works in some machines, but the Vertuo Plus uses rubber seals that degrade with repeated acid exposure. The acetic acid eats into the gaskets over time. A descaled machine with a leaking brew head is worse than a scaled machine.
Stick with the official Nespresso descaling solution or a compatible citric-acid based descaler labeled for Vertuo machines.
Forcing the brew head closed. If the motor will not engage, do not push the head down by force. You can strip the plastic gears or bend the metal linkage. Stop, check for obstructions, and try the manual override method we described earlier.
If that fails, the machine needs service. Pushing harder will not fix it.
Using third-party reusable capsules. The Vertuo system relies on barcodes for brew parameters. Reusable capsules have no barcode. The machine defaults to a generic spin speed that is often wrong.
Coffee comes out weak or bitter. The metal capsules also wear down the barcode reader lens faster. Save yourself the frustration and stick with official capsules.
Running the machine with an empty water tank. Letting the pump run dry forces air into the system. That creates an airlock that is harder to clear than a simple clog. If the tank runs empty mid-brew, stop immediately.
Fill the tank and run a rinse cycle before brewing again.
Ignoring the orange light. The slow blinking orange light is not a suggestion. It is a warning. Every brew you make after the light appears adds more scale.
The longer you wait, the harder the buildup gets to remove. A seven-month buildup can require two or three descaling cycles to fully clear.
Overfilling the tank with hot water. Hot water from the tap can damage the internal sensors. Always use cold or room-temperature water. The machine heats it anyway.
Hot input water confuses the thermoblock and can cause temperature fluctuations.
Storing the machine with water in the tank. If you leave the machine unused for a week or more, the water in the tank and internal tubes grows bacteria. Stagnant water develops a musty smell that transfers to your coffee. Empty the tank when you go on vacation or switch to a seldom-used machine.
Quick Fixes to Try Before You Call Support
These are the highest-success-rate repairs for the most common issues. Try them in order. Each takes less than five minutes.
Hard reset. Unplug the machine from the wall. Wait 30 seconds. Plug it back in.
This clears many transient errors. Do it before anything else.
Rinse cycle without a capsule. Fill the tank. Press the brew button without inserting a capsule. Run three full cycles.
This flushes air pockets, clears minor clogs, and re-primes the heating element.
Needle cleaning. Use the cleaning tool or a paperclip to clear the outlet needle. Insert gently and twist. This fixes the most common no-coffee problem.
Tank valve check. Remove the water tank. Press the small spring valve at the bottom with your finger. It should move freely.
Re-seat the tank firmly.
Descaling. If you have ignored the orange light for months, run a descaling cycle now. Use the official solution. It clears scale that causes cold coffee, weak flow, and weird noises.
Barcode lens wipe. Open the brew head. Use a dry microfiber cloth to wipe the small glass window near the needle. Even a fingerprint can cause misreads.
Power cycle with head open. Unplug the machine. Open the brew head fully. Wait 10 minutes.
Close the head. Plug it in. This resets the motor position sensor and sometimes fixes the motorized head issue.
Check the drip tray. Remove the drip tray and capsule bin. Clean them thoroughly. Re-install them correctly.
Many apparent leaks are just an overflowing tray.
If none of these fixes works, the problem is likely a failed internal component. At that point, contact Nespresso customer support. They can diagnose over the phone and often send a replacement unit within a few days.
The warranty covers two years from purchase date as of 2026, so check your paperwork before paying for repairs.
Frequently Asked Questions
Why is my Nespresso Vertuo Plus blinking orange after descaling?
The machine may need a second descaling cycle if the buildup was heavy. Run the cycle again with a fresh bottle of solution. If the light still blinks, try a hard reset by unplugging for 30 seconds.
How do I reset my Vertuo Plus to factory settings?
There is no true factory reset for the Vertuo Plus. The closest option is a hard reset: unplug the machine for 10 minutes, plug it back in, and run a rinse cycle. This clears most stored error codes.
Why does my Vertuo Plus make a loud grinding noise?
A dry or worn bearing in the spinning assembly causes grinding. Apply one drop of food-grade silicone lubricant to the metal spindle inside the brew head. If the noise persists, the bearing needs replacement.
Can I use a reusable capsule in my Vertuo Plus?
You can, but results are inconsistent. The machine cannot read the barcode on a reusable capsule, so it uses a default brew profile. Coffee often comes out weak or bitter.
Official capsules are recommended for best performance.
How often should I descale my Vertuo Plus?
Every three months or after 300 capsules, whichever comes first. The machine tracks this automatically. In hard water areas, descale every two months.
My Vertuo Plus leaks water from the bottom. What should I do?
First check the water tank seal and tighten the four screws on the bottom plate. If the leak continues, the internal hose or pump seal may be cracked. This requires professional repair or warranty replacement.

Similar Posts