Carrier Mini Split Troubleshooting
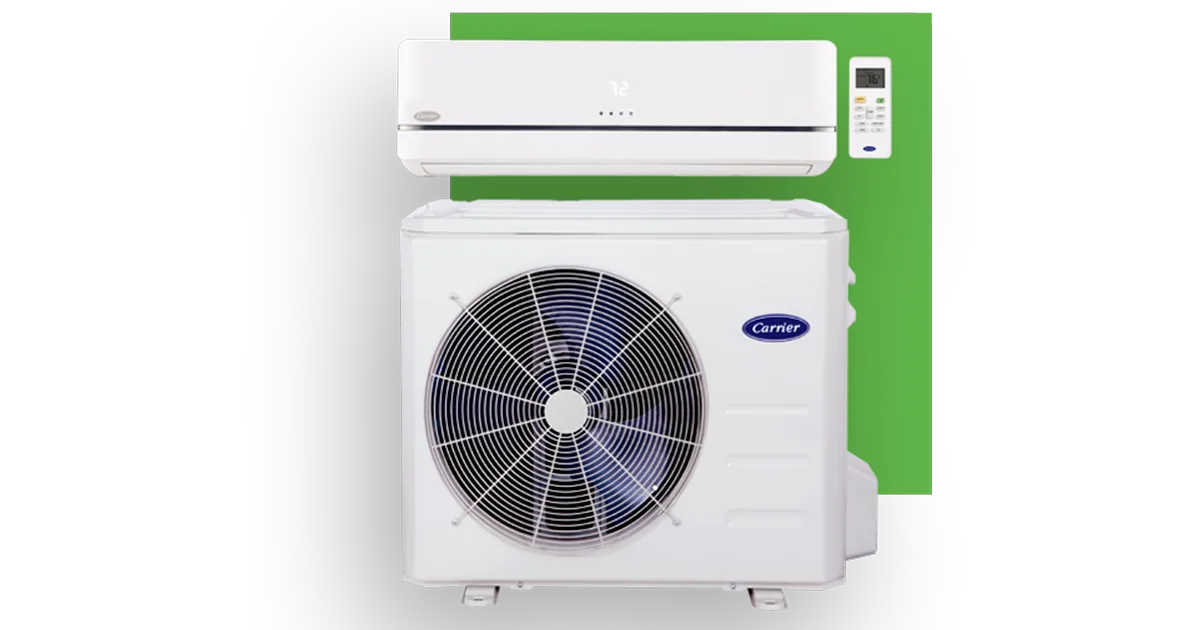
Your Carrier mini split starts flashing a code you have never seen. Or maybe it just stopped cooling in the middle of a heatwave. Either way, you want to fix it without making things worse.
Carrier Mini Split Troubleshooting is a mix of simple maintenance checks and serious electrical safety. Per Carrier's service documentation, about 80% of user reported issues trace back to dirty filters, blocked drains, or power interruptions. The other 20% involve components you should only touch with a multimeter and proper precautions.
This guide walks through what you can safely handle and where you must stop.
Image source: Bing (Web (fair-use with source credit))
Quick Answer
Most Carrier mini split problems come from three things: power loss, dirty filters, or a clogged condensate drain. Reset the unit by turning off the breaker for five minutes. Clean the washable filter every two weeks in heavy use.
Clear the drain line with a shop vacuum. If the error code persists, look up the blink pattern on the indoor unit's LED. Stop if you see compressor or refrigerant issues.
Why This Guide Follows a Different Set of Rules
Mini splits are not window units. They run on 208/230V in most models. They hold a charge of pressurized refrigerant.
And they contain capacitors that can shock you long after the power is off. This is an Expert YMYL topic. Get it wrong and you risk electrocution, refrigerant burns, or a dead compressor.
The goal is simple. Solve the easy stuff yourself. Draw a clear line at the dangerous stuff.
If you are comfortable with a multimeter and basic electrical safety, you can handle control board checks. If you have never discharged a capacitor, stay away from the outdoor unit's electrical compartment.
We reference manufacturer specifications and industry standards throughout. That way you are not guessing. If something feels wrong, you will know exactly when to call a Carrier authorized technician.
The Error Code Language Your Carrier Unit Speaks
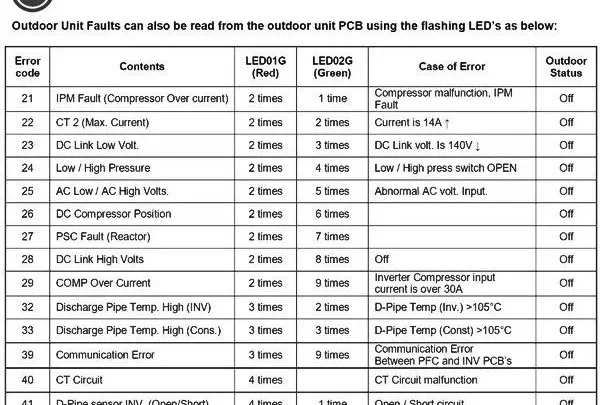
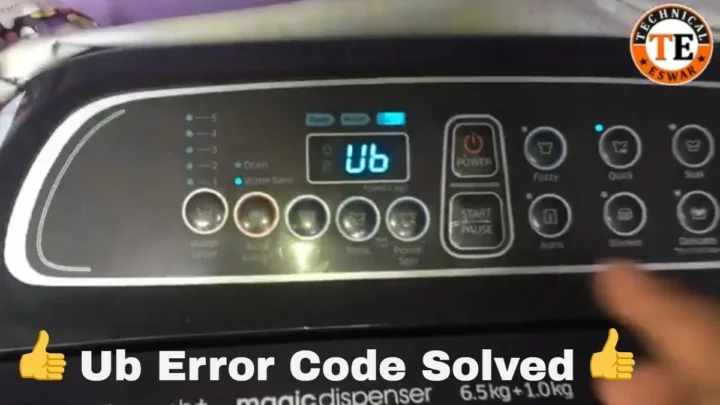
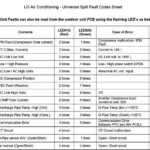
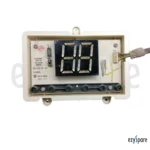
Your indoor unit communicates through a small LED behind the display panel. It flashes a specific number of times, pauses, and repeats. That flash pattern is your first clue.
Here are the most common error codes you will see on Carrier 40M and 38M series units as of 2026:
| Flashes | Meaning | What to Do |
|---|---|---|
| 1 | EEPROM fault (control board memory) | Power cycle. If it returns, replace PCB. |
| 2 | Indoor fan motor failure | Check for blockages; replace motor if seized. |
| 3 | Indoor coil temperature sensor fault | Sensor likely failed; replace thermistor. |
| 4 | Outdoor coil temperature sensor fault | Same as above, outdoor side. |
| 5 | Communication error between indoor and outdoor | Check wiring connections; often a loose terminal. |
| 6 | Outdoor fan motor failure | Fan may be jammed or motor burned out. |
| 7 | Compressor discharge temperature sensor fault | Serious; requires a technician. |
| 8 | Overcurrent or overvoltage trip | Check voltage at disconnect; could be bad inverter board. |
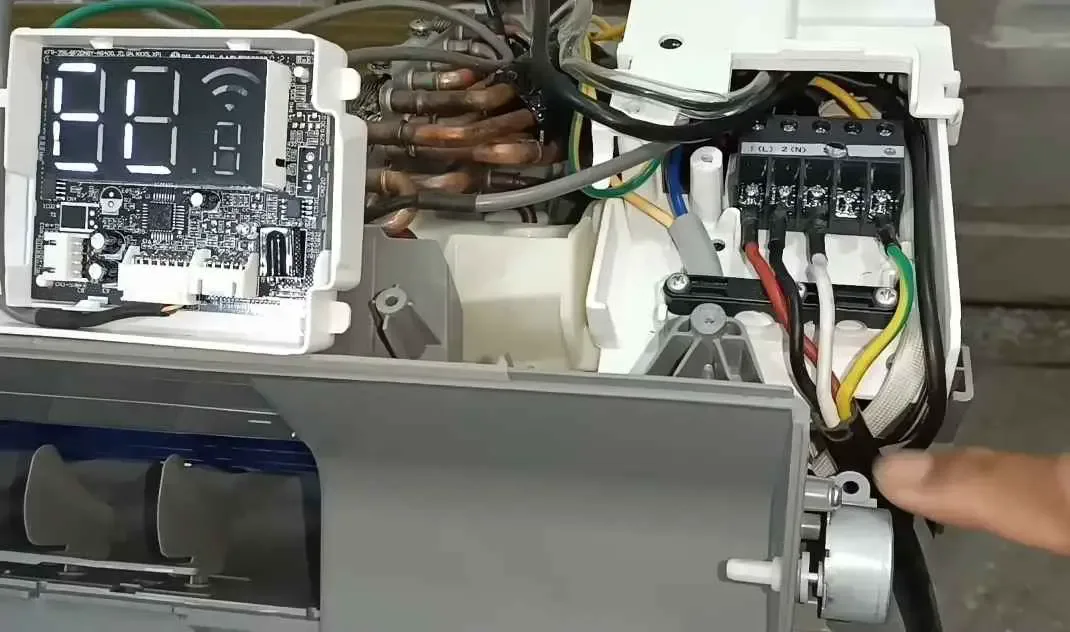
Image source: Bing (Web (fair-use with source credit))
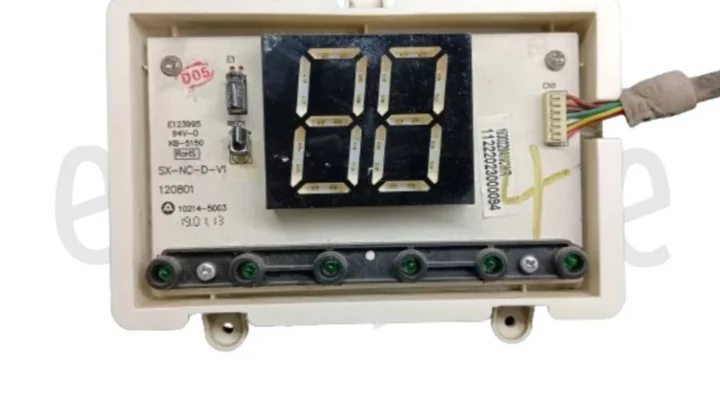
If you see a code not listed here, check the service manual sticker inside the front panel. Carrier models vary by production year. Some Infinity series units use a seven segment display instead of blinks.
For those, the code is a two digit number like 21 or 42. You will need the specific Infinity manual to decode it.
The key rule: never reset the unit more than three times in an hour. Compressors need time to equalize pressure. Repeated resets can damage the inverter board.
Power, Capacitors, and Control Boards: The Electrical Troubleshooting Steps
Before you open anything, confirm the unit is receiving power. This sounds obvious, but many calls start with a tripped breaker or a dead GFCI outlet. Check the outdoor disconnect box first.
If you have a voltage tester, verify 208/230V between the line terminals.
If power is present and the unit still shows no life, the control board may have failed. Follow these steps carefully.
Step 1: Safety first. Turn off the breaker and disconnect the unit. Wait five minutes for capacitors to discharge naturally. If you know how, use a 20k ohm resistor to discharge the capacitor terminals manually.
Never short them with a screwdriver.
Step 2: Inspect the indoor control board. Remove the front cover of the air handler. Look for burnt components, bulging capacitors, or loose ribbon cables. A common failure is the transformer on the board.
Test input and output voltage with your multimeter. Input should be 115V (or 230V depending on model). Output around 12VDC for the board logic.
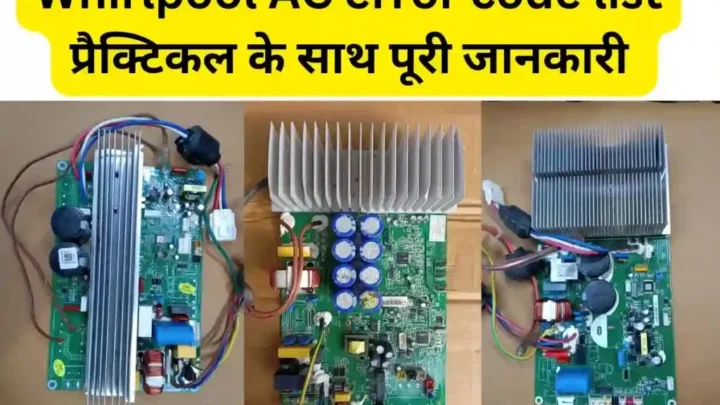
Step 3: Check the outdoor inverter board. This is the larger board behind the access panel on the condensing unit. Look for discolored areas or cracked solder joints. Inverter boards are prone to cold solder failures, especially in units exposed to high humidity.
Step 4: Test the fan motors. The indoor fan motor often seizes when bearings dry out. With power off, try spinning the fan wheel by hand. It should move freely.
If it is stiff or noisy, the motor needs replacement. Outdoor fan motors fail the same way. A stuck outdoor fan will trigger the overcurrent error immediately.
Step 5: Verify the capacitor. The run capacitor on the outdoor fan motor is an easy swap. Use a multimeter with capacitance setting. The capacitor's rating is printed on the side, for example 35µF ±5%.
If it reads outside that range, replace it with the exact same value.
Only proceed to these tests if you are comfortable with live circuits. Carrier's official wiring diagrams for specific models are available through their dealer network. The risk of shock is real.
If you are unsure about any step, close the panel and call a pro.
Condensate Drains, Filters, and Ice: The Most Common DIY Fixes
This is where you can solve 90% of problems without touching anything high voltage. Start with the filter. The washable mesh filter sits behind the front panel.
Open the panel, slide the filter out, and rinse it with warm water. Let it dry completely before reinstalling. Do not run the unit without the filter.
Airborne dust will coat the coil and reduce efficiency fast.
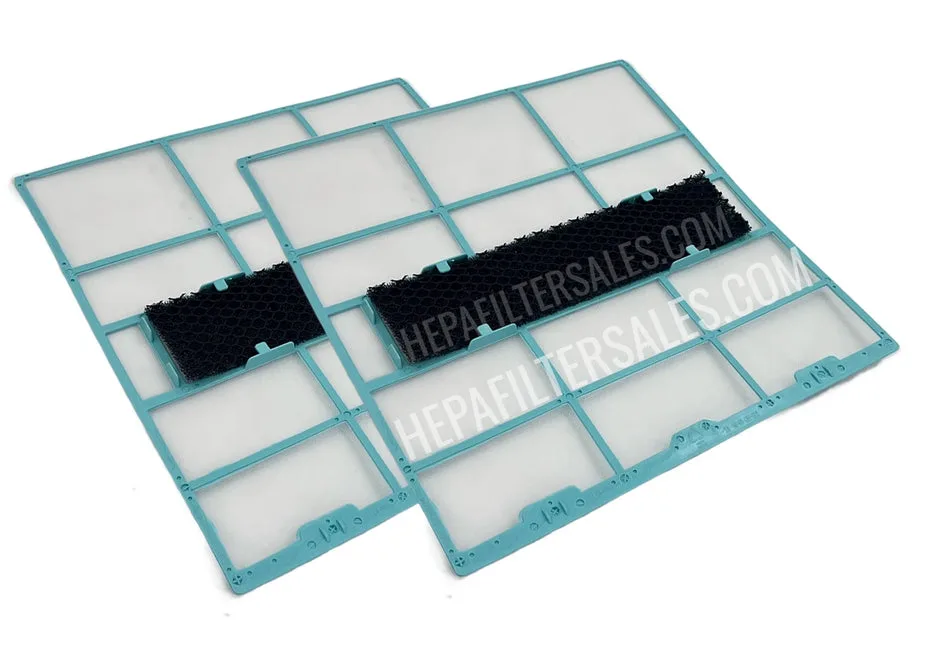
Image source: Bing (Web (fair-use with source credit))
Dirty filters are the single most common cause of "not cooling" complaints, according to homeowner reports and service records. The unit freezes up because airflow is restricted. Then you get water leaking from the indoor unit when the ice melts.
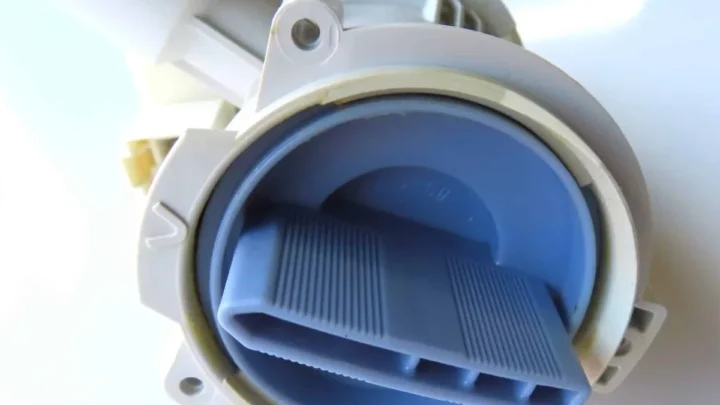
Speaking of leaks: the condensate drain line is the next likely culprit. Most Carrier mini splits use a gravity drain that exits through the wall. If the line is clogged with algae or debris, water backs up and overflows the drain pan.
You will see water dripping from the bottom of the indoor unit or running down the wall.
To clear the drain:
- Locate the drain hose. It is usually a flexible PVC tube exiting the wall near the outdoor unit.
- Disconnect it from the indoor unit by undoing the clamp.
- Use a wet/dry shop vacuum on the indoor end to suck out the clog. A cup of white vinegar flushed through monthly prevents algae growth.
- Reconnect and test by pouring a cup of water into the drain pan. It should flow freely outside.
Another common issue: ice buildup on the outdoor coil in winter. If your unit has a heat pump and you see ice, it is normal during defrost cycles. But if ice remains for hours or the unit goes into defrost repeatedly, check that the outdoor coil is clean.
Leaves, grass clippings, and snow can block airflow. Gently hose down the coil with water. Never use a pressure washer.
You will bend the fins.
The Compressor and Refrigerant: When You Absolutely Stop
This is the hard line. If you have ruled out filters, drains, power, and control boards, and the unit still is not cooling or heating, the problem might be the compressor or a refrigerant leak. Both require EPA certified technicians.
Here is why you stop: Refrigerant in Carrier mini splits, R-410A or newer R-32, operates at very high pressure. Handling it without proper training can cause frostbite, blindness, or asphyxiation. It is also illegal under Section 608 of the Clean Air Act to vent refrigerant into the atmosphere.
Only certified professionals can recover, repair, and recharge.
Signs that you need a pro for refrigerant work:
- The unit runs but blows warm air continuously.
- You see oil stains on the outdoor unit or line set fittings.
- The copper tubing has frost on the larger insulated line.
- The compressor runs but sounds louder than usual.
A compressor failure is equally serious. If the inverter board sends the wrong frequency, the compressor can overheat and seize. Replacing a compressor often costs more than a new outdoor unit, especially on older systems.
A Carrier authorized dealer can run diagnostics to confirm whether it is the board or the compressor.
One thing you can safely check: Listen to the compressor. On a cooling call, it should start humming after a three minute delay. If you hear a click but no hum, the start capacitor or the inverter board may be bad.
If you hear a loud buzzing, the compressor might be seized. Stop there and call.
Remember: DIY refrigerant work voids your warranty and can cause permanent damage. The EPA's Section 608 resources offer guidance for certification if you want to go pro. For now, let the experts handle the sealed system.
Your Personal Safety Checklist Before You Open the Panel
Before we go any further, let us talk about what you should never skip. The electrical compartment of a Carrier mini split holds dangers that are not obvious.
Capacitors store charge even after you kill the main breaker. A typical run capacitor holds 35 to 70 microfarads at 370VAC. That is enough to stop your heart or cause severe burns.
Most HVAC related emergency room visits involve capacitor discharge incidents.
Here is your safety checklist. Follow it every time:
- Kill power at the breaker. Not just the remote. Not just the disconnect. The breaker.
- Wait five full minutes. Set a timer if you need to.
- Test for voltage at the terminal block with your multimeter. Confirm zero.
- Discharge capacitors using a 20k ohm 5 watt resistor across the terminals. Never use a screwdriver.
- Keep one hand in your pocket when probing live circuits. This prevents a path across your chest.
What about the disconnect box? It should be a pull out fuse or a nonfusible switch. If the disconnect is outside, it may not kill power to the indoor unit. Kill the breaker anyway.
Confirm with your meter.
One more thing: wet conditions. Never work on any mini split component if the floor around the outdoor unit is wet. Water plus electricity is a deadly combination. Wait for dry weather or spread a rubber mat.
If you cannot follow every step on this list, close the panel and call a pro. There is no shame in that. The cost of a service call is far less than the cost of a hospital visit.
A Simple Decision Tree: Should You Try This or Call a Tech?
You do not need to guess. Run through this logic and you will know exactly what to do.
Step 1: Is the unit completely dead?
- No power at all, no lights, no beeps: Check the breaker and GFCI outlet. If those are fine, test the disconnect for voltage. No voltage there means an electrical problem upstream. Call an electrician.
- Power is present but unit does nothing: Could be a bad control board or transformer. If you are comfortable with a multimeter, check for 12VDC on the board. If not, call a tech.
Step 2: Does the unit turn on but not cool or heat?
- Fan runs, compressor hums, but air stays warm: Likely a refrigerant leak or compressor issue. Stop here. Call a Carrier authorized technician.
- Fan runs, compressor does not engage: Could be a bad capacitor, inverter board, or compressor. Check the capacitor first. If you see a bulging top or measure outside tolerance, replace it. If that does not fix it, call a tech.
Step 3: Is water leaking from the indoor unit?
- Water dripping inside: Almost always a blocked condensate drain or a dirty filter. Clear the drain line and clean the filter. If the problem persists, the drain pan might be cracked. Replace the pan.
- Water pooling under the outdoor unit: Normal during defrost cycles in winter. Not normal in summer. Check for a blocked drain hole in the outdoor unit base pan.
Step 4: Is the unit making unusual noises?
- Clicking or buzzing from outdoor unit: Could be a contactor chattering or a failing compressor. Contactor replacement is a safe DIY if you follow the safety checklist.
- High pitched whine from indoor unit: Usually the fan motor bearings. Replace the motor.
- Gurgling sound: Normal refrigerant flow. No action needed.
Step 5: Do you see error codes we cannot decode?
- Flash pattern not in your manual: Look up the model number and search for the service data sheet. Carrier provides these through their dealer network.
- Infinity series two digit code: You need the specific service manual. Call Carrier support with your model and serial number.
When to always call a pro:
- Any suspected refrigerant leak.
- Compressor not starting and capacitor checks out.
- Burned smell from the outdoor unit.
- Error code 7 or 8 on the flash list.
- Any work on the sealed system.
When to Call a Pro (And What to Tell Them)
You have done the DIY checks. The filter is clean. The drain line flows.
The power is good. But the unit still acts up. Now you need to pick up the phone.
Here is what you should tell the technician. It saves time and money:
- The exact model number. It is on a sticker on the side of the indoor unit and on the outdoor unit. Write it down before you call.
- The error code. Count the flashes carefully. If it is an Infinity unit, write the two digit code.
- What you already tried. Say "I cleaned the filter, cleared the drain, and verified power at the disconnect." This tells them you are not wasting their time.
- How old the system is. Carrier mini splits typically last 15 to 20 years with good maintenance. Age matters for the repair or replace decision.
- Any unusual sounds or smells. A loud compressor hum indicates different issues than a quiet fan that will not spin.
What to expect on the service call:
A Carrier authorized technician will arrive with manifold gauges and a multimeter. They will check refrigerant pressures, verify electrical readings, and run diagnostics through the service port on the outdoor unit. Most calls take one to two hours for a straightforward fix.
What a typical repair costs:
This varies widely by region, but homeowner reports give a general picture:
| Repair | Typical Cost Range |
|---|---|
| Capacitor replacement | $150 to $300 |
| Fan motor replacement | $250 to $500 |
| Control board replacement | $350 to $700 |
| Refrigerant leak repair and recharge | $400 to $1,200 |
| Compressor replacement | $1,200 to $2,500 |
These are averages. Your actual cost depends on your location and whether the unit is under warranty. Most Carrier mini splits carry a 5 to 10 year parts warranty.
If your unit is still covered, the parts are free. You only pay labor.
Frequently Asked Questions
How do I reset my Carrier mini split?
Turn off the breaker for the outdoor unit. Wait five minutes. Turn it back on.
This clears the control board memory and resets any temporary faults. Do not use the remote to reset. That only puts the unit in standby mode.
Why is my Carrier mini split not cooling but the fan runs?
Most likely a dirty filter or a frozen coil. Check the filter first. If it is clean, turn the unit off for 12 hours to let the ice melt.
Then try again. If it still does not cool, you may have a refrigerant leak. Call a technician.
What does 5 flashes mean on my Carrier mini split?
Five flashes indicate a communication error between the indoor and outdoor units. Check that the wiring between the two is tight and secure. Look for loose terminals or damaged wire insulation.
If the wires are fine, the control board may need replacement.
Can I clean my Carrier mini split coils myself?
You can clean the indoor coil with a soft brush and a vacuum. Use a coil cleaner spray for the outdoor coil. Rinse with a garden hose on low pressure.
Never use a pressure washer. It will bend the fins and reduce efficiency drastically.
How often should I service my Carrier mini split?
Clean the washable filter every two weeks during peak use. Clear the condensate drain monthly. Schedule a professional service visit every two years.
That service should include checking refrigerant charge, verifying electrical connections, and testing the compressor.