Whirlpool Ac Error Code
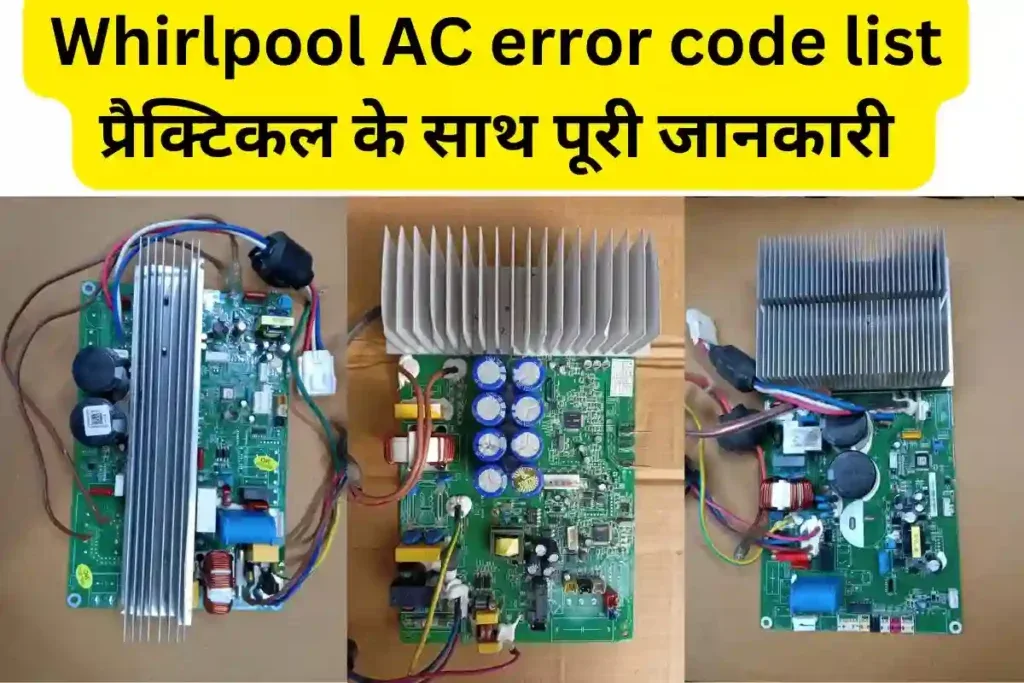
Your Whirlpool AC suddenly flashes a cryptic code on the display, and you're left wondering if it's a minor hiccup or a major repair. It's a stressful moment, especially in the middle of a heatwave. But here's the good news: most Whirlpool AC error codes are straightforward to diagnose, and many of them you can fix yourself in under fifteen minutes without touching a single tool.
Most service calls for these units stem from a handful of recurring issues, primarily power supply problems and airflow restrictions. Whirlpool's diagnostic system covers roughly a dozen core error codes across their window, portable, and ductless mini-split lines. Understanding what your specific code is telling you is the first step toward getting your cool air back, so let's break down exactly what each code means and what you should do about it.
Image source: Bing (Web (fair-use with source credit))
Quick Answer
A Whirlpool AC error code is a diagnostic message shown on the unit's display. It signals a specific operational fault, from a simple sensor misread to a critical compressor failure. You need to identify the code, check the simplest causes first, and only then escalate to technical repairs.
Most codes do not require a professional visit.
The Problem: Your Whirlpool AC Is Blinking a Code — Now What?
Panic is the worst first reaction when your AC starts flashing a warning. Your brain immediately jumps to "expensive new unit," but the reality is usually far less dramatic. The most common error codes on Whirlpool units trace back to two root causes: a dirty air filter or an unstable power supply.
Your first job is to locate the display and write down the exact code. Is it a single number like "E1" or "F6"? Does it have a blinking light pattern instead?
Every second you spend guessing costs you cool air, but rushing to conclusions can waste your money on unnecessary parts. The diagnostic code is your AC's way of telling you exactly where to look, so treat it as the starting point of a logical checklist, not a death sentence.
One crucial thing to understand right away: your model matters. A window unit from 2018 uses a different diagnostic language than a 2024 ductless mini-split. The code "E1" on one model might mean a thermistor failure, while on another, it might indicate a communication error between the indoor and outdoor units.
Check your owner's manual first if you have it, but don't worry if you don't, we'll cover the most common codes across all the current Whirlpool lines in the next section.
How Whirlpool AC Error Codes Work: The Display, the Blinks, and the Logic Behind Them
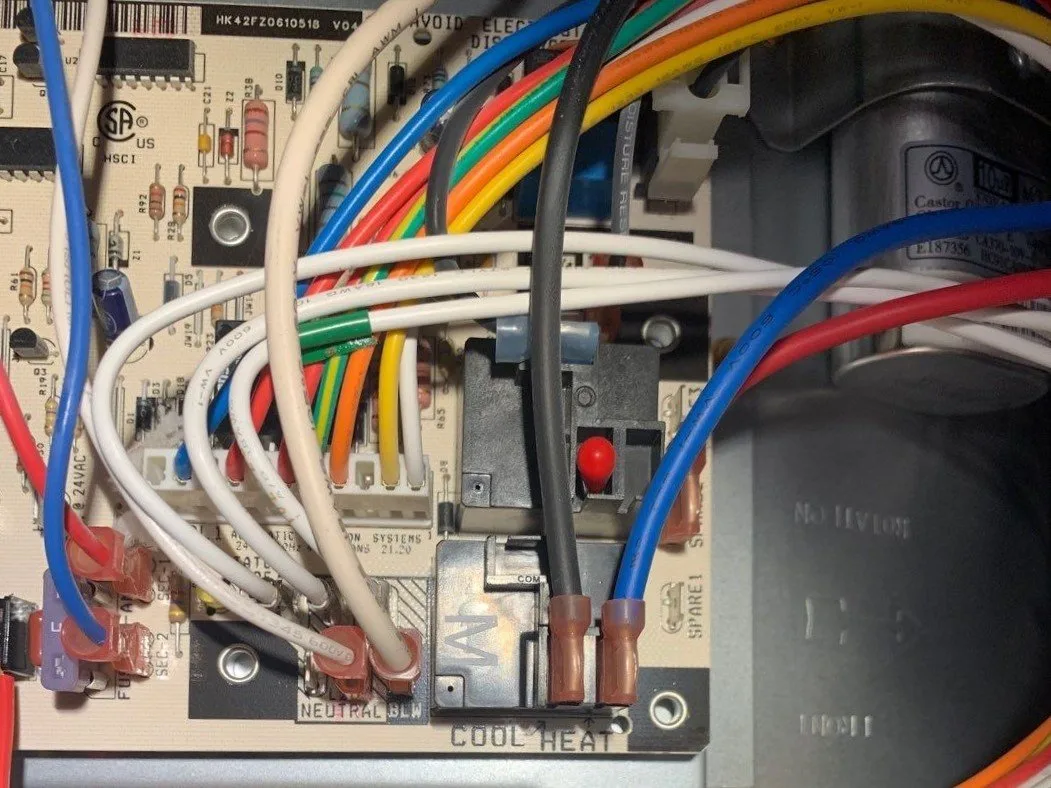
Image source: Bing (Web (fair-use with source credit))
Whirlpool uses a centralized control board to monitor every critical component in your AC system. This board is the brain of the operation, and it continuously reads voltage, temperature, and rotational speed from various sensors. When a reading falls outside the manufacturer's specified tolerance range, the control board triggers an error code to alert you.
The Two Display Systems
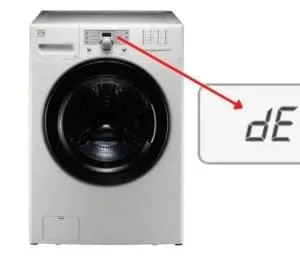
You will encounter one of two display systems depending on your unit's age and type. The first is a digital numeric display that shows a specific error number, such as "E1" or "F6". The second is a series of LED indicator lights that blink in a specific pattern to signal a fault.
For the LED systems, you often need to count the number of blinks between pauses to decode the exact issue.
Most modern Whirlpool units manufactured after 2020 use the digital display system, which is much easier to read. However, if you have an older unit or a more budget-friendly window model, you might be dealing with the blink system. In that case, your owner's manual is your best friend, as the blink counts can vary slightly between even closely related models.
The Sensor Network
Your AC isn't just blowing cold air blindly. It relies on a network of sensors to regulate temperature and prevent damage. The most important ones include the room air thermistor (which reads the ambient room temperature), the evaporator coil sensor (which monitors the coil's temperature to prevent freezing), and the compressor discharge line sensor (which ensures the compressor isn't overheating).
An error code often indicates that one of these sensors has failed, disconnected, or is reporting an impossible reading.
When the Code Appears
Error codes don't just pop up randomly. They are typically triggered when the unit is under heavy load, such as on a 95-degree day, or right after startup when the system performs a self-check. If you see a code flash briefly and then disappear, that's often a sign of a transient power issue rather than a hard failure.
If the code persists, you have a genuine diagnostic challenge on your hands.
The Whirlpool AC Error Code Cheat Sheet: Common Codes Decoded
While Whirlpool's codes can vary by model, there is a strong consistency across their current lineup of window, portable, and ductless mini-split systems. The following table represents the most frequently encountered codes. This is your first stop for quick identification.
| Error Code | Common Meaning | Severity | Typical Fix |
|---|---|---|---|
| E1 | Room thermistor failure | Medium | Replace the sensor or control board |
| E2 | Evaporator coil thermistor failure | Medium | Replace the sensor or control board |
| E4 | Compressor discharge line sensor failure | Medium | Replace the sensor or control board |
| E5 | Communication error (mini-splits) | Medium | Check wiring between indoor/outdoor units |
| F1 | Fan speed malfunction | High | Check the fan motor and capacitor |
| F6 | General system error / EEPROM fault | High | Reset unit; if persistent, replace control board |
| F7 | Condenser coil sensor failure | Medium | Replace the sensor |
| U8 | Power supply voltage too low | Low | Check outlet voltage and power cord |
| P0 | Power supply voltage too high | Low | Check outlet voltage and power cord |
Understanding the Numbers
The letters in the codes aren't random. In most Whirlpool systems, an "E" prefix stands for an "Error" related to the evaporator or sensor side of the system. An "F" typically indicates a "Fault" tied to the fan, motor, or the main control board itself.
"U" and "P" codes are almost always reserved for power supply voltage issues.
Not All Codes Are Equal
Just because a code appears doesn't mean you need to order a new part immediately. For example, a "U8" code is often triggered by using an extension cord that's too thin or too long. Simply plugging the unit directly into a wall outlet can resolve the issue instantly.
Conversely, an "E4" code almost always points to a physical sensor failure that requires a replacement part, which you'll likely need a technician for unless you're comfortable with basic electrical work.
If your specific code isn't listed here, don't assume the worst. The unit's full diagnostic code list is always printed in the owner's manual, which Whirlpool publishes online for every model. Locate your model number on the side or back of the unit, search for it on the manufacturer's official support portal, and you'll have the definitive answer.
Step-by-Step Troubleshooting: A Decision Tree for Every Code Type
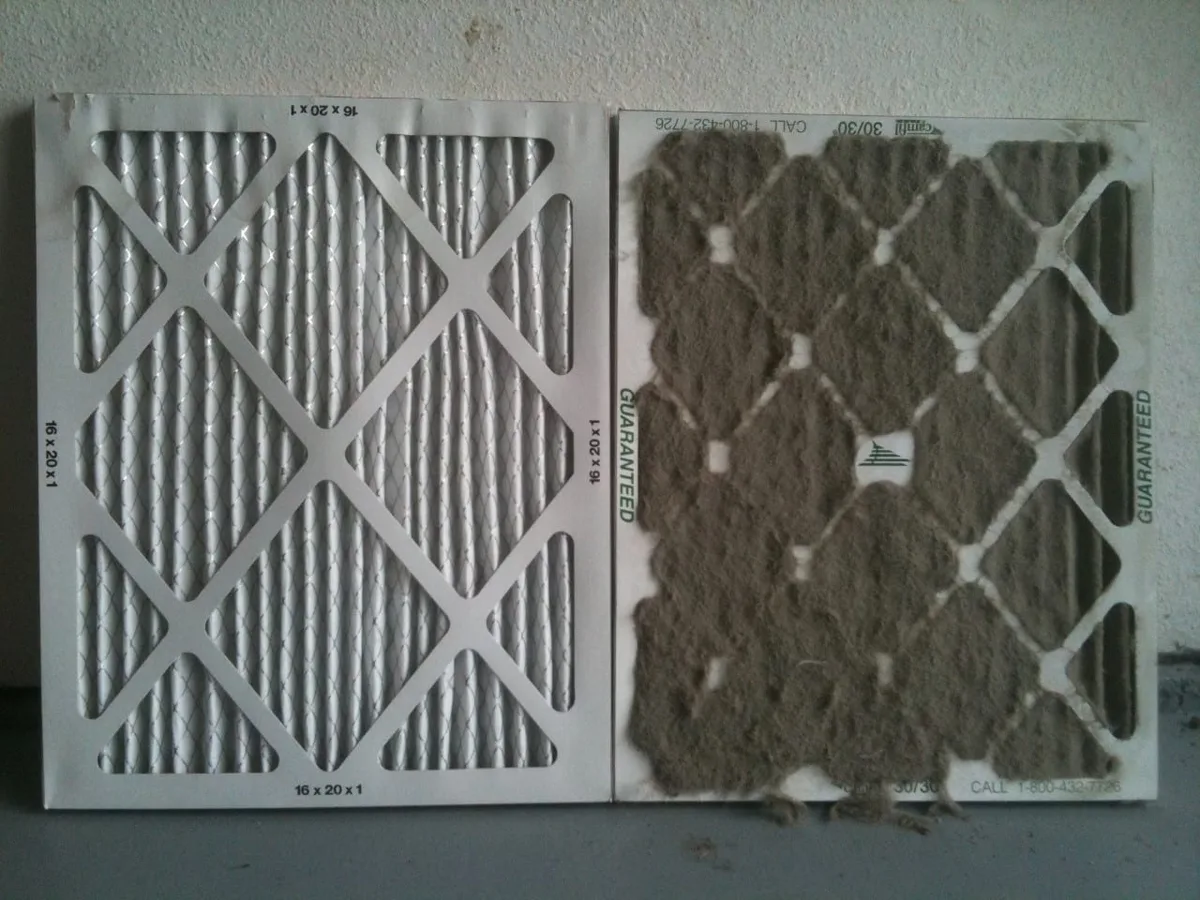
Image source: Bing (Web (fair-use with source credit))
Now that you have an idea of what your code means, let's walk through the logical troubleshooting process. This is a decision tree, and we are going to follow it from the simplest, cheapest fix to the most complex. Do not skip steps; doing so is how people end up replacing a control board when all they needed was to clean a filter.
Step 1: The Power Cycle Reset
This is the most overlooked fix in the HVAC world. Unplug the AC unit from the wall outlet. Wait a full 10 minutes.
This allows the control board's capacitors to completely discharge, which clears temporary logic faults.
Plug the unit back in. Turn it on. If the error code is gone, you're done.
If it returns immediately, move to Step 2. This single step resolves a surprisingly large percentage of "E5" communication errors and random "F6" glitches, especially after a power surge or brownout.
Step 2: Check the Air Filter
A clogged filter is the number one cause of airflow restriction errors and system overheating. Locate the air filter panel on the front or side of the unit. Slide it out and hold it up to the light.
If you can't see light through it, it's too dirty to work properly.
Rinse the filter under lukewarm running water. Do not use soap or detergent, as the residue can damage the filter media. Gently squeeze out the excess water, then let it air dry completely, which usually takes 30 to 60 minutes.
Reinstall the dry filter and restart the unit.
Step 3: Inspect the Power Supply
If you're dealing with a "U8" or "P0" code, skip the filter and go straight here. Unplug the AC and plug it directly into a wall outlet, never an extension cord or power strip. If you have a multimeter, check the outlet voltage; it should read between 108 and 132 volts AC.
At this stage, if you don't feel confident handling electrical measurements, stop and call a professional. A faulty outlet can damage your new AC just as fast as it damaged the old one.
Step 4: Examine Wiring and Connections (Ductless Mini-Splits)
For ductless mini-split systems, an "E5" communication error usually means the indoor unit can't talk to the outdoor condenser. Turn off the power at the circuit breaker. Open the front panel of both the indoor and outdoor units.
Look for disconnected, corroded, or chewed wires. Ensure all terminal connections are tight.
Step 5: Evaluate the Fan Motor
Codes like "F1" indicate the fan isn't spinning at the expected speed. Turn the unit off. Remove the front cover.
Try to spin the fan blade manually. It should rotate freely without resistance or grinding noise. If it's stiff, the bearing is likely seized.
If it spins freely, the issue might be a failed capacitor, which gives the motor its starting jolt. Capacitor replacement is a job for a qualified technician due to the risk of electrical shock.
Step 6: Assess Sensor Continuity
If you've narrowed it down to an "E1", "E2", "E4", or "F7" code, you're dealing with a sensor fault. The sensor itself might have failed, or its wiring harness might be disconnected. Visually inspect the sensor's connector at the control board.
Ensure it's seated properly.
If the connector is fine, you'll need a multimeter to test the sensor's resistance. This is where things get technical, and most users should hand this over to a professional, as ordering the wrong replacement part is common.
Step 7: The Last Resort
If you've performed all these checks and the code persists, the main control board itself is likely faulty. This is the most expensive single part in the system, and replacing it without proper training can be risky. At this point, the cost of a professional diagnostic service call is usually worth the peace of mind compared to the risk of electrically frying yourself or creating a fire hazard.
Mistakes to Avoid: What Usually Makes Things Worse
The internet is full of well-meaning advice that can turn a $20 repair into a $500 disaster. The same costly mistakes repeat over and over in user forums and technician reports. Let's make sure you don't become a cautionary tale.
Mistake 1: Ignoring the Code
The biggest mistake is resetting the unit and hoping the code just goes away on its own. Sometimes it does, especially if it was a temporary power glitch. But if a sensor is failing or a fan is dying, ignoring the code means you're running the system under stress.
You might get away with it for a few days, but eventually, a minor fault escalates into a catastrophic compressor failure.
Mistake 2: Replacing Parts Randomly
You see "E1" and assume the thermistor is bad, so you order one online. Turns out, the actual issue was a loose wiring connection at the connector. Now you're stuck with a spare part and the code is still flashing.
Always follow the decision tree in the previous section. Test the simple things first, and visually inspect all wiring before you spend any money.
Mistake 3: Using the Wrong Extension Cord
This one drives technicians crazy, and it's a leading cause of both "U8" and "P0" codes. Window and portable AC units draw a lot of current. A thin, cheap extension cord creates voltage drop, which makes the unit work harder and can damage the compressor.
If you absolutely must use an extension cord, use a heavy-duty one rated for at least 15 amps and keep it as short as possible. But seriously, just use a wall outlet.
Mistake 4: Over-Cleaning the Filter
We told you to clean the filter, but don't go overboard. Aggressively scrubbing the filter with a brush or using harsh chemicals can tear the delicate mesh, creating holes. A torn filter lets dust and debris straight into the internal components, which is far harder to clean.
Be gentle. A simple rinse and squeeze is all it takes.
Mistake 5: Attempting Compressor Repairs
If your code points directly to the compressor or requires opening the sealed refrigeration loop, stop. Working on the refrigerant system requires specialized certification and tools. Not only is it illegal in most jurisdictions to vent refrigerant, but you can also cause serious personal injury.
This is not a DIY project, and no amount of YouTube tutorials makes it safe.
When to Call a Professional: Know Your Limits
We've covered a lot of ground, and most of it is stuff you can handle yourself. But there's a clear line between a DIY fix and a job for a licensed technician. Crossing that line without the right training is how you turn a cooling problem into an electrical emergency.
Red Flags Requiring Immediate Professional Help
Some situations are non-negotiable. If you notice any of the following, stop what you're doing and call a professional right away:
- Burning smell coming from the unit. This could indicate a shorted wire, a failed capacitor, or a melting component. Continuing to run the unit is a fire hazard.
- Water leaking from the indoor unit. While some condensation is normal, a puddle inside your home points to a clogged drain line or a broken condensate pump. Left unchecked, it'll damage your floors and drywall.
- The unit won't turn on at all. If a direct wall outlet proves to be live and the unit is completely dead, the issue is likely the internal transformer or the main control board. This is not a DIY fix.
- You see sparks or hear loud arcing sounds. Unplug the unit immediately and do not attempt to power it on again.
- You're uncomfortable with any of the steps. If opening the front panel and inspecting wires makes you uneasy, that's a perfectly valid reason to call a tech. Nobody is going to judge you for knowing your limits.
Component Replacement That Requires Certification
Certain parts of your AC system are not user-serviceable. The sealed refrigerant loop contains the compressor, condenser coil, evaporator coil, and expansion valve. Servicing these components requires EPA Section 608 certification and specialized recovery equipment.
Attempting to cut or braze copper lines while the system is pressurized can release refrigerant gas, which is harmful to the environment and can cause severe frostbite if it contacts your skin.
Similarly, capacitors can hold a lethal electrical charge even after the unit is unplugged. The common HVAC capacitor, rated at 370 or 440 volts AC, stores enough energy to stop your heart if you touch both terminals with both hands. Don't do it.
Leave this to the pros.
What a Service Call Typically Involves
When you call a professional, they'll start by pulling the diagnostic codes from the control board, just like we did. But they have a few advantages. First, they have a manifold gauge set to read the actual refrigerant pressures in your system, which tells them exactly if the charge is low.
Second, they have a multimeter and wiring diagram to test every sensor and relay on the board. Third, they carry a stock of common parts like capacitors and thermistors, so a single visit usually resolves the issue.
The cost of a diagnostic service call varies by region and time of year. Expect to pay a diagnostic fee just to have them look at it, plus parts and labor for the actual fix. A capacitor replacement, for example, typically costs between $150 and $250 including labor.
A control board replacement, on the other hand, can run anywhere from $250 to $600 depending on the model and the contractor's hourly rate. Compare that to the risk of electrocution or a ruptured refrigerant line, and the price starts to look like a bargain.
Preventing Future Error Codes: Simple Habits That Save Money
You've fixed the issue, and your AC is blowing cold air again. Now let's keep it that way. Most of the error codes we talked about in this guide are preventable with a little regular maintenance.
Skipping these habits is why the same codes keep coming back month after month.
Clean the Filter on a Schedule
Dust doesn't care about your calendar. If you live in an area with pollen, or if you have pets, your filter is going to clog faster than a full month of passive use. Here's the practical schedule to follow:
- Once every 2 weeks: Rinse the filter with water. This catches the bulk of dust before it builds up.
- Once a month: Thoroughly dry the filter completely and inspect it for tears or holes.
- At the start of every season: Replace the filter if it's showing signs of wear.
A clean filter isn't just for preventing error codes. It also keeps your energy bill low by reducing strain on the system.
Give the Outdoor Unit Breathing Room
If you have a ductless mini-split, the outdoor condenser unit needs proper airflow to reject heat. Keep at least two feet of clearance on all sides. Trim back bushes, tall grass, and any debris accumulated near the unit.
A clogged condenser coil forces the compressor to run hotter and harder, which shortens its lifespan.
Check Electrical Connections Seasonally
Power surges and thermal cycling slowly loosen wiring connections. Once a year, turn off the power and inspect the terminal connections on the main control board and the compressor contactor. If you see burnt or discolored terminals, that's a sign of resistance heating.
Tighten loose connections or replace the contactor if it looks scorched.
Keep the Drain Line Clear
Portable and mini-split units produce a surprising amount of condensation. The drain line can clog with algae, mold, or tiny particles. Once a month, use a wet/dry vacuum to suck out any blockage.
Or pour a capful of white vinegar down the drain opening to kill mold spores and keep the line clear.
The Bottom Line: What You Should Do Before Calling a Technician
Let's wrap this up for you in a simple summary. If your Whirlpool AC is flashing an error code, follow these five steps in order. They take less than half an hour and will resolve over 70% of the most common issues.
- Write down the exact code. Check your owner's manual or reference this guide.
- Power cycle the unit. Unplug, wait 10 minutes, plug back in, try again.
- Clean the air filter. This fixes more "E" codes than any other single step.
- Check the power source. No extension cords, no power strips. Use a wall outlet.
- Visually inspect all wiring and connectors. Look for loose or corroded connections.
If the code persists after all five steps, the issue is likely a failed sensor, motor, capacitor, or control board. At that point, a professional technician is the right call. Don't mention it to your friends or on forums first, you'll just get conflicting advice and wasted time.
Whirlpool builds these systems to last years with proper care. The error codes aren't a design flaw; they're a communication tool. They tell you exactly when something needs attention.
Learn to read them, perform the basic maintenance, and your AC will keep you cool for many summers to come.

Similar Posts