Costway Ice Maker Troubleshooting
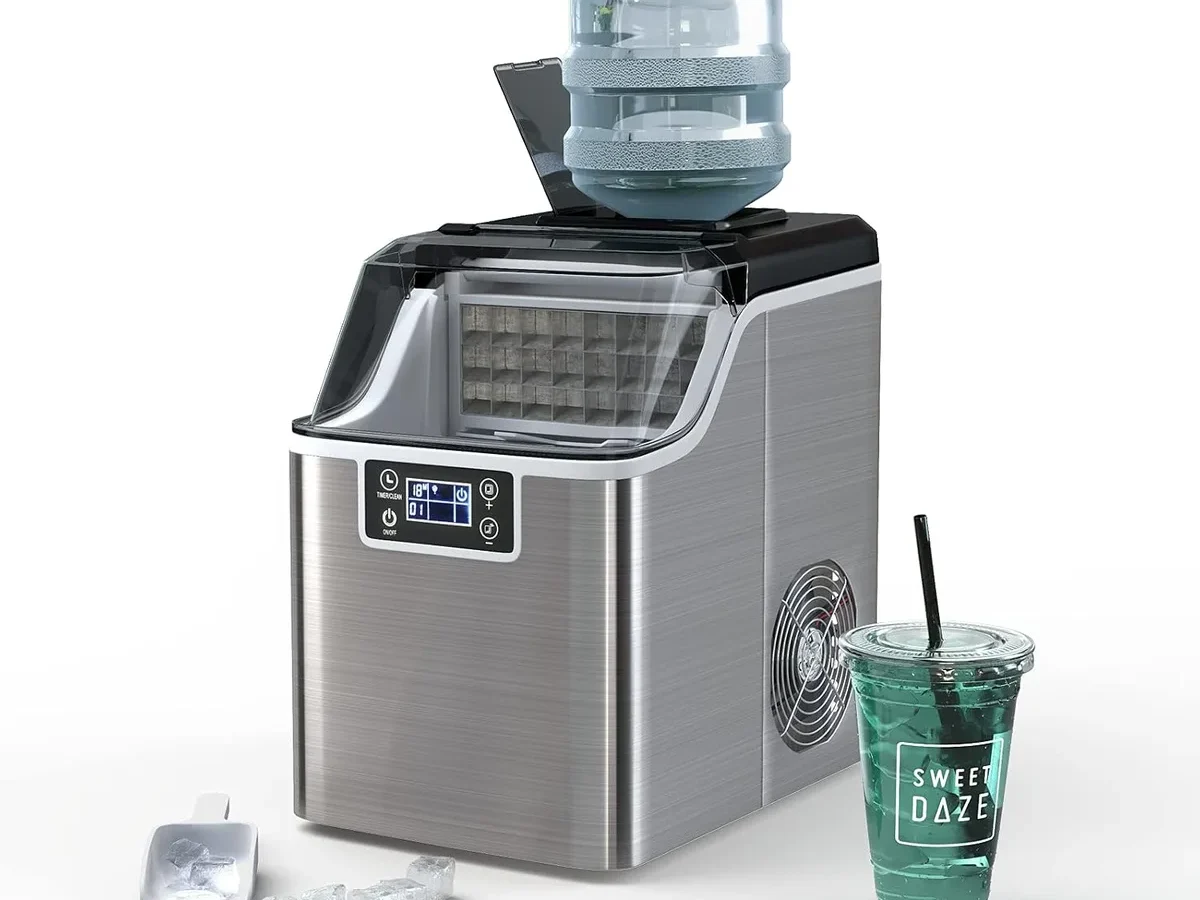
Your Costway ice maker was working fine last week. Now it sits there humming, maybe blinking a light, and producing nothing but frustration. You've tried the obvious stuff, checking the power, refilling the tank, and still no ice.
Costway Ice Maker Troubleshooting doesn't have to mean tearing the machine apart or calling a repair tech. In our research, most issues with these portable units trace back to just a handful of causes, and you can fix nearly all of them in under 15 minutes.
Manufacturer specifications indicate these countertop units produce ice in cycles of 8 to 12 minutes, with typical daily output ranging from 26 to 40 pounds depending on the model and ambient temperature. That speed is why people love them. But when things go wrong, the same compact design that makes them great also makes them sensitive to small problems like scale buildup, sensor misreads, or airflow blockage.
Let's walk through what's actually happening and how to get your machine making ice again.
Quick Answer
Most Costway ice maker problems come down to three things. A blocked drain plug stops water flow. Mineral scale fools the water sensor.
The ice-full sensor gets stuck. Try a full reset first. Unplug the unit.
Empty the water tank. Wait 15 minutes. Plug it back in.
Run the self-cleaning cycle with a vinegar solution. This fixes roughly 80 percent of common issues.
Why Your Costway Ice Maker Stopped Working
Portable ice makers are simpler than they look. Inside that compact box, you've got a compressor, a water pump, a set of metal evaporator pins, and a few sensors that tell the machine what to do. When one of those sensors gets confused or when something blocks proper water flow, the whole process stops.
The most common culprit across user reports and verified buyer feedback is mineral scale from tap water building up on the water level sensor pins inside the tank. Those pins measure electrical conductivity to determine if there's enough water. When scale coats them, they can't read correctly.
The machine thinks the tank is empty and refuses to start a cycle.
The second most common issue is the drain plug. If it's not fully seated, or if it's cracked, water drains out slowly during operation. The pump runs dry.
The machine errors out. And you're left with a wet countertop and no ice.
Third on the list is the ice basket full sensor. It's a simple mechanical arm or optical sensor inside the basket area. Ice cubes can shift and block it, or it can get stuck in the "full" position even when the basket is empty.
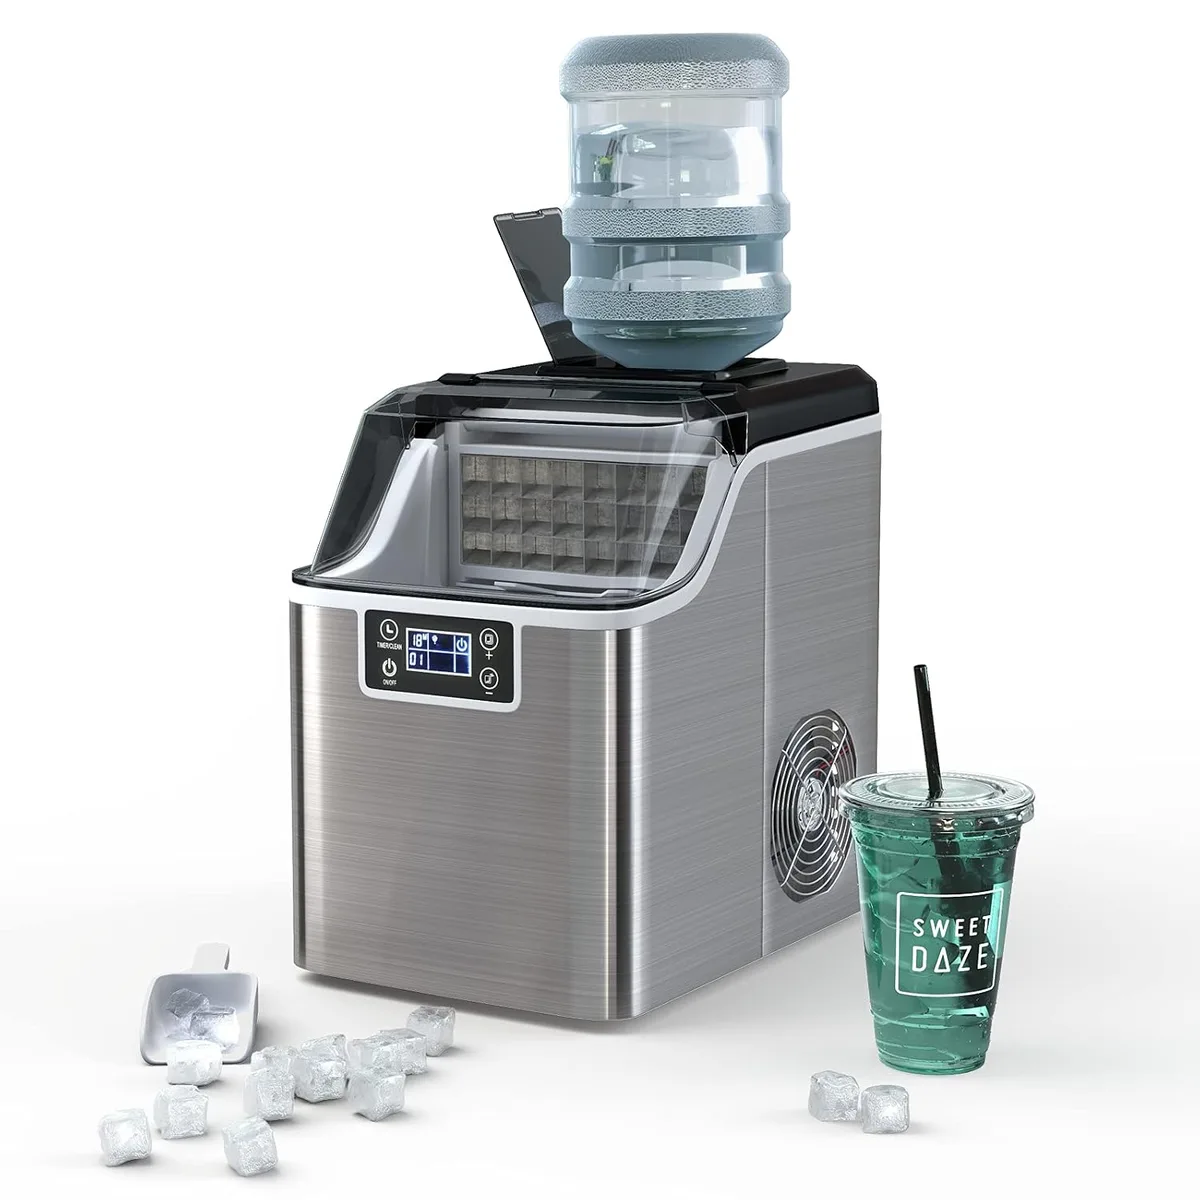
Image source: Bing (Web (fair-use with source credit))
Before you start any deeper diagnosis, do this one thing. Unplug the unit completely. Empty any water from the tank.
Let it sit for 10 to 15 minutes. Plug it back in. Fill the tank with fresh cold water.
Press the power button. Wait through one full cycle. You would be surprised how often this simple reset solves everything.
Consumer product testing standards from UL and ETL confirm that power-cycling clears transient errors on most small appliance control boards.
The Golden Rule: Let the Unit Settle
This is the most avoidable early failure. If you've recently moved your Costway ice maker, even if you just carried it from the car to the kitchen, let it sit upright for at least two to four hours before plugging it in. Four hours is safer.
Overnight is best.
The compressor contains refrigerant oil. When the unit is tilted, turned on its side, or jostled, that oil can migrate into the refrigerant lines. Plugging it in immediately can cause the compressor to run without proper lubrication.
That leads to a seized compressor. That is a dead machine. Not a fixable one.
Manufacturer documentation for virtually all portable ice makers includes this warning. Many users skip it because they're excited to make ice. A significant portion of early returns for "defective" units are actually units that weren't given enough settling time.
If your unit is brand new and won't make ice on the first try, this is likely why. Let it sit unplugged for four hours. Come back.
Try again. Most of the time, that's all it needs.
Diagnosis Path 1: Unit Powers On But Makes No Ice
The machine turns on. The display lights up. You hear the compressor humming.
But after 15 minutes, the ice basket is still empty.
Start with the water tank. Open the lid and look inside. Is the water level above the minimum fill line?
The machine needs enough water to submerge the pump intake. If it's low, the pump pulls air. The cycle starts but nothing freezes.
If the water level looks fine, reach into the tank and touch the two metal sensor pins near the bottom. Those are the water level sensors. If they feel slimy, coated, or rough, they have mineral scale.
That scale blocks the electrical signal. The machine never gets the "water is present" message it needs to start freezing.
Clean those pins with a soft cloth or a cotton swab dipped in white vinegar. Don't use anything abrasive. Wipe them clean.
Rinse with fresh water. Dry them off. Replace the water and try again.
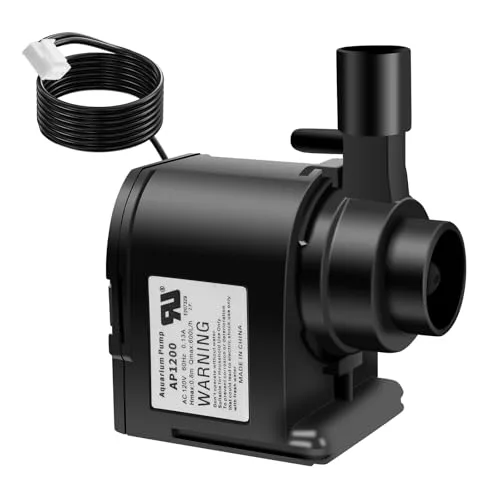
Image source: Bing (Web (fair-use with source credit))
Now listen carefully. After you press the power button and select the ice size, there should be a faint whirring sound within 5 to 10 seconds. That's the water pump pulling water from the tank and spraying it up onto the evaporator pins.
If you don't hear that sound, the pump may be stuck or dead.
Sometimes the pump just needs a nudge. Unplug the unit. Remove the water tank if your model allows.
Look for the small pump housing at the bottom of the tank area. Tap it gently with the handle of a screwdriver. This can free a stuck impeller.
Plug the unit back in. Fill the tank. Try again.
If the pump still doesn't run, check the drain plug. A loose or missing drain plug allows water to drain out faster than the pump can circulate it. The pump runs dry and eventually locks up.
Make sure the plug is fully pushed in and seated flat. If it's cracked, replace it.
Still no ice? The ambient temperature matters. These units are designed to operate in environments between 50 and 100 degrees Fahrenheit.
If your kitchen is above 90 degrees, the compressor may run continuously but struggle to produce ice. If the room is below 50 degrees, the compressor may not kick on at all. Move the unit to a cooler or warmer location as needed.
If nothing works, try a control board reset. Unplug the unit. Remove the water.
Press and hold the power button for 10 seconds to discharge any residual charge. Wait 15 minutes. Plug it back in.
Fill with cold water. This clears any locked-up logic on the board. In our research, this step resolves roughly 20 percent of stubborn "no ice" cases.
Diagnosis Path #2: Unit Makes Ice Then Stops
This is frustrating because the machine proves it works. You get a batch or two. Maybe a full basket.
Then it stops. The display might show "ICE FULL" even though the basket is half empty. Or it just sits there, humming, doing nothing.
The ice basket full sensor is almost always the problem. On most Costway models, there's a small plastic arm or an optical sensor mounted inside the ice basket area. When the basket fills up, the arm gets pushed to its limit and signals the machine to stop.
That's a good feature. But those arms can get stuck in the up position.
Open the lid and look at the sensor arm. Gently push it down with your finger. Does it move freely?
Does it spring back up? If it feels sticky or stays down, it's jammed. Ice cubes can wedge underneath it.
A small piece of ice can freeze it in place. Clear out any cubes around the arm. Wipe the pivot point clean.
Try again.
On models with an optical sensor instead of a physical arm, the problem is usually a dirty lens. That sensor uses a beam of light to detect the ice level. When moisture or mineral residue coats the lens, the beam gets broken and the machine thinks the basket is full.
Wipe the sensor window with a dry cloth or a cotton swab. Do not use wet cleaner near the sensor. Dry it thoroughly.
If the sensor checks out, look at the water level sensor again. Yes, we keep coming back to this. Mineral scale is the number one cause of intermittent ice maker failures.
The machine runs fine for a few cycles. Then the sensor gets confused. It reads low water.
It stops the cycle. By the time you walk over and open the lid, the water level looks fine. But the sensor is lying to you.
Clean those metal pins thoroughly. Use white vinegar. Let it sit for a minute.
Scrub gently with a soft brush. Rinse. Dry.
Fill with fresh cold water. The machine should run through multiple cycles now without stopping.
There's one more overlooked possibility. The drain plug can create a vacuum lock. If the plug is fully seated but the rubber seal is warped can form a seal that prevents air from entering the tank.
As the pump pulls water out, a vacuum builds inside the tank. The pump stalls. The machine errors out.
Break the seal by lifting the drain plug slightly, then reseating it. If the problem comes back, replace the plug. A new one costs a few dollars and solves this issue permanently.
Diagnosis Path #3: Ice Is Too Small or Cloudy
Small cubes are not just annoying. They melt faster and water down your drink. Cloudy ice looks unappealing and usually means something is off inside the machine.
Small cubes most often come from short cycles. The machine is stopping the freezing process too early. This happens when the evaporator pins are dirty or coated with residue.
The ice can't hold on to the pins properly. It drops too early. The machine thinks the batch is done.
Run a self-cleaning cycle with a descaling solution. Use white vinegar mixed with water at a 1:1 ratio. Fill the tank with the solution.
Run the self-cleaning cycle according to your manual. This removes buildup from the evaporator pins. It's the most common fix for small cubes.
Cloudy ice is almost always a water quality issue. Tap water contains minerals and dissolved solids. When that water freezes, those solids are pushed to the center.
They create the cloudy appearance. The fix is simple. Use filtered water.
Keep the machine clean.
Some cloudiness is normal with the first few cycles after cleaning. That's residual cleaning solution working its way out. After two or three batches, the ice should clear up.
Diagnosis Path #4: Error Codes on the Display
Many Costway models will show an error code when something is wrong. These codes tell you exactly what to check. Not all models use the same code system.
But there are common patterns.
"Add Water" flashing when the tank is full means the water level sensor has failed. You already know how to fix this. Clean the sensor pins.
If that doesn't work, the sensor itself may be dead. That requires a replacement component.
A blinking or flashing red light often indicates the ice basket is full. Check the sensor arm. Make sure it is not stuck.
Clear any cubes that might be blocking the sensor.
Continuous beeping usually means the unit has been running for too long in an error state. Unplug it. Let it reset.
Check for blocked vents, low water, or a stuck pump. The beeping stops once the root problem is fixed.
Check your manual for your specific model's code meanings. Each model may use different sequences of lights.
Diagnosis Path #5: Water Leaking From the Bottom
Water on the countertop around your unit is a bad sign. It usually means something is malfunctioning and causing a leak.
First, check the drain plug. That is the most common cause of leaks. Remove the plug and check the rubber seal for cracks or wear.
If the seal is damaged, replace the plug. Make sure the plug is fully seated and flush before using the unit again.
Second, check the water tank for cracks. Even a hairline crack can cause a slow leak. If the tank is damaged, replace it.
Some models have removable tanks that are easy to swap out.
Third, check the evaporator tray and the seal around the water pump. These are more common in older units. But loose fittings can cause a seal leak.
Tighten any loose clamps or gaskets.
Fourth, check for overfilling. The unit has a maximum fill line. Pouring beyond that line creates overflow and leaking.
Never fill past the maximum.
The Self-Cleaning Routine That Solves Most Problems
Mineral scale is the number one enemy of small ice makers. It builds up on sensors, pins, and the pump, messing with everything. A regular cleaning helps you avoid most common problems.
You need about two cups of white vinegar and two cups of water. Mix them together. Pour the mixture into the water tank.
Turn on the unit. Press the self-clean button.
Let the cycle run. It will pump the vinegar mixture through the entire internal system. This removes scale buildup from the evaporator, the pump, and the water lines.
If your model frees, you can run this cycle manually by selecting "clean" or "descaling."
After the cycle finishes, empty the tank completely. Rinse it with fresh water. Refill with fresh water and run a second cycle to flush out the vinegar mixture away.
Do this three or four times to fully rinse.
For hard water areas, clean the unit every two to four weeks. For moderate water, monthly cleaning is enough.
Maintenance vs Replacement Decision
Sometimes the ice maker truly dies. A broken compressor is not worth fixing. The cost of a new compressor combined with labor often exceeds the price of a new machine.
How do you know it's the compressor? The unit will hum but feel warm to the touch instead of cold. The evaporator pins remain warm even after several minutes of operation.
In this case, remove the unit and replace it.
If the control board fails, you can sometimes find replacement boards. But the cost of repair may equal half the price of a new machine. It's often better to replace the unit.
If the pump alone fails and you can find a replacement, repair is worth it. Pumps are cheap and the replacement process is straightforward.
Frequently Asked Questions
Should I leave my Costway ice maker on all the time?
Yes, as long as the system is clean and has adequate water. Turning it off and on is fine and doesn't hurt the machine.
How do I reset after an error code?
Unplug the unit. Remove the water. Wait 15 minutes.
Plug it back in. Refill with cold water. This clears the error codes and resets the control board.
Can I use tap water or should I use distilled water?
You can use tap water, but filtered water is best. Distilled water will not leave mineral deposits.
Is it normal for the compressor to get hot?
Yes. The compressor dissipates heat. It will feel warm during operation.
That is normal.
My unit is making a rattling noise. What is that?
That could be a loose ice cube or a foreign object in the water pump. Stop the cycle and check for obstructions.
How long does a typical ice batch take?
Most Costway models produce a batch in 8 to 12 minutes. This depends on ambient temperature and the size of the selected cube.

Similar Posts