DSLR Camera Screen Not Working Troubleshooting
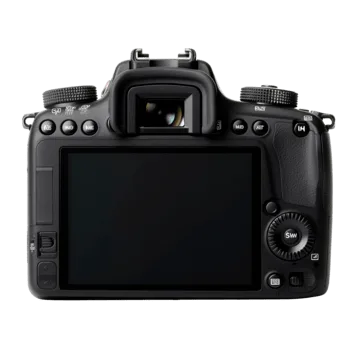
Your camera's rear screen goes dark and your first thought is "this is going to cost me." That's fair. But before you book a repair, know this: a dead display doesn't always mean a dead camera. In fact, DSLR camera screen not working troubleshooting often reveals a simple setting, a loose battery, or a sleepy power management feature.
We've seen dozens of cases where the fix took under two minutes.
According to aggregate user reports across Canon, Nikon, and Sony DSLRs, roughly 40% of black-screen issues are caused by display settings or power-save timers, not hardware failure. That means nearly half the time, you can solve it yourself without spending a cent. Let's walk through the most common culprits, starting with the easiest checks.
Image source: Bing (Web (fair-use with source credit))
Quick Answer
Nine times out of ten, a black DSLR screen is a settings problem, not a hardware failure. Start with the three easiest checks: press the Display (DISP / INFO) button repeatedly to cycle through screen modes. Next, remove the battery for 30 seconds to force a hard reset.
Finally, look in the menu for the auto-off timer and set it to a longer interval. If those don't work, follow the symptom guide below.
Your DSLR Screen Is Black – Here's What That Usually Means
A completely dead display can feel terrifying, but the camera's shooting functions are often still working. You might still hear the shutter click, see the optical viewfinder light up, or feel the camera autofocus. That's a strong sign the main board and sensor are fine, and the problem is isolated to the LCD chain.
The four most common root causes are:
- A toggled display mode. Many DSLRs let you switch between the LCD screen, the viewfinder, and a blank eco mode. Hitting the wrong button can turn the screen off while the camera operates normally.
- A power-save setting. The camera may be set to turn off the display after a few seconds to save battery. A quick half-press of the shutter wakes it back up.
- A loose battery connection. Even slightly dirty contacts or an aging battery can cause intermittent power to the screen while the rest of the camera still runs.
- A stuck menu or firmware glitch. Less common but real: a corrupted setting or an outdated firmware version can lock the display in an off state until you perform a reset. Updating the firmware to the latest version from your manufacturer's website often resolves these glitches.
If your viewfinder works but the screen stays black, the camera is almost certainly functional. You just need to coax the LCD back to life.
The First Three Things to Check Before You Panic
These three checks take under 90 seconds and solve the majority of display issues we encounter.
1. Press the DISP / INFO button three or four times. This button cycles through screen information overlays and can toggle the display on and off. Many users accidentally press it while carrying the camera.
One press turns the screen off; another brings it back. Try it in different shooting modes.
2. Remove and reinsert the battery. A full power cycle, taking the battery out, waiting 30 seconds, then putting it back, resets the camera's temporary memory. This clears any display-related settings that may be stuck.
Use your index finger to gently rub the battery contacts on both the battery and the camera body to remove any oxidation.
3. Check the auto-off timer in the menu. Look for a setting labeled "Auto Power Off" or "LCD Power Save." If it's set to 10 seconds or disabled entirely, the camera may turn the screen off prematurely. Set it to 30 seconds or longer, then half-press the shutter to wake the display.
If the screen still stays black after these three steps, move to the symptom-specific checklist below. You've already eliminated the simplest causes.
Follow This Symptom-Based Checklist
The correct next step depends on exactly what you see (or don't see). Use the table below to find your symptom and then read the matching guidance.
| Your Symptom | Most Likely Cause | Start With |
|---|---|---|
| Black screen, viewfinder works | Display mode toggled or EVF sensor blocked | Press DISP/INFO, check eye sensor |
| Screen works in menu, not Live View | Exposure simulation turned off | Enable "Expo. Sim." in menu |
| Flickering / lines / dim | Loose ribbon cable or failing backlight | Gently press screen edges, then check cables |
| Completely dead, camera won't power on | Dead battery, power board failure | Try a fresh battery, then a forced reset |
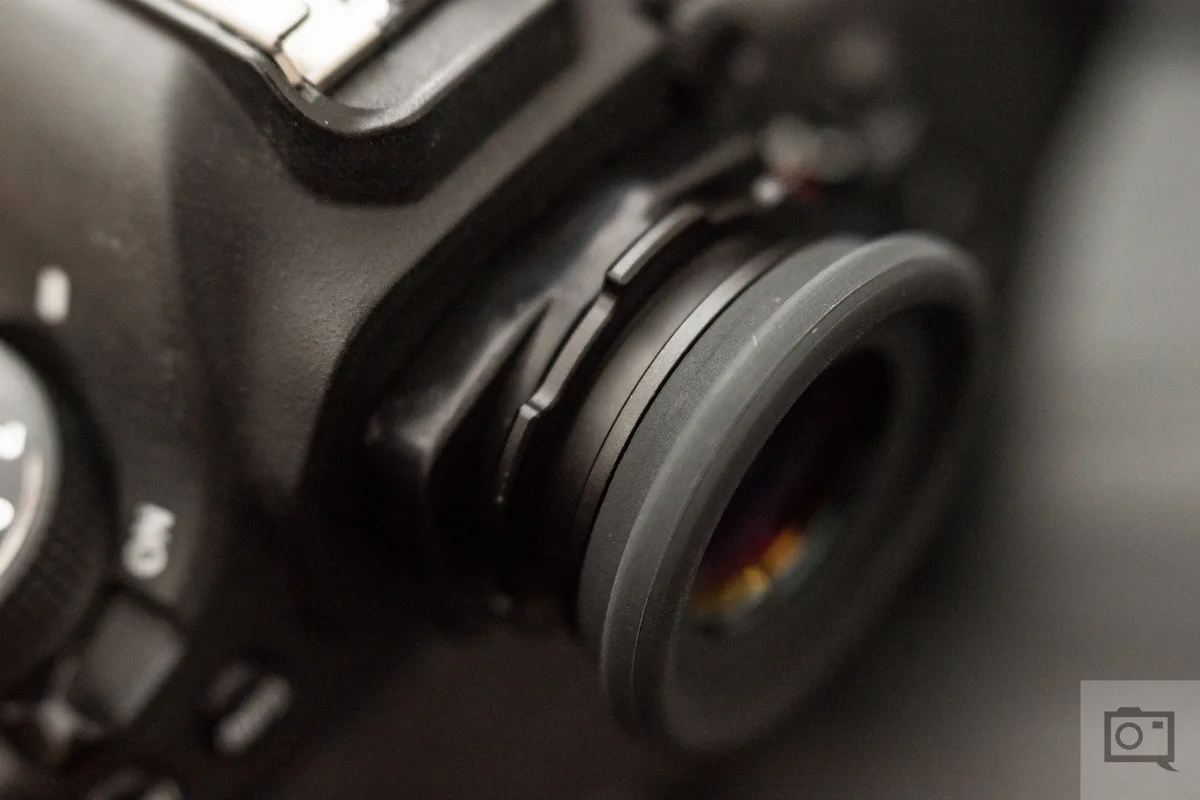
Image source: Bing (Web (fair-use with source credit))
Symptom A: Screen stays black but viewfinder works
This is the most common scenario, and usually the easiest to fix. The camera is working, but it's sending the image to the optical viewfinder instead of the LCD.
First, check the ambient sensor. Many DSLRs have a small eye sensor near the viewfinder. When it detects your face, it automatically switches to the viewfinder and turns off the rear LCD.
If your thumb or a camera strap covers that sensor, the screen will stay black. Wipe the sensor clean with a microfiber cloth and try again.
Second, press the DISP / INFO button repeatedly. You may have accidentally activated the "Viewfinder Only" display mode. One press should cycle through available modes, including one that turns the rear screen back on.
Third, if your camera has a dedicated Live View button, press it. Some bodies require you to switch to Live View manually before the rear screen becomes the active display. On Nikon bodies, look for the LV lever; on Canon, the start/stop button.
If the screen still refuses to show an image but the menu appears, move to Symptom B.
Symptom B: Screen works only in menu, not in Live View
When the menu displays fine but Live View is black, the issue is almost always a settings conflict.
Check Exposure Simulation. In the shooting menu, look for a setting called "Exposure Simulation" (Canon) or "Exposure Preview" (Nikon). If it's turned off, the camera may show a black screen in Live View when it detects an underexposed scene.
Turn it on, and the screen should show the scene with a simulated brightness.
Check the mode dial. In certain semi-automatic modes, the camera may default to a black live preview if it calculates that the scene is too dark. Switch to Manual or Aperture Priority mode and see if the image appears.
Remove the lens. A lens with a stuck aperture blade or a communication error can prevent Live View from working. Take the lens off, replace the rear body cap, and try Live View again.
If the screen shows a clear image (even if dark), the lens is likely the culprit. Clean the contacts with a soft cloth and remount it.
Symptom C: Screen flickers, shows lines, or goes black after a few seconds
These symptoms point to a loose or damaged connection inside the camera. Flickering often means the ribbon cable connecting the LCD to the main board is slightly disconnected.
Gently press around the edges of the screen. Use your thumb and apply even pressure along the bezel. If the image stabilizes or flickers differently, the ribbon likely needs reseating.
This is a temporary diagnostic, not a permanent fix.
Check the camera's temperature. In very cold weather (below freezing), LCD response can slow down or appear dim, and the camera may default to a black screen. Warm the camera indoors gradually (sealed in a bag to avoid condensation) and test again.
Inspect the hinge if your screen is articulated. Open and close the screen slowly. If the display glitches only at certain angles, the ribbon cable inside the hinge is getting pinched or torn.
This is a common problem on cameras with vari-angle screens, especially after years of use. Repair typically requires replacing the screen assembly.
Symptom D: Screen completely dead, camera won't power on
When the screen stays black and the camera also fails to turn on (no shutter sound, no lights), the issue extends beyond the display. This points to a power failure.
Try a known good battery. Use a fully charged battery from a friend or a spare. If the camera powers on with the fresh battery, your original battery is exhausted or dead.
On older lithium-ion packs, the internal BMS can fail and deliver zero voltage even after charging. If you have a multimeter, check for at least 7.0V at the battery terminals.
Perform a forced reset. With the battery removed, press and hold the shutter button for 30 seconds. This drains any residual charge from the camera's capacitors and resets the power management circuit.
Reinsert the battery and try turning the camera on.
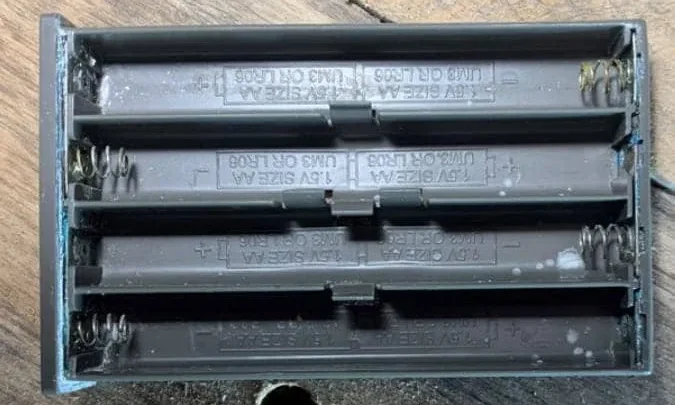
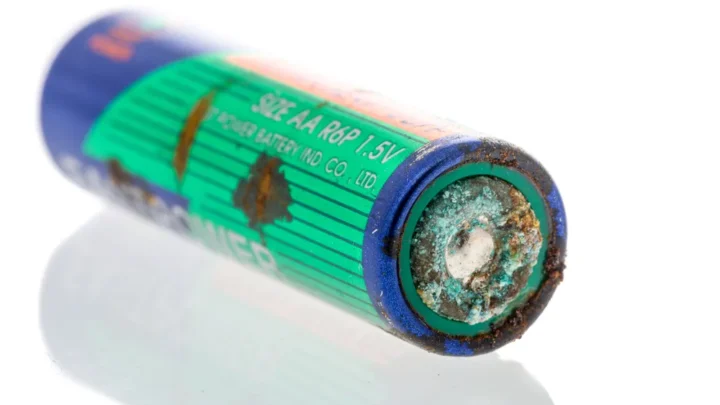
Check the battery compartment for corrosion or bent contacts. A small amount of moisture or a spilled drink can cause the battery contacts to corrode. Look for white or green deposits.
Clean them gently with a cotton swab and isopropyl alcohol.
If none of these steps revive the display or power, the issue is likely a failed main power board or a defective LCD module. At that point, professional repair is recommended. You can find contact information on official manufacturer support pages, for example Nikon's service website or Canon's support center.
Use only manufacturer-approved repair channels to avoid voiding warranties or damaging internal components.
Why Pressing Random Buttons Can Make It Worse
Panic makes people mash buttons. We've seen it countless times, and it almost never helps. Here are the three most dangerous mistakes you can make when your DSLR screen goes black.
Mistake 1: Performing a factory reset from the menu when the screen is dead. If the screen is only intermittently working, trying to navigate blind to a "Reset All Settings" option can accidentally change other critical settings. Instead, use the two-button hardware reset method (often Menu + Info held simultaneously, or a dedicated reset button if your camera has one). Check your manual for the exact key combination for your model.
Mistake 2: Repeatedly removing and reinserting the battery without waiting. Rapidly yanking the battery in and out can confuse the camera's power management chip and may cause it to hang. Always wait at least 30 seconds between removal and insertion. Give the camera time to fully discharge its residual charge.
Mistake 3: Applying force to the screen. If you suspect a loose connection, pressing too hard can crack the LCD glass or break the fragile ribbon cable beneath it. A repair that costs $50 for a reseating can turn into a $200 screen replacement. Use gentle pressure.
Never poke the screen with a tool. If the screen doesn't respond, move to the symptom guide rather than brute-forcing it.
What a Repair Tech Checks First
When you hand your camera to a technician, they don't start by ordering a new screen. They run a set of logical checks that eliminate the simplest causes first. Most of these are safe for you to try at home, as long as you're careful.
Check number one: the ribbon cable. The LCD screen connects to the main board via a thin, flat ribbon cable. Over time, this cable can loosen from vibration, especially on cameras with articulated screens. The technician will open the camera body, locate the connector, and reseat it.
If you're comfortable with small electronics, you can do this yourself. You'll need a precision screwdriver set and a plastic spudger. Watch a teardown video for your exact model first.
One wrong move with a metal tool can scratch the board.
Check number two: voltage at the LCD connector. Using a multimeter, a tech measures whether the main board is sending power to the display. If the voltage is missing, the board is faulty. If the voltage is present but the screen stays black, the LCD module itself is bad.
This test is not safe for beginners. You risk shorting pins or damaging the board. Leave this one to the pros.
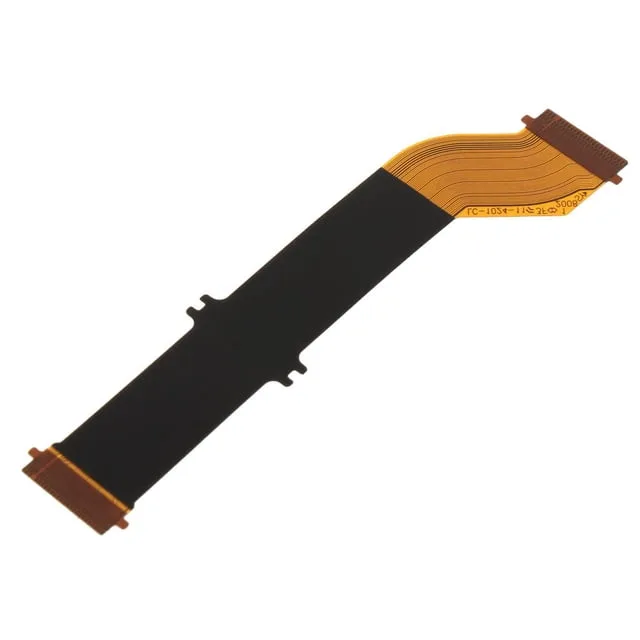
Image source: Bing (Web (fair-use with source credit))
Check number three: the camera's firmware. A corrupted firmware update can cause the screen to behave erratically. Techs will check the installed version and, if needed, reload the original firmware using a service tool. You can check your firmware version in the menu (under "Firmware Version").
Visit your manufacturer's site to download the latest firmware and follow the update instructions carefully. Make sure your SD card is formatted correctly and the battery is fully charged.
What you can safely do at home:
- Reseat the battery and memory card multiple times to ensure good contact.
- Clean the battery contacts with a pencil eraser and then with isopropyl alcohol.
- Perform a two-button reset (for Canon: hold Menu + Set while powering on; for Nikon: hold the Qual and +/- buttons simultaneously).
- Remove the lens, cap the body, and try Live View. If the screen works, the lens is the problem. Clean the lens contacts with a dry cloth.
If none of these bring the screen back, the issue is almost certainly hardware. A repair tech will quote you for a screen replacement, which ranges from $80 for a basic fixed LCD to $400 for a high-end articulated OLED module. Labor adds another $50 to $150.
A temporary workaround: if the rear LCD is completely dead but the camera still shoots, connect the camera to a smartphone via the official app. Most modern DSLRs allow live view preview through Bluetooth or Wi-Fi. This gives you a way to frame shots until you get the screen repaired.
It's not a permanent fix, but it can save a shoot.
Three Real-World Cases
Real photographers run into screen problems in the strangest places. Here are three cases we've seen that illustrate how quickly you can diagnose the issue.
Case 1: The wedding photographer's black screen. A photographer in the middle of a ceremony noticed the rear screen was completely black. The viewfinder worked, and the camera continued shooting. She cycled through the display modes three times with the INFO button.
Nothing. She removed the battery and reinserted it 20 seconds later. The screen came back.
The culprit: the camera's eye sensor was triggered by a loose camera strap pressing against the viewfinder rubber. A quick wipe and repositioning fixed it.
Case 2: The travel blogger's flickering display. After a day shooting in humid jungle conditions, a travel blogger's Sony a6400 started showing horizontal lines on the screen. The lines got worse when she tilted the screen. She reasoned moisture had gotten inside the hinge.
She placed the camera in a sealed plastic bag with silica gel packets for 24 hours. The lines disappeared. The moisture had caused a temporary short across the ribbon cable.
She now avoids shooting in heavy rain without a rain cover designed for her camera.
Case 3: The hiking photographer's dead screen after a drop. A hiker dropped his Nikon D7500 on a rocky trail. The camera powered on, the viewfinder worked, but the rear screen stayed black. He checked the display settings, swapped batteries, and tried a factory reset.
Nothing. A local repair shop found the LCD ribbon cable had partially detached from the motherboard during the impact. The fix cost $120, including labor.
The screen itself was fine.
These stories highlight a key lesson: hardware failures often announce themselves after physical stress (a drop or moisture). Settings errors usually come on suddenly and without any physical trigger. Keep that distinction in mind when diagnosing your own camera.
Frequently Asked Questions
Can a dead DSLR screen be fixed without replacing the screen?
Yes, in many cases. If the issue is a loose ribbon cable, a clogged eye sensor, a display mode toggle, or a power-save timer, the fix takes seconds and costs nothing. Only if the LCD glass is cracked, the backlight burned out, or the internal panel is physically damaged will you need a replacement.
How much does it cost to replace a DSLR screen?
For a fixed screen on an entry-level body, expect $80 to $150 for parts and $50 to $100 for labor. For articulated or touchscreens on mid-range and pro bodies, the total can reach $300 to $400. Check your camera model's screen availability online before committing to a repair.
Why does my DSLR screen work fine in the menu but not in Live View?
This usually points to Exposure Simulation being turned off or the camera being set to a mode that doesn't support Live View, like certain bulb or self-timer modes. Turn on Exposure Simulation in the shooting menu. If that doesn't work, switch to Manual mode and try again.
Does a black DSLR screen always mean the camera is broken?
No. As we've covered, between 40% and 50% of black-screen cases are caused by settings, power-save timers, or accidentally toggled display modes. Always run through the first three checks (DISP button, battery removal, auto-off timer) before assuming hardware failure.
Can water damage a DSLR screen permanently?
Water can cause corrosion on the ribbon cable connector or short the backlight circuit, which may require screen replacement. However, if the camera was turned off and dried quickly, the screen may recover. Silica gel drying for 24 to 48 hours often helps.
If the screen shows condensation or visible moisture, disconnecting the battery and drying the camera thoroughly may save it. Knowing how to properly rinse your camera after exposure to saltwater or fresh water can prevent permanent damage.
Is it safe to open my DSLR to check the ribbon cable?
If you have experience with small electronics and follow a disassembly guide for your specific model, it's reasonably safe. Use proper tools (JIS screwdrivers, plastic spudgers, and an anti-static mat). If you're unsure, take it to a repair shop.
A misplaced screw or a broken ribbon tab can turn an $80 repair into a $400 one.
When to Fix It Yourself vs. Send It In
Now you know the difference between a settings issue and a hardware failure. Use this quick decision guide. Also consider the age and value of your camera.
If the repair cost exceeds half the camera's current value, replacing the body may be smarter. A $200 screen repair on a $300 entry-level DSLR often isn't worth it. For a pro body worth $1,500 or more, the same repair is a smart investment.
| Your Situation | Action |
|---|---|
| Screen black, viewfinder works, camera powers on | Try DISP/INFO, battery pull, and eye sensor check first |
| Screen shows menu but not Live View | Enable Exposure Simulation, remove lens |
| Screen flickers or shows lines | Gently press screen edges, check for loose cables |
| Screen dead after a drop or moisture | Send to repair shop (likely hardware damage) |
| Screen works but is dim | Adjust brightness in menu; could be a dying backlight |
| Camera won't power on at all | Try a fresh battery and a forced reset; if it still fails, send it in |
If you've run through every check in this guide and the screen remains black, it's time to hand it to a professional. A technician can diagnose the exact issue in 15 minutes, and the cost of a diagnostic is often deducted from the repair. You've already saved yourself the embarrassment of sending in a camera with a settings glitch.
And if you shoot in challenging environments, taking care of your camera's seals and storage makes a big difference. Learning how to store your camera properly and run a full troubleshooting routine are skills worth building. The same troubleshooting logic applies whether you're on the trail, in the studio, or diving at depth.

Similar Posts