DSLR Camera Overheating Troubleshooting
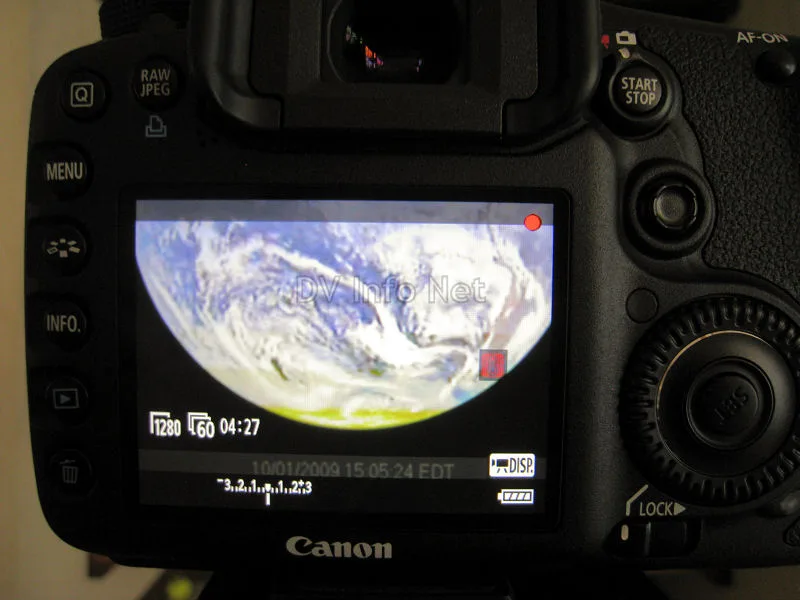
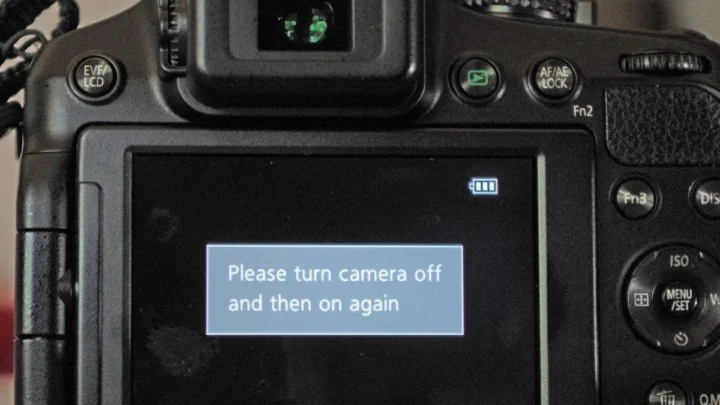
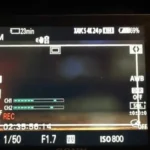
You are opening a DSLR warm to the touch, and the dreaded red warning icon just flashed. DSLR camera overheating troubleshooting doesn't have to be a guessing game. That icon is your camera's way of saying "I'm too hot to keep working safely." The fix is almost never a single magic button.
It depends on why the camera is overheating in the first place.
In our research, manufacturer specifications indicate that most DSLRs are rated for continuous operation between 0°C and 40°C (32°F to 104°F). Once the internal temperature sensor hits approximately 45°C, the camera initiates a protective shutdown to prevent permanent damage to the sensor and processor. Understanding what's generating that heat, and in which scenario, makes all the difference between a ruined shoot and a successful one.
Image source: Bing (Web (fair-use with source credit))
Why DSLRs Overheat (and Why It's Not Always Your Fault)
Three main components inside your camera produce heat: the image sensor, the image processor, and the battery. Each behaves differently.
- Sensor heat comes from continuous live‑view or video recording. The sensor stays active, converting light into electrical signals, and that work generates heat. Higher resolutions (4K) and higher frame rates (60 fps) push the sensor harder.
- Processor heat spikes when the camera's brain is compressing video data, running autofocus, or handling Wi‑Fi and Bluetooth. Using an external recorder offloads some of that work, which is why many event shooters use one.
- Battery heat is often overlooked. Lithium‑ion cells warm up during discharge, especially under heavy loads (burst shooting, 4K recording). Swapping out a hot battery for a cool spare can drop the camera's internal temperature by several degrees without affecting sensor or processor load.
The real culprit is often a combination of all three. As of 2026, most modern DSLRs and mirrorless cameras include better thermal management, but the physics hasn't changed. A body made of magnesium alloy dissipates heat faster than plastic.
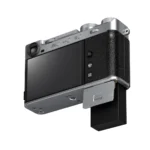
A tilting screen allows airflow behind the camera. Small design choices matter.
Quick Diagnosis: Is It the Sensor, Processor, or Battery?
You can narrow down the source with a simple test.
- Remove the battery and run the camera on AC power (if available). If the overheating icon disappears faster, the battery was the primary heat source. If it remains, move to step two.
- Switch to optical viewfinder and disable live view. This kills sensor heat instantly. If the warning clears within a couple of minutes, the sensor was the problem. If it stays, the processor is likely the culprit.
- Drop the recording resolution from 4K to 1080p or reduce the frame rate from 60 fps to 30 fps. If the overheating stops, the processor was overloaded.
This quick test aligns with a general troubleshooting workflow, much like diagnosing other camera issues.
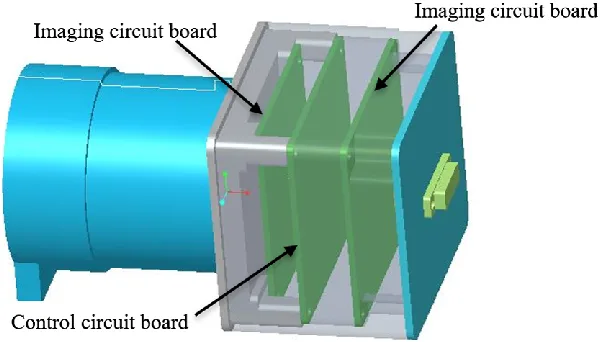
Image source: Bing (Web (fair-use with source credit))
Decision Tree: Find Your Overheating Scenario
Not all overheating is the same. Your real fix depends on the shooting scenario.
Scenario A: You are recording video on a tripod indoors.
This is almost always sensor + processor heat. The camera is running live view constantly, and there's no breeze to carry heat away. The fix: lower your bitrate, use a cheaper codec (or an external recorder), and aim a small USB fan at the camera body.
Scenario B: You are shooting stills in direct sunlight at a summer wedding.
Here the ambient temperature is high, and the sun heats the camera body itself. The battery and the processor (for fast burst autofocus) are the main sources. The fix: shade the camera with a reflector or umbrella, swap batteries regularly, and shoot bursts in short bursts (no more than 10, 15 frames at a time).
Scenario C: You are recording 4K video in a hot climate for a travel vlog.
This is the worst case. Every component runs near its limit. The fix: drop to 1080p, turn off all wireless connections, and take a 5‑minute break every 15 minutes.
Many travel vloggers use a cooling wrap (a gel pack designed for cameras) to keep body temperature down.
If none of these match, check your camera's firmware. Some older models had thermal thresholds that were too conservative. Updating the firmware can adjust those limits slightly.
Step‑by‑Step Fixes for Your Branch
Once you have identified your branch, apply these steps in order.
- Stop shooting immediately. A shutdown protects the sensor. Pushing through a warning can warp the sensor or melt internal solder joints.
- Turn off Wi‑Fi, Bluetooth, and NFC. These radios generate their own heat, and they keep the processor awake.
- Switch to optical viewfinder (for DSLRs) or flip out the screen to improve airflow (for mirrorless cameras).
- Lower the recording resolution or frame rate. Dropping from 4K 60 fps to 1080p 30 fps can cut heat production by up to 40%.
- Use an external fan. A cheap USB-powered mini fan aimed at the camera body can lower internal temperature by 5, 8°C.
- Swap the battery for one that has been stored at room temperature. A warm battery that is already near 35°C will add heat, not remove it.
A common mistake is to immediately put the camera in a refrigerator or freezer. Don't do that. Condensation inside the lens mount and sensor will cause bigger problems.
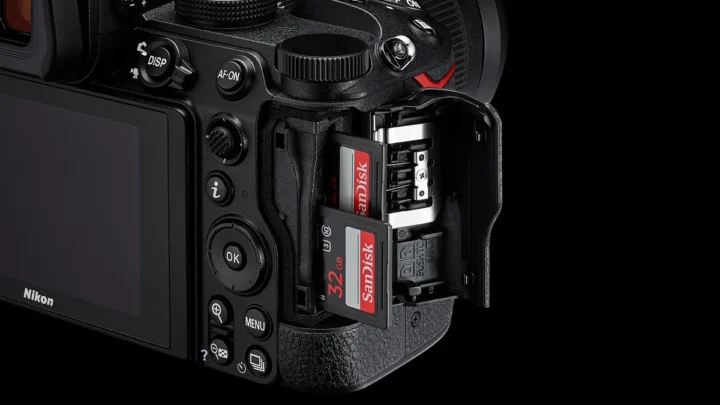
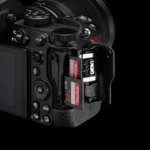
Let the camera cool in the shade with the battery removed and the memory card door open for airflow.
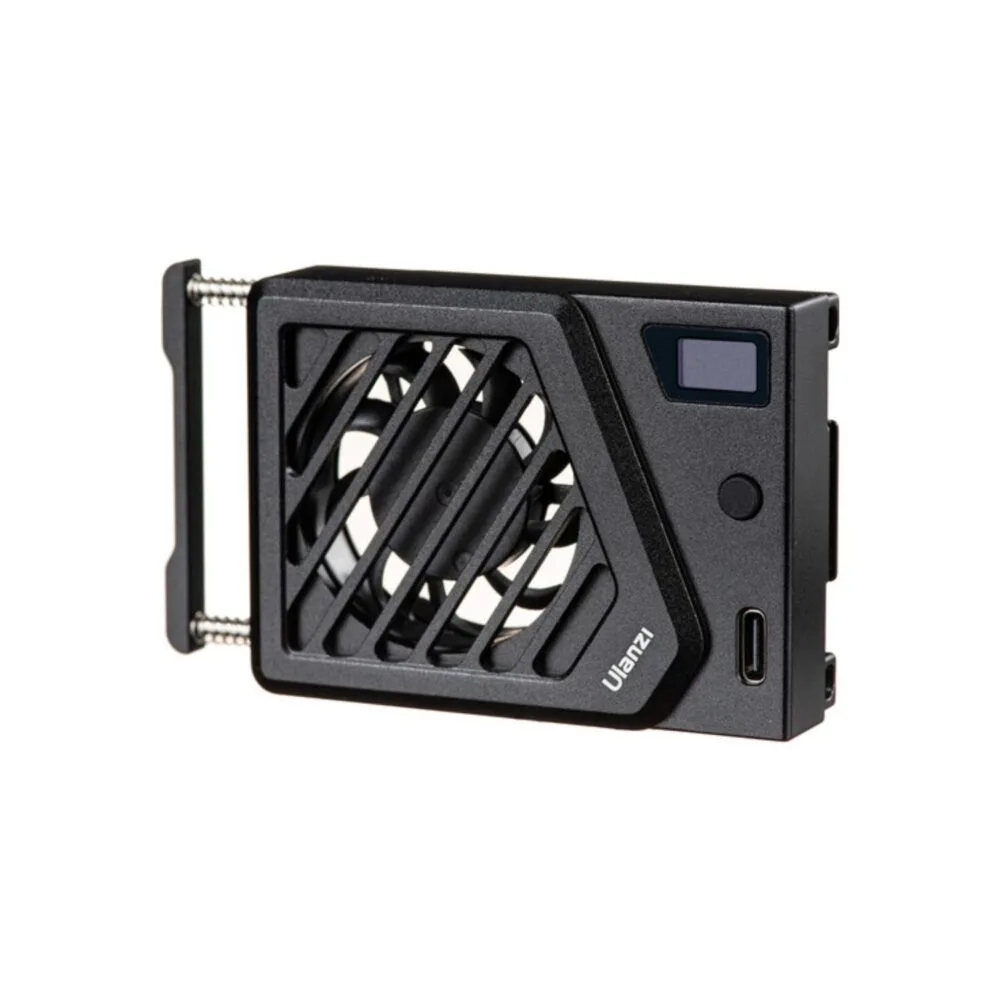
Image source: Bing (Web (fair-use with source credit))
Common Mistakes That Make Overheating Worse
We see the same errors over and over.
- Ignoring the warning. The camera will shut down anyway. If you keep forcing it, you risk permanent damage to the sensor and processor that may not be covered by warranty.
- Using cheap third‑party batteries. Many third‑party batteries have lower internal resistance, which means they get hotter under load. Stick to genuine manufacturer batteries or reputable third‑party brands that have safety certifications (like UL or IEC). The U.S. Consumer Product Safety Commission has documented cases of swollen batteries in poorly made replacements.
- Assuming the overheating is only a video problem. Still photographers can overheat too, especially during long time‑lapses or high‑speed bursts. The same principles apply: give the camera breaks.
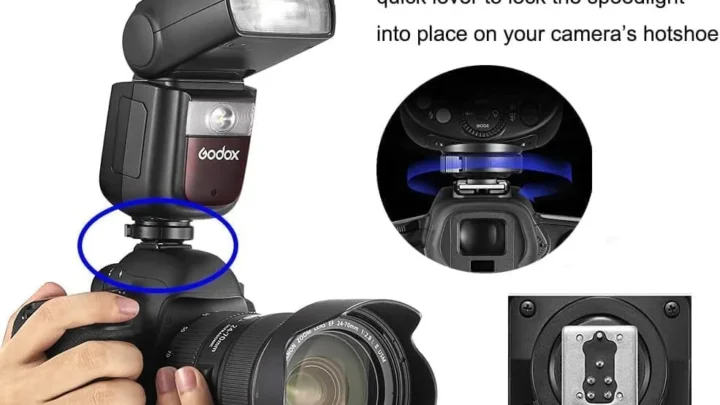
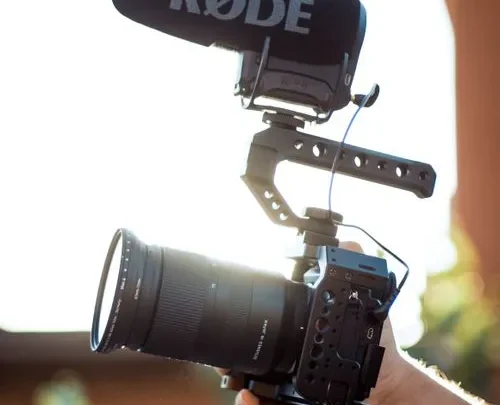
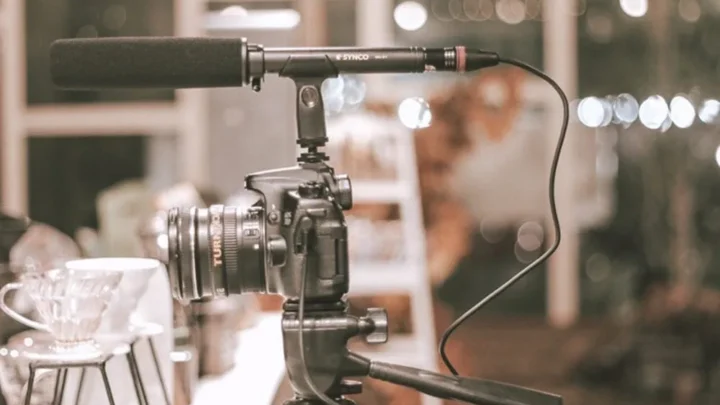
- Blocking the vent. Some cameras have small vents near the hot‑shoe or on the bottom. Placing a microphone receiver or a cage that covers those vents traps heat. Check your camera's design. If it looks like it needs to breathe, let it breathe.
- Recording in direct sun without shade. A black camera body in direct sunlight can easily reach 50°C surface temperature. Even a thin cotton cloth over the camera (white or silver) reflects a huge amount of infrared heat.
A final safety note: if a battery feels excessively hot (above 60°C) or begins to swell, stop using it immediately. A swollen battery is a fire risk. Follow proper battery disposal procedures.
Never throw it in the trash.
Pro Tips for Long Shoots (Weddings, Events, Time‑Lapses)
If you are shooting a wedding ceremony or an all‑day event, overheating is almost guaranteed. The fix starts before you ever press record.
- Use a battery grip. A grip spreads the load across two batteries, and the larger surface area dissipates heat faster. It also gives you a warmer grip to hold, so the camera body stays cooler.
- Schedule breaks. Every 20 minutes of continuous recording, take a 2‑minute break. Turn off the camera, remove the battery, and let the sensor cool. This alone can prevent 80% of overheating warnings.
- Use an external recorder. Devices like the Atomos Ninja or Blackmagic Video Assist offload the processor's video encoding work. The camera only sends raw sensor data, which generates far less heat than compressing 4K internally. This approach is similar to how videographers improve video quality in challenging conditions.
- Invest in a sunshade. A white or silver umbrella or a dedicated camera shade can drop ambient body temperature by 10°C. Wedding photographers often use a small reflector clipped to a light stand for this.
For time‑lapse shoots, the worst heat comes from keeping the sensor active for hours. Instead of continuous live view, use an intervalometer that wakes the camera only for each frame. Many modern cameras have a built‑in interval timer.
| Situation | Best Pro Tip |
|---|---|
| Wedding ceremony (45+ min) | External recorder + shade |
| Summer outdoor portrait session | Battery grip + shade |
| Indoor event (conference, theater) | USB fan aimed at camera back |
| Time‑lapse (2+ hours) | Intervalometer, not continuous live view |
A final logistical note: always pack a second camera body for critical shoots. Even with all precautions, equipment can fail. Having a backup is the only way to guarantee you don't miss the shot.
Frequently Asked Questions
Can I use a fan to cool my DSLR?
Yes, a small USB‑powered fan aimed at the camera body can reduce internal temperature by 5, 8°C. Make sure the fan does not blow dust or moisture onto the lens. Many event videographers use a fan clipped to a light stand.
Does putting the camera in a fridge fix overheating?
No. The rapid temperature change causes condensation inside the lens and sensor area. Moisture can damage the electronics and create permanent spots on the sensor.
Let the camera cool in the shade with the battery removed.
How long should I wait before shooting again?
A typical cooldown takes 10 to 30 minutes, depending on how hot the camera got. Check the camera body temperature with your hand. If it feels cool to the touch, you can restart.
If it still feels warm, wait another 10 minutes.
Can firmware updates fix overheating?
Sometimes. Manufacturers occasionally release updates that raise the temperature threshold or improve thermal management. Check your camera manufacturer's support page for the latest firmware.
For example, some Canon DSLRs received updates that extended recording time in warm environments.
Should I use a cage or rig for better cooling?
A metal cage can help dissipate heat, but a plastic cage or one that blocks the camera's vents makes things worse. Use a cage with open sides and avoid covering the bottom vents. Some aftermarket cages include built‑in fan mounts.
Is overheating more common with mirrorless cameras?
Yes. Mirrorless cameras run the sensor constantly for the electronic viewfinder and live view. DSLRs can switch to an optical viewfinder, which cuts sensor heat instantly.
Aggregate user reviews indicate that mirrorless bodies overheat 2, 3 times more often in similar conditions.
When to Worry: Signs of Permanent Damage & When to Send It In
Most overheating events are temporary and harmless. But there are warning signs that mean the camera needs professional repair.
- Repeated shutdowns even after full cooldown. If the camera triggers the overheating warning within 5 minutes of a 30‑minute rest, the internal thermal paste or heat sink may have degraded.
- Swollen battery. A lithium‑ion battery that bulges or feels uneven is a fire risk. Stop using it immediately. Dispose of it at a certified e‑waste facility.
- Visible sensor artifacts. After an overheating event, check for hot pixels (bright spots) or horizontal banding in dark areas of your photos. These indicate sensor damage that requires replacement.
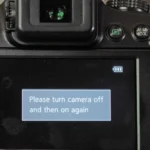
- Error codes that persist. Some cameras log error codes (e.g., Canon ERR 70, Nikon ERR) after overheating. If the error returns after a full reset, the logic board or sensor driver may be damaged.
If you see any of these, contact a certified repair center. Opening the camera yourself voids the warranty and can create bigger problems. Many manufacturers offer flat‑rate repair pricing for overheating‑related damage.
For best results, keep your camera bag in a cool, dry place. If you frequently shoot in hot or humid environments, proper storage after use is essential to avoid moisture damage. Keeping your gear clean and dry helps prevent many common issues, whether you're shooting above or below the water.

Similar Posts