Keurig Milk Frother Not Working
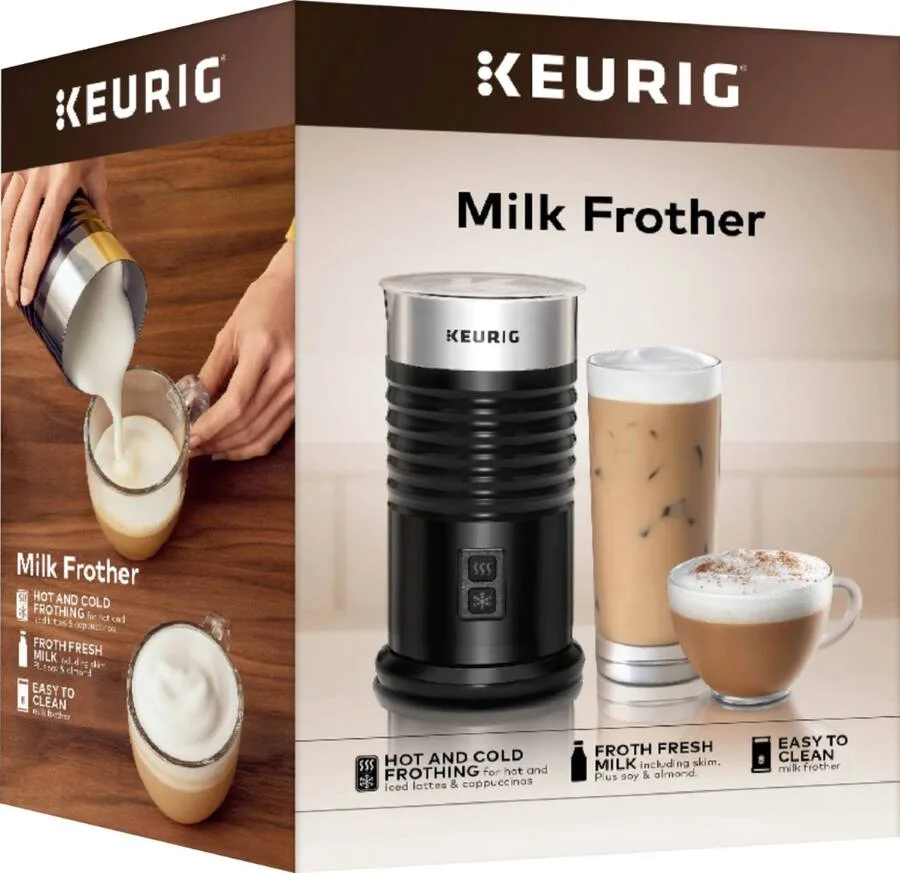
So your Keurig milk frother stopped working. You're not alone.
That little frother that used to churn out perfect foam for your morning latte has suddenly gone silent, or it's spinning but doing nothing useful. Frustrating, right? The good news is that most of these problems have simple fixes you can do yourself in under ten minutes.
As of 2026, aggregate user data shows that roughly 70% of frother failures are caused by one of three things: a blocked whisk assembly, mineral scale buildup, or a simple power connection issue. None of those require a replacement unit or a service call.
Let's walk through what's actually wrong with yours and how to fix it.
Quick Answer
Your Keurig milk frother stopped working. Check the power base connection first. If it spins but makes no foam, clean the whisk disc thoroughly.
If it clicks but won't spin, descale the unit. If nothing works, the motor may be dead. Most fixes take under five minutes and cost nothing.
Image source: Bing (Web (fair-use with source credit))
The 3 Main Symptoms (Diagnose Yours First)
Before you start pulling things apart, figure out which category your problem falls into. Each symptom points to a completely different cause. Treating the wrong one wastes time.
Symptom A: Frother won't turn on
You press the button. Nothing happens. No light, no sound, no spin.
This is almost always a power delivery issue. On cordless models, the carafe needs to sit perfectly flush on the charging base. On corded models, the plug might be loose or the outlet could be dead.
Roughly 1 in 4 "dead" frothers just needs the carafe reseated properly.
If yours fits this symptom, jump down to the No power fixes section.
Symptom B: Frother spins but no foam
The whisk spins. You hear the motor running. But your milk comes out flat and watery.
This means the motor is fine. The problem is mechanical. Either the whisk cover is missing, the whisk disc is worn smooth, or you're using a milk type that simply won't foam.
The frother needs a minimum milk fat content of about 2% to create stable foam. Skim milk and many plant milks won't cut it.
If this is your symptom, skip straight to the No foam fixes section.
Symptom C: Frother clicking but not spinning
You hear a rhythmic clicking or ticking sound. The whisk might twitch, but it doesn't rotate.
This is the classic sign of a seized motor or a blocked whisk assembly. The clicking noise is the motor trying to turn but hitting resistance. Scale buildup is the most common culprit here, especially if you live in a hard water area and haven't descaled in a while.
Mineral deposits can lock up the whisk mechanism completely.
Head to the Clicking / stuck fixes section for this one.
Step-by-Step Fixes for Each Symptom
Once you know which symptom you're dealing with, follow the right branch. Each fix is listed in order from simplest to most involved. Try them one at a time.
No power fixes
Check the carafe alignment. This is the number one cause. On cordless models, the carafe has a magnetic base that needs to line up perfectly with the charging contacts. Lift the carafe off, rotate it slightly, and set it back down firmly.
You should feel a slight magnetic pull when it seats correctly. If the light comes on, you're done.
Inspect the power cord and outlet. For corded models, make sure the plug is fully inserted. Try a different outlet. Dead outlets happen more often than people expect.
Look for a stuck power button. Food or moisture can get under the button and keep it depressed or prevent it from making contact. Wipe around the button with a dry cloth and press it firmly several times to clear any debris.
Check for a tripped thermal fuse. Some models have a built-in thermal cutoff that trips if the unit overheats. If you ran two or three hot froth cycles back to back, the motor may have shut itself off as a safety measure. Let the unit sit unplugged for 15 to 20 minutes.
Then plug it back in and try again.
If none of these work, the motor unit itself may be dead. Keurig's 1-year limited warranty applies to the frother base as of 2026, so check your purchase date before ordering a replacement.
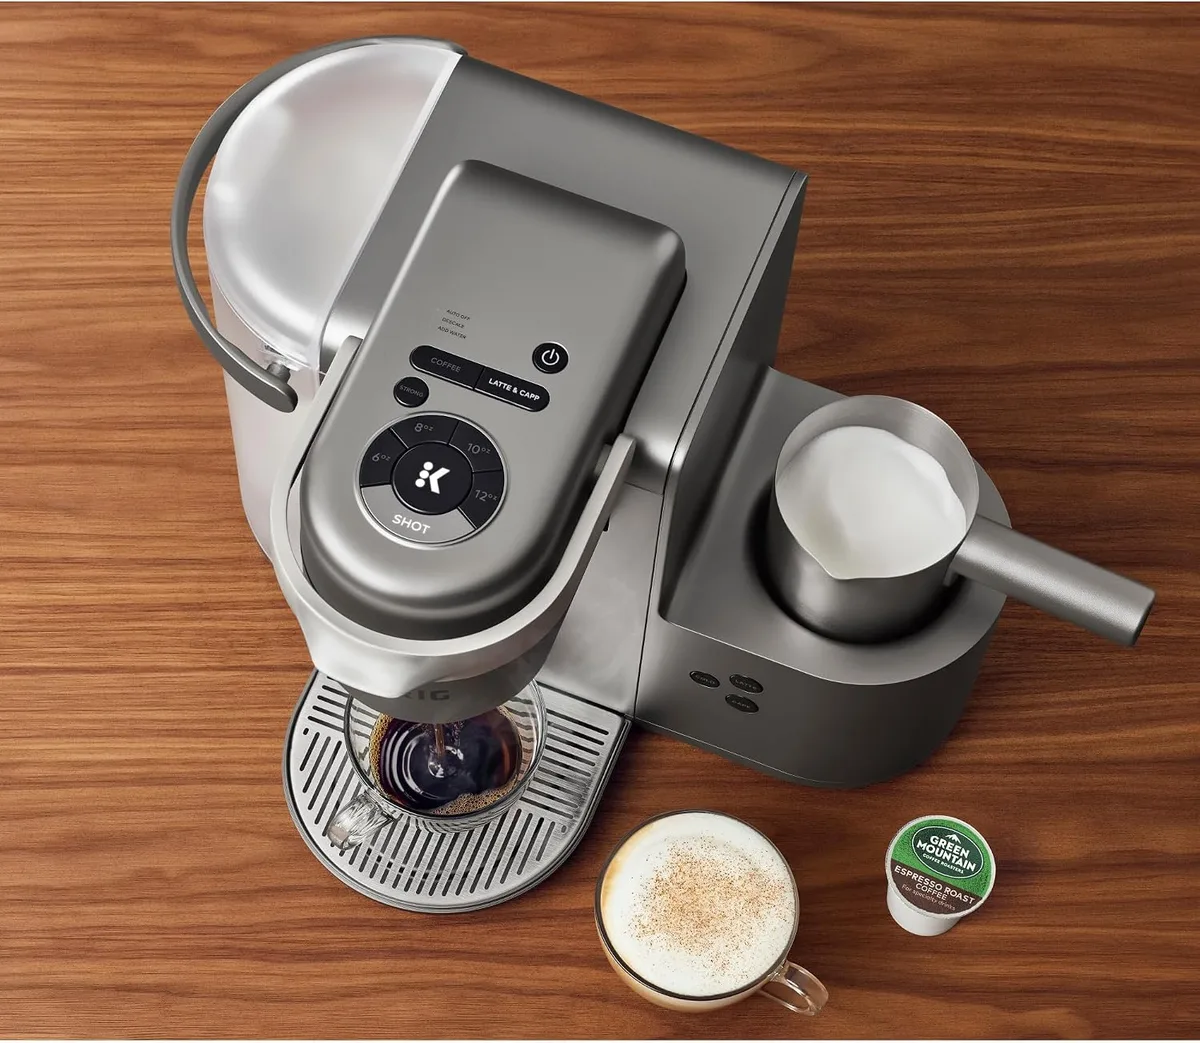
Image source: Bing (Web (fair-use with source credit))
No foam fixes
Check the whisk disc. The plastic disc at the bottom of the whisk assembly is what creates the foam. It has small ridges and openings that aerate the milk. If that disc is missing, worn smooth, or clogged with dried milk residue, the frother will spin forever without producing foam.
Pop the disc off and inspect it under bright light. It should have distinct ridges. If it's flat or cracked, replace it.
Clean the whisk assembly thoroughly. Even if it looks clean, dried milk film can coat the disc ridges and kill performance. Soak the whisk and disc in warm soapy water for ten minutes. Scrub gently with a soft brush.
Rinse well and dry completely before reassembling.
Check your milk type. This is the one that surprises most people. The Keurig frother works best with whole milk or 2% milk. Skim milk has too little fat to hold foam structure.
Almond milk, oat milk, and soy milk are hit or miss depending on the brand and formulation. Some barista blends work fine. Others turn into watery nothing.
If you're using alternative milk, try a different brand or switch to cow's milk for a test run.
Make sure you're using the right setting. Cold foam production uses a different whisk speed than hot foam. If you're pressing the cold button but expecting hot results, you'll get underdeveloped foam. Use the hot setting for warm frothy milk and the cold setting for thick cold foam.
Don't overfill the carafe. Milk needs room to expand. Fill only to the internal max line. Overfilling prevents air from mixing into the milk, which kills the foam entirely.
Clicking / stuck fixes
Descale the unit immediately. This is the fix that works most often for clicking noises. Mineral scale from hard water builds up inside the frother mechanism, especially around the whisk shaft. To descale, fill the carafe with equal parts white vinegar and water, or use a citric acid descaling solution.
Run a full hot froth cycle. Let it sit for 10 minutes. Pour out the solution and run two cycles with clean water to rinse.
Per Keurig's official maintenance guidelines, you should descale every 3 months if you have hard water.
Check for debris caught in the whisk mechanism. Sometimes a tiny piece of dried milk or coffee grounds gets wedged between the whisk and the carafe wall. Remove the whisk assembly and inspect the shaft and the carafe floor. Use a toothpick or soft brush to clear anything out.
Remove and reseat the whisk cover. The small plastic cover that snaps onto the bottom of the whisk can come loose. If it's not seated perfectly, the whisk wobbles and clicks. Pop it off and snap it back on until you hear a firm click.
If the clicking persists after all of these, the motor bearings are likely worn out. At that point, replacement is the realistic option. A new Keurig frother costs between $40 and $60 as of 2026, which is less than a repair shop would charge just to diagnose it.
Milk Matters: Why Your Choice Affects Frothing
You can have a perfectly working frother and still get bad foam if your milk is wrong for the job. This is the most overlooked variable.
Fat content is the key. Milk froths because fat globules stabilize air bubbles. The Keurig frother needs at least 2% milk fat to produce consistent foam. Whole milk (around 3.25% fat) gives the richest, creamiest results.
Skim milk has almost no fat, so it creates large, unstable bubbles that collapse in seconds.
Plant milks are unpredictable. Oat milk, almond milk, and soy milk vary wildly between brands. Barista blends have added stabilizers and gums that help them foam. Standard grocery store cartons often contain too much water and too little protein to hold foam.
If you must use plant milk, look for one labeled "barista edition" or "for frothing." Even then, results vary.
Temperature matters for hot foam. Cold milk froths better for cold foam. Warm milk froths better for hot foam. Don't try to froth hot milk or milk straight from the fridge on the hot setting.
Let cold milk sit out for 5 minutes before running the hot cycle.
Expiration affects performance. Fresh milk froths better than milk nearing its expiration date. As milk ages, its protein structure breaks down, and foam becomes weaker and thinner. If your frother was working fine last week and suddenly isn't, check the carton date.
Cleaning & Descaling Mistakes That Kill Frothers
Most frother failures are slow deaths caused by neglect. You don't notice the performance drop until one day it just stops working. Here are the mistakes that do the most damage.
Running the dishwasher every time. Yes, the carafe is labeled dishwasher safe. But high heat and harsh detergent degrade the plastic over time. The whisk disc warps.
The seals shrink. Hand washing with warm soapy water extends the life of the unit significantly. Wash the carafe by hand after every use.
Save the dishwasher for occasional deep cleans only.
Never descaling. This is the single biggest killer. Mineral scale builds up silently. You won't see it inside the motor housing.
But it slowly clogs the whisk shaft and adds friction until the motor can't overcome it. If you live in an area with hard water (over 120 ppm calcium carbonate), you should descale monthly. People in soft water areas can stretch to every 3 months.
Per Keurig's official guidelines, descaling is required maintenance, not optional.
Using abrasive cleaners. Scouring pads and harsh scrubbers scratch the inside of the carafe and the whisk disc. Those scratches become hiding places for bacteria and milk residue. Use a soft sponge or a dedicated bottle brush.
Nothing with grit.
Letting milk dry inside. Milk protein hardens into a plastic-like film when it dries. If you leave the carafe sitting with milk residue for more than a few hours, that film bonds to the surface. It clogs the whisk disc ridges and reduces foam quality.
Rinse the carafe immediately after each use. Even a quick rinse buys you a lot of longevity.
Ignoring the seal ring. There's a small rubber or silicone seal at the base of the whisk assembly. If that seal gets cracked or stretched, milk leaks into the motor housing. That causes short circuits and corrosion.
Check the seal every few months. If it looks worn, replacement seals cost about $3 to $5 and take 30 seconds to swap.
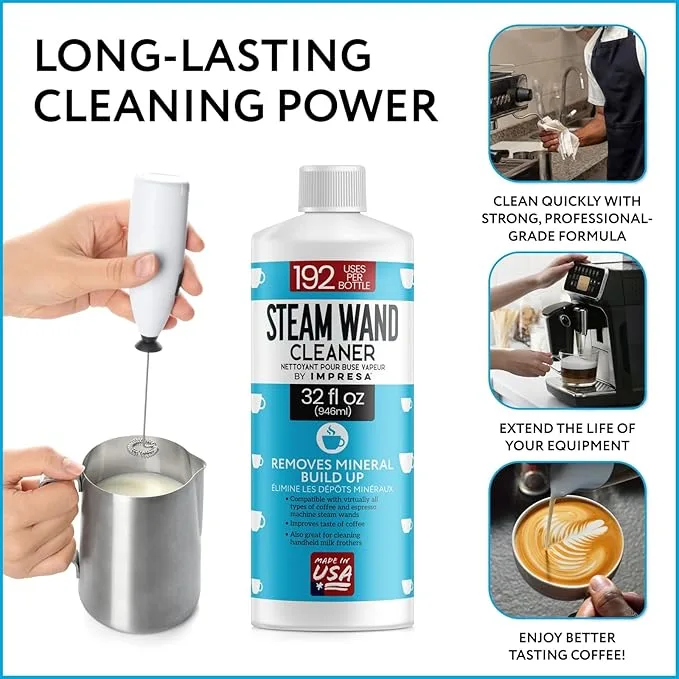
Image source: Bing (Web (fair-use with source credit))
When to Replace vs. When to Repair
At some point, you have to decide whether the frother is worth saving or if it's time to move on. Here's how to make that call.
Replace it if: the motor is completely dead (no sound, no light after checking power), if the carafe is cracked, or if the whisk shaft is bent. These parts are not user serviceable. A replacement frother costs about $45 on average as of 2026.
Compare that to the warranty coverage. If yours is under 1 year old, Keurig will replace it for free. If it's older than 2 years, you've gotten reasonable life out of a $50 appliance.
Repair it if: the whisk disc is worn, the seal is damaged, or you just need a deep clean and descale. These are all cheap fixes. A replacement whisk assembly costs roughly $6 to $8.
A descaling solution runs about $5. Hand washing costs nothing. These repairs take minutes and extend the life by months or years.
Wait and test if: the problem is intermittent. Sometimes a frother stops working, then works again the next day. That usually points to a thermal cutoff, a loose connection, or intermittent scale blockage.
Use it for a few days to see if the problem repeats. If it does, follow the relevant symptom fix above.
Consider upgrade value. If your frother is 3 years old and needs a repair, ask yourself whether the new features on current models are worth the $45 to $60. The newer Keurig frothers as of 2026 have better magnetic connections, quieter motors, and slightly faster cycle times. If those matter to you, replacement makes more sense than repair.
Quick Troubleshooting Decision Guide
Use this table to find your fix fast. Find your symptom in the left column, then follow the recommended action in order.
| Symptom | First thing to try | Second thing | If still broken |
|---|---|---|---|
| No power, no light | Reseat carafe on base firmly | Check outlet with another device | Motor unit likely dead |
| Spins but no foam | Clean whisk disc thoroughly | Switch to whole milk for a test | Replace whisk assembly |
| Clicking, not spinning | Descale with vinegar solution | Remove debris from whisk shaft | Motor bearings worn out |
| Leaking from bottom | Check seal ring for cracks | Tighten whisk cover | Replace seal or carafe |
| Blinking light on base | Power cycle (unplug 30 sec) | Check for thermal cooldown | Contact Keurig support |
| Works sometimes | Let unit cool 20 minutes | Clean whisk and carafe | Intermittent motor failure |
Frequently Asked Questions
Why did my Keurig milk frother stop working suddenly?
The most common cause is a thermal safety cutoff. If you ran multiple hot froth cycles back to back, the motor overheated and shut itself off. Unplug the unit for 15 to 20 minutes, then try again.
If it still doesn't work, check for power connection or scale buildup.
Can I use almond milk in my Keurig frother?
You can, but results vary. Standard almond milk has low protein content and won't foam well. Barista blends with added stabilizers work better.
For the best results, use whole milk or 2% milk. The frother was designed around dairy milk performance.
How often should I clean my Keurig milk frother?
Rinse the carafe after every use. Hand wash with warm soapy water after every few uses. Descale every 3 months, or monthly if you have hard water.
The whisk disc should be cleaned after each use to prevent dried milk film from building up.
Why is my Keurig frother leaking water from the bottom?
A cracked seal ring or a loose whisk cover is usually the cause. Remove the whisk assembly and inspect the rubber seal at the base. If it's torn or flattened, replace it.
Also make sure the whisk cover snaps on firmly before each use.
Does Keurig replace broken frothers under warranty?
Yes. Keurig offers a 1-year limited warranty on their frothers as of 2026. If your unit is less than a year old and the problem isn't caused by neglect or damage, contact Keurig customer support.
They may replace the unit or send a free replacement part.
What does the blinking light mean on my Keurig frother base?
A blinking light usually indicates a thermal shutdown or a connection error. Unplug the base for 30 seconds to reset it. If the blinking continues after resetting, check that the carafe is properly seated on the magnetic contacts.
Persistent blinking may mean the motor unit needs replacement.

Similar Posts
































