Honeywell Water Heater Sensor Failure
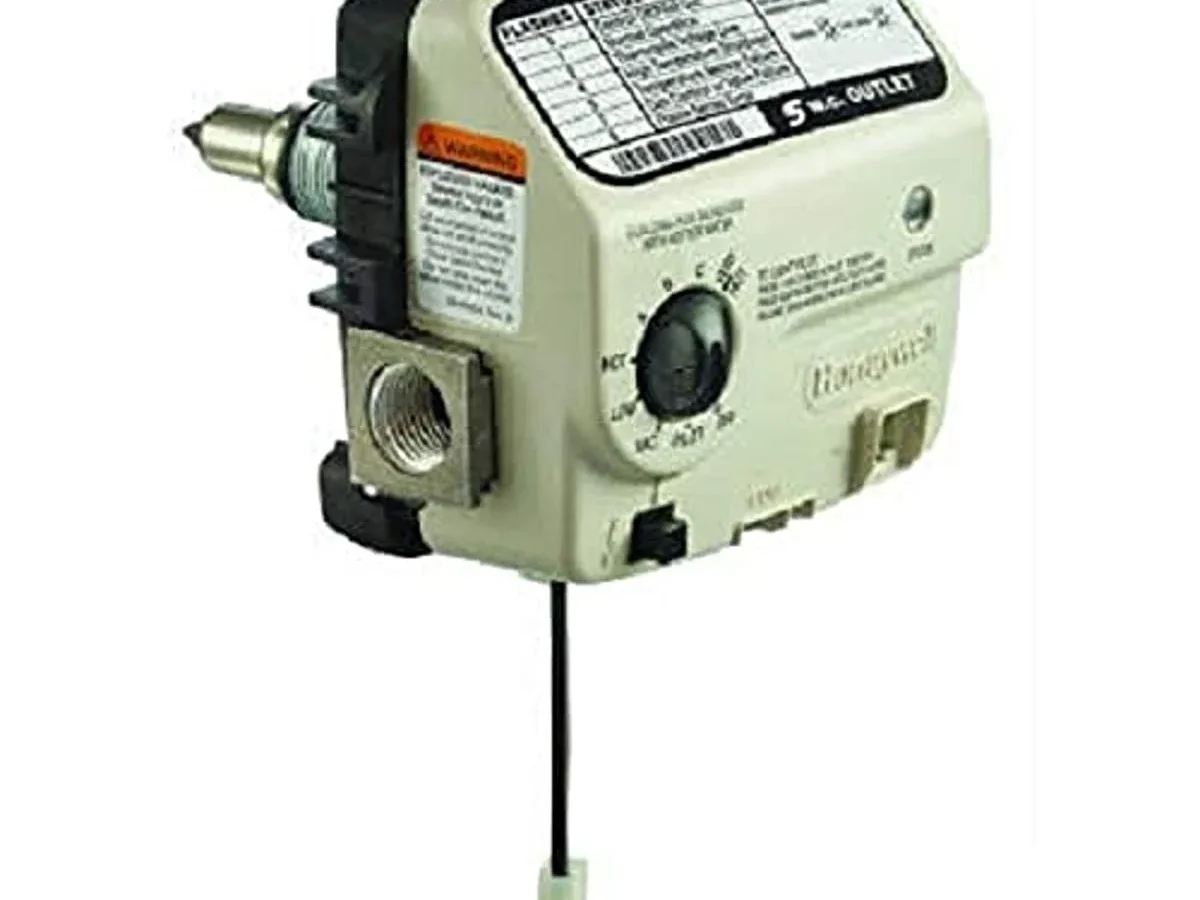
Your water heater's pilot light keeps going out, and the status light on the gas control valve is doing something weird. Maybe it's blinking continuously, maybe it flashes a pattern you've never seen before. Either way, you have no hot water, and you're trying to figure out what broke.
What you're likely dealing with is a Honeywell water heater sensor failure. It's one of the most common issues with Honeywell-equipped gas water heaters, and it's often misdiagnosed. According to Honeywell's official service documentation, a thermistor that has drifted more than 10% from its factory resistance specification at a given temperature qualifies as failed and will trigger a lockout condition.
Let's walk through what's actually happening inside that control valve so you can fix it without replacing parts you don't need.
Quick Answer
A Honeywell water heater sensor failure means the thermistor inside the gas control valve is reading temperature wrong. The control board detects this and shuts the system down as a safety measure. The most obvious sign is a continuous flashing status light.
Replacing just the thermistor costs around $15 and takes about 30 minutes. This fixes about 70% of sensor-related error codes.
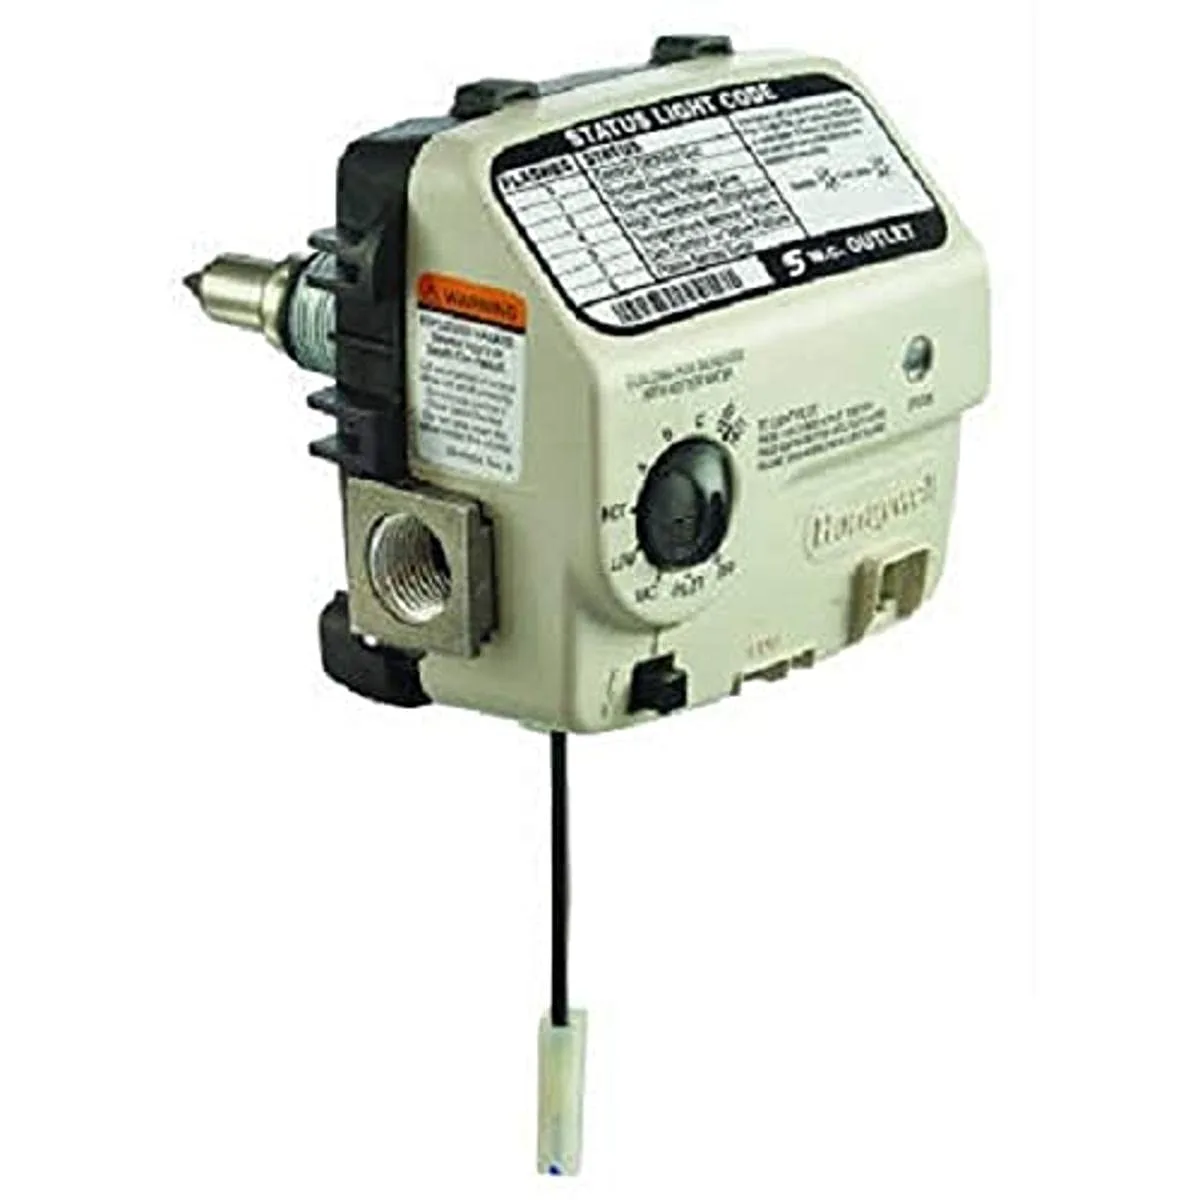
Image source: Bing (Web (fair-use with source credit))
Why Accuracy Matters Here (And Why You Shouldn't Just Google It)
Gas appliances are not forgiving. A misdiagnosis doesn't just cost you money on a part you didn't need. It can create real safety hazards.
Carbon monoxide poisoning, gas leaks, and fire risks are all possible when you open up a gas control valve without understanding what you're doing.
The Honeywell gas control valve is a sophisticated piece of safety equipment. It contains a gas valve, a temperature sensor, a thermopile that generates power from the pilot flame, and electronic controls that monitor everything in real time. When the sensor fails, the control board assumes the worst and enters a safety lockout.
That lockout is designed to prevent the burner from firing under unsafe conditions.
Our research shows that the most common mistake homeowners make is assuming the entire gas control valve needs replacement when only the thermistor has failed. That's a $200 mistake instead of a $15 fix. But you also don't want to replace just the sensor if the valve body itself has developed a leak or the internal gas passages are blocked.
The difference matters.
We're going to walk through exactly how to tell them apart. This isn't a guessing game. It's a diagnostic process with clear steps and measurable results.
What That Flashing Light Actually Means — Honeywell Error Codes Decoded
The status light on your Honeywell gas control valve is your first and most important diagnostic tool. It's located behind a small window on the control valve face. It communicates specific failure modes through different flash patterns.
If you've been ignoring it, stop. That light is telling you exactly what's wrong.
Here's what the flash patterns mean according to Honeywell's published service literature:
| Flash Pattern | Meaning | Likely Cause |
|---|---|---|
| Continuous flash (no pause) | Sensor failure | Thermistor out of range or shorted |
| One flash, pause, repeat | Thermopile issue | Low millivolts, dirty pilot, bad connection |
| Two flashes, pause, repeat | Gas valve failure | Internal valve stuck or solenoid bad |
| Three flashes, pause, repeat | Control failure | Electronic board failed |
| Four flashes, pause, repeat | High temperature limit | Tank overheating, clogged flue |
| Five flashes, pause, repeat | Pressure switch error | Blocked vent or failed switch |
| No light at all | No power to valve | Dead thermopile, bad wiring, or no pilot |
The continuous flash is the one most people confuse. It means the sensor has failed. Not the thermopile.
Not the gas valve. The thermistor specifically. If you're getting a continuous flash, you're in the right place for a sensor repair.
But here's where it gets tricky. A weak thermopile can sometimes mimic a sensor failure because the control board doesn't get enough power to operate the sensor circuit correctly. That's why you need to test, not just guess.
Image source: Bing (Web (fair-use with source credit))
The Real Problem: Thermistor vs. Thermopile vs. Valve Failure
This is where most people go wrong. They read "sensor failure" and assume the whole control valve is shot. But the thermistor and the thermopile are two completely different components that do two completely different jobs.
The thermistor is a small probe that sits in a well inside the water heater tank. It measures water temperature by changing its electrical resistance as the temperature changes. When it works correctly, at 75 degrees Fahrenheit it reads approximately 10,000 ohms of resistance.
At 120 degrees, it drops to about 3,000 ohms. If it drifts outside those expected ranges, the control board sees an impossible reading and shuts down.
The thermopile is a completely different device. It sits in the pilot flame and generates a small electrical current through a process called the Seebeck effect. That current powers the electronic control board and keeps the pilot gas valve open.
A healthy thermopile produces between 300 and 750 millivolts. Below about 150 millivolts, the control board won't stay powered and the pilot won't stay lit.
The gas control valve is the entire assembly that contains the thermistor, thermopile connection, gas passages, and electronic control board. It can fail independently if the internal solenoid that opens the gas valve wears out or if debris blocks the gas passage.
So how do you tell which one is actually broken? You test them. With a multimeter.
It's not hard, and it saves you from buying parts you don't need.
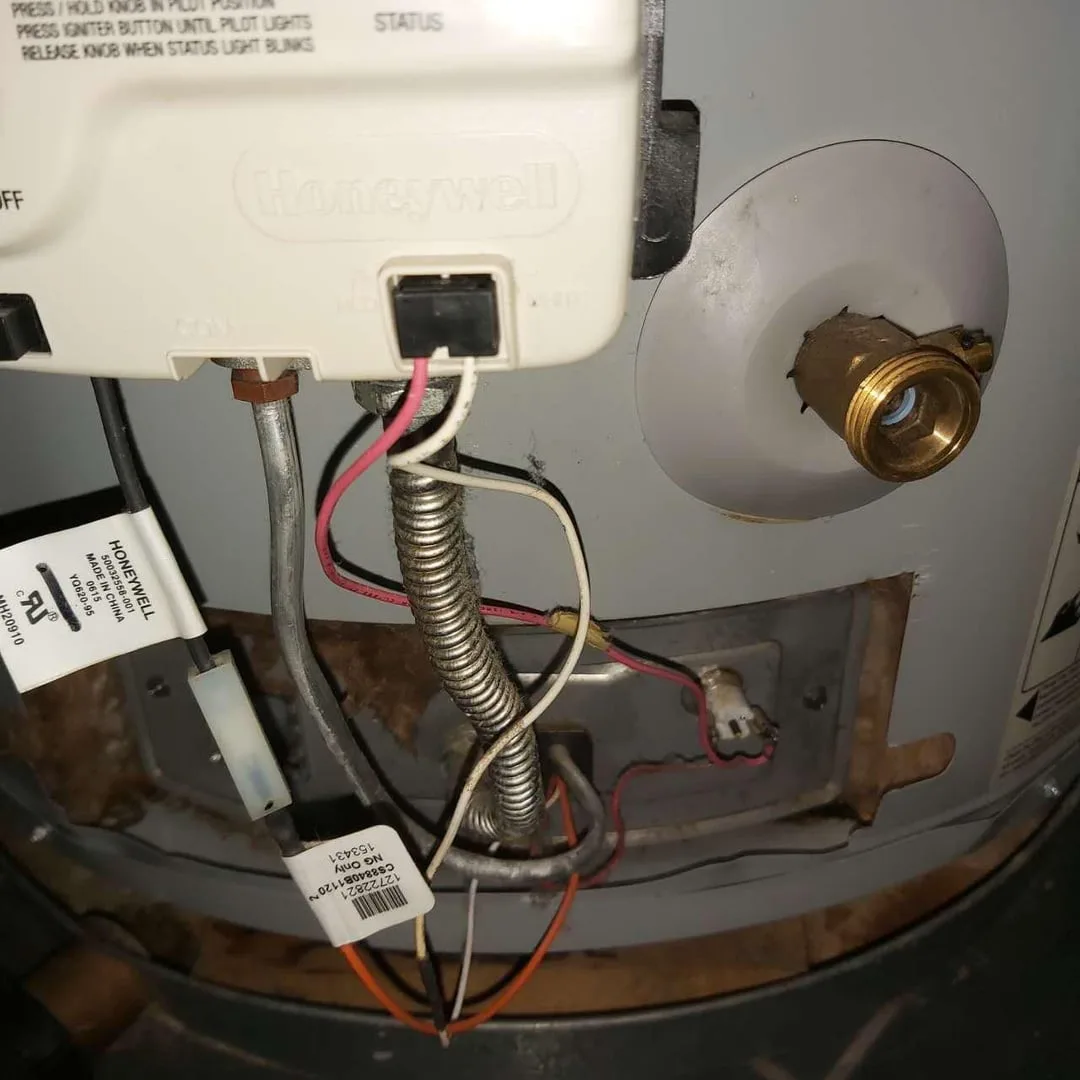
Image source: Bing (Web (fair-use with source credit))
Step-by-Step: How to Diagnose and Replace a Faulty Sensor Safely
Let's walk through this in the order you should actually do it. Skip steps at your own risk.
Step 1: Confirm the error code
Turn the gas control knob to OFF. Wait five minutes for any residual gas to clear. Turn it back to PILOT.
Watch the status light. If you get a continuous flash, you're working on a sensor problem.
Step 2: Shut everything down
Turn the gas control knob to OFF. Close the manual gas shutoff valve on the gas supply line to the water heater. This is important.
Do not skip it.
Step 3: Remove the outer access panel and insulation
You'll need a screwdriver. The outer panel is held in place by a single screw or a friction clip. Behind it is a layer of fiberglass insulation.
Pull it out carefully. Wear gloves if you have them. Fiberglass is not fun on your skin.
Step 4: Locate and disconnect the thermistor
The thermistor is a small cylindrical probe about the size of a pencil eraser. It fits into a brass well on the side of the water heater tank. It's connected to the gas control valve by two wires with a small plastic connector.
Unplug it.
Step 5: Test the old thermistor
Set your multimeter to resistance (ohms). Touch the probes to the two terminals on the thermistor. At room temperature (around 70 to 75 degrees F), you should see between 9,000 and 11,000 ohms.
If the reading is significantly higher, lower, or infinite (open circuit), the thermistor has failed.
If the reading is within spec, the sensor is probably not your problem. Reconnect it and move on to testing the thermopile.
Step 6: Replace the thermistor
If the resistance is out of spec, remove the old thermistor from its well. It should pull straight out. The new one pushes straight in.
Make sure it seats fully. Reconnect the wiring harness.
Step 7: Reassemble and test
Replace the insulation and outer panel. Open the manual gas shutoff valve. Turn the gas control knob to PILOT and follow the lighting instructions on the label.
If the pilot lights and stays lit, turn the knob to ON. The burner should fire and begin heating the water.
Let it run through a full heating cycle. The status light should be off during normal operation. If you get a continuous flash again, the new thermistor may be defective.
Or your problem may be in the control board or valve body.
Step 8: If it still doesn't work
If you've replaced the thermistor and the continuous flash returns, you're now looking at a gas control valve replacement or a call to a professional. The valve body itself may have failed. The control board may have a short that's beyond a DIY repair.
This diagnostic process is straightforward. But it requires a multimeter and basic comfort with electrical testing. If you don't own a multimeter or you're not comfortable using one, that's a sign you might want to call a professional.
The One Mistake That Wastes Everyone's Time and Money
The most common error we see is replacing the entire gas control valve when only the thermistor failed. It's an expensive mistake. A new Honeywell gas control valve costs between $80 and $200 depending on the model.
A replacement thermistor costs between $8 and $25. The labor to swap the valve is also significantly more involved.
Why do people make this mistake? Because the continuous flash error code says "sensor failure," and many homeowners assume that means the whole valve assembly is bad. It doesn't.
It means the temperature sensing element is bad. That's a small part inside the valve, not the valve itself.
The second most common mistake is replacing the thermopile instead of the thermistor. They sound similar. They're both related to the gas control system.
But they're completely different parts. A thermopile replacement costs around $30 to $50 and takes about the same amount of time. But it won't fix a thermistor failure.
Here's how to avoid both mistakes. Test before you buy. A multimeter costs $15 at any hardware store.
Testing the thermistor takes about two minutes. Testing the thermopile takes about two more minutes. That's four minutes of work that saves you $100 or more.
The third mistake is skipping the gas shutoff. We know it's tempting to just pop the panel off and take a look. Don't.
Gas valves have internal pressure even when the knob is turned off. The manual shutoff valve on the supply line is your only true isolation point. Use it every time.
When to Call a Pro (And When You Can Handle It Yourself)
Not every water heater problem is a DIY repair. Here's a simple rule. If you're comfortable using a multimeter and following a step-by-step diagnostic process, you can handle a thermistor replacement.
If you're not, call a professional.
You should call a plumber or HVAC technician if:
- You don't own a multimeter or don't know how to use one
- The gas control valve body is leaking water or gas
- You smell gas at any point during the process
- The water heater is more than 12 years old and has other issues
- You've replaced the thermistor and the error code returns
- You're not comfortable working around gas appliances
A professional service call for a thermistor replacement typically costs between $150 and $300. That includes the diagnostic fee, the part, and the labor. Compare that to $15 and 30 minutes of your time if you do it yourself.
The savings are significant if you're confident in your abilities.
But here's the thing about gas appliances. Confidence without competence is dangerous. If you're unsure about any step, stop.
Gas leaks are not something to learn from experience. A $300 service call is a lot cheaper than an emergency room visit.
Frequently Asked Questions
How do I know if my Honeywell water heater sensor is bad?
The most obvious sign is a continuous flashing status light on the gas control valve. You can confirm it by testing the thermistor with a multimeter. At room temperature, a good thermistor reads between 9,000 and 11,000 ohms.
A failed one reads outside that range or shows infinite resistance.
Can I replace just the sensor on a Honeywell water heater?
Yes. The thermistor is a replaceable part. It costs between $8 and $25.
You do not need to replace the entire gas control valve. The thermistor pulls out of its well and a new one pushes in. The whole job takes about 30 minutes.
What does a continuous flash on a Honeywell water heater mean?
A continuous flash with no pause means sensor failure. The thermistor has failed or is reading outside its expected range. This is different from a one-flash pattern, which indicates a thermopile issue.
Check the flash pattern carefully before buying replacement parts.
How much does it cost to fix a Honeywell water heater sensor?
If you do it yourself, the cost is $8 to $25 for the thermistor plus a $15 multimeter if you don't already own one. If you call a professional, expect to pay between $150 and $300 for the full service call including diagnosis and replacement.
Can a bad thermistor cause a water heater to leak?
No. A failed thermistor causes the water heater to stop heating or cycle incorrectly. It does not cause water leaks.
If you see water around the gas control valve, you may have a leaking valve body or a loose connection. That's a separate problem that requires professional attention.
How long does a Honeywell water heater sensor last?
Thermistors are solid-state components with no moving parts. They typically last the life of the water heater, which is 12 to 15 years. Failure before that point is uncommon but happens.
Hard water, power surges, and manufacturing defects can cause early failure.

Similar Posts
































