How to Secure a Trail Camera
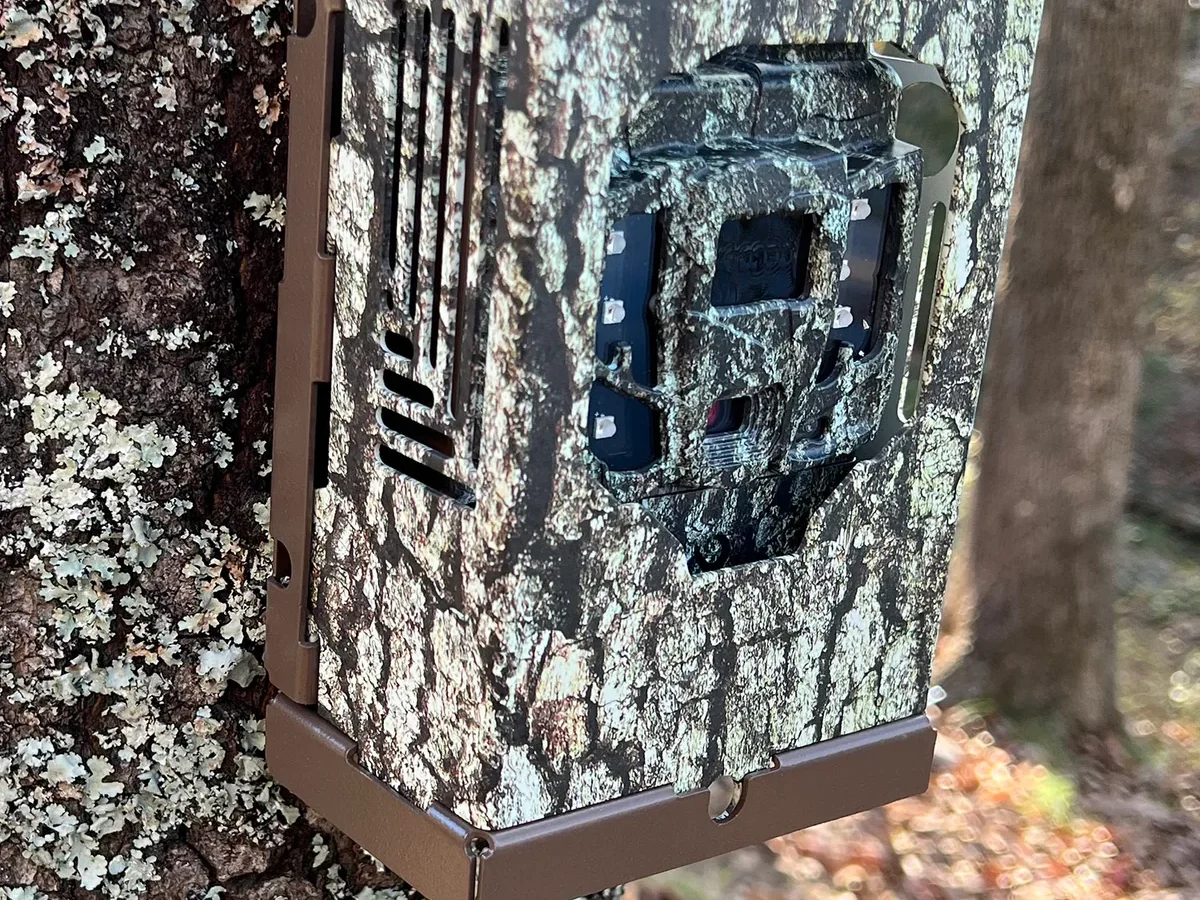
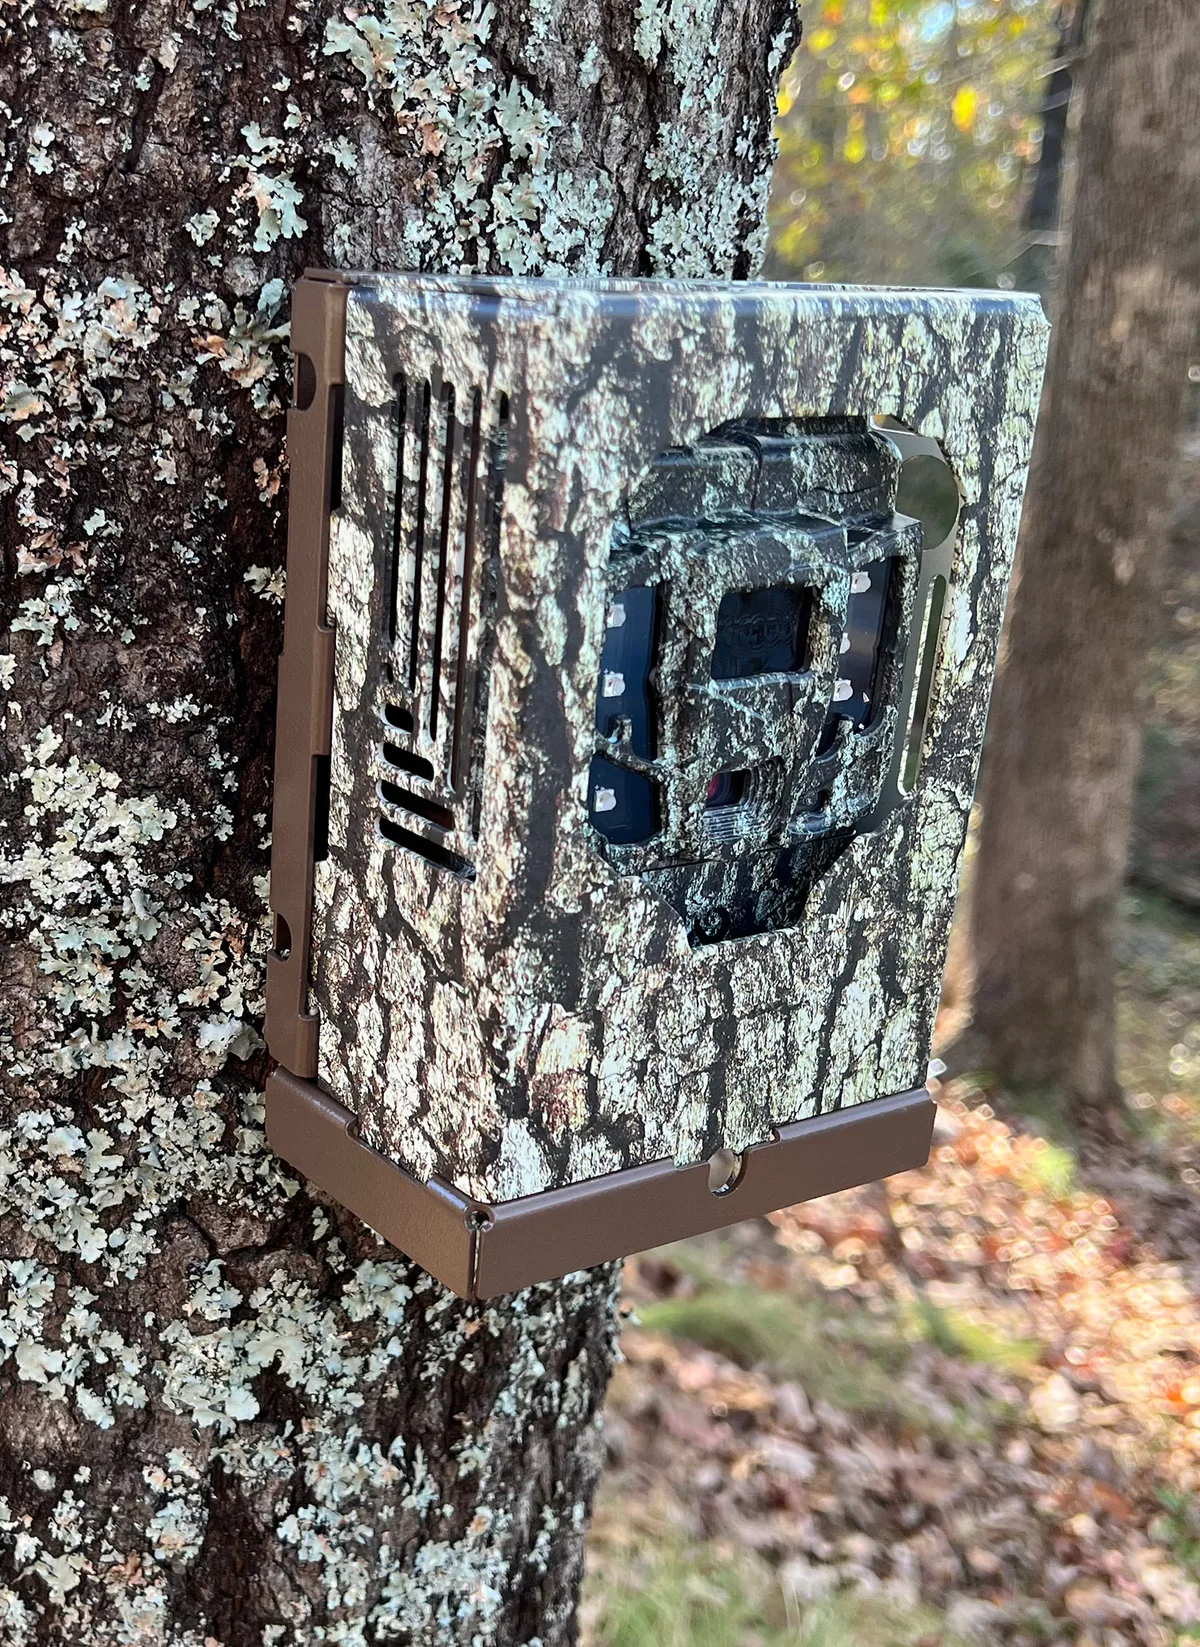
Image source: Web (Bing) / browning.com (Web image (fair-use with source credit))
You dropped a trail camera off in the woods last week. You come back to check it, and the tree is bare. The strap is still there, cut clean.
The camera is gone. That scenario is frustrating and expensive. It happens more often than most people realize.
Learning how to secure a trail camera is the difference between keeping your gear for years and replacing it every season.
Theft rates on public land can hit 20 to 30 percent in high-traffic areas. That number comes from aggregate user reports across hunting forums and retailer feedback as of 2026. That is not a worst-case figure.
That is the average in places where cameras sit within sight of trails or roads. The good news is that a few smart choices drop that risk dramatically. Let's walk through what actually works and what does not.
Quick Answer
Secure your trail camera with a metal security box and a braided steel cable lock. Mount it at least 8 feet high on a tree trunk over 12 inches thick. Face the camera away from trails and roads.
Use a keyed-alike lock system so one key opens every camera. Mark the camera with your name, phone number, and ID. That is the baseline.
For cellular cameras, enable GPS tracking and password protection.
Theft Risk Assessment: How Likely Is Your Camera to Get Stolen?
Not every location carries the same risk. Your first step is to figure out how much protection your spot actually needs. A camera on private land with a locked gate is a different situation than one on public land near a trailhead.
Low-risk locations
- Private property with no public access
- Deep backcountry, more than a mile from any road or trail
- Small properties where you check cameras weekly
- Areas with active hunting lease enforcement
Medium-risk locations
- Private land with public roads running through it
- Public land more than half a mile from parking areas
- Food plots near visible field edges
High-risk locations
- Public land within 100 yards of a trail or road
- Land near campgrounds, ATV routes, or popular hiking spots
- Any location where other hunters frequently walk through
- Areas where you have seen trash, cigarette butts, or boot prints
Assess your risk in 30 seconds
| Risk Level | Typical theft rate | Recommended security |
|---|---|---|
| Low | Below 5% | Cable lock, standard mount |
| Medium | 5 to 15% | Security box, cable lock, concealed placement |
| High | 15 to 30%+ | Security box, cable lock, GPS tracking, tamper-proof screws, frequent checks |
A quick rule of thumb: if you can see your camera from where you park your vehicle, a thief can see it too. Move it deeper or accept the risk. Aggregate reviews from experienced users confirm that most thefts happen within the first 48 hours of deployment.
A camera that survives the first week usually stays put.
State and federal land regulations can affect where and how you mount cameras. Check with the local USDA Forest Service ranger district before placing equipment on public land.
The Two Main Security Routes: Cable Lock vs. Security Box
You have two basic options. Each has strengths and weaknesses. Your choice depends on your risk level, budget, and how often you check your cameras.
Cable lock only
A cable lock is a braided steel cable, usually 3 to 6 feet long, with a loop on each end. You wrap it around the tree and through the camera mount, then lock it with a padlock. Python cable locks are the most common brand.
They cost between $10 and $25.
What it stops: Opportunistic thieves who grab and pull. A cable lock forces them to work for it. Most casual thieves will walk past a locked camera because they did not bring bolt cutters.
What it does not stop: Someone with bolt cutters. A standard cable lock takes about 10 seconds to cut with a 24-inch pair of bolt cutters. Thieves who target cameras specifically carry them.
A cable lock is a deterrent, not a guarantee.
Best for: Low-risk locations, private land, or temporary setups where you move cameras frequently.
Security box
A security box is a metal or composite enclosure that the camera sits inside. You mount the box to the tree, then lock the camera inside it. The box covers the camera body, the battery compartment, and the mounting strap.
The only exposed part is the lens window.
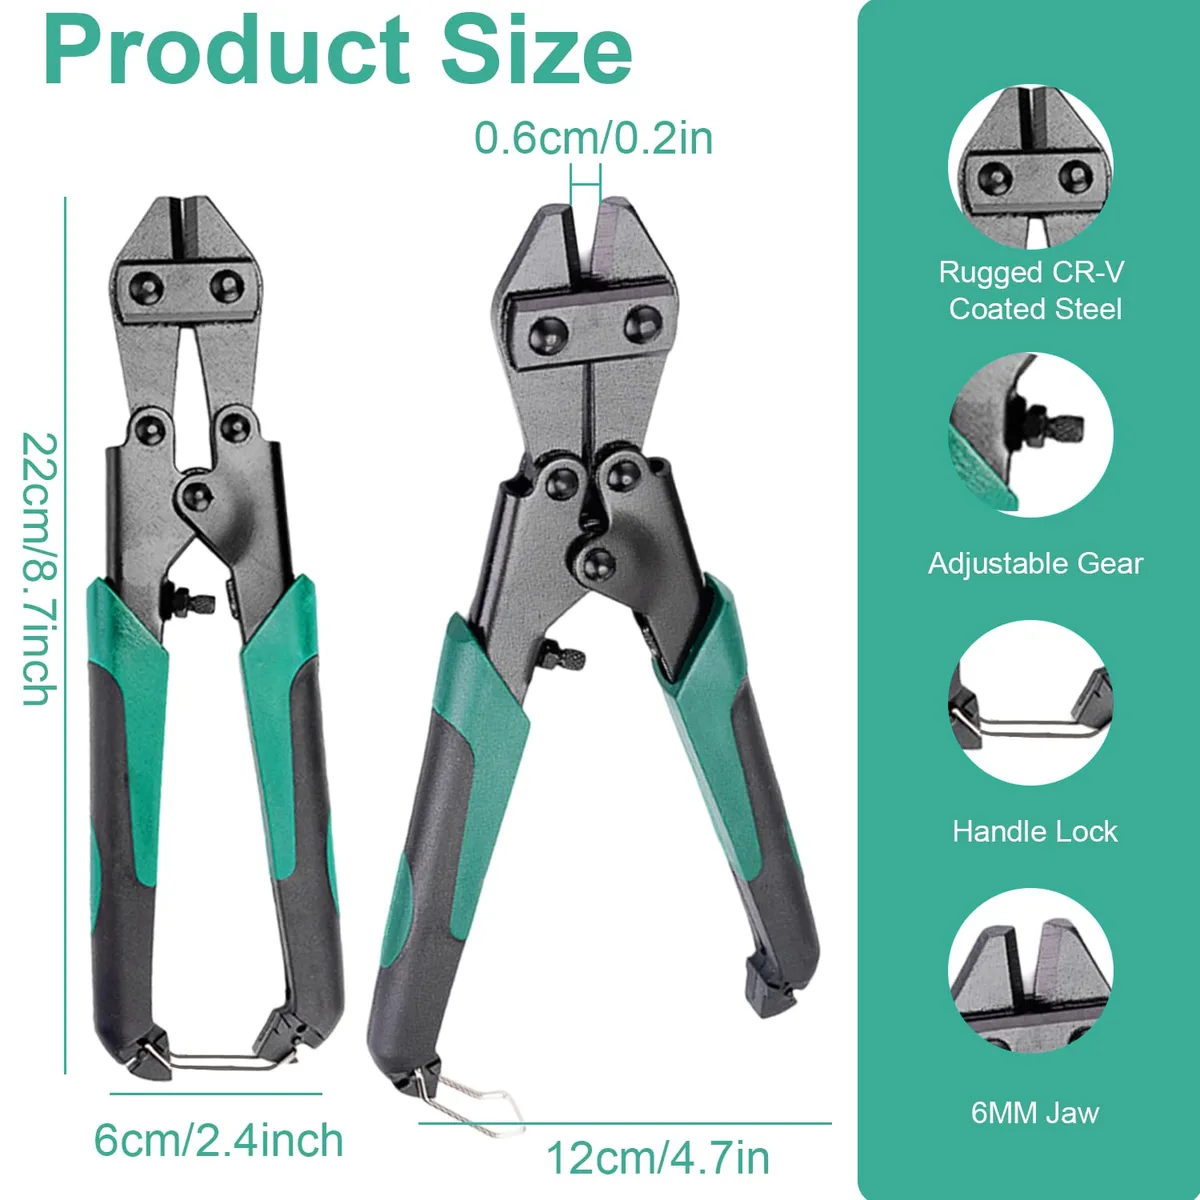
Image source: Web (Bing) / bigamart.com (Web image (fair-use with source credit))
What it stops: Bolt cutters. Most security boxes use 14-gauge or 16-gauge steel that a standard bolt cutter cannot penetrate. They also protect the camera from weather, animal damage, and accidental bumps.
What it does not stop: A thief with an angle grinder or a pry bar. No security box is unbreakable. But a grinder is loud, slow, and draws attention.
Most thieves will not risk it.
Best for: Medium and high-risk locations, public land, expensive cameras, and long-term deployments.
Quick comparison table
| Factor | Cable lock | Security box |
|---|---|---|
| Cost | $10 to $25 | $15 to $60 |
| Installation time | 2 minutes | 5 to 10 minutes |
| Bolt cutter resistance | Low | High |
| Weather protection | None | Good |
| Camera concealment | Poor | Excellent |
| Weight | Light | 1 to 3 pounds |
| Key management | One padlock per camera | Can use keyed-alike system |
Which Route Is Right for You? A Simple Decision Guide
This is where the decision tree logic comes in. Answer these four questions honestly. Your answers will point you to the right security method.
Question 1: Is your camera on public land?
- Yes → Use a security box. The risk is too high for a cable lock alone.
- No → Move to Question 2.
Question 2: Is the camera visible from a trail, road, or path?
- Yes → Use a security box. Visible cameras are the first to go.
- No → Move to Question 3.
Question 3: Is the camera worth more than $100?
- Yes → Use a security box. The replacement cost justifies the investment.
- No → Move to Question 4.
Question 4: Do you check the camera less than once a month?
- Yes → Use a security box. Long intervals give thieves more time to find and steal it.
- No → A cable lock with a concealed mount is probably fine.
The rule of thumb
If you answered "yes" to any of the first three questions or "yes" to question four, buy a security box. If you answered "no" to all four, a cable lock is acceptable. In our research, the people who lose cameras almost always say the same thing: "I thought a cable lock was enough."
The Decision Tree: Step by Step
Now let's walk through the actual installation process. This workflow covers both the cable lock and the security box method. Follow the branch that matches your choice from the guide above.
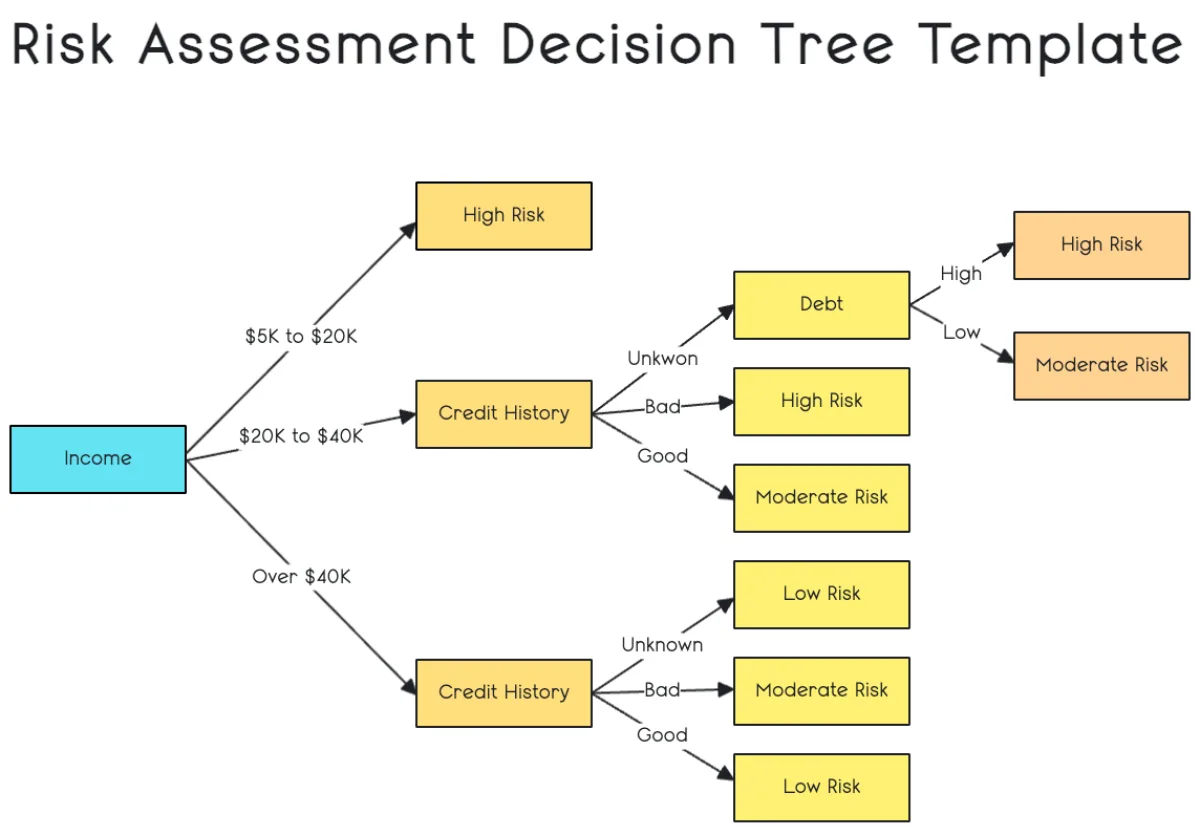
Image source: Web (Bing) / template.net (Web image (fair-use with source credit))
Branch A: Cable lock installation
- Choose your tree. Pick a tree trunk at least 12 inches in diameter. Avoid trees with loose bark like sycamore or birch. The bark can peel and loosen the mount over time.
- Position the camera. Set the camera at 8 to 10 feet high. Angle it downward slightly. This keeps the camera above eye level and makes it harder to spot.
- Wrap the cable. Loop the cable around the tree and through the camera mount bracket. Pull it tight. Leave minimal slack.
- Lock the padlock. Use a weather-resistant padlock. A shrouded lock body is better because it protects the shackle from bolt cutters.
- Test the lock. Give the camera a firm tug. If it moves, tighten the cable.
Branch B: Security box installation
- Open the box. Most security boxes open with a hinge or a sliding panel. Inspect the interior padding. The camera should fit snugly without rattling.
- Insert the camera. Slide the camera into the box. Align the lens with the cutout window. Test the angle before locking the box shut.
- Mount the box to the tree. Use the included straps or screws. For permanent setups, use tamper-proof screws. For temporary setups, use heavy-duty zip ties or a security cable.
- Lock the box. Close the lid and engage the lock. Keyed-alike locks let you use one key for every camera. This saves time when you are checking multiple cameras.
- Test the fit. Check that the camera does not move inside the box. Check that the IR sensor is not blocked by the box edge. A blocked sensor causes false triggers or blank night photos.
The one thing both methods need
Mark your camera. Engrave your name, phone number, and a unique ID into the camera body and the security box. Use a metal engraving tool or a permanent marker with UV-resistant ink.
A marked camera is harder to sell. Most pawn shops and online marketplaces check for ID. If a thief cannot sell it, they are less likely to steal it.
If you ever need to clear your camera's data before selling or storing it, knowing how to factory reset an action camera is useful for wiping personal information.
Frequently Asked Questions
How high should I mount my trail camera for security?
Mount it at least 8 feet high. This puts the camera above eye level and makes it harder to spot. It also forces a thief to work harder to reach it.
Higher mounts also reduce false triggers from deer and other animals walking past.
Do security boxes block the camera's IR flash?
Not if the box is designed correctly. Quality security boxes have a cutout window that aligns with the camera lens and IR sensor. Test the alignment before locking the box shut.
A blocked IR sensor causes blank night photos.
Can I use a combination lock instead of a keyed lock?
Yes, but combination locks have drawbacks. They can freeze in cold weather. They are also harder to operate in low light.
Keyed-alike locks are faster and more reliable. If you use a combination lock, choose one with a weather-resistant dial.
What is the best way to mark my trail camera for identification?
Engrave your name, phone number, and a unique ID into the camera body. Use a metal engraving tool or a UV-resistant permanent marker. Some states require cameras to be marked with the owner's name and contact information.
Check your local regulations.
How often should I check my trail camera?
Check it every 2 to 4 weeks during active use. Longer intervals give thieves more time to find and steal the camera. Frequent checks also let you spot damage or tampering early.
For cellular cameras, you can check the images remotely without visiting the site.
Can I use a padlock with a cable lock on a security box?
Yes, many security boxes have a built-in lock that accepts a padlock. Use a weather-resistant padlock with a shrouded shackle. This adds another layer of protection.
Just make sure the padlock fits the box's locking mechanism.

Similar Posts
































