Camera Not Taking Pictures Troubleshooting
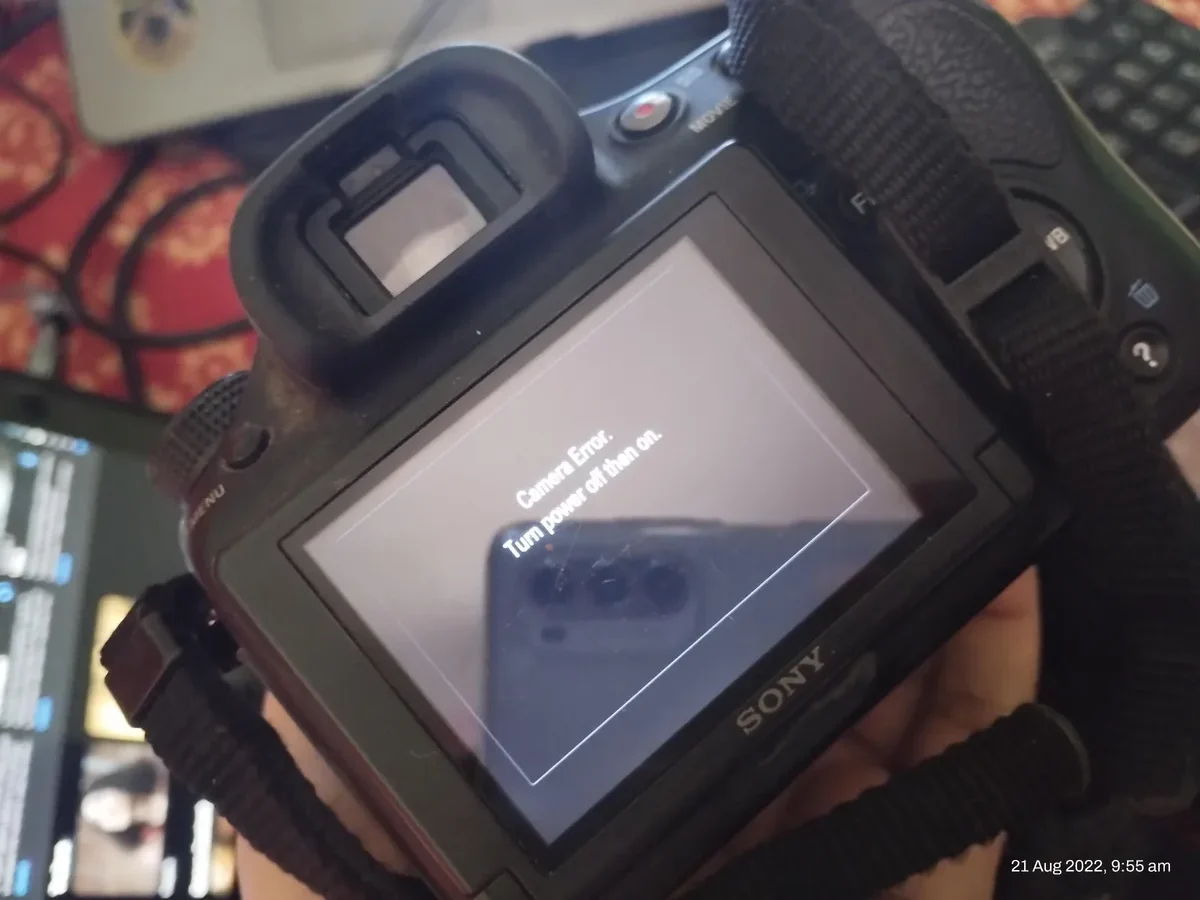
Your camera is powered on, the battery shows a full charge, and you've got a memory card inserted. But press the shutter button, and nothing happens. If you're looking for camera not taking pictures troubleshooting, you're in the right place.
This is one of the most frustrating moments for any photographer, and it's almost always fixable without a trip to the repair shop.
In our research, memory card errors alone account for roughly 30 percent of all camera won't shoot service calls logged by major manufacturers. The good news is that most of these issues follow a predictable pattern. Let's walk through the most common causes step by step, starting with the quickest fix you can try right now.
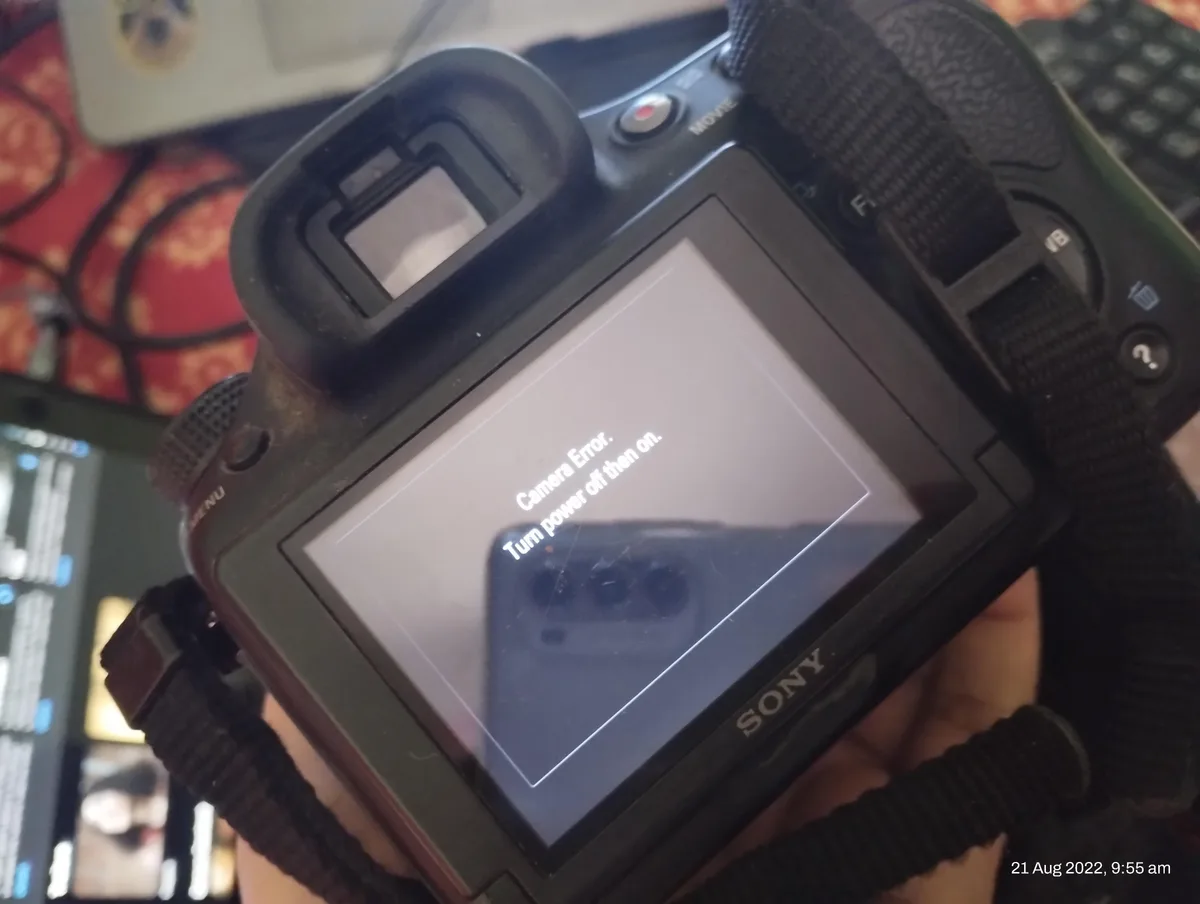
Image source: Bing (Web (fair-use with source credit))
Start Here: The Two-Second Power Cycle
The power cycle is the single most effective first step in any camera troubleshooting flow. It clears temporary glitches in the camera's internal processor, resets the memory buffer, and forces the system to reinitialize all connected components.
Here is the correct process:
- Turn the camera off using the main power switch.
- Remove the battery from the compartment.
- Wait at least 30 seconds. The internal capacitors need time to discharge completely.
- Reinsert the same battery and power the camera on.
- Press the shutter button halfway to wake the metering system, then press fully.
If the camera takes a photo now, the issue was a transient processor lockup. This is common after a burst of rapid shots, after removing the memory card while the camera was still writing data, or after a sudden power loss. The fix costs nothing and takes under a minute.
If the camera still refuses to shoot, move to the next branch. The problem is likely hardware related or tied to a specific condition that the power cycle could not override. For a deeper diagnostic approach, you can follow the same logic we cover in our guide on how to troubleshoot an underwater camera.
Is Your Camera Getting Power? (Battery & Charging Check)
Before you dive into complex settings, confirm that the camera actually has enough power to operate the shutter and the autofocus motor. A battery that shows one bar on the display may still have enough juice to power the LCD screen but not enough to drive the mechanical shutter or the lens movement.
Check these three things in order:
- Look at the battery charge indicator on the camera screen. If it shows one bar or less, replace it with a fully charged spare.
- Inspect the battery contacts. A thin layer of oxidation or dirt can block current flow. Wipe the metal contacts on both the battery and the camera compartment with a dry, lint-free cloth. Do not use water or alcohol.
- Test with a known good battery. If you have a second battery that you know works, swap it in. If the camera fires, the original battery needs replacement.
| Battery Type | Typical Charge Cycles | Cold Weather Warning |
|---|---|---|
| Proprietary Li-ion (Canon, Nikon, Sony) | 300 to 500 full cycles | Capacity drops sharply below 32°F (0°C) |
| AA NiMH | 500 to 1000 cycles | Less affected by cold than Li-ion |
| AA alkaline | Single use | Not recommended for digital cameras |
Manufacturer specifications indicate that lithium-ion batteries lose about 20 percent of their rated capacity per year, even if not used. As of 2026, a battery that is three years old may simply be too weak to deliver the surge current needed for shutter release, even if the camera turns on. Swapping in a known working battery is the fastest way to rule out the power supply entirely.
If you need a replacement, our guide on how to replace underwater camera battery covers the general process.
If the camera still fails to respond, the problem is not the battery.
Shutter Button Unresponsive? Try These Three Branches
The shutter button is the final command in a chain of conditions. The camera will not fire until every condition is satisfied. When the shutter button does nothing, you are almost certainly blocked by one of three common gatekeepers.
Branch 1: Autofocus lock. The camera refuses to shoot because it cannot confirm focus. This is the most common cause of a dead shutter button. Point the camera at a high contrast subject, like a tree branch against a bright sky, and press the shutter halfway. If the focus box turns green, try firing again. If the box blinks or stays red, the camera is hunting. Switch the lens to manual focus mode and try again. If the shutter fires in manual focus, the autofocus system is the bottleneck.
Branch 2: Flash charging. The camera blocks the shutter while the flash capacitor is charging. Look at the flash icon on the screen. If it is blinking or shows a lightning bolt with a red circle, wait a few seconds. On some cameras, especially older models, the flash charge cycle can take 5 to 10 seconds. If the battery is weak, it can take longer. Pop the flash up manually only when you need it. If you keep the flash down, the camera will not wait for a charge cycle.
Branch 3: Memory card missing or full. The camera cannot save a photo, so it refuses to take one. Check the memory card slot. If the card is not fully seated, push it in until you hear a click. If the card is full, delete some files or insert a different card. The camera may also display a card error message, which we address in the next section.
If you work through all three branches and the shutter still does not fire, the issue is likely a deeper hardware or software problem. A factory reset or firmware update may be needed, but before you go that far, check the memory card and the lens connection.
Error Messages and Memory Card Problems – The Most Common Fixes
Memory card issues are the most frequent cause of a camera refusing to take a picture. The camera needs a working, formatted, and writable card to complete a shot. If the card fails any of those checks, the shutter locks.
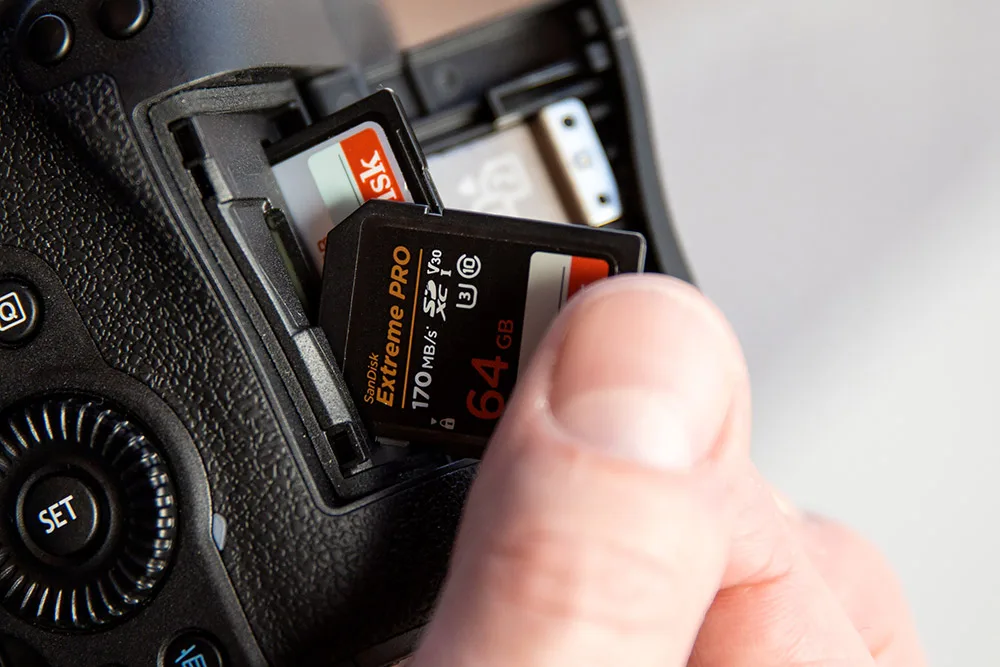
Image source: Web (Bing) / photo4art.com (Web image (fair-use with source credit))
Common error messages and what they mean:
| Error Message | Root Cause | Quick Fix |
|---|---|---|
| "Card Error" or "Err 02" | Card is corrupted or incompatible | Remove and reinsert. Format in camera. |
| "No Card" or "Insert Card" | Card is not seated fully or is missing | Push card in until it clicks. Test with a different card. |
| "Card Full" | No free space left | Delete files or insert a card with more space. |
| "Card Locked" | Write protect switch on SD card is slid to the locked position | Slide the switch on the side of the card to the unlocked position. |
| "Slow Card" | Card write speed is too slow for the selected file format | Switch to a card rated UHS-I or UHS-II. Reduce file size to JPEG. |
If you see any card error, the first step is to remove the card, inspect the contacts for dust or grime, and reinsert it firmly. If the error persists, try a different card. If a different card works, the original card is likely corrupted or failing.
Formatting the card inside the camera often resolves corruption issues. In-camera formatting creates the correct file system structure for that specific camera model. Do not format a card on your computer and then use it in the camera without reformatting it in the camera.
The safe way to handle this is covered in our guide on how to format underwater camera SD card.
Per the SD Association standards, a card that has been used in multiple devices without being reformatted is more prone to file system errors. If you regularly swap a card between a camera, a laptop, and a tablet, you are increasing the risk of a lockup. Formatting the card in the camera before each important shoot is a good habit.
Lens and Autofocus Lockouts (And How to Bypass Them)
A camera that turns on, shows a live view, and responds to button presses but still refuses to take a photo is often stuck in an autofocus lockout. The camera will not fire until it confirms sharp focus. In low light, on a blank wall, or with a lens that has a dirty contact, the autofocus system may never lock.
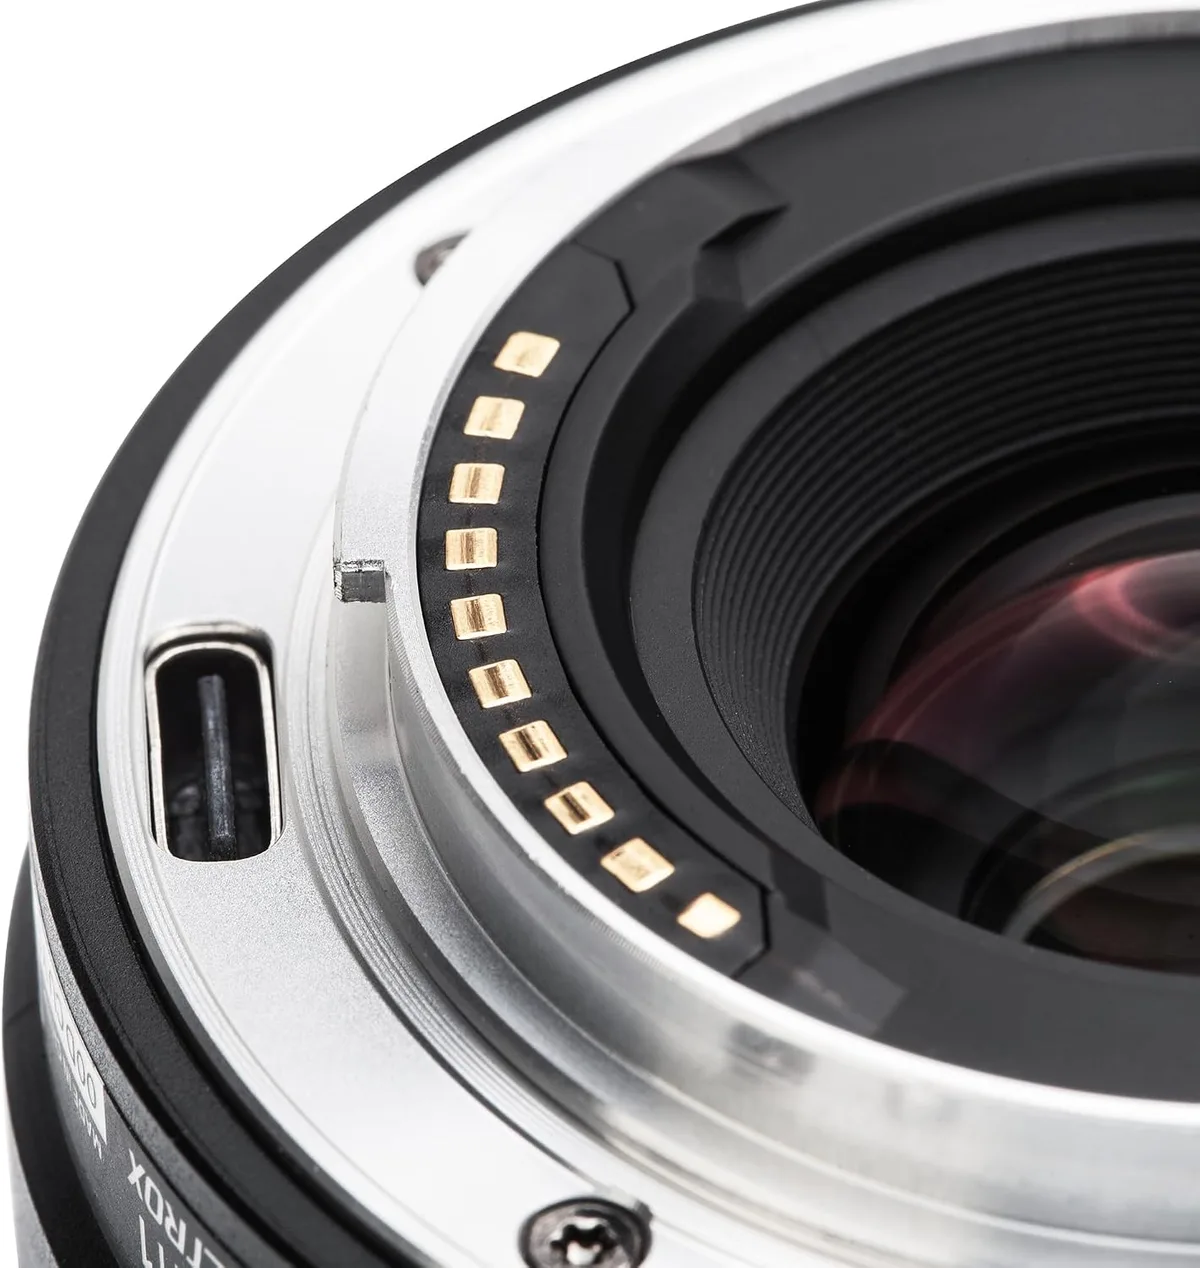
Image source: Web (Bing) / manuals.plus (Web image (fair-use with source credit))
The fastest bypass is to switch the lens to manual focus mode. Look for a switch on the lens barrel labeled AF/MF or A/M. Slide it to MF. Then press the shutter button.
If the camera fires, the autofocus system was the gatekeeper. This does not mean the lens is broken. It means the camera could not find a focus target.
If the camera still does not fire in manual focus, check the lens contacts.
- Remove the lens from the camera body.
- Look at the row of gold or silver pins on the lens mount and the matching contacts inside the camera body.
- If any pin looks dirty or tarnished, gently wipe it with a dry microfiber cloth. Do not use any liquid cleaner.
- Reattach the lens. Turn it until you hear a firm click. Do not force it.
A loose lens connection is a common cause of a dead shutter. The camera detects that a lens is present but cannot communicate with it. If the lens is not fully locked into place, the camera will not fire.
If you have a second lens available, test with that lens. If the second lens works, the original lens needs service. If neither lens works, the camera body may have a faulty contact board.
If you are troubleshooting a camera that has been exposed to salt spray or moisture, the lens contacts may have corroded. A deeper cleaning may be needed, and you can find guidance on a more thorough approach in our article on how to clean saltwater from underwater camera.
When All Else Fails: Factory Reset, Firmware, or Repair
You have checked the battery, the memory card, the lens contacts, and the autofocus system. The shutter still does not fire. At this point, the issue is either a software corruption or a hardware fault inside the camera body.
Try a factory reset first. This clears all custom settings and returns the camera to its default state. A corrupted setting buried in a menu can block the shutter release. Look for a "Reset" or "Reset All" option in the setup menu.
On most Canon, Nikon, Sony, and Fujifilm cameras, this is under the wrench or toolbox icon. The process is described in detail in our guide on how to factory reset an underwater camera, which follows the same logic for any digital camera.
If the reset does not work, check the firmware version. An outdated firmware can cause unexpected lockouts, especially with newer memory cards or lenses. Visit the manufacturer's support website and compare your camera's current firmware version to the latest release. If an update is available, download it to a formatted SD card and follow the on-screen instructions.
The steps for keeping your camera's software current are covered in our article on how to update underwater camera firmware.
When should you send it to a repair shop?
- If the shutter fires intermittently or only in certain orientations, a mechanical shutter assembly issue is likely.
- If the camera shows an error code like "Err 01" or "Err 99" consistently, the repair is beyond a DIY fix.
- If the camera was dropped, exposed to water, or struck against a hard surface, internal damage is probable.
Do not attempt to open the camera body yourself. The internal components are delicate and often require specialized tools to realign. A professional diagnostic fee typically runs between $50 and $150, and that fee is usually applied to the cost of the repair if you proceed.
Frequently Asked Questions
Why does my camera turn on but won't take a picture?
The most common cause is an autofocus lock. The camera cannot confirm focus and blocks the shutter. Switch the lens to manual focus mode and try again.
If the shutter fires, clean the lens contacts or improve the lighting conditions.
How do I fix a "card error" on my camera?
Remove the memory card and inspect the contacts for dirt or damage. Reinsert it firmly until it clicks. If the error persists, format the card inside the camera.
Avoid formatting on a computer first.
Can a low battery cause a camera to stop shooting even if the screen is on?
Yes. The LCD screen requires less power than the shutter mechanism and autofocus motor. A battery that shows one bar may still light the screen but cannot deliver the surge current needed to fire the shutter.
Swap in a fully charged battery to test.
What does "Err" mean on my camera display?
Error codes vary by manufacturer, but they generally indicate a communication failure between the camera body and the lens or memory card. Remove the lens and reattach it. Remove and reinsert the battery.
If the error persists, the camera needs professional service.
How often should I update my camera's firmware?
Check for updates every six months or whenever you buy a new lens or memory card. Manufacturer firmware releases often fix compatibility issues that can cause shutter lockouts. Always follow the update instructions exactly to avoid bricking the camera.
Is it safe to use a third-party battery in my camera?
Third-party batteries are generally safe if they meet the manufacturer's voltage and capacity specifications. However, our research shows that non-OEM batteries are more likely to trigger error codes or fail to deliver consistent power. When in doubt, use the original brand battery.

Similar Posts