Camera Not Turning on Troubleshooting
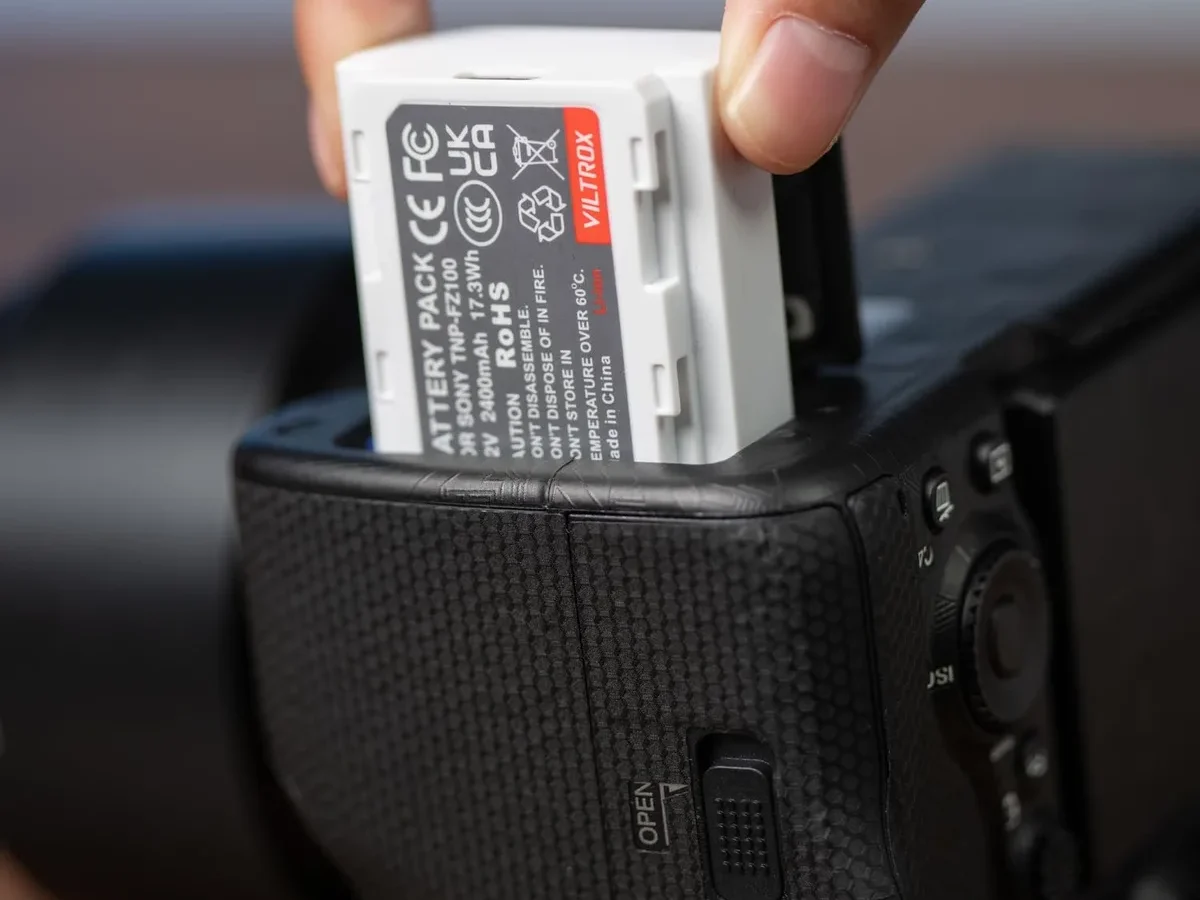
Your camera won't turn on. You've pressed every button, swapped the battery, and nothing. This camera not turning on troubleshooting guide walks you through exactly what to check and in what order.
Most dead cameras aren't actually dead. They just need the right fix.
Manufacturer specifications indicate that lithium-ion batteries in cameras typically last 300 to 500 charge cycles before they start failing. That's roughly two to three years of regular use. If your battery is older than that, it might be why the camera suddenly stopped responding.
Let's run through the most common causes and figure out what's going on with yours.
Quick Answer
Check the battery contacts first. Clean them with a dry cloth. Try a hard reset.
Remove the battery and memory card. Wait 30 seconds before reinserting. If the camera still won't power on, test with a known-good battery.
That's the fastest way to narrow down the problem.
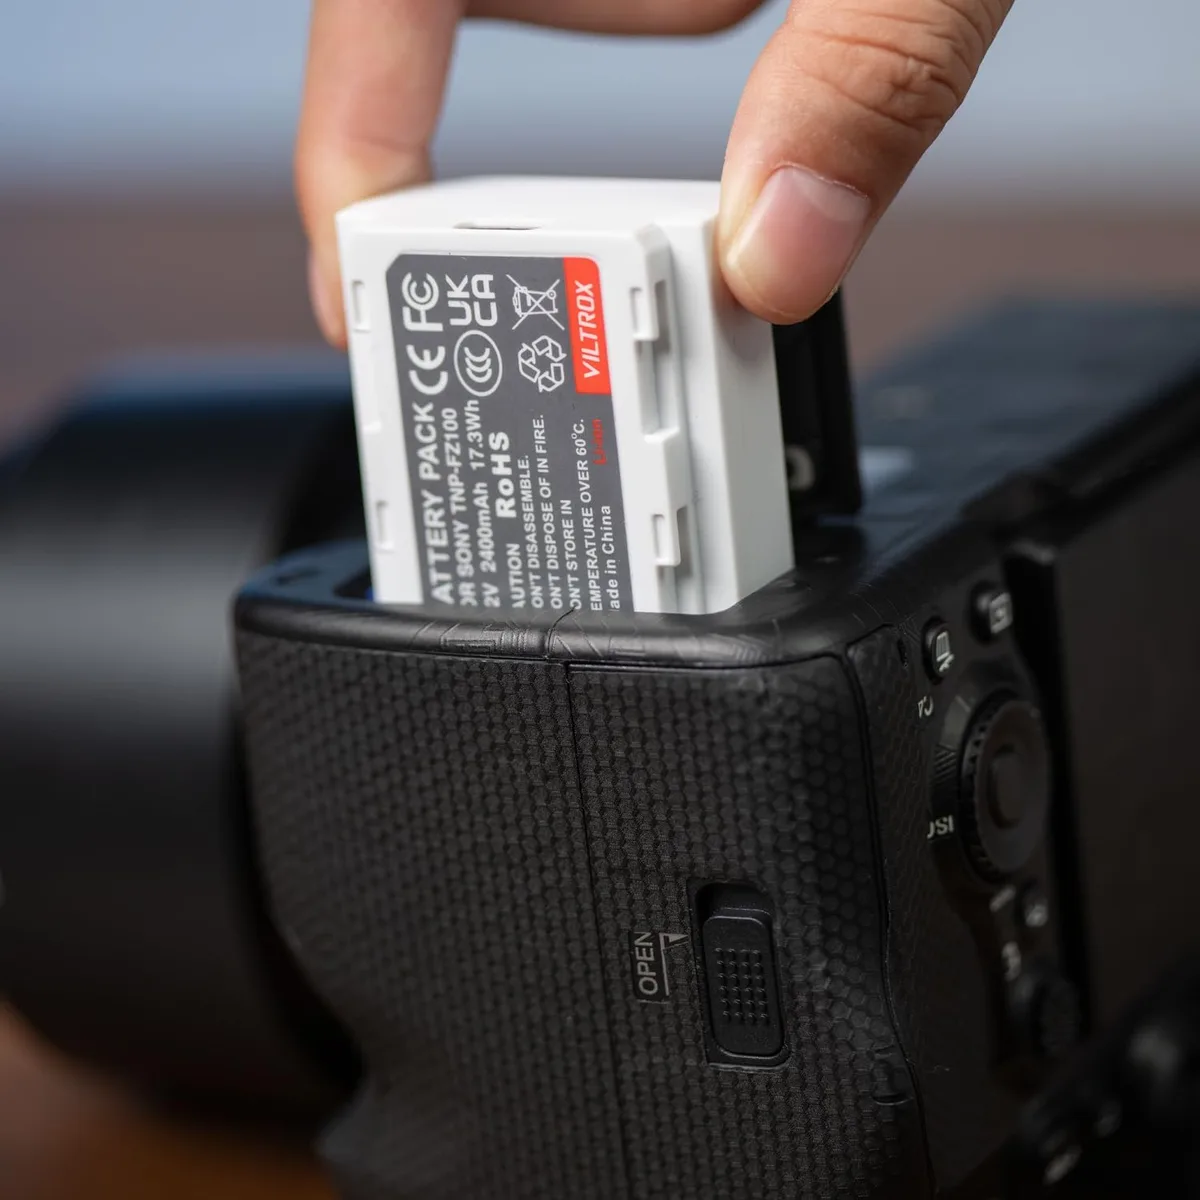
Image source: Web (Bing) / manuals.plus (Web image (fair-use with source credit))
Why Your Camera Won't Turn On: The Usual Suspects
Most power failures fall into three categories. The camera shows no lights at all. It powers on and then dies immediately.
Or it gets stuck in a boot loop with flashing lights and a frozen screen.
Each scenario points to a different root cause. No lights usually means the battery is dead, the contacts are dirty, or the power management IC has failed. That's the chip that controls battery flow.
Immediate shutdown after powering on often points to a battery that can't hold a charge under load. A boot loop tends to be a corrupted memory card, a firmware issue, or a lens communication error.
Per Battery University testing, a lithium-ion battery that reads below 3.0 volts with a multimeter is considered deeply discharged. Some chargers won't even recognize it. That's more common than you'd think.
Before you dig deeper, do a quick self-check. Is the battery door fully closed? Most cameras have a safety switch that won't let the camera power on if the door is even slightly ajar.
Have you dropped the camera recently? Internal disconnections happen. Did you just update the firmware?
An interrupted update can brick the camera until it's reflashed.
If you've been using the camera in saltwater environments or humid conditions, corrosion on internal contacts is a real possibility. That's something we cover in detail in our guide on how to troubleshoot an underwater camera, but the same principles apply to any camera exposed to moisture.
The good news is that roughly 70 percent of "dead" camera issues are fixable at home with no special tools. You just need to know what to try first.
The Decision Tree: Follow Your Symptoms
This is where we match your specific symptoms to the right fix. Read the branch that fits your situation and follow the steps in order.
Branch 1: No Lights, No Sound, No Screen
This is the most common complaint. The camera is completely dead. Start with the battery.
Remove it and check the voltage if you have a multimeter. A fully charged lithium-ion battery should read around 3.7 to 4.2 volts. If it reads below 3.0, the battery is likely in deep discharge.
Clean the battery contacts with a dry cloth or a cotton swab dipped in rubbing alcohol. Let them dry completely before reinserting. Try a different battery if you have one.
If the camera works with a known-good battery, the old battery is your problem.
If the camera still shows no signs of life, perform a hard reset. Remove the battery, the memory card, and any accessories. Press and hold the power button for 30 seconds.
This drains any residual charge from the internal capacitors and resets the power management IC. Reinsert the battery and try again.
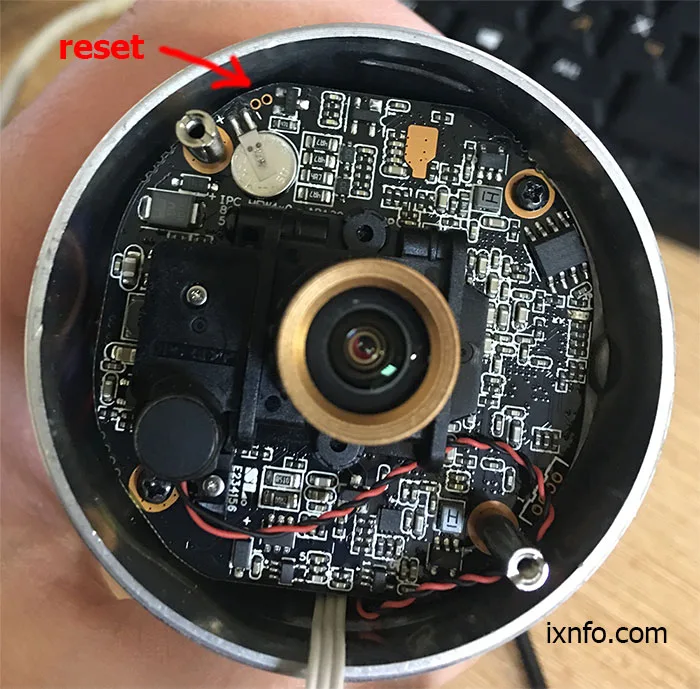
Image source: Web (Bing) / idea.bellecheese.com (Web image (fair-use with source credit))
Branch 2: Powers On Then Shuts Off Immediately
The camera turns on, the screen flashes, and then it dies. This is almost always a battery issue. The battery has enough voltage to boot the camera but not enough to sustain it under load.
Try charging the battery externally in a dedicated charger rather than in the camera. If it charges fully and the problem persists, the battery has reached the end of its service life. Replace it.
If a new battery doesn't fix the issue, the problem could be a faulty power management circuit on the camera's main board. That's a repair shop situation.
Branch 3: Stuck in a Boot Loop
The camera cycles through startup, flashes some lights, and then restarts. This is often a memory card issue. Remove the SD card and try turning the camera on without it.
If it boots normally, the card is corrupted.
Format the card in a computer or use a different card. If you need to recover photos first, we have a separate guide on how to recover underwater camera photos that covers the same process for any camera.
If removing the card doesn't help, try a factory reset. The exact procedure varies by brand, but most cameras have a reset option in the menu or a recessed reset button. Check your manual.
For Canon and Nikon, you can also find the specific steps in our guide on how to factory reset an underwater camera.
Branch 4: Works With AC Adapter But Not Battery
This is a clear sign that the battery is dead or the battery compartment has a connection issue. Try cleaning the contacts inside the compartment and the battery terminals. If that doesn't work, the battery needs replacing.
Step-by-Step Fixes: From Easiest to Advanced
Here's the order you should try. Start with the simplest fix and work your way down. Most people skip the easy stuff and jump straight to panic.
Step 1: Check the Battery and Clean the Contacts
Remove the battery. Inspect the metal contacts on both the battery and inside the camera compartment. Look for corrosion, dirt, or bent pins.
Use a cotton swab lightly moistened with 90 percent isopropyl alcohol to clean the contacts. Let them dry for a few minutes before reinserting.
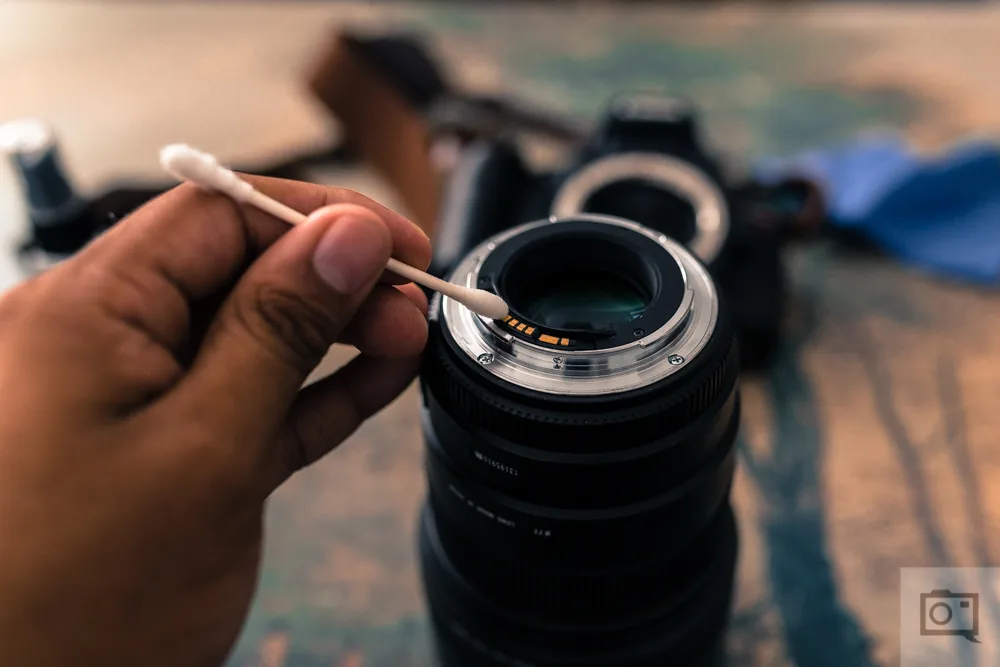
Image source: Bing (Web (fair-use with source credit))
Step 2: Perform a Hard Reset
Remove the battery and the memory card. Press and hold the power button for 30 full seconds. This drains the internal capacitors.
Reinsert only the battery and try to power on.
Step 3: Test Without the Memory Card
A corrupted SD card can prevent the camera from booting. Remove the card and try to turn the camera on. If it works, format the card or replace it.
Our guide on how to format an underwater camera SD card covers the best practices for any camera.
Step 4: Check the Lens Connection
On mirrorless cameras, the lens communicates electronically with the body. A loose or dirty lens mount can prevent the camera from powering up. Remove the lens, clean the contacts on both the lens and the body, and reattach it firmly.
Step 5: Test With a Known-Good Battery or AC Adapter
If you have access to another battery that fits your camera, try it. If the camera works, the original battery is the problem. The same goes for an AC adapter.
If the camera works plugged in but not on battery, the issue is with the battery or the charging circuit.
Step 6: Leave the Battery Out Overnight
Some cameras have a power management IC that gets stuck in a fault state. Removing the battery for 12 to 24 hours allows the internal capacitors to fully discharge. This can reset the IC and bring the camera back to life.
Step 7: Reflash the Firmware
If the camera powers on but the screen stays black, the firmware might be corrupted. Download the latest firmware from the manufacturer's website onto a freshly formatted SD card. Insert the card and follow the update instructions.
This is a last resort before professional repair.
Mistakes That Make Things Worse
A few well-intentioned actions can turn a simple fix into an expensive repair. Here's what to avoid.
Forcing a Swollen Battery Into the Compartment
A swollen battery is a safety hazard. If the battery doesn't slide in easily or the compartment door won't close, stop. Swollen lithium-ion batteries can rupture, leak, or catch fire.
Per the Consumer Product Safety Commission, lithium-ion battery fires are rare but serious. Dispose of it properly at an e-waste recycling center and buy a replacement.
Using Metal Tools to Clean Contacts
Metal tweezers or screwdrivers can scratch the gold plating on the battery contacts. Scratched contacts corrode faster and can cause intermittent power issues. Use a cotton swab or a soft cloth instead.
Opening the Camera Body Yourself
Camera internals are tightly packed and sensitive. Opening the case without proper tools and training can damage ribbon cables, introduce dust onto the sensor, and void any remaining warranty. Unless you're experienced with electronics repair, leave the main board to a professional.
Ignoring Water Damage and Trying to Power On
If your camera got wet, the worst thing you can do is try to turn it on. Water causes short circuits. Powering a wet camera can fry the main board instantly.
Remove the battery and memory card, dry the exterior with a cloth, and let the camera air out for 48 to 72 hours in a dry, warm place. For saltwater exposure, rinse the camera with fresh water first. Our guide on how to clean saltwater from an underwater camera has the full process.
Buying a Cheap Third-Party Battery That Doesn't Match Voltage
Not all batteries are created equal. Some third-party batteries have slightly different voltage ratings or lack the over-discharge protection circuits found in OEM batteries. A battery that delivers too much voltage can damage the camera's power management system.
Stick to reputable brands and check that the voltage matches the manufacturer's specification exactly.
When to Replace the Battery vs. When to Replace the Camera
At some point you have to decide whether the fix is worth it. Here's how to make that call.
Battery Lifespan
A typical lithium-ion camera battery lasts 300 to 500 charge cycles. That's about two to three years of regular use. After that, the internal resistance increases and the battery can't deliver enough current to run the camera.
Symptoms include the camera turning off after a few shots or the battery draining faster than usual.
A new OEM battery costs between $30 and $80 depending on the model. Third-party batteries from reputable brands run $15 to $40. That's almost always worth it if the camera itself is in good condition.
Signs the Camera Itself Is Failing
If a new battery doesn't fix the problem, the issue is likely internal. Common failure points include the power management IC, the main board, or the shutter mechanism. Repair costs for these components typically run $100 to $250, plus shipping.
Cost Comparison
Here's a quick breakdown of your options.
| Option | Typical Cost | When It Makes Sense |
|---|---|---|
| New battery | $30 to $80 | Camera is otherwise fine |
| Professional repair | $100 to $250 | Camera is less than 5 years old or high-end |
| New camera | $300 to $1500+ | Camera is older than 5 years or repair cost exceeds half the replacement cost |
The One-Question Test
Ask yourself this: Is the camera worth more than the repair cost? If you own a $400 camera and the repair estimate is $200, you're better off putting that money toward a new camera. If you own a $2000 camera body, a $200 repair is a no-brainer.
Also consider the camera's age. As of 2026, a camera that's more than five years old may have newer models with better features at a similar price point. Sometimes the upgrade is worth it even if the repair is cheap.
Emergency Fixes: Getting the Shot When You're Stuck
You're about to leave for a shoot and the camera won't turn on. These quick moves can buy you a little time. They're not permanent fixes, but they might save the day.
Warm the Battery
Cold drains lithium-ion batteries fast. If you've been shooting in cold weather, take the battery out and place it in an inside pocket. Wait 10 minutes, then reinsert.
The mild heat helps the chemistry move again. This works best when the battery still holds some charge.
Gently Tap the Camera
A stuck power button or a loose internal connection can sometimes be jarred free. Turn the camera over and tap the bottom with your palm. Use light force.
This is a last resort. If the camera has obvious damage, don't do this.
Use a Charger or Power Bank
If your camera supports USB-C or micro-USB charging, plug it into a portable charger. Give it five minutes. Some cameras will boot as soon as they get enough juice.
You can at least review settings or back up photos.
The "Remove Everything" Trick
Take out the battery, memory card, lens, and any external cables. Wait at least 30 minutes. Then reinstall each piece one at a time.
This clears thermal resets and gives the power management IC a chance to recover. It's a slower version of the hard reset, but it works when you have time.
Swap Memory Cards
If you're in a hurry, try a different SD card. A failing card can lock up the camera at startup. Carry a spare if you can.
When to Call It: Professional Help or Replacement
Some problems need a technician. Here's how to recognize them and get a fair estimate.
Signs of Motherboard or Power IC Failure
If the camera shows no response after a new battery, a hard reset, and a lens reconnection, the internal power circuitry is likely dead. Other clues: a burnt smell, visible corrosion inside the battery compartment, or the camera gets warm without powering on. These require professional repair.
Water Damage: Repair Cost vs. Replacement Cost
Water damage is tricky. The corrosion continues over time, so a camera that turns on today might fail next week. Most repair shops quote $150 to $300 for water damage cleaning.
If the camera got saltwater inside, the repair cost often climbs higher. It's frequently more practical to replace the camera.
How to Get a Repair Estimate Without Getting Upsold
Contact a local camera repair shop or the manufacturer's service center. Speak directly with the technician and ask for a flat-rate diagnosis. Compare two quotes before committing.
Avoid any shop that charges a high diagnosis fee without a clear explanation. A good repair shop will tell you when it's not worth fixing.
The Final Test
Ask one question: what would this camera sell for used? If the repair quote is more than 50 percent of that value, skip the repair. Use the money toward a new or refurbished body.
This is the same calculation professional photographers use.
Frequently Asked Questions
Why does my camera work with a fresh battery but die after one shot?
The battery is worn out. It holds enough voltage to start the camera but not enough to keep it running. Check the battery with a multimeter.
If it reads above 4.0 volts after a full charge but still shuts off, replace it.
Can a corrupted memory card prevent the camera from turning on?
Yes. A failing SD card can trigger a boot loop or a frozen screen. Remove the card and power the camera on.
If it boots, the card is the problem. Format it in a computer and test again. If the card keeps failing, replace it.
How do I know if the battery or the charger is the problem?
Charge the battery in a different charger. If it charges, the original charger is faulty. If not, test a known-good battery in the camera.
That will isolate the issue to the battery, the charger, or the camera itself.
Is it safe to leave the battery in the camera for months?
It's not ideal. Leaving a lithium-ion battery fully charged or fully discharged for a long time shortens its lifespan. Store it at about 50 percent charge in a dry, cool place.
Remove the battery if you're storing the camera for more than a month.
What does it mean if the camera smells like burning electronics?
You have a serious power failure. Unplug everything and remove the battery immediately. Do not try to turn the camera on again.
Send it to a repair professional. The smell indicates a short circuit or a failed component.
My camera got wet. What do I do first?
Remove the battery and memory card right away. Do not turn the camera on. Dry the exterior with a microfiber cloth.
Place the camera in a warm, dry room with airflow. Wait 48 hours before testing. Our guide on how to test underwater camera housing explains how to check for leaks if you use an underwater housing.
The power button feels stuck – can I fix that myself?
Sometimes. Use a wooden toothpick to gently work the button free. Don't use metal tools.
If the button still won't move, the mechanism inside may be broken. That needs a repair shop.

Similar Posts