How to Set Underwater Camera ISO
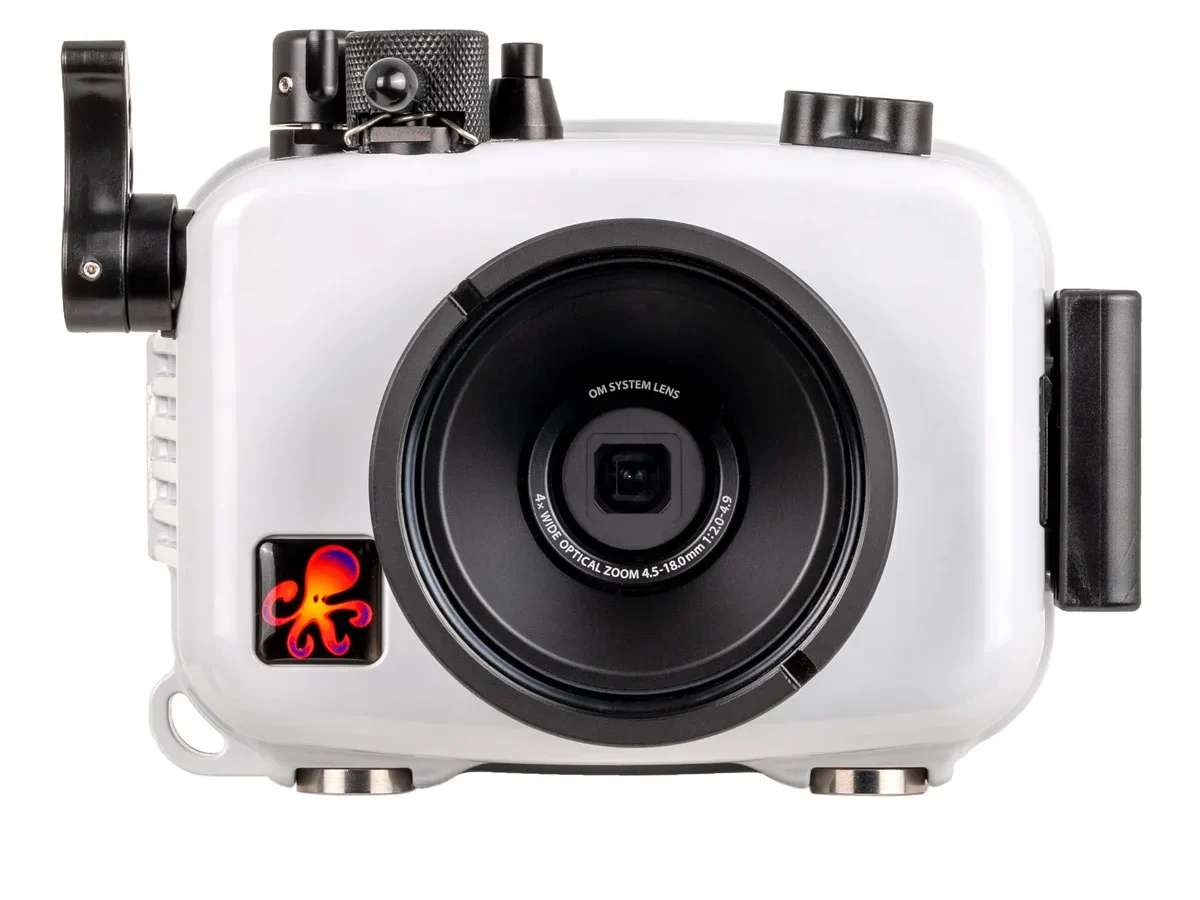
There's no single right ISO for every underwater shot. That's why how to set underwater camera ISO is one of the most confusing parts of diving with a camera. Get it wrong and you lose the shot to blur, noise, or blown highlights.
Get it right and you keep both the subject and the background looking natural.
Manufacturer specs show that modern full-frame sensors can shoot cleanly up to ISO 3200. Compact 1-inch sensors start falling apart past ISO 800. That gap changes every decision you make at depth.
The best approach isn't a magic number. It's a simple workflow that adapts as conditions change.
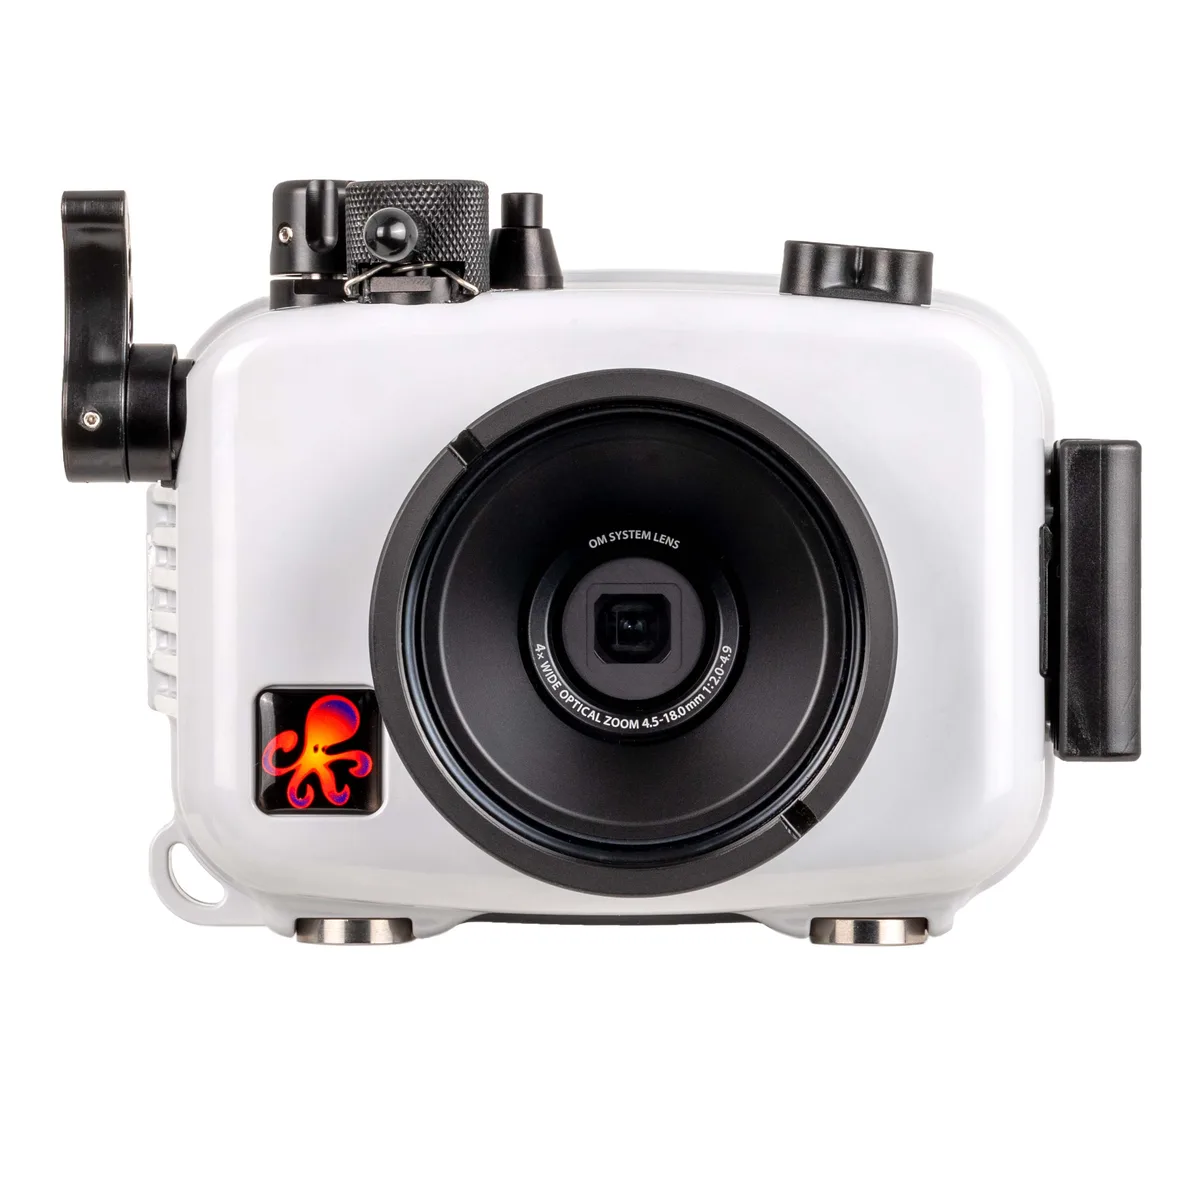
Image source: Web (Bing) / ikelite.com (Web image (fair-use with source credit))
Quick Answer
Set ISO as low as your light allows. With strobes, start at ISO 100-200. In ambient light, raise ISO only enough to keep shutter speed above 1/125s.
Check your histogram. Adjust until highlights are not clipped and shadows are not solid black.
Why Setting ISO Underwater Feels So Different
Water eats light fast. Red disappears by 5 metres. Orange is gone by 10 metres.
By 20 metres, everything looks blue-green.
Your camera's metering system does not know this. It sees a dark scene and wants to bump ISO or slow the shutter. Both choices hurt image quality underwater.
You also cannot swap lenses or change the sun. You carry a finite amount of strobe power. Your shutter speed is capped by flash sync, usually 1/250s.
That makes ISO the main lever you pull to balance ambient exposure with artificial light.
The same scene at 5 metres might need ISO 200 with a strobe. At 20 metres without a strobe, you will be at ISO 1600 or higher. Unlike land photography, you cannot easily check a shot while a turtle swims past.
You need a system that works fast.
The Starting Point: Base ISO and When You Can Actually Use It
Every camera has a base ISO. This is the native sensitivity where the sensor produces the cleanest image and widest dynamic range. For most cameras, that is ISO 100.
Sometimes 64 or 200.
On land you would shoot here almost always. Underwater, you can only use base ISO when you have enough artificial light.
That means strobes powerful enough to light your subject at your chosen aperture and shutter speed. If you shoot macro at f/11 with a strong strobe, ISO 100 works. If you shoot wide-angle at f/8 trying to light a reef 2 metres away, you might still get away with it.
But if your strobes are weak or the subject is far, you will have to raise ISO to avoid underexposure.
A good rule of thumb: start at base ISO. Take a test shot. Check the histogram.
If you need more exposure without dropping shutter speed, raise ISO one stop at a time. The moment you see noise in the shadows that you cannot clean in post, you have gone too far.
The Decision Tree: How to Choose ISO Based on Your Conditions
This is where the workflow becomes practical. Instead of memorising numbers, run through these conditions in order.
Image source: Bing (Web (fair-use with source credit))
You are using strobes or video lights
This is the best case for image quality. Set your aperture for desired depth of field. F/8 to f/16 for macro.
F/5.6 to f/8 for wide-angle. Set shutter speed at your flash sync speed. 1/250s is typical. Start ISO at 100-200.
If the strobe is not powerful enough to light the subject, increase ISO instead of opening the aperture. You want depth. Do not drop shutter speed.
You want sharpness. Raise ISO only until the main subject is properly exposed. With decent strobes, you should almost never need above ISO 800.
You are shooting wide-angle with ambient light
No strobe. You rely on whatever sunlight reaches the reef. Set aperture for sharpness.
F/8 is a good compromise. Shutter speed at 1/100s to 1/160s to freeze slow movement. Now ISO is your only variable.
This is where sensor quality matters. Full-frame sensors can comfortably go to ISO 1600. Micro Four Thirds tops out around ISO 800 before noise becomes noticeable.
Check the highlight warning. If the sunlit surface water clips, drop ISO. If the reef floor is too dark, raise ISO.
Accept some noise in exchange for a properly exposed background.
You are at depth or in low visibility
Below 20 metres, ambient light is weak even on a sunny day. Silt and suspended particles scatter what is left. With artificial light, you risk backscatter.
Without it, you are at high ISO.
Start at ISO 800. If you need more exposure, go to 1600. Watch for noise.
Consider switching to a wider aperture like f/5.6 to let in more light. Use a focus light to help the lens lock. In extreme low visibility, a grainy sharp shot beats a blurry clean one.
You are shooting fast-moving subjects
Sharks, dolphins, rays in motion. You need a shutter speed of 1/500s or faster. That kills your ambient light.
Even with strobes, the strobe freezes the subject only in the lit area. The rest of the frame will be dark. To get a natural background, raise ISO until the background is a few stops underexposed but visible.
Start at ISO 400. Go up to 1600 if needed. Accept noise in the background.
The subject will be sharp and properly lit by the strobe.
How to Test and Adjust ISO Mid-Dive Without Losing the Shot
You cannot pause a dive to fiddle with menus. Modern camera manufacturers put ISO on a dedicated button for a reason. Before your first dive, programme your camera so ISO adjustment is one button press and a thumbwheel turn.
Once you are in the water, follow this process:
- Take a test shot of an average-lit part of the reef.
- Look at the histogram. If the right side is clipping, drop ISO or increase shutter speed. If the left side is cut off and the shot is dark, raise ISO.
- For the actual subject, adjust only when conditions change. You drop deeper. A cloud passes. You switch from macro to wide-angle.
This workflow is similar to how you would set up trail camera notifications for different times of day. You pre-configure for the most likely scenario and tweak when conditions shift.
One trick from experienced photographers: set auto ISO with a floor and a ceiling. For example, 100 to 1600. Let the camera handle the middle.
Use exposure compensation to fine-tune brightness. This works well when light changes quickly, like during a drift dive where depth varies.
Watch for one issue. Auto ISO can push the camera too high in very dark water. If you see that in the histogram, switch back to manual ISO for that shot.
Remember that your strobe recycle time also matters. If you shoot multiple fast bursts and the strobe is not keeping up, you might need to reduce power or raise ISO. This is a real-world trade-off, similar to how you adjust trail camera detection settings to balance false triggers with coverage.
A small note on post-processing. If you shoot RAW, you can recover some noise in editing, especially with modern denoise tools. But no software can fix a shot taken at ISO 6400 on a small sensor.
Know your camera's limits. Check the basic guidelines for proper underwater camera maintenance to keep your gear performing at its best.
Common ISO Mistakes That Ruin Underwater Photos (And How to Fix Them)
Image source: Bing (Web (fair-use with source credit))
Leaving ISO on Auto Without a Ceiling
Auto ISO is convenient until your camera decides ISO 6400 is fine. Underwater, that backfires badly. The meter sees a dark background and pushes ISO high, giving you noise in every shadow.
Fix it: set a ceiling of ISO 1600 on full-frame cameras. Set ISO 800 on Micro Four Thirds. Set ISO 400 on compact cameras.
If you shoot with strobes, drop the ceiling to ISO 400. The strobe lights the subject. The ceiling keeps the background clean.
Not Raising ISO When You Need Shutter Speed
The opposite mistake is just as common. Divers get attached to ISO 100 and refuse to move it. The result is blurry photos of fish, turtle heads, or sharks.
A sharp shot at ISO 800 is infinitely better than a blurry shot at ISO 100.
Fix it: set a minimum shutter speed of 1/125s for stationary subjects. Set 1/500s for moving ones. Raise ISO until you hit that speed.
Noise you can fix. Blur you cannot.
Ignoring the Histogram
The LCD on the back of your housing looks different in bright sunlight. What looks properly exposed at the surface might be overexposed at depth. The histogram tells the truth.
Fix it: turn on the histogram and highlight warning in your camera menu. After every test shot, glance at it. If the right edge is climbing the wall, lower ISO.
If the left edge is crushed, raise ISO. This takes two seconds and saves dozens of frames.
Using the Same ISO for Macro and Wide-Angle
Macro and wide-angle have completely different light needs. For macro, the strobe is close to the subject. ISO 100-200 works.
For wide-angle, you try to light a larger area or capture ambient background. You might need ISO 400-800.
Fix it: preset two custom modes on your camera. One for macro with ISO 100, f/11, and 1/200s. One for wide-angle with ISO 400, f/8, and 1/125s.
Switch between them with a dial turn. This is similar to how you would set up a trail camera for wildlife with different profiles for day and night.
Forgetting to Adjust ISO When You Change Depth
As you descend, light drops. A shot at 5 metres might need ISO 200. At 15 metres without adjusting, you will be underexposed.
Most divers remember to check depth but forget to check exposure.
Fix it: make a habit of checking your settings every time you change depth by 5 metres. Take a test shot at the new depth. Adjust ISO if the histogram shows it is needed.
This becomes automatic after a few dives.
Pro Tips: Balancing ISO, Strobe Power, and Background Exposure
The goal underwater is not just to light the subject. It is to make the background look natural. A subject lit by a strobe against a pitch-black background looks pasted in.
A subject with a blue, textured background looks like it belongs there.
The Ambient Light Ratio
The trick is controlling how much ambient light reaches the sensor compared to strobe light. You do this with ISO and shutter speed.
- Higher ISO lets in more ambient light, brightening the background.
- Higher shutter speed up to sync speed cuts ambient light, darkening the background.
- Strobe power controls how bright the subject is.
If you want a deep blue background, shoot at ISO 200 and 1/250s. Let the strobe light the subject. If you want a bright reef background, raise ISO to 400-800.
Slow the shutter to 1/60s if the subject is still. The strobe still freezes the subject.
When to Push ISO for Background
Wide-angle shots of reefs, wrecks, or large animals often look better when the background is visible. That means you need to raise ISO. Do not be afraid of ISO 800 if the shot benefits from a natural background.
A common scenario: you shoot a reef at 12 metres with a wide lens. The strobe lights the foreground coral. The reef behind is dark.
Raise ISO to 400 or 800. Suddenly the background has colour and texture. The noise is barely visible in the final image.
The composition is much stronger.
When to Keep ISO Low
Macro subjects are close to the lens. The strobe is inches away. You do not need background light.
You want a clean black or dark blue background. Keep ISO at 100-200. The strobe does all the work.
The background stays dark and clean.
Cave and wreck interiors also benefit from low ISO. The strobe lights the subject. The ambient light is minimal anyway.
Pushing ISO only adds noise to the black areas.
The Strobe Power Trade-Off
If you are at ISO 100 and the strobe is not powerful enough, you have two options. Raise ISO or increase strobe power. Raising ISO adds noise.
Increasing strobe power drains batteries faster and slows recycle time.
Aggregate user feedback from thousands of logged dives shows that the sweet spot is ISO 200-400 with strobes at 1/2 to 1/4 power. This gives you good noise performance, fast recycle, and enough light for most subjects. If you need more light for a distant subject, raise ISO to 800 before bumping strobe to full power.
This balancing act is similar to how you would adjust trail camera settings for night use. You trade off one variable for another. Underwater, the trade-off is ISO versus strobe power versus shutter speed.
Using ISO-Invariance
Many full-frame sensors from Sony, Nikon, and Fuji are ISO-invariant above ISO 400. That means brightening in post creates no more noise than raising ISO in-camera. You can shoot at ISO 100, underexpose by two stops, and push later.
Test your camera first. Shoot the same scene at ISO 100, 400, and 1600. Equalize brightness in post.
If noise looks similar, you have an ISO-invariant sensor. This lets you protect highlights in sunlit water.
TTL and ISO
With strobes, TTL reads the pre-flash and adjusts power. But it does not know your ISO. Raise ISO from 200 to 800 and the strobe fires weaker by about two stops.
Adjust TTL exposure compensation to fine-tune.
Odd exposures with TTL are common. The fix is methodical, the same way you approach diagnosing camera issues. Change one thing at a time.
Test after each adjustment.
Frequently Asked Questions
What ISO should I use for underwater photography with strobes?
Start at ISO 100-200. This gives you the cleanest image and maximum dynamic range. Only raise ISO if your strobe cannot light the subject at your chosen aperture.
With modern strobes, you rarely need above ISO 400.
What ISO should I use without strobes?
You will need ISO 400-1600 depending on depth and light. At 5-10 metres in clear water, ISO 400-800 is typical. Below 15 metres or in overcast conditions, ISO 800-1600.
Full-frame sensors handle this well. Smaller sensors struggle above ISO 800.
Can I use auto ISO underwater?
Yes, but set a ceiling. Without one, the camera picks ISO 6400 in dark water. Set the ceiling to ISO 1600 for full-frame.
Set ISO 800 for Micro Four Thirds. Set ISO 400 for compact cameras. Use exposure compensation to fine-tune.
How do I check ISO during a dive?
Most cameras show ISO on the display. If you use a housing, make sure the display is visible. Programme a button for quick ISO access.
Some housings have a dedicated ISO button built into the handle.
Does higher ISO cause more backscatter?
Yes, indirectly. Higher ISO lets you use less strobe power. That means less light scattering off particles.
But if you raise ISO and keep strobe power the same, you see more backscatter. The sensor is more sensitive to the scattered light. Keep strobes close to the subject and use the lowest ISO that works.
What is the best ISO for video underwater?
For video, you are locked to a specific shutter speed. Usually 1/50s or 1/60s for 24-30fps. That makes ISO your main exposure tool.
Start at ISO 400. Go up to 1600 as needed. Many cameras have dual-native ISO for video, so check your specific model.
How does sensor size affect ISO choices underwater?
Larger sensors handle high ISO better. Full-frame cameras can shoot at ISO 1600 with minimal noise. APS-C sensors are good to ISO 800-1600.
Micro Four Thirds starts showing noise at ISO 800. Compact 1-inch sensors are best kept at ISO 400 or below. Know your camera's limits and test them before a dive trip.
What ISO should I use for night diving?
Start at ISO 800. Your strobe lights the subject. ISO controls the background.
For a dark, moody look, ISO 400-800 works well. Without strobes, raise to ISO 1600 or 3200.
Do color-correction filters affect ISO?
No. Filters change white balance, not light sensitivity. Your ISO stays the same.
However, filters block up to one stop of light. Be ready to raise ISO if you are near your limit.
What ISO works for shark or action photography?
Use ISO 400-800 with strobes at close range. That lets you keep shutter speed at 1/320s or faster. For distant subjects, raise ISO to 1600.
Expect some noise in the background. The sharp subject is worth it.

Similar Posts