How to Set Exposure on Mirrorless Camera
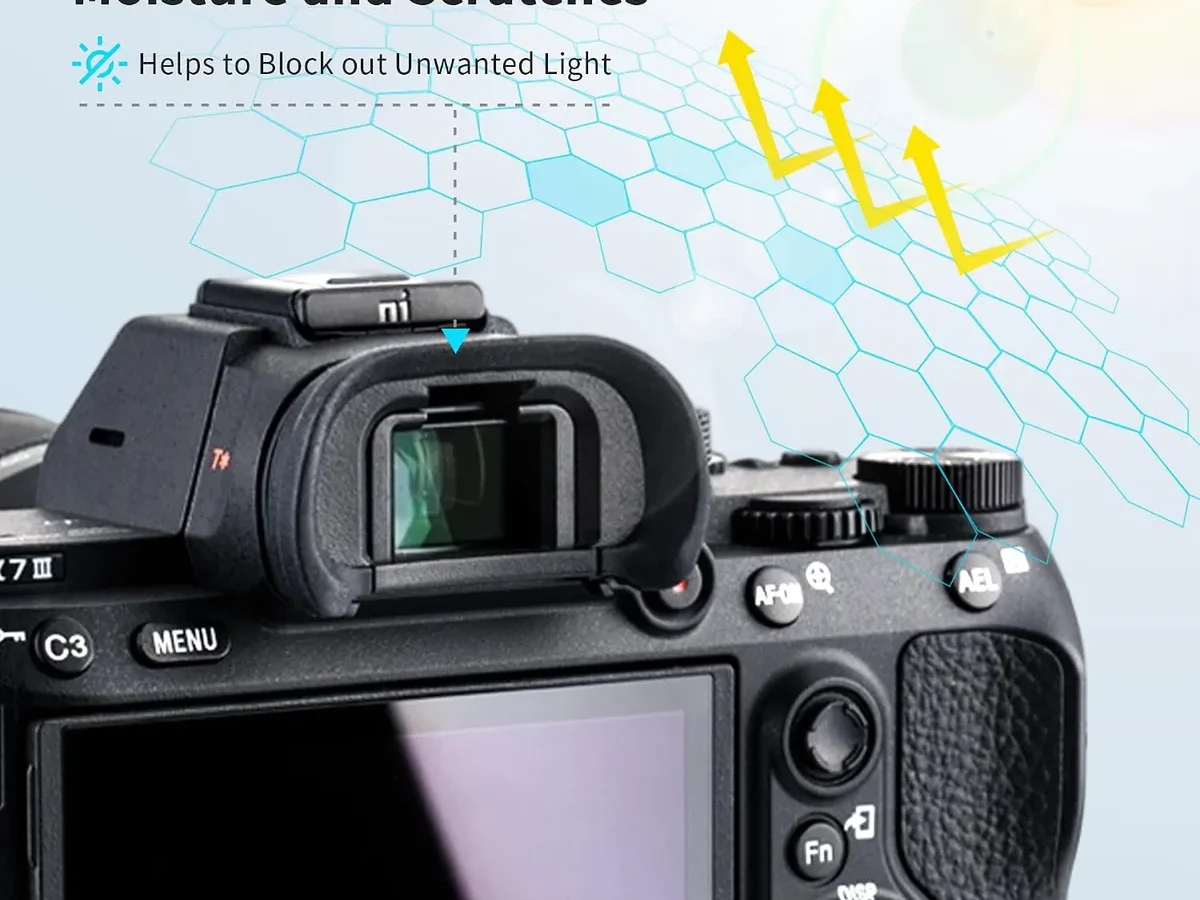
Learning how to set exposure on a mirrorless camera feels more complicated than it should be. The problem isn't that mirrorless cameras are worse at exposure. It's that they give you too many options, and a few of them are actively misleading.
You can stare at a perfectly bright electronic viewfinder, take the shot, and find the image is completely dark. That's not a skill issue. That's a setting issue.
The good news is that mirrorless cameras solve the exact problem they create. They offer live exposure preview, a live histogram, and zebra stripes. These three tools give you a real-time view of your exposure before you press the shutter.
Per the CIPA DC-004 standard for digital camera exposure measurement, modern mirrorless meters are accurate to within a third of a stop. The catch is that you have to know which settings to trust and which ones to turn off.
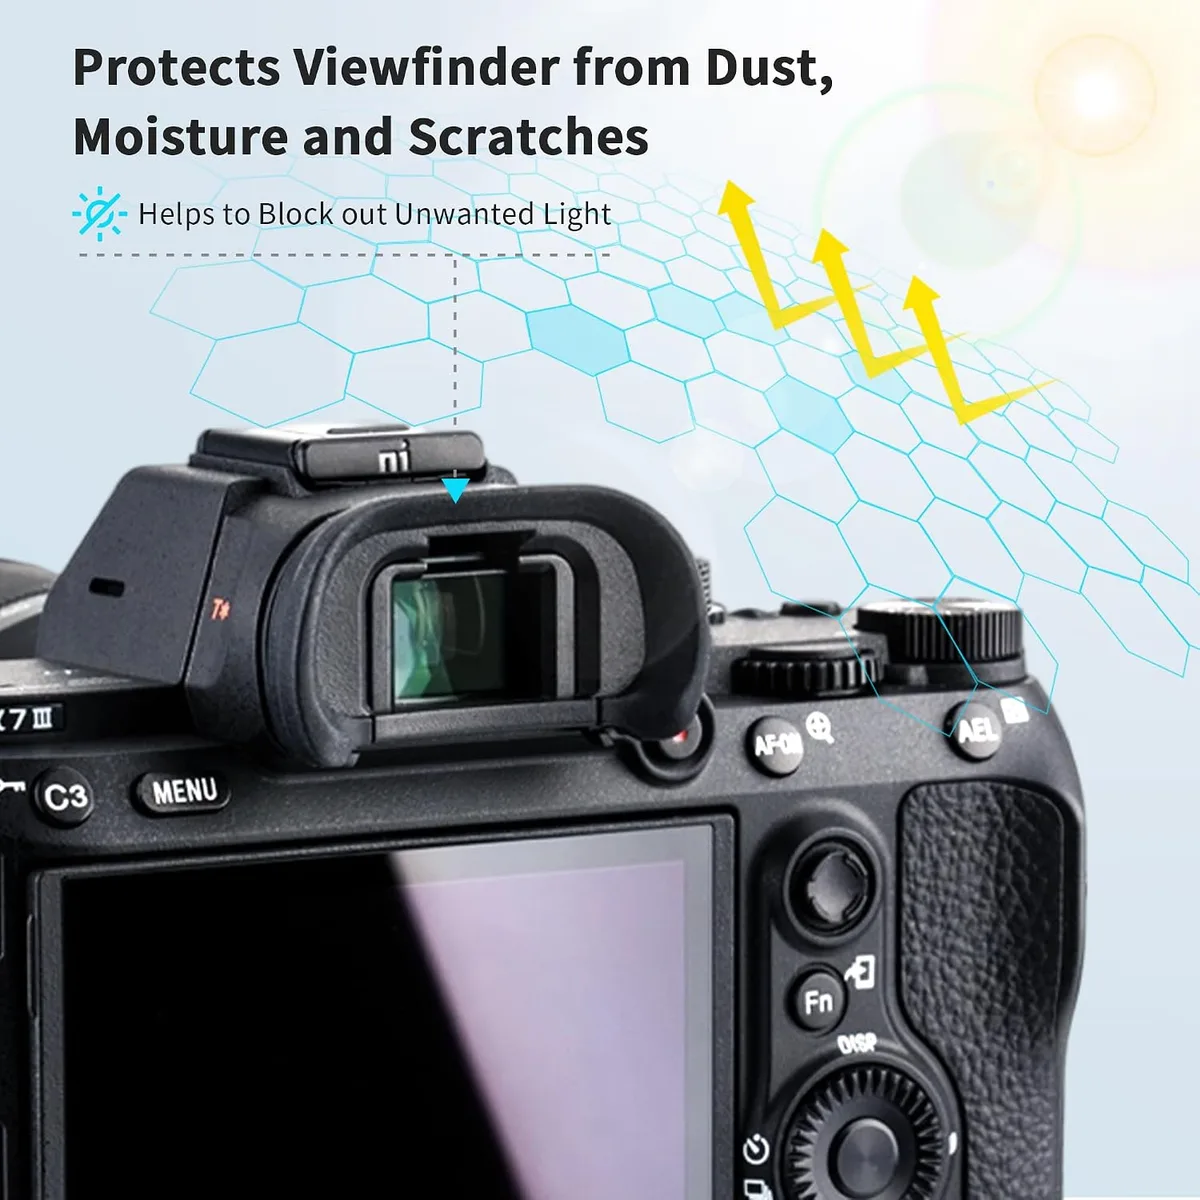
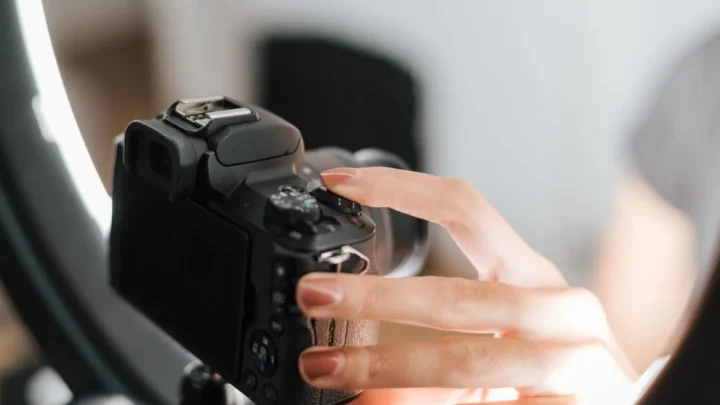
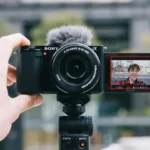
Image source: Bing (Web (fair-use with source credit))
Quick Answer
Set your camera to Manual mode. Turn on exposure simulation. Enable the live histogram.
Set zebra stripes to 95% or 100%. Adjust shutter speed, aperture, and ISO until the histogram shows no clipping. Use zebra stripes to confirm highlights are not blown.
Check the exposure needle in the viewfinder. Shoot. Review the histogram on playback.
Adjust and reshoot.
Why Your Mirrorless Camera's Exposure Seems Confusing (and What to Do First)
The biggest reason mirrorless exposure feels wrong is that the viewfinder shows you a processed image, not a raw sensor reading. Camera manufacturers apply gain to the EVF so you can see the scene in low light. That gain makes the image look brighter than it really is.
You think you have a properly exposed shot. The camera thinks you are three stops underexposed.
This is called "Live View Boost" or "EVF Boost" depending on the brand. Sony calls it "Live View Display" with a setting for "Setting Effect ON" or "OFF." Canon calls it "Exposure Simulation." Fujifilm calls it "Natural Live View" and "Preview Exposure in Manual Mode." Nikon calls it "Apply Settings to Live View." The naming is inconsistent, but the function is the same. When it is off, the viewfinder lies to you.
The first step is to check that your camera is showing you the real exposure. Set your camera to Manual mode. Look through the viewfinder.
Turn the shutter speed dial. If the image brightness does not change, your exposure simulation is off. Turn it on.
This is usually buried in the custom menu. Find it before you do anything else.
The Three Tools That Make Mirrorless Exposure Easier: Histogram, Zebra, and Live Preview
Mirrorless cameras include three tools that DSLRs do not have in the viewfinder. These are the histogram, zebra stripes, and live exposure preview. Each one tells you something different about your exposure.
Used together, they eliminate guesswork.
The Live Histogram
The histogram is a graph of brightness values from black on the left to white on the right. A spike touching the left edge means crushed shadows. A spike touching the right edge means blown highlights.
The goal in most scenes is to keep the graph away from both edges. Expose to the right (ETTR) is a technique where you push the histogram as far right as possible without clipping highlights. This preserves shadow detail for post-processing.
Enable the histogram overlay in your viewfinder or rear screen. It is usually found in the Display or Info button menu. Keep it visible at all times while shooting.
Zebra Stripes
Zebra stripes are diagonal lines that appear over areas of the image that are at or above a set brightness threshold. You set the threshold. A setting of 100% means zebra stripes appear only on pure white, blown-out areas.
A setting of 95% shows stripes slightly before clipping, giving you a warning margin. A setting of 70% is useful for skin tones to avoid overexposing faces.
Enable zebra stripes in the menu. Set the threshold to 95% for general use. Lower it to 70% for portraits.
The stripes appear in the viewfinder and on the rear screen. They do not appear in the final image. They are a preview tool only.
Live Exposure Preview
Live exposure preview means the viewfinder shows you exactly what the final image will look like at your current settings. Brightness changes in real time as you adjust shutter speed, aperture, or ISO. This is the feature that makes mirrorless cameras superior to DSLRs for exposure.
You do not need to take a test shot and review it. You see the result before you press the shutter.
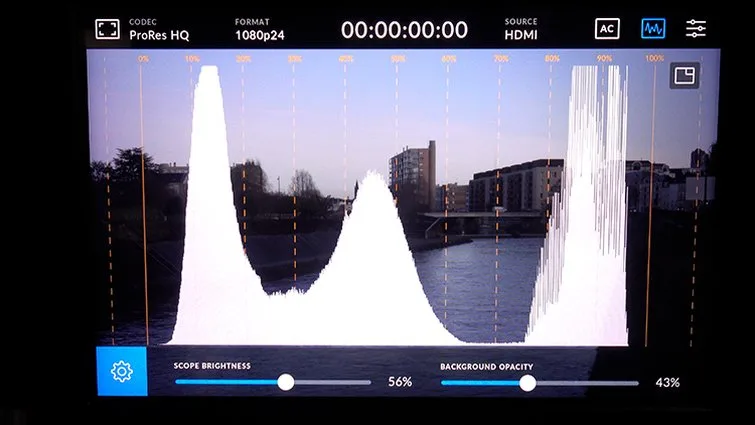
Image source: Web (Bing) / premiumbeat.com (Web image (fair-use with source credit))
The Decision Tree: How to Set Exposure Based on What You're Shooting
The right exposure settings depend entirely on what you are shooting. There is no single correct setting. Here is a decision tree based on scene type.
| Scene Type | Priority | Recommended Mode | Key Settings |
|---|---|---|---|
| Landscape (tripod) | Aperture (deep depth of field) | Aperture Priority or Manual | Aperture f/8 to f/11, ISO 100, shutter as needed |
| Portrait (handheld) | Aperture (shallow depth of field) | Aperture Priority | Aperture f/1.2 to f/2.8, shutter 1/125s minimum, auto ISO |
| Sports / Action | Shutter speed (freeze motion) | Shutter Priority | Shutter 1/500s to 1/2000s, auto ISO, wide aperture |
| Low light / Night | Shutter speed (camera shake) | Manual | Shutter 1/60s or slower, wide aperture, ISO 1600 to 6400 |
| Event / Mixed lighting | Exposure consistency | Manual with auto ISO | Manual aperture and shutter, ISO set to auto with range limits |
If You Are Shooting a Static Scene
Set your camera to Aperture Priority. Choose your aperture for depth of field. The camera selects shutter speed.
Use exposure compensation to adjust brightness. Check the histogram. If the histogram clips, switch to Manual mode and set both shutter and aperture yourself.
If You Are Shooting Action
Set your camera to Shutter Priority. Choose a shutter speed fast enough to freeze motion. The camera selects aperture.
Set auto ISO with a minimum shutter speed matching your lens focal length. Enable continuous autofocus.
If You Are Shooting in Manual Mode
Set your aperture for depth of field. Set your shutter speed to avoid motion blur. Set ISO to the lowest value that gives you a correct exposure according to the exposure needle.
Check the histogram. Adjust any of the three to fix clipping.
The One Setting That's Secretly Wrecking Your Exposure: Live View Boost
Live View Boost is the single most common cause of exposure confusion on mirrorless cameras. It is a feature that amplifies the viewfinder signal in low light so you can see the scene. It makes a dark room look like a well-lit one.
The problem is that it does not affect the actual image. You set your exposure thinking the scene is bright. The image comes out dark.
Manufacturers enable this feature by default on many cameras. Sony calls it "Live View Display" set to "Setting Effect OFF." Nikon calls it "Apply Settings to Live View" set to "OFF." Fujifilm calls it "Preview Exposure in Manual Mode" set to "OFF." Canon calls it "Exposure Simulation" set to "Disable." The result is the same. The viewfinder shows a bright, gain-boosted image that hides your true exposure.
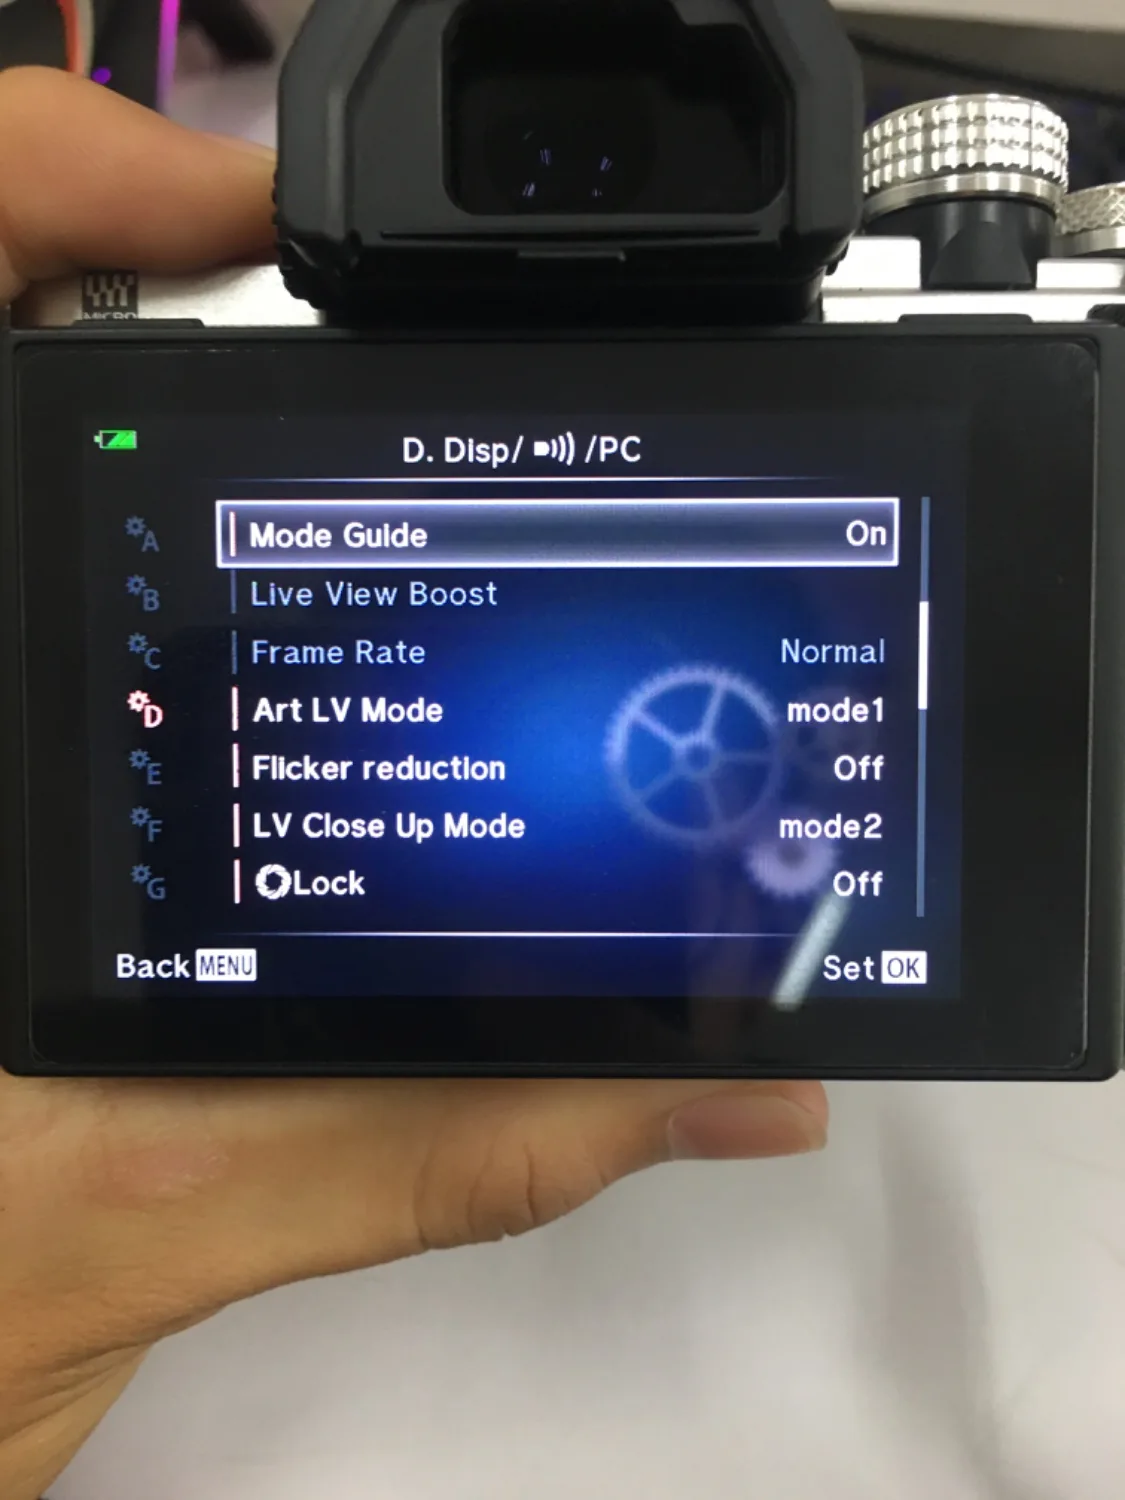
Image source: Web (Bing) / pantip.com (Web image (fair-use with source credit))
How to Fix It
Go into your camera's custom menu. Find the setting that controls the live view display. Set it to show the effects of your current settings.
On Sony cameras, set "Live View Display" to "Setting Effect ON." On Canon, set "Exposure Simulation" to "Enable." On Nikon, set "Apply Settings to Live View" to "ON." On Fujifilm, set "Preview Exposure in Manual Mode" to "ON."
Once enabled, the viewfinder will darken in low light. That is correct. You are now seeing the real exposure.
Use the histogram and zebra stripes to confirm your settings are right. Do not rely on the viewfinder brightness alone.
Setting Up Your Camera for Fast Exposure Adjustments: Custom Buttons and Dial Workflow
Speed matters when light changes fast. You do not want to dig through menus while a cloud moves over the sun. Mirrorless cameras let you assign exposure controls to custom buttons and dials.
Setting this up once saves you time every time you shoot.
Assign Exposure Compensation to a Dedicated Dial
Most mirrorless cameras have at least two control dials. One controls aperture. The other controls shutter speed.
That is fine. But exposure compensation is often left unassigned. In semi-auto modes like Aperture Priority or Shutter Priority, exposure compensation is your primary brightness control.
Put it on a front dial or a lens ring if your camera supports it.
Check your camera's custom button menu. Find "Exposure Comp." or "EV Compensation." Assign it to an unused dial. On Sony cameras, you can set the front dial to exposure comp in A mode.
On Fujifilm, the exposure compensation dial is already physical. Use it.
Set Auto ISO Minimum Shutter Speed
Auto ISO is useful. But it can choose a shutter speed that is too slow for your lens. A 200mm lens needs at least 1/200s to avoid camera shake.
Set the minimum shutter speed in the Auto ISO menu to match your longest lens. If you are shooting action, set it higher. The camera will raise ISO before it drops below that shutter speed.
Map the Histogram and Zebra Toggle to a FN Button
You want the histogram and zebra stripes visible most of the time. But sometimes they clutter the viewfinder. Assign a custom button to toggle the histogram overlay.
Assign another to toggle zebra stripes. This lets you turn them off quickly when composing without distractions.
Use the Exposure Lock Button
AE-L (Auto Exposure Lock) locks the current exposure reading. Aim at a neutral tone, press AE-L, then recompose. The exposure stays locked until you release the button or take the shot.
This is useful for backlit subjects where the meter would otherwise underexpose the face.
Quick Reference: Exposure Settings for Five Common Scenarios
Here is a cheat sheet for common shooting situations. Use these as starting points. Adjust based on your specific light conditions.
Sunny Landscape
- Aperture: f/8 to f/11
- Shutter: 1/125s to 1/250s
- ISO: 100
- Metering: Evaluative or Matrix
- Zebra: 95%
- Histogram: Check for highlight clipping in sky
Portrait in Open Shade
- Aperture: f/2.0 to f/2.8
- Shutter: 1/125s minimum
- ISO: 100 to 400
- Metering: Spot on the subject's face
- Exposure Comp: +0.3 to +0.7 EV for skin tones
- Zebra: 70% to protect skin highlights
Indoor Event with Mixed Lighting
- Aperture: f/2.8 to f/4
- Shutter: 1/60s to 1/125s
- ISO: 800 to 3200 (auto ISO with upper limit)
- Metering: Evaluative
- Exposure Mode: Manual with auto ISO
- Zebra: 95% for general highlights
Action Sports in Bright Light
- Aperture: f/4 to f/5.6
- Shutter: 1/1000s to 1/2000s
- ISO: 100 to 400 (auto ISO with minimum shutter)
- Metering: Evaluative with continuous AF
- Zebra: 100% (only catch pure blowouts)
Night Sky or Stars
- Aperture: f/1.4 to f/2.8
- Shutter: 15s to 25s (use the 500 rule)
- ISO: 1600 to 6400
- Metering: Manual (ignore meter, check histogram)
- Zebra: Off (expect near-black areas)
- Focus: Manual, set to infinity
These are not rigid rules. They are starting points that work reliably in typical conditions. If the light changes, adjust one variable at a time.
Watch the histogram and zebra stripes. They will tell you if you are drifting out of range.
Frequently Asked Questions
How do I know if my exposure is correct without a histogram?
Use the highlight warning (blinkies) on playback. Set your camera to show blinking overexposed areas after each shot. If you see blinking, dial down exposure compensation or switch to a faster shutter speed or narrower aperture.
Why does my viewfinder look bright but my photo is dark?
Live View Boost is enabled. The viewfinder is showing a gain-boosted preview, not your actual exposure. Turn on Exposure Simulation in the menu.
The viewfinder will darken in low light, but the final image will match the preview.
Should I use exposure compensation in Manual mode?
Exposure compensation does not work in Manual mode because you control all three settings. In Manual mode, adjust shutter speed, aperture, or ISO directly. Exposure compensation is only for Aperture Priority, Shutter Priority, and Program modes.
What is the best metering mode for portraits?
Spot metering on the subject's face. This reads exposure from a small area around the focus point. It ignores the background.
If the background is bright, the face will not be underexposed. If the background is dark, the face will not be overexposed.
How do I set exposure for video on a mirrorless camera?
Use Manual mode with a fixed shutter speed (double your frame rate). Set aperture for depth of field. Use auto ISO with a range limit.
Enable zebra stripes at 70% for skin tones. Use the waveform monitor if your camera has one. Do not rely on the viewfinder histogram for video.
Why does my histogram show clipping even when the image looks fine?
The histogram shows the JPEG preview, not the raw file. Mirrorless cameras apply a picture profile to the histogram. If you are shooting raw, you have about one to two stops of highlight recovery depending on the sensor.
Some cameras offer a "highlight weighted" metering mode that deliberately underexposes to preserve highlights.

Similar Posts











[…] if you are shooting in consistent light. For changing light, leave them on auto. Our guide on setting exposure for video covers similar principles that apply to action […]