How to Use Electronic Viewfinder
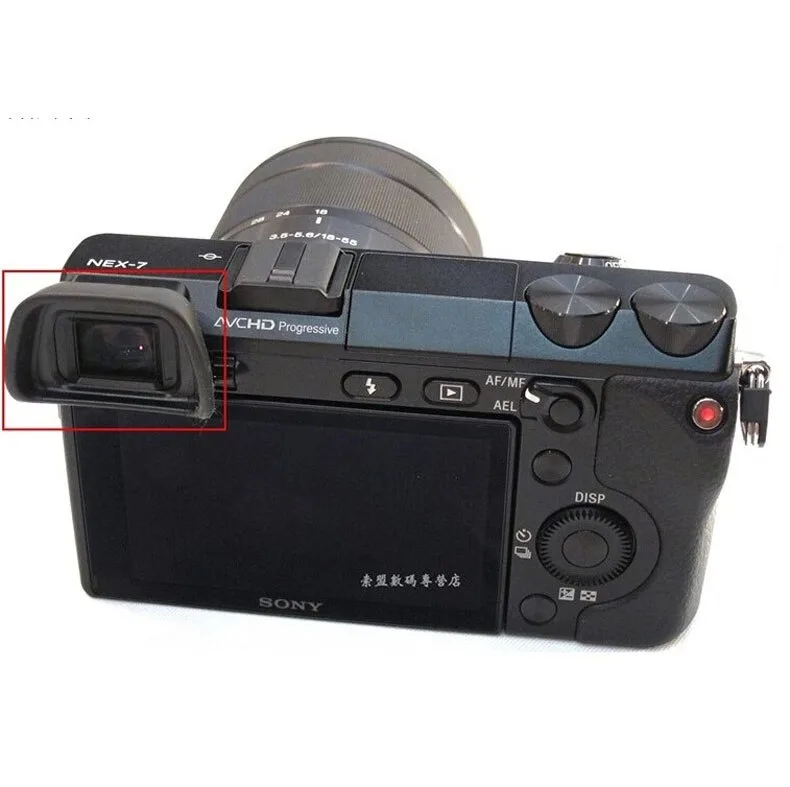
Learning how to use electronic viewfinder is the first real skill you need with a mirrorless camera. It is not complicated. The EVF shows you the exact exposure, white balance, and depth of field before you press the shutter.
You stop guessing.
Manufacturer specifications indicate that modern EVF panels, like the 3.68M-dot OLED units found in many mid-range cameras, deliver 100% coverage and refresh rates up to 120fps. That means what you see is what you get. But the viewfinder only works well if you calibrate it to your eyes and your shooting style.
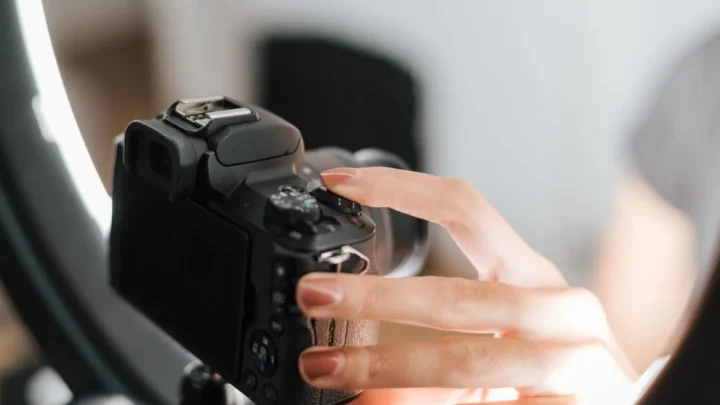
Image source: Web (Bing) / storage.googleapis.com (Web image (fair-use with source credit))
Quick Answer
An electronic viewfinder shows a live image through the lens. Point the camera. Look through the eyepiece.
Adjust the diopter dial until the text is sharp. The EVF eliminates guesswork.
Why Your EVF Beats the Rear Screen (and When It Doesn't)
The EVF is your best friend in bright sunlight. The rear screen washes out. The EVF shows the exact exposure.
It helps you nail the shot the first time.
But it is not always better. The EVF drains the battery faster. The rear screen is more comfortable for tripod work.
The EVF can cause eye strain after long sessions.
Per CIPA standards, modern EVF panels offer 100% coverage. That means no cropping surprises. You see the entire frame.
If you are switching between the viewfinder and the rear screen, remember to adjust the brightness. The rear screen is better for group shots. The EVF is better for single portraits.
For safe storage between shoots, check out how to keep your gear protected.
Setting Up Your EVF: Diopter, Brightness, and Eye Sensor
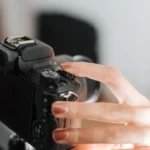
Start with the diopter. Look through the EVF. Turn the diopter dial until the text is sharp.
This matches the viewfinder to your eyesight.
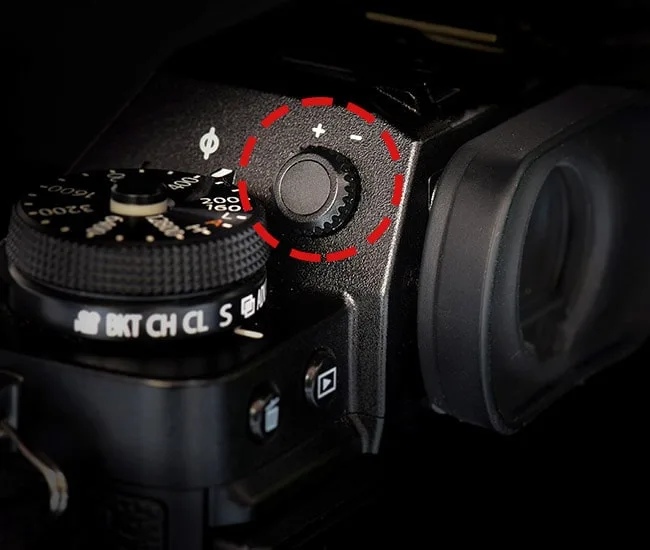
Image source: Web (Bing) / takebetterpictures.co.uk (Web image (fair-use with source credit))
Next, adjust the brightness. Set it to manual. Auto brightness can be inaccurate.
| Environment | Brightness Setting |
|---|---|
| Bright sunlight | High |
| Overcast | Medium |
| Indoors | Low |
| Night | Lowest |
Finally, set the eye sensor. The sensor activates the EVF when you bring the camera to your eye. Turn it off if you are using a tripod.
The sensor can be tricky.
If you are setting the correct exposure, use the EVF. It shows the histogram. The histogram is a better tool than the rear screen.
If you need help with the basics, the beginner guide covers the essentials.
The Visual Tools You're Not Using: Focus Peaking, Zebras, and Histogram
Focus peaking is a hidden gem. It highlights the sharp areas of the image. The highlights appear in a color you choose.
Red is common. It is useful for manual focus.
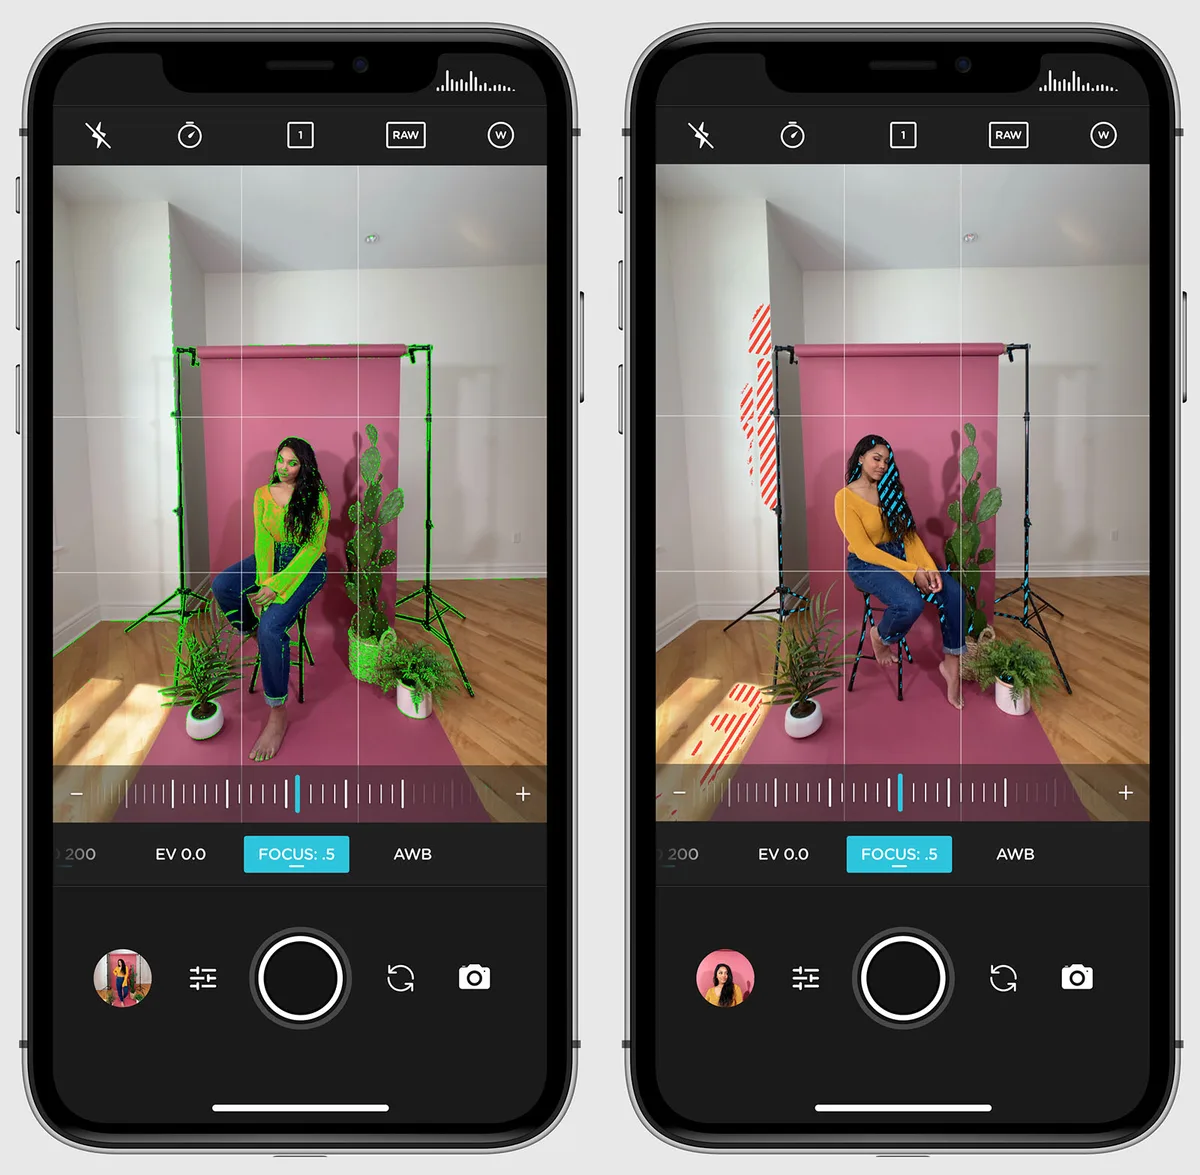
Image source: Web (Bing) / petapixel.com (Web image (fair-use with source credit))
Zebra stripes show overexposed areas. The stripes appear as diagonal lines. Reduce the exposure until the stripes disappear.
The stripes are a great tool.
The histogram shows the tonal range of the image. It is a graph from black to white. Use it to balance the exposure.
The histogram is more accurate than the rear screen.
If you are adjusting your focus points, use focus peaking. It is a precise tool. For more on controlling focus, the guide on focus points explains the options.
Common EVF Mistakes That Wreck Your Shot
The biggest mistake is forgetting the diopter adjustment. The viewfinder looks blurry. You assume the image is blurry.
It is not. The diopter is wrong.
Another mistake is overriding the EVF. You use the rear screen in bright sunlight. The EVF is better.
Use the eye sensor.
Using the wrong brightness is also a mistake. The EVF is too bright. The image looks overexposed.
It is not.
If you are troubleshooting normal problems, start with the diopter. It is the most common fix.
Another mistake is ignoring the eye sensor. You set the camera down. The sensor switches to the EVF.
The rear screen stays off. You think the camera is dead. It is not.
A final mistake is using the wrong eye relief. If you wear glasses, check the eye relief distance. Some EVFs are better for glasses wearers.
Adjust the eyecup if needed.
Pro Tips for Low Light, Action, and Manual Focus
Low light is where the EVF shines. It amplifies the available light. You see details your eyes miss.
Use the histogram to check exposure. It is more accurate than the rear screen.
For action shots, switch to a higher refresh rate. Many cameras offer a 120fps boost mode. This reduces lag.
It helps you track fast subjects. The sports-specific guide offers more tips for fast action.
Manual focus is easier with the EVF. Use focus peaking. Magnify the image by pressing the zoom button.
This gives you 1.5x to 2x magnification. It is precise.
If you are shooting sports, use the EVF. It shows the exposure in real time. Adjust your shutter speed.
The EVF is your best tool.
Keeping Your EVF Clean and Clear
Clean the EVF eyepiece regularly. Use a microfiber cloth. Do not use alcohol.
It can damage the coating.
Check for dust on the EVF panel. Turn off the camera. Use a blower to remove dust.
A soft brush works too.
If the EVF fogs up, wipe it with a dry cloth. Moisture can cause fogging. The anti-fog coating helps.
If you are storing the camera, keep it in a dry place. A dry location prevents moisture buildup. It also prevents damage.
The storage safety guide has more details on keeping your gear safe.
Frequently Asked Questions
How do I adjust the diopter on my EVF?
Look through the viewfinder. Turn the diopter dial until the text is sharp. The dial is usually near the eyepiece.
It matches the EVF to your eyesight.
Why does my EVF look blurry?
The diopter is likely wrong. Adjust it until the text is clear. The image is not blurry.
The viewfinder is not calibrated to your eyes.
Can I use the EVF with glasses?
Yes. Check the eye relief distance. Most EVFs offer 20-25mm of eye relief.
Adjust the eyecup if needed. Glasses work fine.
How do I switch between EVF and rear screen?
Use the toggle button. It is usually near the viewfinder. The button switches between the EVF and the rear screen.
The eye sensor also works.
Why does my EVF drain the battery?
The EVF uses power. It shows a live image. The battery drains faster.
Turn off the eye sensor. Use the rear screen to save power. The battery life guide offers more tips for extending your shooting time.
What is the best refresh rate for action shots?
Use 120fps or higher. It reduces lag. It helps track fast subjects.
The camera must support the boost mode.

Similar Posts