How to Set White Balance on DSLR Camera
You've got your camera out, and the shot looks right through the viewfinder. Then you get it on your computer and it's a different story. Suddenly that portrait looks like you shot it under a sodium lamp, or the snowy landscape has a weird blue tint.
That's the problem we're here to fix: learning how to set white balance on DSLR camera correctly.
The root cause is almost always the camera's white balance setting, which tells the camera what "white" is in your current light. Different light sources emit different color temperatures. A candle flame sits around 1800 Kelvin, while open shade on a sunny day can hit 7000K.
Get the setting wrong, and your whole image takes on a color cast. Let's walk through the logic so you nail it every time.
Quick Answer
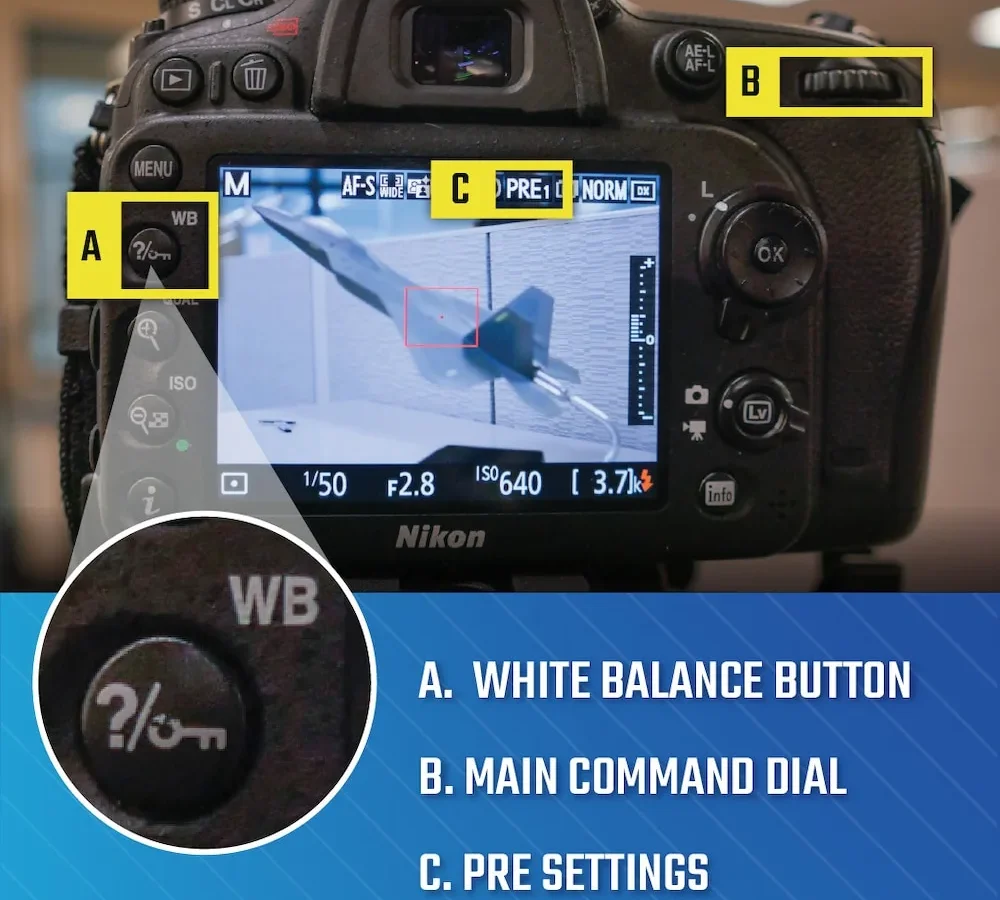
Set white balance by matching the camera to your light source. Use the preset icons for common situations. Use custom white balance for mixed or tricky light.
Use Auto White Balance if you shoot RAW and fix it later. The Kelvin scale lets you fine-tune between 2500K and 10000K. As of 2026, this is the same system used by every major camera brand.
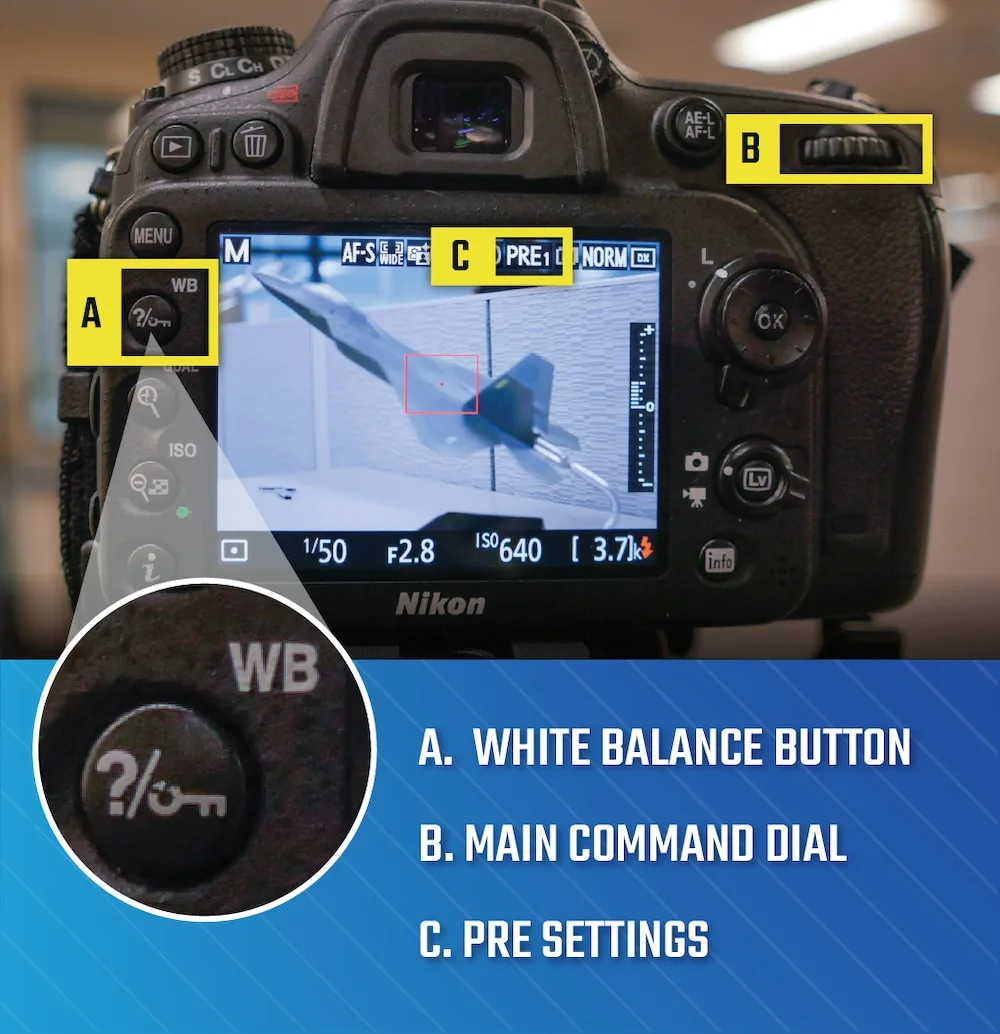
Image source: Web (Bing) / pavilion.dinfos.edu (Web image (fair-use with source credit))
Why Your Photos Look Yellow, Blue, or Just Plain Wrong
The human eye is amazing at adjusting to different light. We walk into a room lit by warm tungsten bulbs, and our brain tells us the white wall is still white. Your camera's sensor doesn't do that.
It records exactly what it sees, so a 3200K tungsten bulb makes everything look orange.
That orange cast isn't a camera defect. It's the sensor faithfully recording the color of the light. The problem is that Auto White Balance sometimes guesses wrong, especially in mixed lighting or tricky scenes.
A room with both window light and a desk lamp can confuse the camera. It might average them out and leave a weird color cast on everything.
The fix is to tell the camera what kind of light you're working with. You can do that with a preset, a manual Kelvin number, or a custom reading from a gray card. For example, if you're shooting outdoors in natural light, a simple preset like "Daylight" or "Cloudy" often works perfectly.
But if you're in a room with mixed lighting, you'll need a more precise approach. This is similar to choosing the right tools for nighttime shooting conditions, where you must understand your gear's limits.
How White Balance Presets and the Kelvin Scale Work
Your camera has a menu of preset white balance icons. Each one corresponds to a specific color temperature range. The Kelvin scale is the scientific measurement behind them.
Understanding this scale is the foundation of getting white balance right.
Here are the common presets you'll see on most DSLRs and their approximate Kelvin values:
| Preset Icon | Approximate Kelvin | Best For |
|---|---|---|
| Daylight / Sun | 5200K | Sunny outdoor scenes |
| Shade | 7000K | Deep shade, overcast days |
| Cloudy | 6000K | Overcast or cloudy skies |
| Tungsten / Incandescent | 3200K | Standard household bulbs |
| Fluorescent | 4000K | Office or store fluorescent lights |
| Flash | 5500K | Using your camera's built-in flash |
| Auto (AWB) | Varies | General use, especially if shooting RAW |
The Kelvin scale works simply: lower numbers are warm, yellow-orange light. Higher numbers are cool, blue light. When you set your camera to a preset, it applies a color correction.
For example, "Tungsten" adds blue to cancel out the orange from the bulb. This scale is a fundamental part of the International System of Units, as defined by NIST.
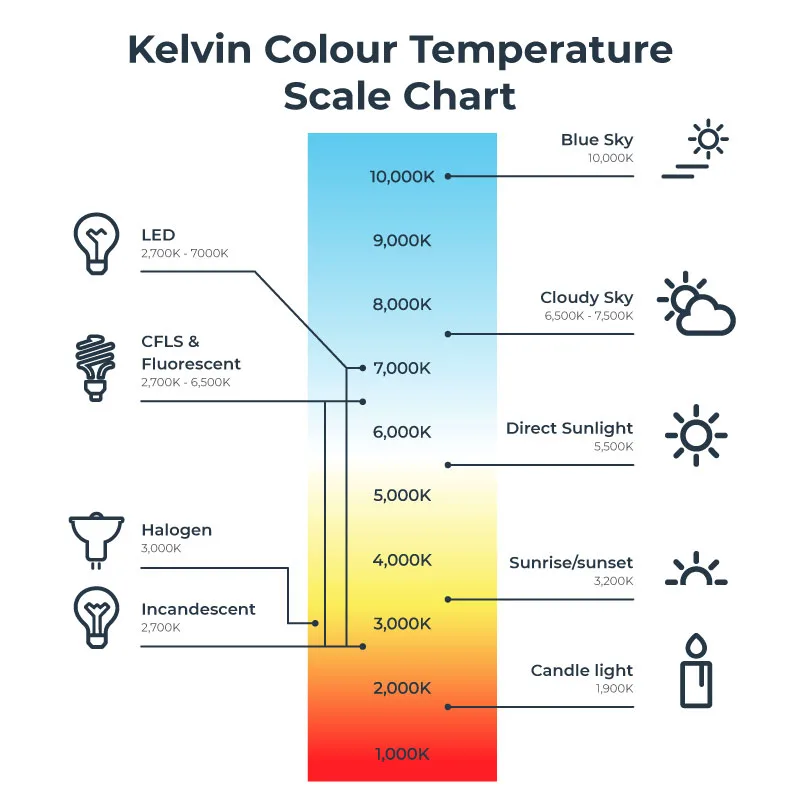
Image source: Bing (Web (fair-use with source credit))
You can also skip the presets and enter a Kelvin value manually. This gives you fine control. If the "Tungsten" preset at 3200K looks a bit too warm, dial it up to 3400K.
This is especially useful for capturing the atmosphere of a scene, like a warm sunset, where you might want to keep some of the warm tones. For that, you might set your camera to a higher Kelvin value, like 6000K, to preserve the golden light. This level of precision is similar to the control you get when you choose a dedicated camera for urban photography, where you need to manage various light sources.
When to Use Auto, Presets, or a Custom White Balance — The Decision Workflow
This is the decision tree. The right choice depends on your lighting situation and your workflow. Here's a simple if/then logic to follow.
If you are shooting in mixed or unpredictable light, use Auto White Balance. AWB works well for general snapshots and street photography where light changes constantly. It's a safe bet for most casual shooting. Just remember that AWB can be fooled by dominant colors in the scene, like a bright red wall, which can throw off the reading.
If you are shooting in a single, known light source, use a preset. For example, if you're outside on a sunny day, set it to "Daylight." If you're indoors under tungsten bulbs, use "Tungsten." This is faster and more reliable than AWB in stable conditions. It's the best approach for shooting landscapes or portraits in consistent natural light.
If you are shooting in critical color situations or mixed lighting, use a custom white balance. This is the gold standard for professional work. Take a photo of a neutral gray card or an ExpoDisc in your actual light. Then tell the camera to use that image as the reference.
Your camera will calculate the exact color temperature and tint needed. This is the only way to guarantee perfect color in every shot, especially when you're shooting products or portraits where skin tones must be accurate.
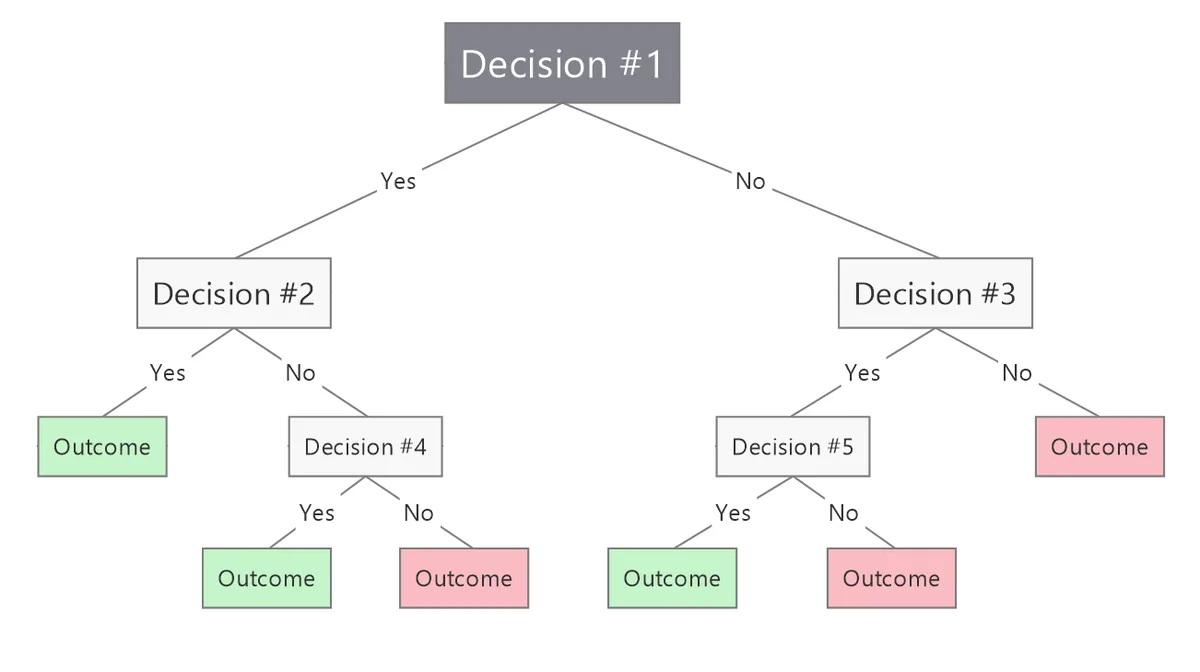
Image source: Bing (Web (fair-use with source credit))
If you shoot RAW, you have more flexibility. You can set AWB and fix the color in post-processing. This is a common workflow for many photographers. But even then, a good starting point in-camera saves you time.
If you shoot JPEG, you must get it right in the camera. There's no fixing a bad white balance in a JPEG file without losing quality.
Common White Balance Mistakes (and How to Fix Them)
Mistake 1: Forgetting to change the preset. You shoot indoors with "Tungsten" set. Then you walk outside to shoot a landscape. The result is a blue, cold image.
The fix is simple: check your white balance setting every time you change shooting location.
Mistake 2: Using the wrong gray card. A gray card must be 18% neutral gray. Some cards are not truly neutral. They can have a slight color cast, which ruins your custom white balance.
Use a card from a reputable brand.
Mistake 3: Not placing the gray card in the same light. If you take a custom white balance reading with the card in the shade, but your subject is in the sun, the color will be wrong. The card must be in the same light as your subject.
Mistake 4: Relying on the LCD screen. The camera's LCD screen is not calibrated for color accuracy. It can look different from your final image on a computer. Always check the histogram and the RGB histogram for clipping.
Mistake 5: Using Auto White Balance with a dominant color. A large area of red, blue, or green in your scene can throw off AWB. For example, shooting a person standing in front of a bright green wall might make the skin tones look magenta. Use a preset or custom white balance in these situations.
White Balance FAQs
What is the best white balance setting for outdoor portraits?
For outdoor portraits, start with the "Daylight" preset at 5200K or "Cloudy" at 6000K for a slightly warmer tone. If you're in open shade, use the "Shade" preset at 7000K. A custom white balance reading from a gray card is the most accurate option.
Can I fix white balance in post-processing?
Yes, if you shoot in RAW format. You can adjust the white balance slider in Lightroom or Photoshop without losing quality. If you shoot JPEG, the white balance is baked in and much harder to correct without causing banding or color shifts.
How do I set a custom white balance on my Nikon or Canon DSLR?
The process is similar for both brands. Take a photo of a neutral gray card filling the frame. Then go to the white balance menu, select "Custom WB," and choose that reference photo.
Your camera will then use that reading for all subsequent shots until you change it.
What is the Kelvin scale for white balance?
The Kelvin scale measures the color temperature of light. Lower numbers from 2000K to 4000K are warm, orange light. Higher numbers from 6000K to 10000K are cool, blue light.
Daylight is around 5500K. You can set the exact Kelvin value on many cameras for precise control.
Why does my white balance look different on different screens?
Each screen has its own color calibration. A laptop screen might look warmer than a desktop monitor. For accurate color, calibrate your monitor with a hardware device.
This ensures that what you see is what you get.
Should I use a gray card or an ExpoDisc?
Both work well. A gray card is cheaper and more portable, but it requires you to take a reference photo. An ExpoDisc fits over the lens and gives a reading in seconds.
For most photographers, a simple gray card is the best value for the level of accuracy it provides.

Similar Posts

















[…] to any digital camera. The same principles apply whether you're using a mirrorless body or correcting color casts on a DSLR. The fix is taking control away from the […]