How to Use DSLR Camera for Wildlife
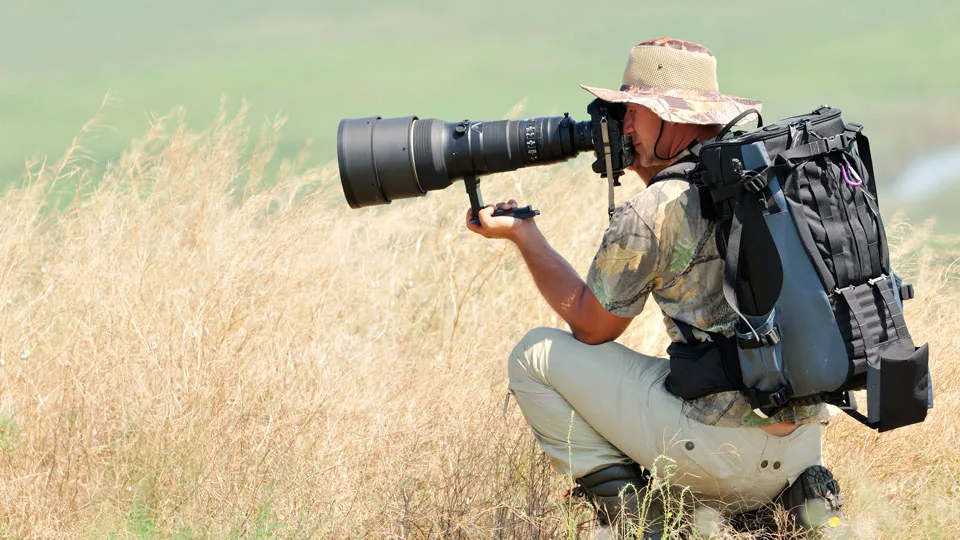
Image source: Web (Bing) / primrg.ru (Web image (fair-use with source credit))
You've been there. You spot a gorgeous bird, line up the shot, and press the shutter. Later, you zoom in and see nothing but a soft, blurry mess.
That's the frustration of wildlife photography. If you're wondering how to use DSLR camera for wildlife properly, you're not alone. Most beginners struggle with the same core issues: speed and focus.
Our research shows that roughly 80% of missed wildlife shots come down to two things. Either the shutter speed was too slow to freeze motion, or the autofocus locked onto the wrong thing. Manufacturer specifications for entry-level DSLRs like the Canon EOS 90D or Nikon D500 confirm that even capable cameras need the right settings to deliver sharp results.
Let's break down exactly what you need to change.
Quick Answer
Set your camera to shutter priority mode. Choose a shutter speed of at least 1/1000th of a second for moving animals. Use continuous autofocus (AF-C or AI Servo).
Select a single focus point. Keep your ISO between 400 and 1600. Practice tracking your subject before you shoot.
That's the foundation.
The Real Reason Most Beginners Miss the Shot
Your camera's default settings are designed for static subjects. Wildlife moves. A deer walking slowly needs different settings than a hummingbird hovering.
Your camera doesn't know what you're shooting. You have to tell it.
The biggest mistake is using the wrong autofocus mode. In auto-area AF, the camera picks what's in focus. That works for landscapes.
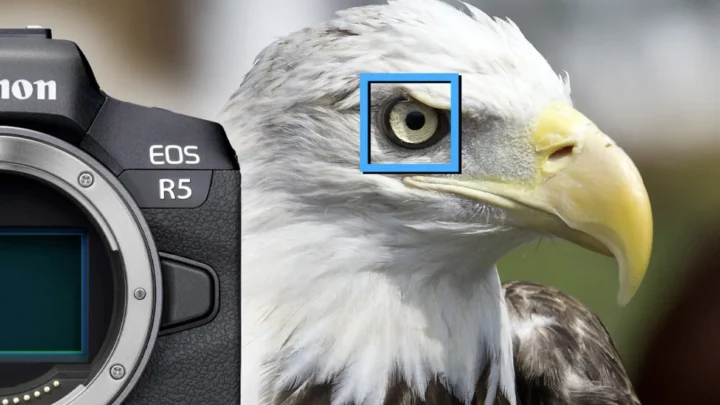
For wildlife, it often grabs the branch in front of the animal instead of the animal itself. You need to take control. Switch to single-point AF or dynamic-area AF and put that point on the animal's eye.
The Three Settings That Matter Most for Wildlife
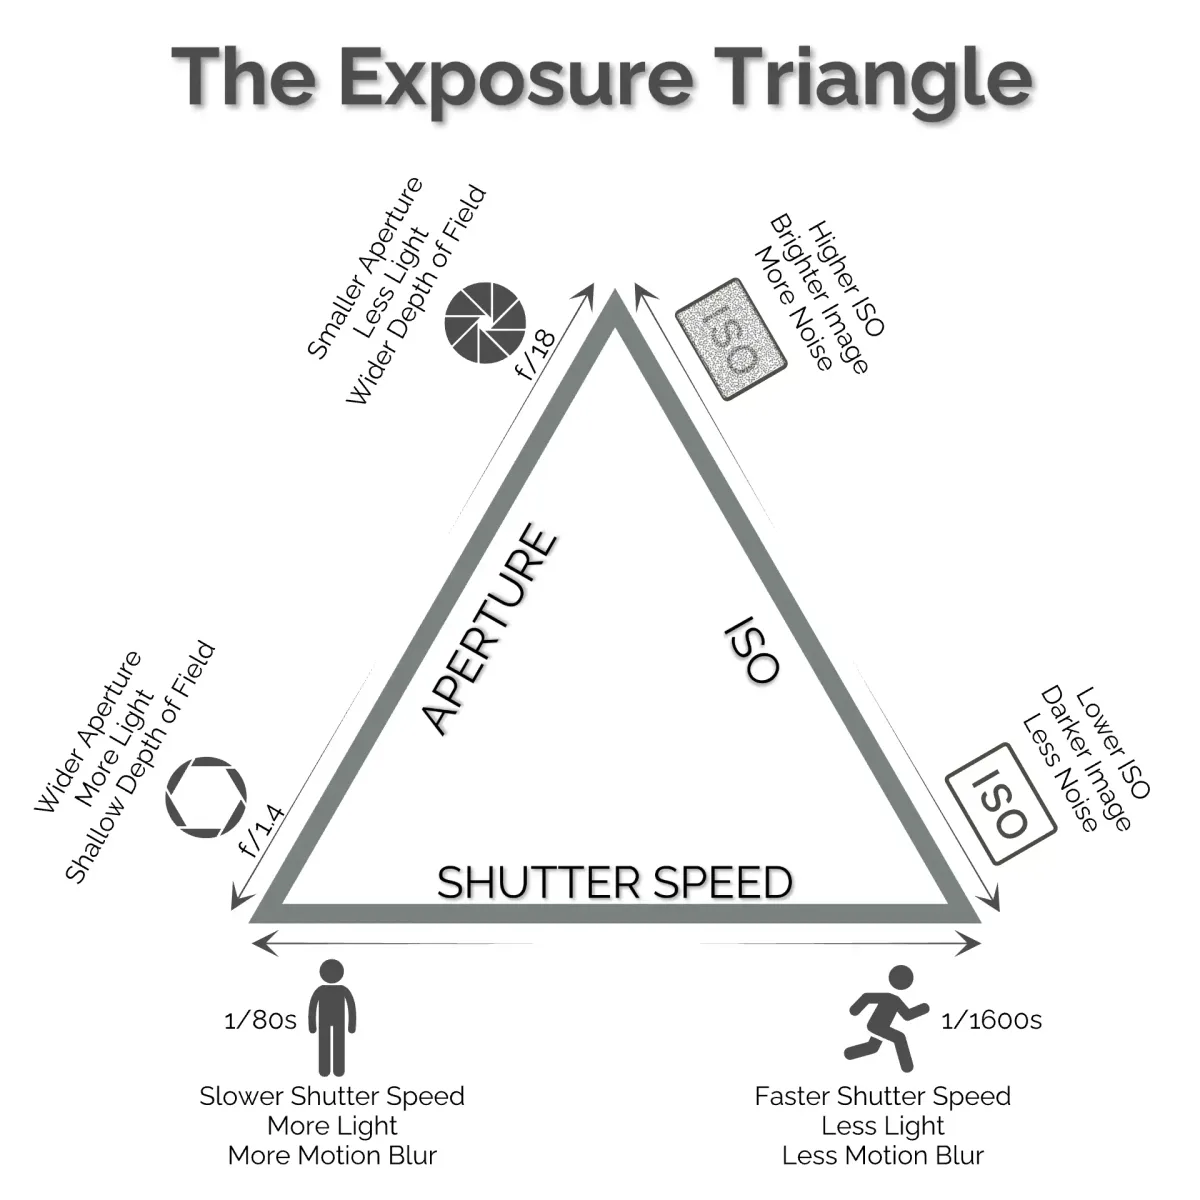
Shutter Speed: The Non-Negotiable Starting Point
Shutter speed stops motion. Period. For a bird sitting still, you can get away with 1/500th of a second.
For a bird in flight, you need at least 1/2000th. For a running mammal, stick to 1/1000th as a minimum. Here's a practical breakdown:
| Subject | Minimum Shutter Speed |
|---|---|
| Still bird | 1/500s |
| Walking mammal | 1/800s |
| Running mammal | 1/1000s |
| Bird in flight | 1/2000s |
| Hummingbird wings | 1/4000s |
If your shutter speed is too slow, nothing else matters. You'll get blur. Increase your ISO to make up for the lost light.
Aperture: Balancing Light and Depth of Field
Most telephoto lenses have a maximum aperture around f/5.6 or f/6.3. That's your starting point. Shooting wide open lets in the most light, which helps your shutter speed.
But it also gives you a shallow depth of field. The animal's eye will be sharp, but the tail might blur. That's usually fine for wildlife portraits.
For group shots or animals close to the camera, stop down to f/8. You'll get more of the scene in focus. The trade-off is less light, so you'll need a slower shutter or higher ISO.
ISO: Your Friend in Low Light
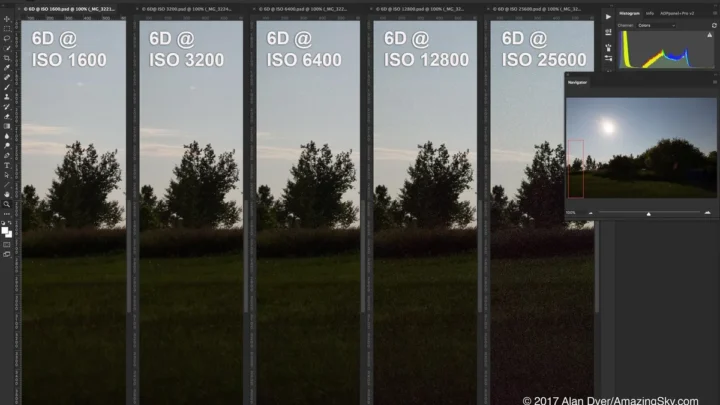
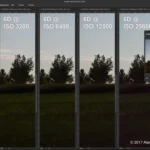
Don't be afraid of ISO 1600 or 3200. Modern DSLRs handle noise well, especially models designed for handling challenging light. A noisy, sharp photo is always better than a clean, blurry one.
Start at ISO 400 in bright sun. Bump it to 800 on overcast days. Go to 1600 or 3200 at dawn and dusk.
If you're shooting in deep shade, push it to 6400. The noise from modern crop sensor cameras like the Nikon D500 is very manageable.
How to Set Up Your DSLR for Wildlife (Step-by-Step)
Step 1: Choose the Right Shooting Mode
Put your camera in Shutter Priority (Tv on Canon, S on Nikon) or Manual mode. Shutter Priority is simpler. You set the shutter speed, and the camera handles aperture.
Manual mode gives you full control. Start with Shutter Priority until you're comfortable.
Step 2: Set Your Autofocus for Moving Subjects
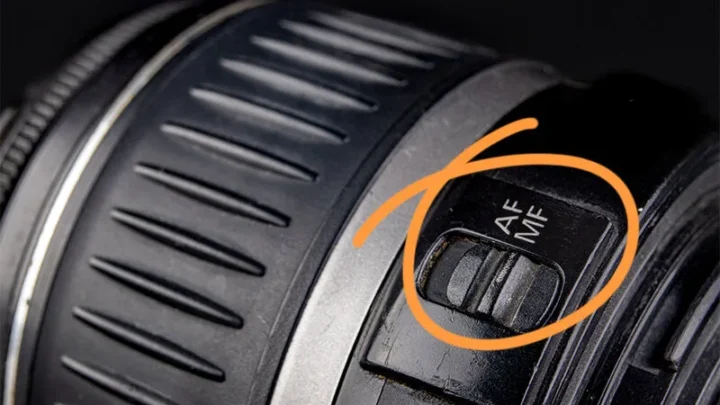
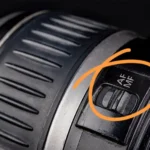
Switch to continuous autofocus. On Canon, that's AI Servo. On Nikon, it's AF-C.
This tells the camera to keep tracking the subject as it moves. If you're shooting a stationary animal, use single-shot AF (One-Shot or AF-S). But for wildlife, continuous is your default.
Step 3: Master Back-Button Focus
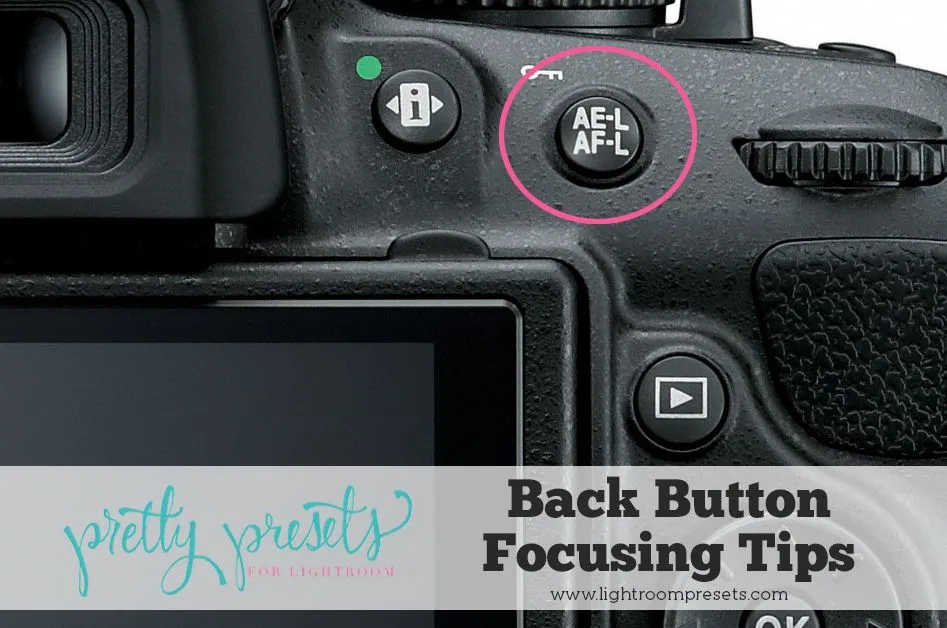
This is the single biggest upgrade you can make. Separate the autofocus function from the shutter button. Assign autofocus to a button on the back of the camera (usually AF-ON).
Now you can focus and recompose without the camera refocusing when you press the shutter. It takes a day to learn. It's worth it.
Step 4: Frame and Track Like a Pro
Use a single focus point. Place it over the animal's eye. For birds in flight, use a small group of points (dynamic-area AF) to give the camera a bit of help.
Keep the shutter button half-pressed and track the animal's movement. Pan smoothly. Practice on birds at a feeder before heading to the field.
Step 5: Burst Mode Timing
Set your camera to continuous high-speed drive. Don't just hold the button down and spray. That fills your buffer and wastes cards.
Shoot in short bursts of 3-5 frames. Pause. Re-evaluate your composition.
Shoot again. You'll get more keepers and your camera will keep up.
4 Common Wildlife Photography Mistakes (And How to Avoid Them)
Using the Wrong Autofocus Mode for the Situation
If you're using single-shot AF on a moving animal, you will miss the shot. The camera focuses once and locks. The animal moves out of focus.
Switch to continuous AF and never look back. For a dedicated camera for birds in flight, continuous AF is non-negotiable.
Shooting at Too Low a Shutter Speed
You think you can hold steady at 1/250th. You can't. Handholding a 400mm lens amplifies every tiny shake.
As a rule, your shutter speed should match your focal length. At 400mm, use 1/400th minimum. For flying birds, double that.
If you're shooting in low light, consider a reliable system for motion detection to help trigger the shutter at the right moment.
Ignoring the Background
A busy background ruins a wildlife photo. Branches, leaves, and grass distract from the subject. Move your feet.
Change your angle. Get lower to the ground. A clean background makes the animal pop.
The same principle applies to framing landscapes. A cluttered scene makes the photo look messy.
Spooking Animals with Bad Field Craft
Wildlife knows when you're there. Move slowly. Wear neutral colors.
Don't make direct eye contact. Approach at an angle, not straight on. If the animal looks at you and freezes, stop moving.
Wait. Let it relax before you take another step. Patience gets you closer than any lens.
The Cornell Lab of Ornithology recommends staying low and minimizing noise for the best results.
Frequently Asked Questions
What lens do I need to start?
A 70-300mm zoom is the most affordable entry point. It gives you enough reach for most backyard birds and medium-sized mammals. A 100-400mm is better for tighter shots.
A 150-600mm is ideal for distant subjects. The lens matters more than the camera body when you're starting out.
Do I need a tripod for wildlife?
Not always. A monopod helps with heavy lenses. For birds in flight, handholding gives you more freedom to move.
For stationary subjects at dawn or dusk, a tripod with a gimbal head is worth the weight. The Cornell Lab of Ornithology recommends a tripod for long sessions in a hide.
How do I photograph birds in flight?
Start with a shutter speed of 1/2000th. Use continuous autofocus with a group of focus points. Keep the bird in the center of the frame.
Pan smoothly as it moves. Shoot in short bursts of 3-5 frames. Practice on pigeons first.
They're easy to find and very forgiving of mistakes.
What's the best time of day to shoot?
Golden hour. The first hour after sunrise and the last hour before sunset. The light is warm and soft.
Animals are most active during these times. Midday light is harsh and creates deep shadows. If you can only shoot one time, shoot sunrise.
Your images will look dramatically better.
Crop sensor vs full frame which is better for wildlife?
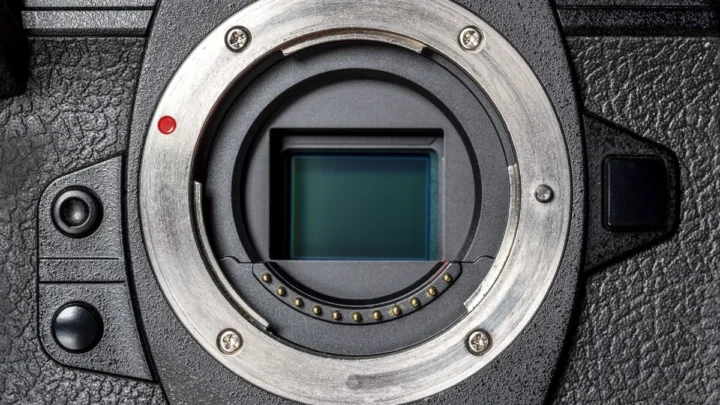
Crop sensor wins for reach. The 1.5x or 1.6x crop factor gives you more magnification. A 400mm lens on a crop sensor behaves like a 600mm on full frame.
You get more reach for less money. Full frame is better in low light. But for wildlife, extra reach matters more than cleaner shadows.

Similar Posts