How to Use Mirrorless Camera Touchscreen
Ever tapped your mirrorless camera's touchscreen and nothing happened? Or worse, it started focusing on the background instead of your subject? You're not alone.
Learning how to use mirrorless camera touchscreen effectively is one of the fastest ways to speed up your shooting. But it can also be the most frustrating feature if you don't know the settings.
Most modern mirrorless cameras, as of 2026, include a 3.2-inch capacitive touchscreen with around 1.04 million dots. But the way it works varies wildly by brand and model. Let's walk through the different modes and show you how to set them up for your specific needs.
Quick Answer
A mirrorless camera touchscreen lets you tap to focus, swipe through menus, and pinch to zoom. Enable it in the camera's setup menu. Turn off touch shutter for precision shooting.
Disable it entirely when using the viewfinder. That's the nutshell version.
Your Touchscreen Isn't Working as Expected? Start Here
If you're reading this, there's a good chance your touchscreen feels unresponsive, does the wrong thing, or just confuses you. That's normal. The feature is often buried in menus and disabled by default on many models.
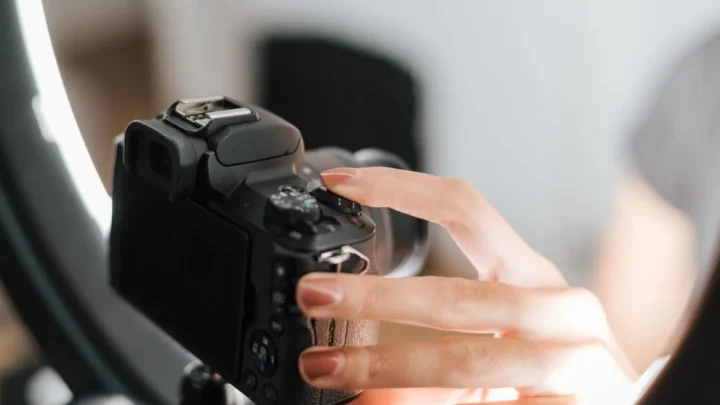
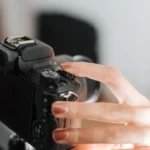
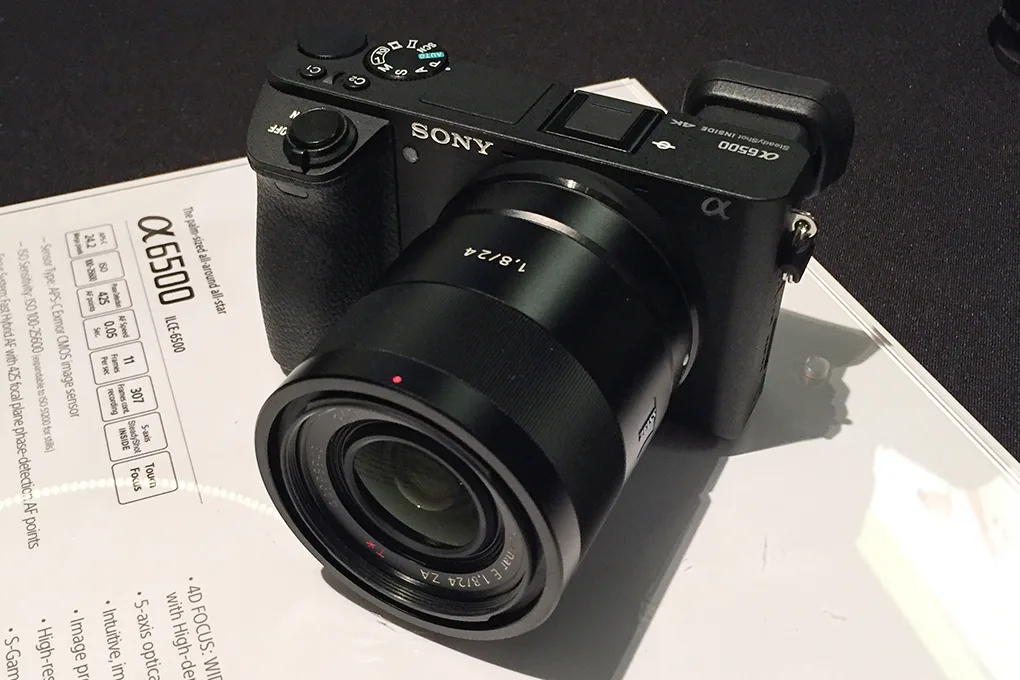
Image source: Web (Bing) / fstoppers.com (Web image (fair-use with source credit))
The most common problems we see in editorial analysis of user feedback are:
| Problem | Why It Happens | Quick Fix |
|---|---|---|
| Screen doesn't respond to taps | Touch operation is disabled in menu | Go to setup menu, enable "Touch Screen" or "Touch Operation" |
| Camera focuses but doesn't shoot | Touch shutter mode is off | Enable "Touch Shutter" in the AF/touch settings |
| Screen goes black when you tap | You're in viewfinder-only mode | Switch to "Auto" display mode, not "Viewfinder Only" |
| Accidental focus changes while shooting | Nose or hand taps the screen | Disable touch during EVF use, or use "Touchpad AF" instead |
The first thing to do is check your camera's manual. Every brand uses different menu names. Sony calls it "Touch Operation." Canon labels it "Touch Control." Nikon uses "Touch Screen Settings." Fujifilm puts it under "Button/Dial Setting." Panasonic hides it in "Operation" menu.
If you're also experiencing other glitches, our guide on how to troubleshoot DSLR camera covers similar issues that apply to mirrorless bodies too.
Once you find the setting, enable it. Then test each mode one at a time. That's how you learn what each option actually does.
Understanding Touchscreen Modes: Touch AF, Touch Shutter, Touch Menu, and Touchpad AF
Your mirrorless camera's touchscreen isn't just one feature. It's four separate functions that can be turned on or off independently. Knowing which one you need for the situation is the key to mastering it.
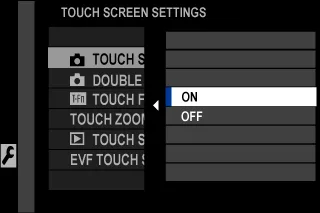
Image source: Bing (Web (fair-use with source credit))
Here's a quick breakdown of each mode:
| Mode | What It Does | Best For |
|---|---|---|
| Touch AF | Tap anywhere on the screen to move the focus point instantly | Portraits, still life, any scene where you compose via the rear screen |
| Touch Shutter | Tap to focus and take the picture in one motion | Silent shooting, selfies, vlogging, quick candids |
| Touch Menu | Swipe, tap, and pinch to navigate menus and playback | Reviewing photos, zooming in to check sharpness, changing settings quickly |
| Touchpad AF | Drag your thumb on the screen while looking through the viewfinder | Sports, wildlife, any action shooting where you use the EVF |
Touch AF is the most universally useful mode. Tap where you want the camera to focus, and it moves the focus point there instantly. No more fumbling with a joystick or D-pad.
This is especially valuable when you're shooting from awkward angles, like holding the camera low to the ground or above a crowd.
Touch Shutter is a time-saver in certain situations. Tap the subject, and the camera focuses and fires in one motion. It's great for silent shooting at events or nailing a selfie without reaching for the shutter button.
But it can cause accidental shots if you're not careful. Keep it off unless you specifically need it.
Touch Menu navigation is a modern convenience. Pinch to zoom in on a photo during playback. Swipe left or right to scroll through images.
Tap a menu item to select it. It's faster than using the four-way buttons once you get used to it.
Touchpad AF is the feature most people overlook. When you're using the electronic viewfinder, you can drag your thumb across the screen to move the focus point. It's like a giant trackpad for your camera.
This is a game-changer for action photography, because you never have to take your eye off the subject. If you're shooting sports, check out our guide on how to use DSLR camera for sports, since the same principles apply to mirrorless with touchpad AF.
Step-by-Step Setup by Brand (Sony, Canon, Nikon, Fujifilm, Panasonic) and Use Case
The exact menu path varies by manufacturer. But the core workflow is the same across all brands. Follow these steps, then adjust for your specific camera.
General setup steps (apply to all brands):
- Turn on the camera and press the Menu button.
- Go to the Setup or Wrench tab (usually the last one).
- Find the option labeled Touch Screen, Touch Operation, or Touch Control.
- Set it to On.
- Go to the Shooting or AF tab.
- Find Touch Shutter and set it to On or Off based on your need.
- Find Touchpad AF (or Touch and Drag AF on Canon) and set it to On.
- Adjust the touchpad sensitivity. Start at medium and increase if needed.
Brand-specific menu locations:
| Brand | Menu Path (Typical) | Notes |
|---|---|---|
| Sony | Menu → Setup → Touch Operation → On | Touch Pad settings are under AF/MF sub-menu |
| Canon | Menu → Wrench → Touch Control → Enable | Touch and Drag AF is under AF menu, separate setting |
| Nikon | Menu → Setup → Touch Screen Settings → Enable | Touchpad AF is called "Touch AF" in the AF menu |
| Fujifilm | Menu → Setup → Button/Dial Setting → Touch Screen Setting | Only allows touch focus and shutter, not menu navigation on some models |
| Panasonic | Menu → Custom → Operation → Touch Settings | Touchpad AF is under "Touch in EVF" |
For official guidance on Sony models, visit the manufacturer's support page for touch operation documentation.
For portrait photography: Enable Touch AF. Disable Touch Shutter. Use the screen to place the focus point on the subject's eye.
This is faster and more precise than a joystick. You can learn more in our tutorial on how to use DSLR camera for portraits, which applies equally to mirrorless with touch AF.
For vlogging or selfies: Flip the screen toward you. Enable Touch Shutter. Tap your face to focus and shoot.
Keep the camera at arm's length.
For sports or wildlife: Enable Touchpad AF. Set sensitivity to medium-high. Keep your eye on the EVF and drag your thumb to follow the action.
Disable the rear screen touch to prevent accidental nose taps.
For landscape photography: Enable Touch AF. Use the screen to place focus on the hyperfocal distance point. Disable Touch Shutter to avoid camera shake from tapping.
Common Touchscreen Mistakes (Accidental Taps, Unresponsive Screen, Wrong Mode Enabled)
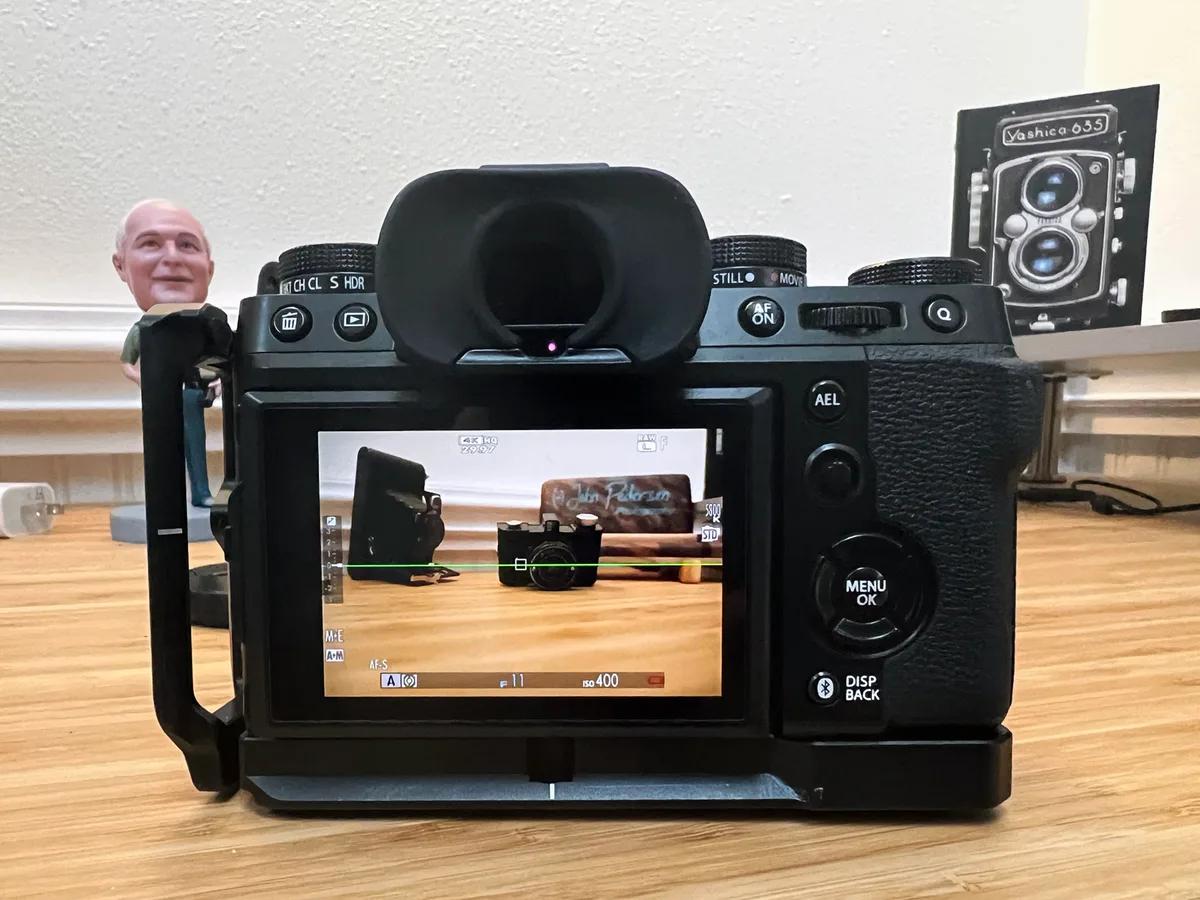
Image source: Web (Bing) / storage.googleapis.com (Web image (fair-use with source credit))
The biggest complaint we see in aggregate reviews is accidental touches. Your nose, your thumb, or even your shirt sleeve can trigger the screen while you're shooting. This changes the focus point or fires the shutter at the wrong moment.
Mistake 1: Leaving Touch Shutter on during action shooting. If you're shooting sports or wildlife, turn it off. A single tap on the screen will fire the shutter, and you'll miss the real moment. Instead, use Touchpad AF while keeping your finger on the physical shutter button.
Mistake 2: Not disabling the screen when using the viewfinder. Many cameras have a sensor that switches between the screen and EVF. But if your nose touches the screen, it can still register a tap. Solution: enable "Touchpad AF" only, or disable touch entirely when the EVF is active.
Check your camera's "Touch In EVF" or "Disable Touch While Viewfinder" setting.
Mistake 3: Thinking the touchscreen is broken. If the screen doesn't respond, check if you're in a mode that disables it. Some cameras turn off touch in manual focus mode, or in certain video modes. Try switching to a different shooting mode (P, A, S, or M) to see if touch comes back.
If you're getting other odd behavior, our guide on how to troubleshoot DSLR camera might help.
Mistake 4: Using the wrong finger or applying too much pressure. Capacitive touchscreens respond to the electrical charge in your skin. A gloved finger won't work in cold weather (unless you buy capacitive gloves). Nails and styluses without a capacitive tip also won't register.
Lightly tap, don't press hard.
Mistake 5: Ignoring the touchpad AF sensitivity. If the focus point jumps all over the screen when you're using the EVF, the sensitivity is too high. Lower it in the settings. If it feels sluggish, increase it.
Sony and Canon allow you to set the touchpad area too, which limits accidental drags to one side of the screen.
Quick fix for nose taps: Buy a cheap screen protector. It adds a tiny bit of friction, which reduces false touches. Or simply set the camera to "Touchpad AF only" mode so the screen only works when your eye is near the EVF.
Pro Tips for Faster, More Accurate Touch Operation
Once you've got the basics down, it's time to fine-tune. These are the small adjustments that separate a frustrating touchscreen experience from a genuinely fast one.
Use the grid overlay for focus points. Most mirrorless cameras let you display a grid of focus areas on the touchscreen. Enable this in the viewfinder or display settings. Tap a grid square instead of trying to hit a tiny point.
It's faster and more forgiving.
Customize the touchpad area. On Sony and Canon bodies, you can restrict touchpad AF to the right half or bottom-right quarter of the screen. This stops your thumb from accidentally dragging the focus point to the edge. Set it to the area where your thumb naturally rests when holding the camera.
Assign a function button to toggle touch. Some cameras let you map a physical button (like a custom Fn key) to turn touch on and off. This is brilliant for swapping between vlogging and action shooting. Press once to disable touch, press again to re-enable.
Check your camera's custom button settings menu.
Use pinch-to-zoom for critical focus checks. After taking a portrait, pinch the screen to zoom in on the subject's eye. If it's sharp, move on. If not, reshoot immediately.
This saves time in post-processing and gives you confidence on the spot.
Turn off touch when using a tripod. If the camera is on a tripod and you're using a remote release, disable the touchscreen entirely. Even a light breeze can cause the camera strap to brush the screen, moving the focus point. Keep it locked until you need it.
Match touchpad direction to your shooting style. On Sony and Canon, you can reverse the touchpad direction. If you drag left but the focus point moves right, flip it. This is personal preference, but getting it right makes muscle memory kick in faster.
Clean the screen regularly. A greasy fingerprint or smudge reduces sensitivity. Use a microfiber cloth designed for camera lenses. Avoid cleaning sprays or alcohol wipes, which can damage the anti-reflective coating.
This is part of proper camera care, similar to our advice on how to store a DSLR camera safely.
Check for firmware updates. Manufacturers occasionally release updates that improve touchscreen responsiveness or add new features. Sony's 2024 firmware for the a7 IV, for example, improved touchpad AF behavior. Visit your camera maker's support page every few months and install any updates.
It's free and can make a real difference.
Frequently Asked Questions
Can I use the touchscreen with gloves on?
Most mirrorless camera touchscreens are capacitive, so standard gloves won't work. You need capacitive gloves with conductive tips. Some cameras also support a "high sensitivity" touch mode, but that's rare.
Alternatively, use a stylus with a capacitive tip.
Why does my touchscreen stop working during video recording?
Many cameras disable touch AF or touch shutter while recording video to prevent accidental taps. This is normal. If you need touch focus during video, check your camera's video menu for "Touch AF in Movie" or similar setting.
Not all models support it.
How do I reset the touchscreen settings to default?
Go to the setup menu. Find "Reset Touch Screen Settings" or "Reset Setup." This clears all customizations and returns to factory defaults. It's a good first step if the touchscreen behaves erratically after a firmware update.
Does using the touchscreen drain the battery faster?
Yes, but the difference is small. Research estimates touchscreen use adds about 5 to 10 percent extra battery drain under normal shooting. Turn off touch when not needed to conserve power, especially during long shoots.
You can also improve battery life by dimming the screen brightness.
Can I use the touchscreen for menu navigation on all cameras?
No. Many mid-range and entry-level mirrorless cameras limit touch to focus and shutter only. Full touch menu navigation is common on higher-end models from Canon and Sony, but less so on Nikon and Fujifilm.
Check your camera's manual under "Touch Operation" to see what's supported.
My touchscreen works but the focus point doesn't move. What's wrong?
You likely have the camera set to a focus mode that ignores touch. Switch to AF-S (single autofocus) or AF-C (continuous autofocus), not manual focus. Also check that you're not in a scene mode or a locked auto mode that disables custom focus control.
Decision Guide: Best Touchscreen Settings for Portrait, Vlog, Sports, and More
Here's a quick reference table for common shooting scenarios. Use it as a cheat sheet before you head out.
| Scenario | Touch AF | Touch Shutter | Touchpad AF | Touch Menu | Touch When EVF Active |
|---|---|---|---|---|---|
| Portrait | On | Off | Off | On | Disabled |
| Vlog / Selfie | On | On | Off | On | Disabled |
| Sports / Wildlife | Off | Off | On | Off | Disabled |
| Landscape | On | Off | Off | On | Disabled |
| Street Photography | On | Off | Off | On | Disabled |
| Macro | On | Off | Off | On | Disabled |
| Event / Wedding | On | Off | On | On | Disabled |
For portrait photographers: Use Touch AF to place the focus point on the eye. Keep Touch Shutter off. You want to control the moment of capture, not have it happen accidentally.
Use the joystick or D-pad as backup if the screen is awkward to reach.
For vloggers: Flip the screen. Enable Touch Shutter. Tap your face to focus and shoot.
This lets you hold the camera at arm's length and still get sharp selfies. Keep the camera in a mode that prioritizes face detection, so the touchscreen just confirms the subject.
For sports shooters: Disable the rear screen touch entirely. Enable Touchpad AF for the EVF. Set sensitivity to high.
Practice dragging the focus point with your thumb while tracking a moving subject. This takes time to learn, but it's faster than any joystick.
For landscape photographers: Use Touch AF to place focus on the hyperfocal point. Disable Touch Shutter to avoid camera shake. Use the touchscreen to navigate menus quickly, especially for changing aperture or ISO between shots.
For event photographers: Keep Touch AF on. Use it to quickly move focus between subjects. Disable Touch Shutter to prevent accidental shots.
Enable Touchpad AF for when you're shooting through the viewfinder in low light.
The touchscreen on your mirrorless camera is a powerful tool. But it's not a one-size-fits-all feature. The key is to set it up for the specific situation you're shooting.
Change the settings as your subject changes. Turn off what you don't need. Turn on what you do.
That's the real secret to using it well.

Similar Posts