Mirrorless Camera Overexposure Troubleshooting
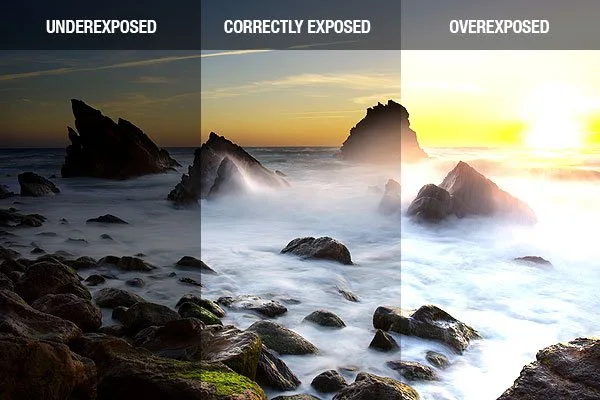
You just captured the perfect shot. At least, you thought you did. When you look at the screen, those clouds are gone, turned into pure white nothing.
That's overexposure, and it's the most common frustration for mirrorless camera owners. Mirrorless camera overexposure troubleshooting comes down to learning how your electronic viewfinder (EVF) actually works.
Here is the thing. A typical mirrorless sensor captures about 12 to 15 stops of dynamic range. Your EVF only shows about 8 stops of usable brightness.
That mismatch is why highlights can blow out without you noticing. Per manufacturer specifications, the live view preview is an estimate, not the final exposure. The good news is you already have all the tools to fix it.
Image source: Web (Bing) / exposureguide.com (Web image (fair-use with source credit))
Quick Answer
Fix overexposure by enabling zebra pattern at 100% threshold. Turn off auto EVF brightness. Use the histogram to confirm highlights are not clipped.
Switch to spot metering on the brightest part of your subject. Apply exposure compensation or adjust aperture, shutter speed, and ISO manually. These four steps catch overexposure before you press the shutter.
Why Mirrorless Cameras Overexpose (And Why DSLR Habits Don't Work)
With a DSLR, you looked through an optical viewfinder. What you saw through the glass had almost nothing to do with the final exposure. You had to take a test shot, check the rear LCD, adjust, and reshoot.
That workflow forced you to learn the exposure triangle early.
Mirrorless cameras flipped that model. The EVF shows you a live preview. That sounds like a dream, and it is.
But it introduces a trap. Your EVF auto-adjusts its brightness to look good in different lighting. If you are outside in bright sun, the EVF may boost its output so you can see the scene.
That boost hides clipping. The image looks fine in the viewfinder, but the raw data is already blown out.
The second problem is highlight-weighted metering. Many mirrorless cameras ship with evaluative or multi-zone metering set to average the scene. That works fine for mid-tone subjects.
But a white dress, a snowy field, or a bright sky tricks the meter into underexposing the rest of the frame. Then you dial in positive exposure compensation to bring up the shadows. Suddenly those highlights are gone.
DSLR habits like expose to the right or relying solely on the in-camera light meter do not translate well here. The EVF and the histogram are your real guides. As of 2026, every major mirrorless brand includes highlight-weighted metering as a mode, but most users never enable it.
That is the first fix we will get to. For more on how DSLR troubleshooting differs, the principles around fixing blown-out highlights transfer directly to mirrorless systems.
The Three Visual Signals: Histogram, Zebra, and Blinkies
Your camera gives you three independent tools to detect overexposure. Each one shows you a different piece of the puzzle. You should learn to read all three.
The histogram is a graph of brightness values from pure black on the left to pure white on the right. If the graph climbs the right wall and flattens out horizontally there, you have clipped highlights. That data is gone.
You cannot recover it in post. The histogram is the most honest tool because it is based on the actual sensor readout, not the EVF's auto-brightness. But you have to look at it deliberately and understand what a right-sided spike means.
Zebra pattern (sometimes called stripes or video assist) paints diagonal lines over the parts of the image that are at or above a set brightness threshold. On most Sony, Canon, Nikon, and Panasonic bodies, you can set the zebra threshold to anywhere from 70% to 107% or more. A common starting point is 95% or 100%.
If you see zebras on a subject, those parts are near clipping. Raise the threshold to 100% if you want to see only the areas that are truly lost. Lower it to 90% if you want a safety margin.
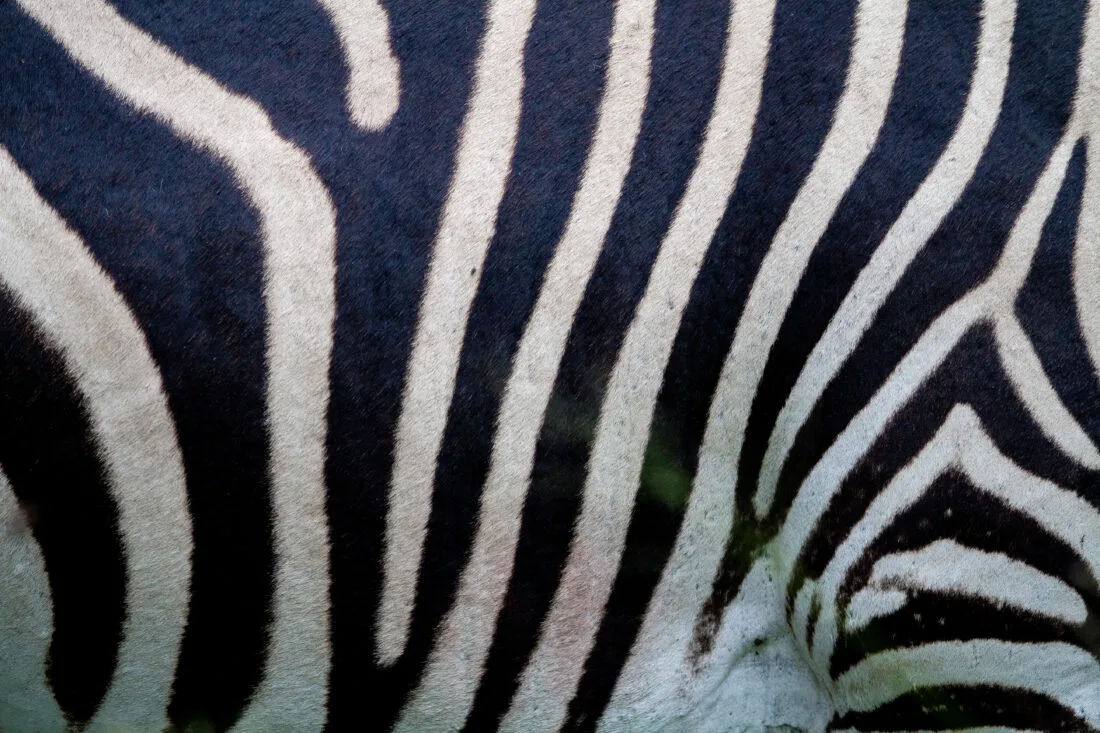
Image source: Bing (Web (fair-use with source credit))
Blinkies (also called highlight alerts) flash the clipped areas in playback mode. The camera only shows them after you take a shot. Blinkies are useful for confirmation, but they are not a real-time tool.
You cannot see them in the EVF while composing. For live feedback, stick with the zebra pattern.
Each signal has a blind spot. The histogram can be too small to read quickly. Zebras only show one threshold at a time.
Blinkies come too late. The fix is to combine them. In practice, set your zebra to 100% for raw shooting and leave it on.
Then glance at the histogram regularly. If you see a right-wall spike, you already know the zebra will confirm it.
Step-by-Step: Diagnose Overexposure Using Your Viewfinder
This is the workflow you can use every time you step into harsh light. Let us walk through it.
Step 1: Set your zebra threshold. Go into the camera menu. Look for Zebra or Highlight Alert. Set the threshold to 100% (or 100+ on some Sony bodies).
This shows you exactly where the sensor will clip. If you shoot JPEG or log video, you may want a lower threshold, but start at 100%.
Step 2: Turn off EVF auto brightness. Find the viewfinder brightness setting. Set it to a fixed middle value (around 0 or the factory default). This stops the EVF from lying to you about the exposure.
Manual review from Sony and Canon support materials confirms that auto EVF brightness is a known reason for missed exposure.
Step 3: Frame your shot and check the zebra. If you see zebras on your subject, you are overexposed. The fix depends on what you want to keep. If the subject has detail you need, dial down exposure compensation (in aperture or shutter priority) or adjust aperture, shutter speed, or ISO in manual mode.
If only the sky or a reflection has zebras, decide if that area matters. Sometimes a blown background is acceptable. But if the subject has zebras, fix it.
Step 4: Confirm with the histogram. After adjusting, take a test shot and check the histogram in playback. The right edge should not show a vertical line of accumulated data. A gentle slope down to zero is fine.
A hard wall means you are still clipping.
Step 5: Use spot metering if needed. Switch metering mode to spot. Put the spot on the brightest part of the subject. Lock that exposure with AE lock.
Then recompose. This is a faster workaround than fiddling with exposure compensation.
This process takes about 10 seconds once it becomes habit. The key difference from DSLR troubleshooting is that you can see the zebra before you press the shutter. Take advantage of that real-time feedback.
If you are also dealing with noisy or grainy results, managing your ISO settings correctly prevents a separate set of problems.
Common Visual Mistakes (And How to Avoid Them)
Even experienced shooters make these errors regularly. Here are the three most common.
Mistake 1: Trusting the EVF brightness over the histogram. Your eyes tell you the EVF looks good. The histogram says it is clipped. The histogram is right, every time.
The EVF has a limited dynamic range. It cannot display the same contrast your sensor captures. Learn to ignore what looks right and trust the graph.
This is the single biggest adjustment when moving from a DSLR to a mirrorless system.
Mistake 2: Setting zebra threshold too low or too high. A threshold of 70% or 80% is common for video log profiles. For stills, it will trigger zebras on perfectly fine highlights like specular reflections on water or metal. You will drive yourself crazy chasing false positives.
Set it to 100% and only worry about the areas that are truly at the limit.
Mistake 3: Leaving auto ISO on in manual mode. Many shooters run manual mode with auto ISO thinking it keeps exposure safe. The problem is that auto ISO adjusts for the overall scene, not for the highlights. When the scene is high contrast, auto ISO can push ISO down enough that the highlights still clip because the shutter and aperture are fixed.
You end up with underexposed shadows and blown highlights. Switch to manual ISO when you care about highlight detail. Or use the highlight-weighted metering mode if your camera has one.
If overexposure keeps happening across multiple lenses, checking lens communication can rule out a hardware metering error.
Real-World Fixes for Tricky Lighting (Snow, Backlight, White Backgrounds)
Certain lighting situations make overexposure almost guaranteed if you use default settings. These three scenarios come up constantly.
Snow and sand. Bright reflective surfaces fool every metering system. The camera sees white and tries to make it middle gray, which underexposes the scene. But if you use automatic exposure or a semi-auto mode and add compensation, you often push the highlights over the edge.
The fix is to switch to manual exposure. Spot meter off a neutral tone like dry pavement or green grass. Use that reading to set your exposure.
Then recompose on the snow. The snow will appear bright but not blown. Alternatively, use highlight-weighted metering, which is available on many contemporary mirrorless bodies from Sony, Nikon, and Canon.
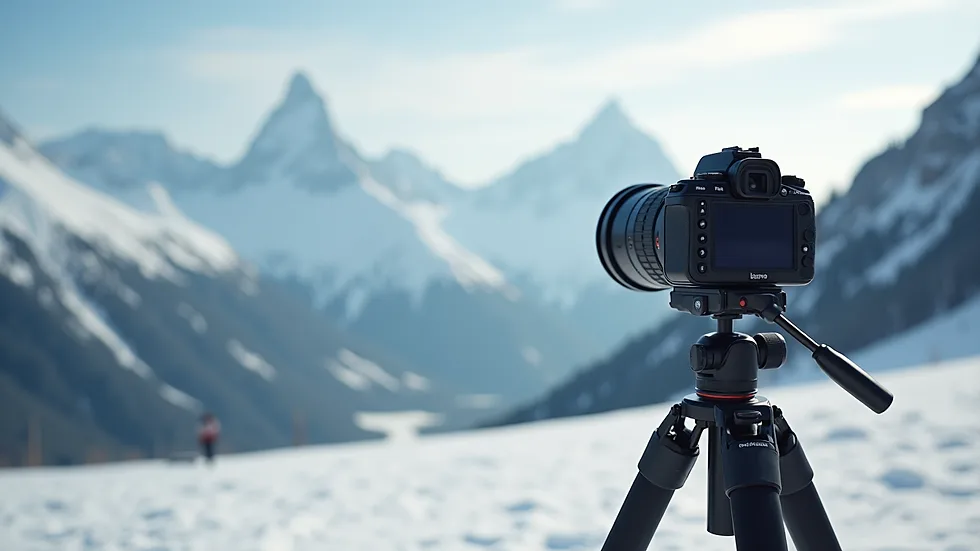
Image source: Bing (Web (fair-use with source credit))
Backlit subjects. A person standing in front of a bright window or sunset. The camera meters the overall scene and exposes for the bright background. The subject becomes a dark silhouette.
If you add exposure compensation to brighten the subject, the background clips completely. The solution is to use spot metering on the subject's face. Lock that exposure.
Then reshoot. If the background is too blown, you need fill flash or a reflector. At least the subject is properly exposed.
White backgrounds in product photography. Shooting a white product against white seamless paper is a classic challenge. If you expose for the paper, the product goes dark. If you expose for the product, the paper clips and you lose the clean background.
The trick is to light the paper separately. Expose for the product using a gray card and manual settings. Then adjust the background lights until the paper is just one stop above the product.
Your zebra set at 100% will show you exactly when the paper clips, so you can back the background light down.
These three scenarios are where mirrorless overexposure troubleshooting becomes a real skill. Practice each one, and you will stop losing highlight detail for good. Standardized metering calibration from organizations like CIPA (Japan Camera and Imaging Products Association) confirms that reflective metering systems average to 18% gray, which explains why bright scenes need manual override.
Pro Settings to Set Up Once and Forget
Your camera has a few settings that can prevent overexposure before you even lift it to your eye. Set these once and leave them.
Zebra pattern at 100%. We covered this earlier. Make sure it stays on in both stills and video modes. Some cameras reset zebra per mode.
Check both.
Highlight-weighted metering. If your camera offers this mode, switch to it. Sony calls it Highlight metering. Fujifilm calls it High Key or spot with highlight priority.
Nikon offers it as Highlight-weighted metering. This mode biases the exposure to protect the brightest part of the frame. It will underexpose shadows to save highlights.
That is often the right trade. You can lift shadows in post. You cannot recover highlights.
Disable auto EVF brightness. Set the viewfinder to a fixed level. On a Sony body, this is under Setup and Display Options. On Canon, it is in the Viewfinder Display settings.
On Nikon and Panasonic, it is similarly buried. Find it. Turn off auto.
Set a function button to toggle zebra or histogram. Most bodies let you assign one of the custom buttons to switch between display overlays. Map it. This way you can toggle the histogram on and off without diving into menus.
For video shooters, enable false color. Panasonic, Nikon, and some Sony bodies offer false color view assist. It paints each brightness level a different color. Green is proper exposure.
Red is clipping. It is faster than reading zebra when you are moving fast.
These settings take five minutes to configure. They will save you hours of post-production work. If you also shoot with a DSLR as a backup body, the same zebra and metering principles apply.
Frequently Asked Questions
Why does my mirrorless viewfinder show a good exposure but the photo is overexposed?
The EVF auto-adjusts its brightness to be visible in different lighting. That adjustment hides clipping. Turn off auto EVF brightness.
Set it to a fixed level. Then trust the histogram and zebra pattern instead of what your eyes see.
What zebra percentage should I use for stills?
Set zebra to 100% for raw stills. This shows you the exact point where the sensor runs out of highlight headroom. For JPEG shooting, use 95%.
JPEGs clip slightly earlier than raw. For log video, drop to 70% or 80% depending on the profile.
Does exposure compensation work in manual mode?
No. Exposure compensation only works in semi-automatic modes. In aperture priority, it shifts the shutter speed.
In shutter priority, it shifts the aperture. In manual mode, you control all three variables directly. Adjust aperture, shutter speed, or ISO yourself to fix overexposure.
How do I stop highlights from blowing out in bright sunlight?
Use highlight-weighted metering if your camera has it. If not, switch to spot metering. Meter off the brightest part of your subject.
Lock that reading with AE lock. Then recompose and shoot. Alternatively, use a polarizing filter or neutral density filter to cut the light entering the lens.
Why does my mirrorless overexpose when I use auto ISO in manual mode?
Auto ISO in manual mode tries to expose the whole scene evenly. It does not prioritize highlights. In high contrast scenes, it pushes ISO down too far, letting the shutter and aperture clip highlights.
Switch to manual ISO. Or enable highlight metering. Then set your shutter and aperture for the depth and motion you need, and let ISO protect the highlights.

Similar Posts