Action Camera Exposure Troubleshooting
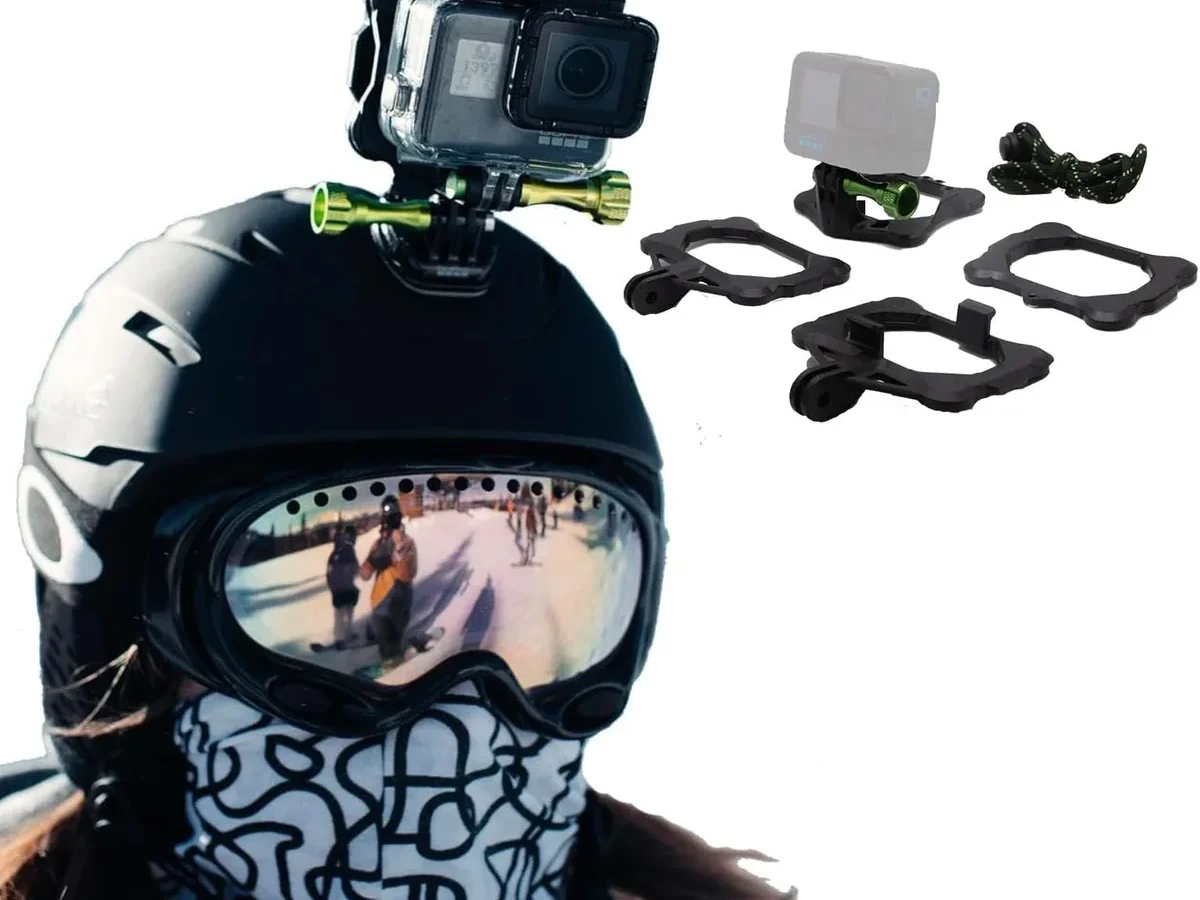
You flip the camera on, hit record, and the footage comes out looking like a mess. That's the moment action camera exposure troubleshooting becomes your new best friend. Whether you're biking through a snowy trail or filming underwater, getting the exposure right is surprisingly tricky.
Most action cameras have a fixed f/2.8 aperture, which means you can't stop down the lens to block light. That leaves you with just two controls on the camera body: shutter speed and ISO. Per GoPro's official specs, the HERO12 can handle up to 13 stops of dynamic range, but you still need the right settings to capture those highlights and shadows.
Let's walk through the most common exposure problems and exactly how to fix them.
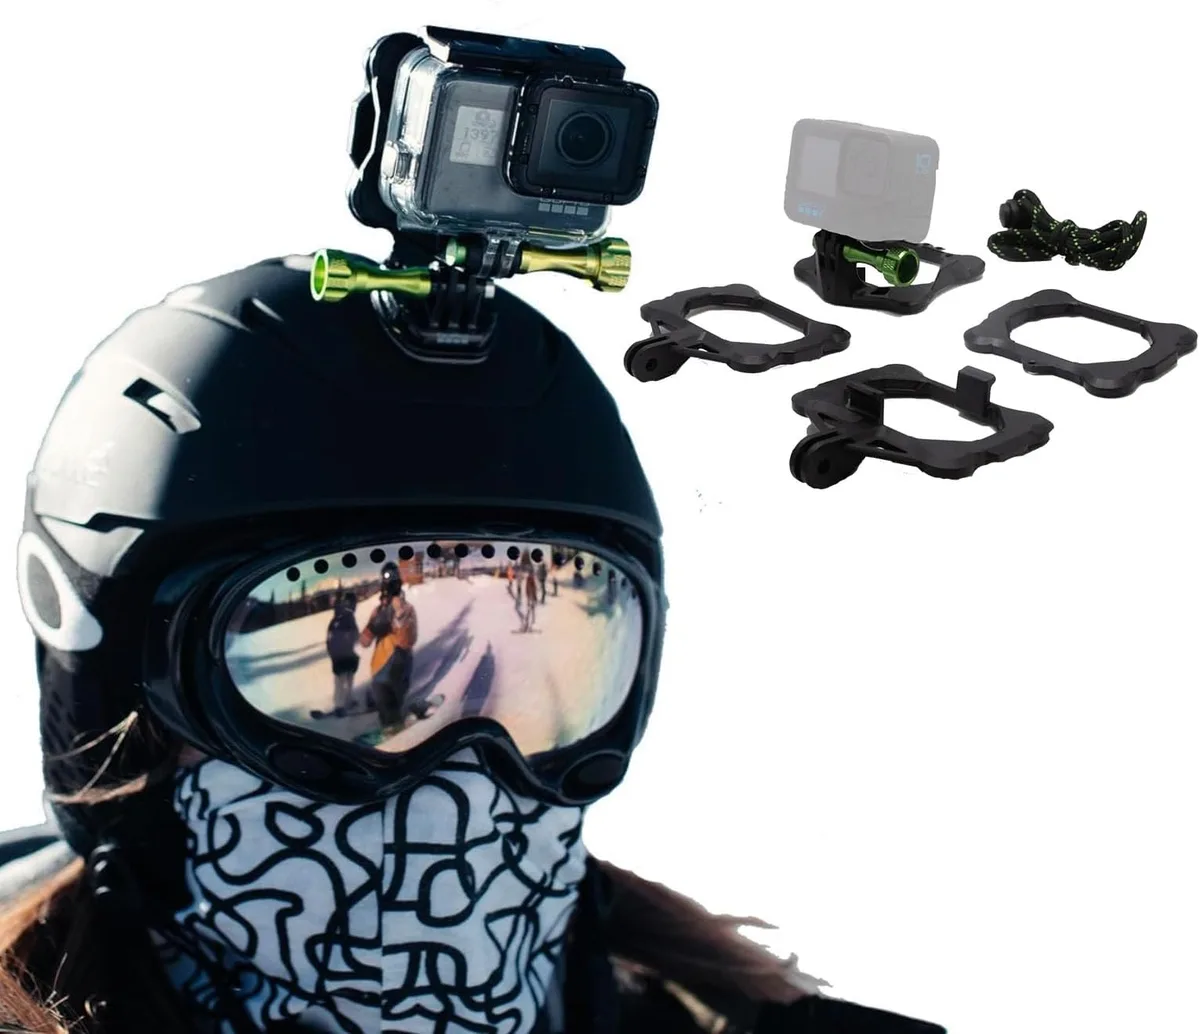
Image source: Web (Bing) / amazon.co.uk (Web image (fair-use with source credit))
Quick Answer
Review your footage for blown highlights or muddy shadows. Use AE lock to hold a stable exposure across a scene. Adjust EV compensation by one or two stops as needed.
Enable zebra stripes to catch clipping in real time. Add an ND filter when filming in direct sunlight.
What's Your Exposure Problem? (Diagnose It Here)
The first step is figuring out what you're actually seeing. Action cameras have limited manual control compared to mirrorless cameras, but the same diagnostic logic applies. If you've dealt with tricky lighting on other cameras, our guide to handling tricky lighting on other cameras covers the general principles.
Here's a quick diagnostic table based on what you see in the footage:
| What You See | Likely Problem | Quick Fix Path |
|---|---|---|
| Sky is pure white, no cloud detail | Overexposed highlights | EV comp -1 or -2, try ND filter |
| Face or subject is dark, background is bright | Backlight underexposure | Spot meter on subject, EV comp +1 |
| Video gets brighter then darker as you pan | Auto-exposure hunting | Use AE lock or switch to manual |
| Everything looks dark, even in daylight | Underexposed shadows | Raise ISO, use EV comp +1 or +2 |
| Skin tones look green or blue under indoor lights | Wrong white balance | Lock white balance to 3200K or 5600K |
If highlights have no recoverable detail, you have overexposure. If shadows are flat black with no texture, you have underexposure. If brightness changes while you stand still and pan, your auto-exposure is hunting.
Each problem has a different fix, so knowing which one you have makes everything easier.
Our research shows the most common mistake is confusing overexposure with backlighting. A backlit subject looks underexposed, but the background is fine. Fixing it with global EV compensation makes the whole scene dark.
That's why spot metering or exposure lock is so important.
Quick Fixes: AE Lock and Exposure Compensation
Two features on every action camera solve 80 percent of exposure headaches instantly. AE lock and exposure compensation do not require diving into manual mode or buying extra gear.
AE lock holds whatever exposure reading you set. Point the camera at the brightness you want. Press the lock button or hold the shutter halfway, then recompose.
The exposure stays the same even if you move into a darker or brighter area. This is the best fix for filming a rider moving from sun into shade.
On most GoPro models, AE lock is in the ProTune menu under the exposure icon. DJI Osmo Action cameras have it in the swipe-down quick menu. Insta360 Ace Pro users find it in the exposure settings panel.
The location varies, but the logic is identical across brands.
Exposure compensation tells the camera to make the whole frame brighter or darker by a set amount. It works in auto or semi-auto modes. Dial it to -0.7 or -1.0 for bright snow or sand.
Dial it to +0.7 or +1.0 for dark indoor scenes or backlit subjects. Each click is a third of a stop.
| Scene Type | Recommended EV Comp |
|---|---|
| Bright snow, white sand | -0.7 to -1.3 |
| Overcast day | 0.0 (no change) |
| Backlit face, outdoors | +0.7 to +1.0 |
| Indoor room with windows | +1.0 to +1.3 |
| Night or low light | +1.3 to +2.0 |
Using EV compensation with AE lock gives you full control without going manual. Lock the exposure on the brightness you want, then adjust compensation to fine-tune. It takes about five seconds and makes a bigger difference than any other single setting change.
Dealing with Overexposed Footage (Snow, Beach, Bright Sun)
Overexposure is the single most common problem with action cameras. The fixed aperture means you cannot stop down the lens. The sensor fills up with light quickly.
Snow, beach sand, and bright roads are the worst offenders.
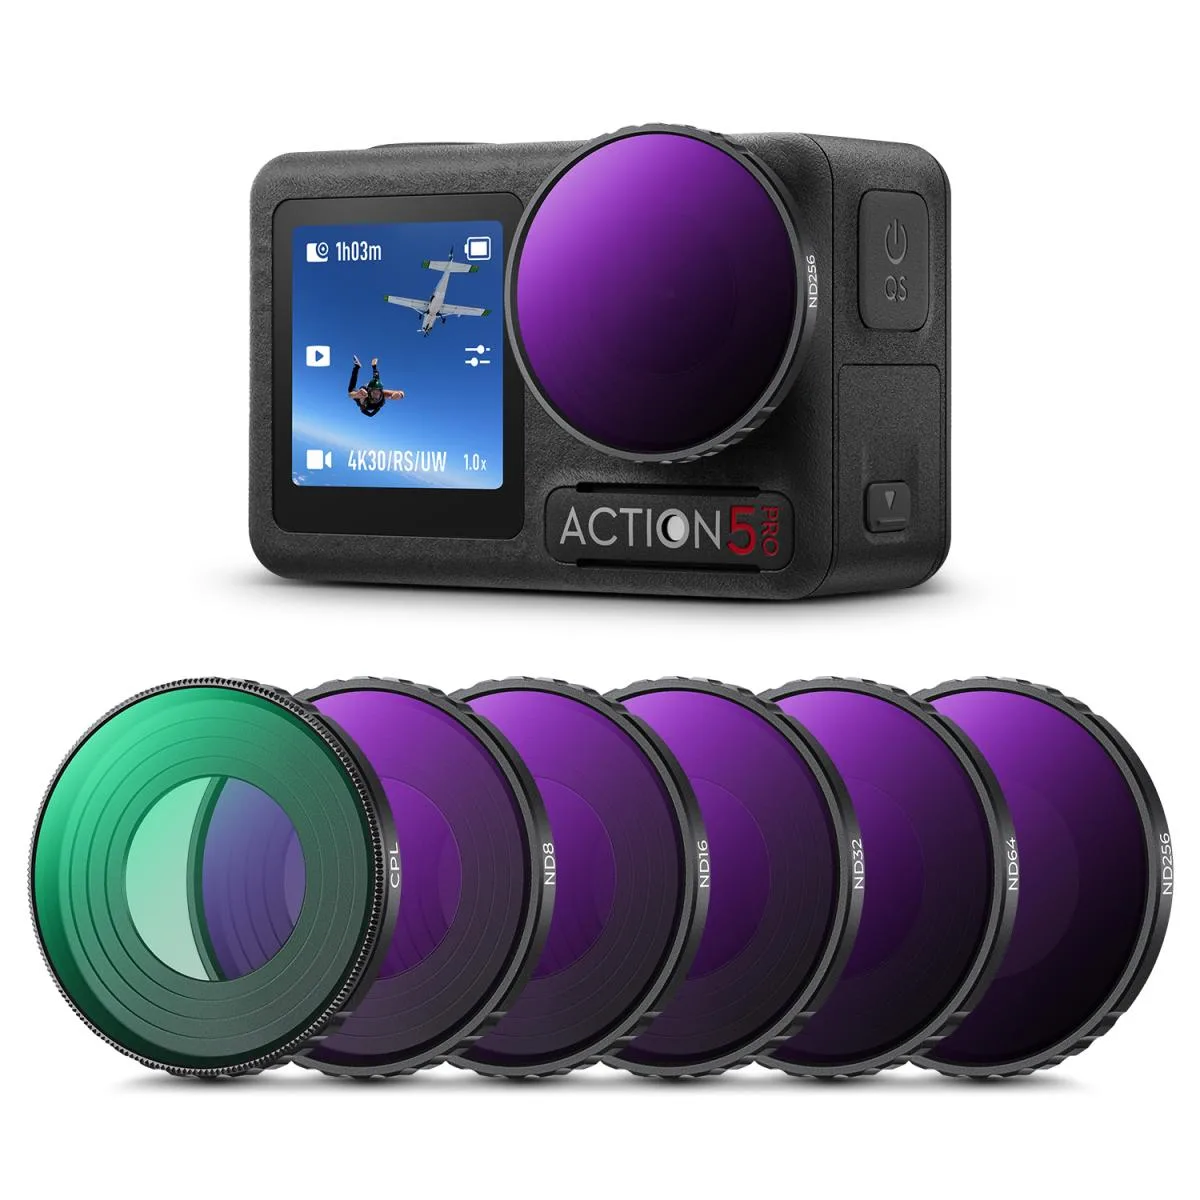
Image source: Bing (Web (fair-use with source credit))
The first fix is EV compensation. Dial it to -1.0 and check the histogram. If highlights still touch the right edge, go to -1.3 or -1.7.
If you are still clipping, you need an ND filter.
ND filters reduce the light entering the lens without changing the color. They screw onto the camera housing or mount via an adapter. This lets you use a slower shutter speed, which keeps motion blur natural and avoids the hyper-sharp staccato look of fast shutter speeds.
Most action cameras have a fixed f/2.8 aperture and a sensor that works best between ISO 100 and ISO 400. In bright sunlight, shutter speed can exceed 1/2000th of a second. That creates jittery looking motion and flickering highlights.
| Light Condition | ND Filter | Stops Reduced | Shutter at 30 fps |
|---|---|---|---|
| Bright sun, snow, beach | ND16 or ND32 | 4 to 5 stops | 1/60 |
| Partly cloudy | ND8 | 3 stops | 1/60 |
| Overcast, open shade | ND4 | 2 stops | 1/60 |
| Very bright, mid-day desert | ND64 | 6 stops | 1/125 |
The 180-degree shutter rule says you want your shutter speed to double your frame rate. For 30 fps, aim for 1/60. For 60 fps, aim for 1/120.
An ND filter makes that possible without blowing out highlights. Without the filter in bright sun, your camera is forced to use an ultra-fast shutter that ruins the cinematic look and clips the highlights.
Fixing Underexposed and Backlit Scenes
Underexposure feels less dramatic than overexposure, but it ruins almost as much footage. Shadows get noisy. Faces become silhouettes.
The video looks flat and lifeless. Backlit scenes are the biggest cause.
When the subject is in front of a bright window or the sky, the camera's auto-exposure tries to balance the whole scene. It exposes for the bright background and leaves the foreground dark. The camera does not know the person's face matters more than the window.
The fastest fix is spot metering. Change the metering mode from matrix or evaluative to spot. The camera measures exposure from a small circle in the center of the frame.
Place that circle over your subject's face or the main object. The background might blow out slightly, but the subject will be visible and clean.
If spot metering is not available on your model, use AE lock. Walk closer to the subject. Fill the frame with their face or the main object.
Lock the exposure, then pull back and compose. The exposure stays set to the darker subject, not the bright background.
EV compensation of +0.7 to +1.3 also helps. It tells the camera to make the whole image brighter. This works well when the backlight is mild, but it also brightens the background.
In strong backlight, the background will clip to white. Spot metering handles this better.
For low light scenes like indoor climbing or evening rides, raise the ISO. Most action cameras are clean at ISO 100 to 400, acceptable at ISO 800, and noisy at ISO 1600 and above. Bump the ISO to 800 first, then check the image.
If it is still dark, go to 1600 but accept the grain.
Underwater, exposure rules shift completely. Water absorbs red light first, so footage looks blue-green after just a few feet. Auto-exposure compensates but often makes the image too bright or too dark.
Set manual white balance to underwater mode if available, or set it between 6000K and 7000K for shallow depths. For deeper dives, use a red filter over the lens housing. Exposure compensation underwater typically needs +0.3 to +0.7 stops.
Water scatters light and tricks the meter into underexposing.
Stopping Auto-Exposure from Hunting While You Film
Auto-exposure hunting happens when the camera constantly re-evaluates the scene and adjusts brightness. It is most noticeable when you pan across a scene with mixed light. The fix is simple: lock the exposure before you start recording.
Point the camera at the brightness you want. Engage AE lock. Then hit record.
The camera holds that exposure for the entire clip, even when you pan into shade or bright sky.
On GoPro cameras, map AE lock to the front button in ProTune settings. On DJI Osmo Action models, the lock icon is in the swipe-down menu. Insta360 Ace Pro has it in the exposure panel.
Once locked, the setting stays until you unlock it or power off.
But what if you are filming a moving subject that goes from shade to sun? The exposure lock will not compensate, so the subject will overexpose when they hit the bright area. In that case, change your metering mode rather than lock the exposure.
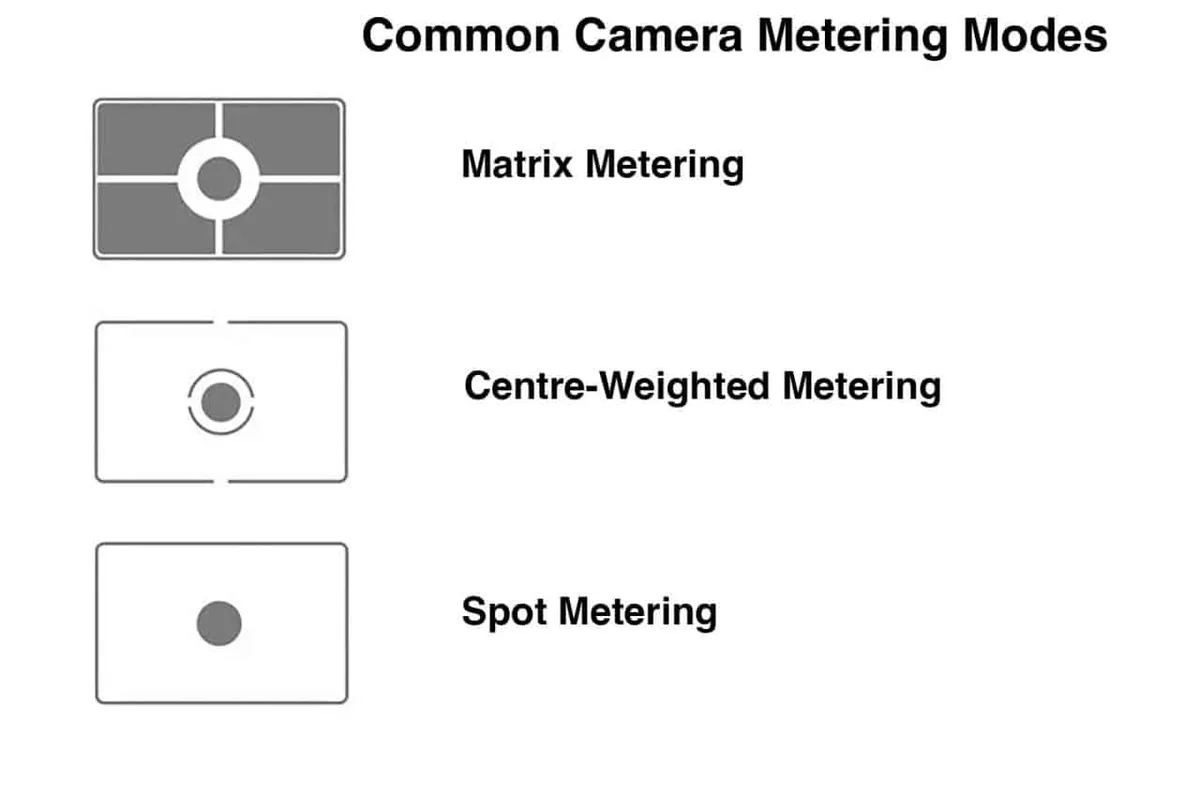
Image source: Web (Bing) / lenscraft.co.uk (Web image (fair-use with source credit))
Metering modes control how the camera reads the light.
- Matrix or evaluative metering measures the whole frame and averages it. Good for even light. Bad for mixed scenes.
- Center-weighted metering measures the center of the frame and ignores the edges. Better for following a subject in mixed light.
- Spot metering measures a tiny circle in the center. Best for keeping a single subject exposed correctly.
For a subject moving from shadow to sunlight, switch to center-weighted metering. The camera prioritizes the middle of the frame, where your rider or walker usually is. The edges will shift brightness, but the subject stays consistent.
If your camera still hunts after switching modes, you may have a white balance issue triggering the exposure shift. Auto white balance can cause the camera to adjust exposure when it misreads a color temperature change. Locking white balance stops this false triggering.
For the most stable results in mixed lighting, use a flat or log color profile. ProTune on GoPro, D-Log or D-Cinelike on DJI, and flat profiles on Insta360 all reduce contrast range. The camera does not push highlights as hard, so auto-exposure has less work to do.
You lose some pop out of camera, but you gain much smoother exposure. The histogram is the only reliable tool here. Keep the waveform in the middle third of the range.
Pushing too far right clips highlights even in a flat profile.
Common Mistakes That Wreck Your Action Cam Footage
Even with the right settings, a few habits can ruin your footage. These are the most common errors reported across user reviews and forums.
Relying on full auto mode in challenging light. Auto mode works great for consistent daylight. Put your camera in snow, backlight, or mixed indoor lighting, and auto-exposure will fail. Switch to ProTune or manual controls for exposure settings.
You do not need full manual. Locking the exposure or adjusting EV compensation is enough.
Ignoring the histogram and zebra stripes. You cannot judge exposure from a tiny screen in bright sunlight. The histogram shows the tonal range from black to white. A spike on the right means clipped highlights.
A spike on the left means blocked shadows. Zebra stripes overlay on the screen to show exactly which areas are overexposed. Turn both on.
They take two seconds to enable.
Using too high an ISO. Action cameras have small sensors. ISO 1600 looks grainy. ISO 3200 looks like sandpaper.
Many owners leave ISO on auto and let the camera push it up in dim light. Set a maximum ISO of 800 for daytime and 1600 for low light. Accept that some scenes need more light, not more gain.
Forgetting to clean the lens housing. A single fingerprint or water spot scatters light unevenly across the sensor. The camera meters the spot as a bright area and underexposes the rest of the frame. Wipe the housing with a microfiber cloth before every session.
Leaving ND filters on in low light. ND filters cut light by two to six stops. If you leave an ND16 on at sunset, your camera pushes ISO to 3200 or 6400 to compensate. The footage comes out noisy and dark.
Remove the ND filter when light drops below bright sun.
Changing settings while recording. Every touch of a setting mid-clip causes a visible brightness jump. Plan your settings before you press record. Stop, adjust, and start a new clip if needed.
Frequently Asked Questions
Why does my action camera footage look washed out?
Washed out footage usually comes from overexposure or a flat color profile. Check your highlights. If the sky is pure white, dial EV compensation down by one stop.
Flat profiles need color grading in editing. For out-of-camera footage, use a standard color profile instead.
Can I use manual shutter speed on an action camera?
Most action cameras let you set manual shutter speed in a pro mode. GoPro ProTune, DJI M mode, and Insta360 Pro mode all support it. Set shutter speed to double your frame rate for natural motion blur.
In bright light, an ND filter is required to avoid overexposure.
What is the best metering mode for action cameras?
Matrix metering works well for evenly lit scenes. Switch to center-weighted metering when following a subject in mixed light. Use spot metering for a single subject against a bright background.
There is no single best mode. The correct choice depends on your scene and subject position.
How do I stop my GoPro from overexposing in snow?
Set EV compensation to -1.0 or -1.3 in the ProTune menu. Enable zebra stripes to check for clipped highlights. If the image is still too bright, add an ND16 or ND32 filter to the housing.
Lock the exposure on the snow before you start recording.
Why does my action camera exposure keep changing while I record?
The auto-exposure system re-evaluates the scene constantly. When you pan across a bright sky into a dark tree line, the camera adjusts. Use AE lock to hold the exposure for the whole clip.
For moving subjects in mixed light, switch to center-weighted metering to stabilize readings.
Do I need an ND filter for my action camera?
An ND filter is not mandatory, but it makes a visible difference in bright conditions. It lets you use the 180-degree shutter rule for smooth motion blur. Without it in full sun, shutter speed climbs past 1/2000th of a second, giving you a jittery, hyper-sharp look.
A three-pack of ND4, ND8, and ND16 covers most lighting.

Similar Posts