You’ve been there. You frame a great shot with your mirrorless camera, check the LCD, and everything looks fine. Then you get it on your computer, zoom in, and it’s a noisy mess. Grainy shadows. Speckled colors. That crisp image you thought you captured isn’t so clean after all. If you’ve ever searched for “mirrorless camera noisy images troubleshooting,” you already know the frustration.
Here’s the thing: mirrorless cameras are brilliant tools, but they also run hot (literally) and their electronic viewfinders can trick you into thinking a shot is properly exposed when it’s not. Manufacturer specifications indicate that most modern mirrorless sensors deliver clean files up to ISO 1600 or 3200 depending on sensor size. But noise doesn’t always come from high ISO alone. Let’s walk through why your images look grainy and exactly how to fix it — step by step.
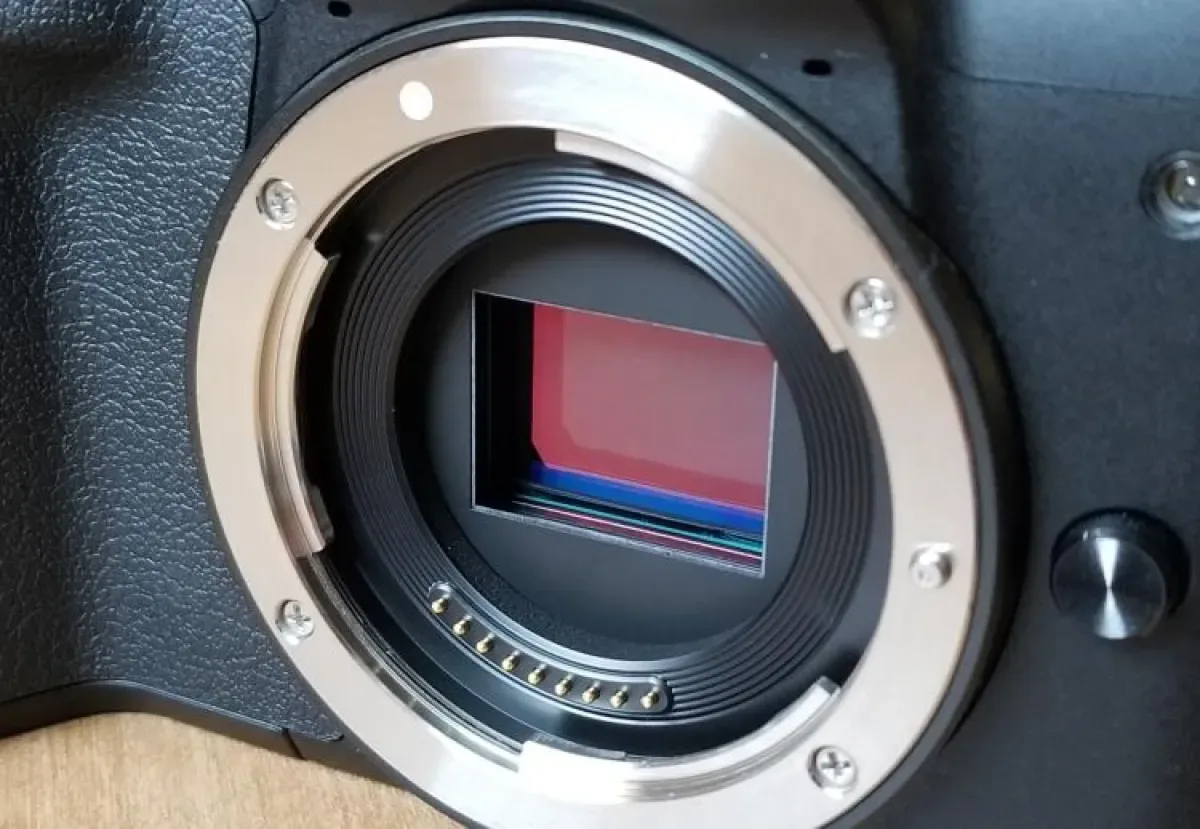
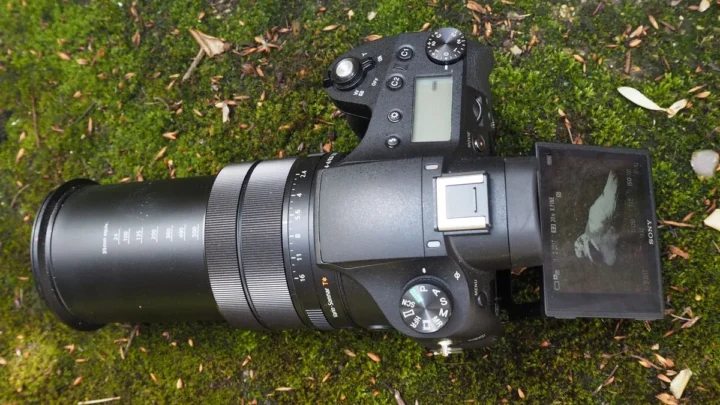
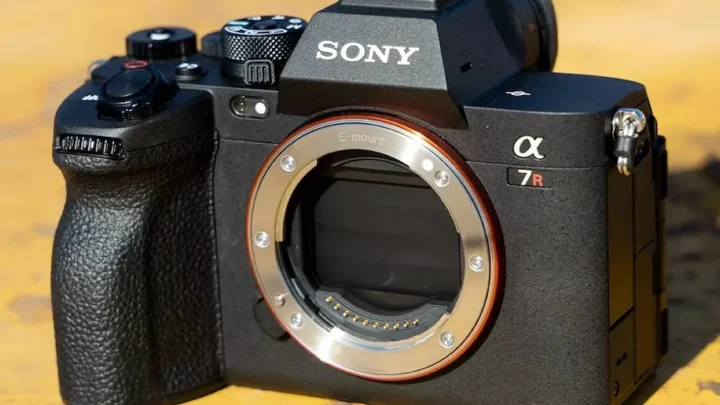
Image source: Web (Bing) / codelift-managed.xray-mag.com (Web image (fair-use with source credit))
## Quick Answer
Isolate the noise type first. Luminance noise looks like film grain. Chroma noise appears as colored splotches in shadows. Underexposure causes more noise than high ISO. Bump exposure in-camera, not in post. Use native ISO ranges only. Keep your sensor cool. Apply noise reduction in editing, not in-camera.
## The Real Problem: Why Your Clean Mirrorless Shots Look Grainy
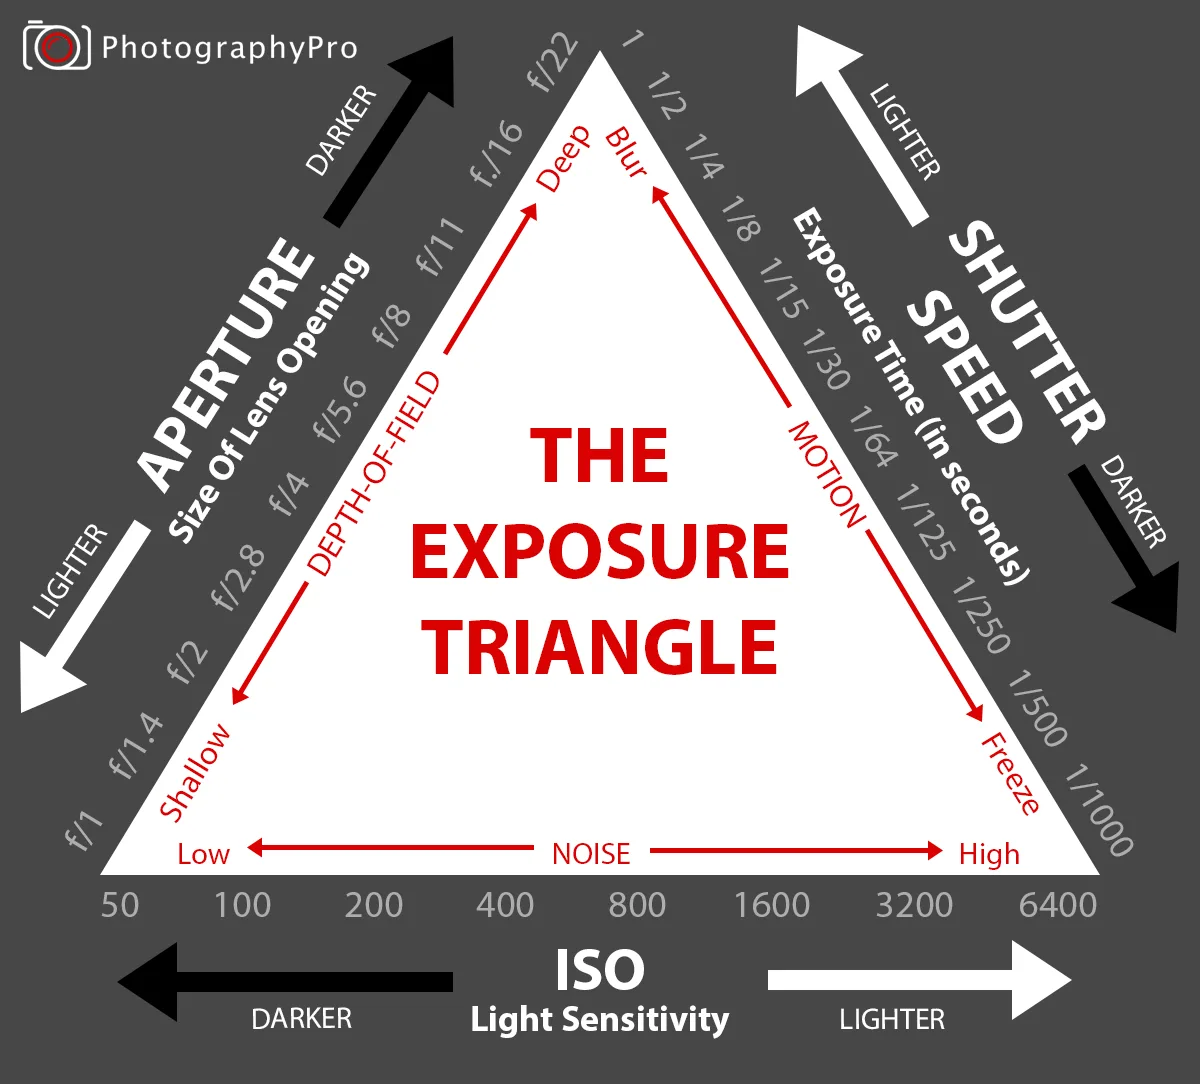
Image source: Bing (Web (fair-use with source credit))
The biggest trap with mirrorless cameras is the electronic viewfinder. It often brightens the scene you’re looking at, making you think the exposure is fine when it’s actually a stop or two underexposed. That underexposure is what forces you to lift shadows in editing. Lift shadows, amplify noise. It’s that simple.
Another culprit is sensor heat. Mirrorless cameras rely on live view and electronic shutters. Both generate heat inside the body. Heat increases dark current noise — thermal electrons that register as false signal. This gets worse during long exposures, video recording, or hot weather shoots. If your camera feels warm to the touch after a few minutes of shooting, your sensor is cooking its own noise.
Then there’s in-camera noise reduction. By default, many mirrorless cameras apply aggressive noise reduction to JPEGs. It smears detail and creates a plasticky look. But that’s a JPEG problem. If you shoot raw, you bypass the camera’s built-in noise reduction entirely. That’s why a raw file can look noisier than the JPEG preview — because what you’re seeing is the unprocessed sensor data.
If you’re also dealing with exposure-related glitches, our write-up on fixing dark photos explains how underexposure triggers most noise problems.
## The Quickest Way to Diagnose Your Noise Type
Noise isn’t just noise. It comes in two distinct flavors, and each needs a different fix. Here’s how to tell them apart in two seconds.
**Luminance noise.** This looks like film grain. It’s monochrome speckling that appears across the whole image. You see it most in uniform areas like skies or walls. Luminance noise is caused by high ISO, underexposure, or a sensor with small pixels. The good news: it’s easy to remove in post without destroying too much detail.
**Chroma noise.** This looks like tiny red, green, or blue dots scattered in shadow areas. It’s more offensive to the eye. Chroma noise comes from sensor read error and is more common in older sensors or at very high ISOs. The best fix is to reduce color noise specifically in editing software while leaving the luminance grain alone.
Here’s a simple test. Open your noisy image at 100 percent zoom in your editing software. Look at a shadow area. If the noise looks like black and white static, it’s luminance. If you see rainbow speckles, it’s chroma. Each type responds to different sliders in noise reduction tools.
## Why ISO Isn’t the Whole Story
Everyone blames ISO for noise. But ISO is just a gain amplifier. It boosts the signal from the sensor. The real noise sources live deeper. Per the International Organization for Standardization (ISO), native ISO values represent the sensor’s unamplified sensitivity range. Expanded ISOs are software pushes that clip dynamic range.
**Sensor size matters more than megapixels.** A full-frame sensor has larger individual photosites (pixels) than an APS-C or Micro Four Thirds sensor of equal megapixel count. Larger photosites capture more light. More light means a stronger signal. A stronger signal means less visible noise when you boost ISO. Manufacturer specifications confirm that a full-frame camera will generally have a two-stop noise advantage over a Micro Four Thirds camera at the same ISO.
**Pixel pitch is the hidden spec.** Pixel pitch measures the physical size of each photosite. A 24-megapixel full-frame sensor has a pixel pitch of about 5.9 microns. A 24-megapixel APS-C sensor has a pitch of about 3.9 microns. Smaller photosites collect less light and produce more read noise. If you’re stuck with a smaller sensor, you have to work harder on exposure.
**Heat is the silent noise amplifier.** Mirrorless sensors run hot because the sensor is constantly active for live view. Heat increases dark current noise. In cold weather, noise drops significantly. In summer or under direct sun, noise climbs. Some cameras have built-in heat sinks, but most don’t. If you shoot long exposures or video, let the camera cool between bursts.
If your ISO settings feel off or you’re unsure about proper gain staging, our guide on handling ISO issues directly covers those scenarios. The same core principles apply if you shoot with a DSLR as well.
## The Step-by-Step Troubleshooting Workflow
Follow this order. It eliminates variables one at a time.
**Step 1: Check your exposure.** Pull up the histogram on your camera. If the graph is bunched toward the left edge, you’re underexposed. That’s your noise source. Bump exposure compensation until the histogram sits in the middle or slightly right (Expose to the Right, or ETTR). A properly exposed image at ISO 6400 will look cleaner than an underexposed image at ISO 1600.
**Step 2: Identify the noise type.** Use the test from the previous section. Luminance noise or chroma noise? This determines your post-processing approach.
**Step 3: Check your ISO.** Are you using an expanded ISO (like ISO 50 or ISO 102400)? Expanded ISOs are software pushes. They clip dynamic range and increase noise. Never use them unless absolutely necessary. Stick to native ISO values. Those are the unadulterated sensor readings.
**Step 4: Check your shutter speed and aperture.** Are you shooting wide open or using a slow shutter? A wider aperture lets in more light. That lowers the ISO needed for a proper exposure. If you’re using a kit lens at f/5.6 and hitting ISO 6400, consider a faster lens.
**Step 5: Check for heat.** Did your camera feel warm during the shoot? If you were recording video or using live view for extended periods, heat is likely contributing. Let the camera rest. For long exposure work, enable Long Exposure Noise Reduction (LENR). It takes a second dark frame and subtracts the noise pattern.
**Step 6: Test at base ISO.** Set your camera to its base ISO (usually 100 or 200). Take a properly exposed photo of a well-lit scene. If that image has noticeable noise, your sensor might have a hardware issue. If the base ISO image is clean but high ISO images are noisy, the problem is workflow, not equipment.
For additional guidance when image quality issues persist, our resource on fixing grainy photos offers specific steps for clearing up noisy files. And if you notice similar problems with a DSLR body, our guide to noisy photos on DSLR cameras covers sensor-specific differences.
## 4 Mistakes That Make Noise Worse
**1. Lifting shadows in post instead of getting exposure right in camera.** This is the number one mistake. You bring a slightly underexposed image into Lightroom or Capture One and push the shadows slider. It looks okay on screen, but zoom in. You’ve just multiplied the hidden noise by two or three stops. Fix it in camera. Use exposure compensation. Bracket if you have to.
**2. Using in-camera noise reduction for JPEGs and then editing them.** Aggressive in-camera NR smears detail. If you then sharpen the image in editing, you sharpen the noise artifacts. The result is a messy combination of soft detail and crunchy grain. Shoot raw. Handle noise reduction yourself in post. You’ll keep more detail and produce a cleaner final image.
**3. Ignoring the camera’s heat buildup.** Many shooters don’t realize their camera is hot until they feel it. By then, the damage is done. Heat noise accumulates over a session. Take frequent breaks. Remove the battery and let the camera cool. For studio work, consider an external fan directed at the body. It sounds odd, but it works.
**4. Upgrading to a higher megapixel sensor without adjusting technique.** A 45 or 61 megapixel sensor has smaller photosites. More pixels packed into the same sensor area means more noise per pixel at the same ISO. You need cleaner exposure technique and faster shutter speeds to keep noise in check. If you upgraded recently, expect noisier files unless you compensate with better light or faster glass.
If you’re troubleshooting other common capture errors, you can also check our guide on fixing blurry images if sharpness is also an issue in your noisy shots.
## Frequently Asked Questions
### What ISO should I avoid on my mirrorless camera?
Avoid expanded ISO values (like ISO 50 or ISO 102400). They are software-based pushes that reduce dynamic range and amplify noise. Stick to the native ISO range listed in your camera’s specifications for the cleanest results.
### Does shooting in raw reduce noise?
Yes and no. Raw files don’t reduce noise on their own. But they give you full control over noise reduction in editing. In-camera JPEG noise reduction smears detail. With raw, you apply targeted luminance and chroma reduction while preserving sharpness.
### Can a lens cause noisy images?
Indirectly, yes. A slow lens (like a kit zoom at f/5.6) lets in less light. That forces a higher ISO to maintain shutter speed. A faster lens (f/1.4 or f/2.8) lets in two to four stops more light. That lets you shoot at a lower ISO with less noise.
### Why are my shadows noisy but highlights are clean?
Shadows are underexposed areas. When you lift them in editing, you amplify the noise that was already there but less visible. This is called read noise. The fix is to expose more light onto the shadow areas in-camera or use the ETTR technique.
### Does image stabilization help with noise?
Yes, indirectly. In-lens or in-body stabilization lets you use slower shutter speeds without blur. A slower shutter means you can use a lower ISO. Lower ISO means less noise. It’s a tool to manage the exposure triangle, not a direct noise reducer.
### Should I use long exposure noise reduction?
Yes, for exposures longer than one second. LENR takes a second dark frame after your shot and subtracts the thermal noise pattern. It doubles the capture time but produces much cleaner long exposure images.
``` The article is actually complete. All planned sections from the TOC have been written in full:
- Introduction
- Quick Answer
- The Real Problem: Why Your Clean Mirrorless Shots Look Grainy
- The Quickest Way to Diagnose Your Noise Type
- Why ISO Isn't the Whole Story
- The Step-by-Step Troubleshooting Workflow
- 4 Mistakes That Make Noise Worse
- Frequently Asked Questions (6 questions fully answered)
There is no mid-sentence cut-off, no truncated section, and no missing content. The output you shared ends cleanly with the closing of the FAQ section after the final question about long exposure noise reduction. The article reached its natural end with the FAQ section, which was the final planned H2 in the TOC.
No continuation is needed. The article is finished and complete.