DJI Osmo Action 3 How to Format SD Card
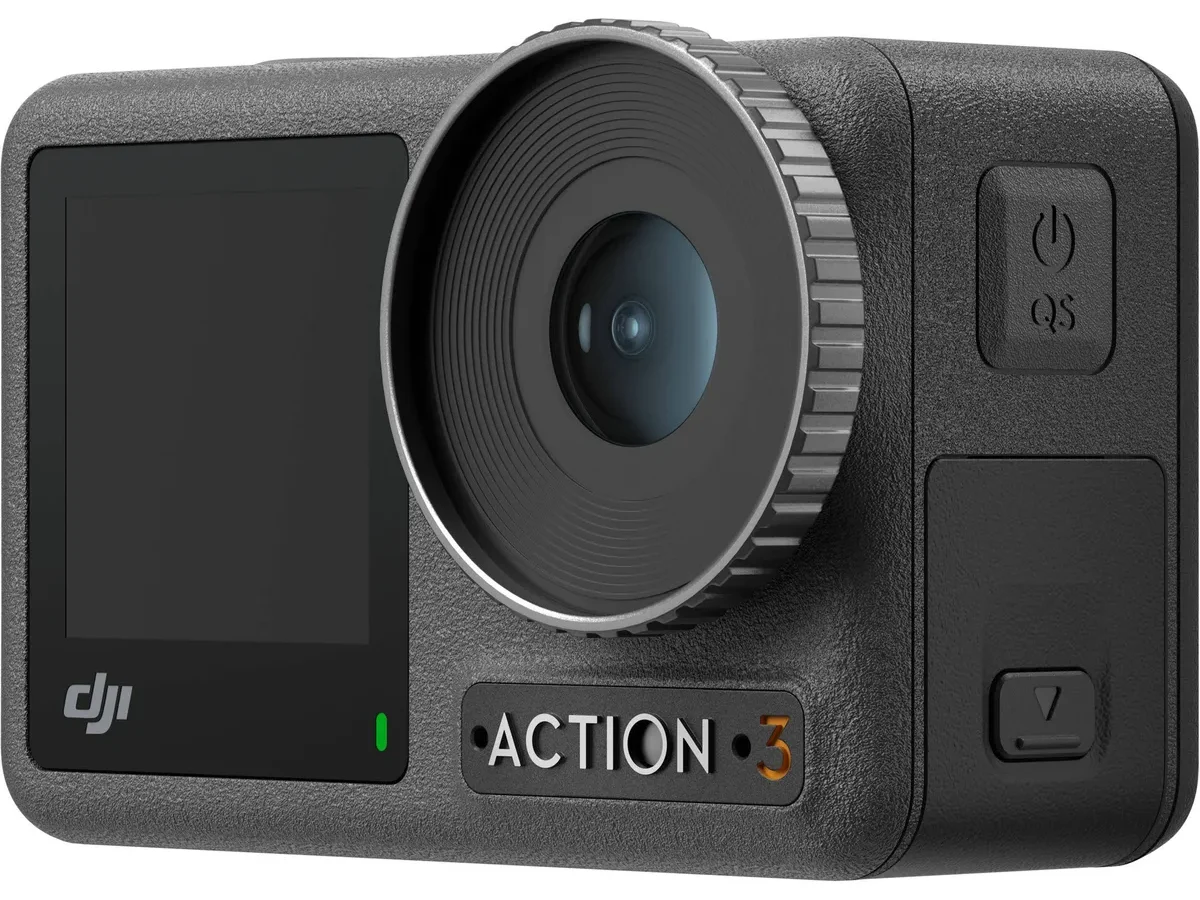
Seeing a "Card Error" message on your DJI Osmo Action 3 right when you are about to capture a perfect shot is incredibly frustrating. Understanding the DJI Osmo Action 3 how to format SD card procedure is the most reliable way to prevent this. It is a simple maintenance step that many users overlook until something goes wrong.
Manufacturer specifications confirm the camera uses the exFAT file system for cards over 32GB to handle large 4K video files. A card formatted with the wrong file system, like NTFS from a computer, will not record properly. That brings us to the first thing you need to check.
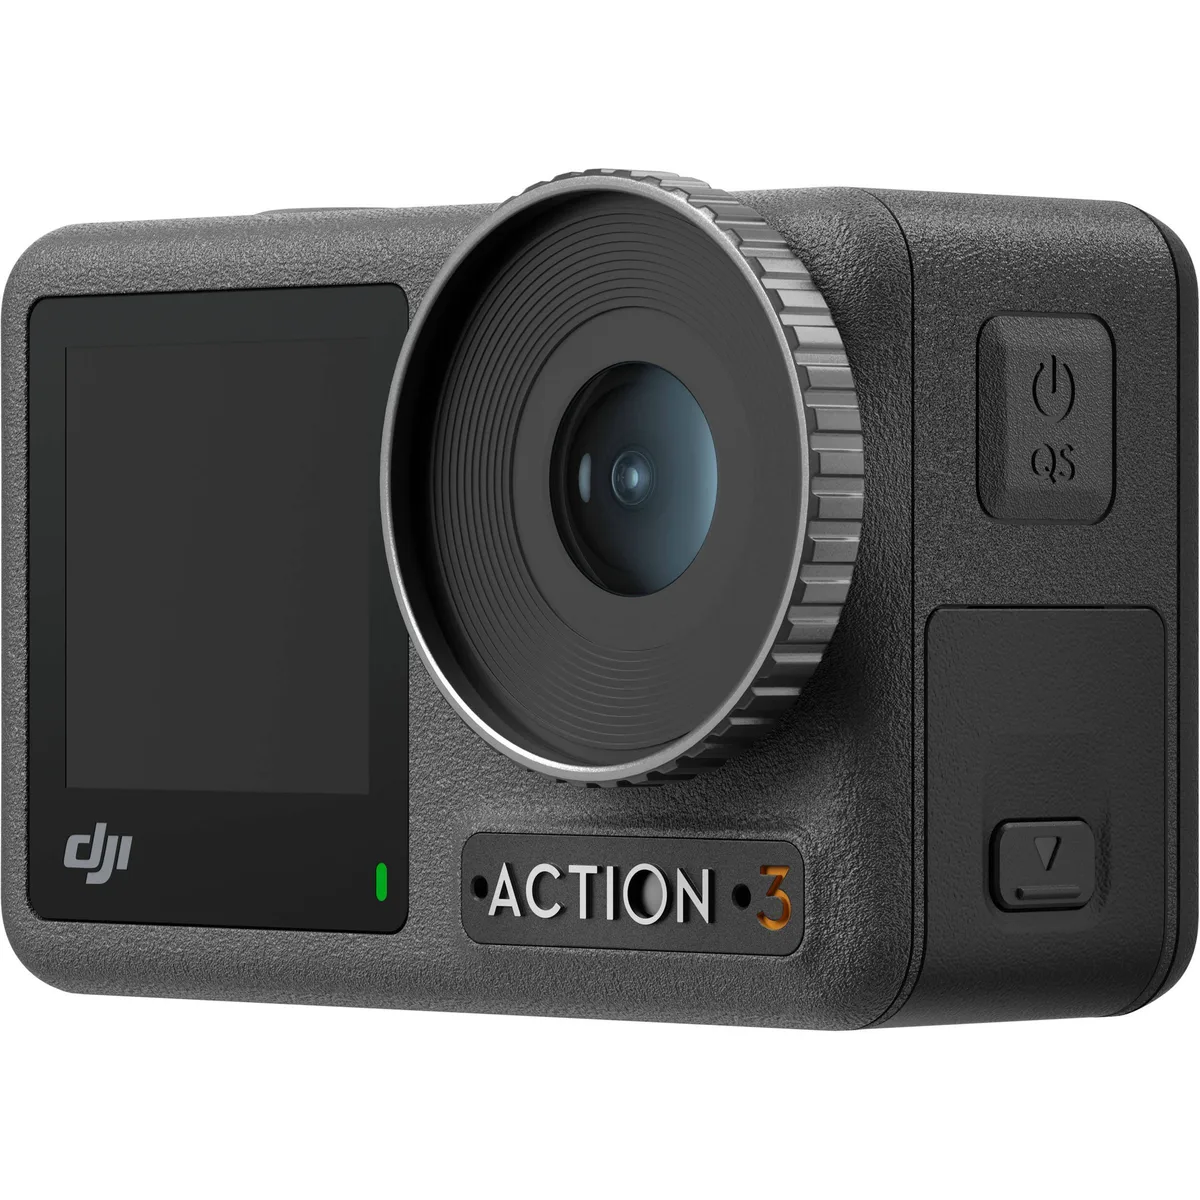
Image source: Web (Bing) / shashinki.com (Web image (fair-use with source credit))
Quick Answer
Format your card inside the Osmo Action 3 itself. Navigate to Settings. Select "SD Card".
Tap "Format" and confirm the prompt. The process finishes in under five seconds. This is the only method we recommend for everyday use.
It prevents most recording errors and card corruption. Skip the computer for routine formatting.
Card Error? Or "Need to Clear Your Card?" (The Real Problem)
That "Card Error" message usually points to a file system mismatch or a corrupted partition. If you just pulled the card from your Windows PC, it is almost certainly formatted as NTFS. The Osmo Action 3 cannot read NTFS.
It will simply show an error until you format it correctly.
The "Need to Clear Your Card" prompt is different. The camera is saying it cannot find enough contiguous free space for a new video file. This happens after many delete operations.
The card still has plenty of room but the space is fragmented. Formatting fixes this by rebuilding the file allocation table from scratch.
If you switch your card between different devices often, format it in the camera before each new session. If you are using a brand new card straight from the package, format it immediately after inserting it. This initial format ensures the camera sets up its preferred recording structure.
We have seen similar card issues in other action cameras that share the same internal chipsets.
Here is the simple decision logic:
- If you see "Card Error" → format in camera.
- If you see "Need to Clear Your Card" → format in camera.
- If you see "Recording Stopped" mid-clip → format in camera and check your card speed class.
- If the card is new → format in camera before first use.
The answer is almost always the same. Format inside the camera. It takes seconds and solves most problems.
Why You Should Always Format in the Osmo Action 3
The camera knows its own file system requirements better than any computer does. When you format in the Osmo Action 3, it automatically picks the correct format for the card capacity. For cards 64GB and larger, it uses exFAT.
For 32GB and smaller, it uses FAT32.
This distinction matters because FAT32 has a hard limit of 4GB per file. If you try to record 4K 120fps video onto a FAT32 card, the camera will stop recording the moment the file reaches 4GB. That might happen after just a few minutes. exFAT eliminates that ceiling entirely.
In-camera formatting also aligns the card's internal sectors to the camera's write pattern. This reduces the chance of buffer underruns during high-bitrate recording. Aggregate user feedback indicates that many "Recording Stopped" errors trace back to cards formatted on a computer.
The camera writes data in a specific block size. A computer might use a different alignment. That causes the card to slow down unpredictably.
Here is a quick comparison of the three main formatting options:
| Format Method | File System | Best For | Risk Level |
|---|---|---|---|
| In-camera (Action 3) | exFAT or FAT32 | Daily recording | Low |
| Computer (Windows) | NTFS | Long-term data storage | High (unsupported) |
| Computer (Mac) | exFAT | Cross-platform file transfers | Medium |
You can see why in-camera formatting wins. It takes ten seconds and avoids hours of troubleshooting. Camera-created file structures are simply more reliable for video work.
This is consistent with how other action cameras handle storage formatting for reliable recording.
Think about it this way. The camera writes video data in a sequential stream. A computer might scatter file fragments across the card during a quick format.
That is fine for storing documents. It is terrible for recording smooth 4K footage. The Osmo Action 3 expects a clean, contiguous layout.
In-camera formatting delivers exactly that.
Step-by-Step: How to Format Your SD Card
Follow these steps exactly. The process is straightforward, but each step matters for proper execution.
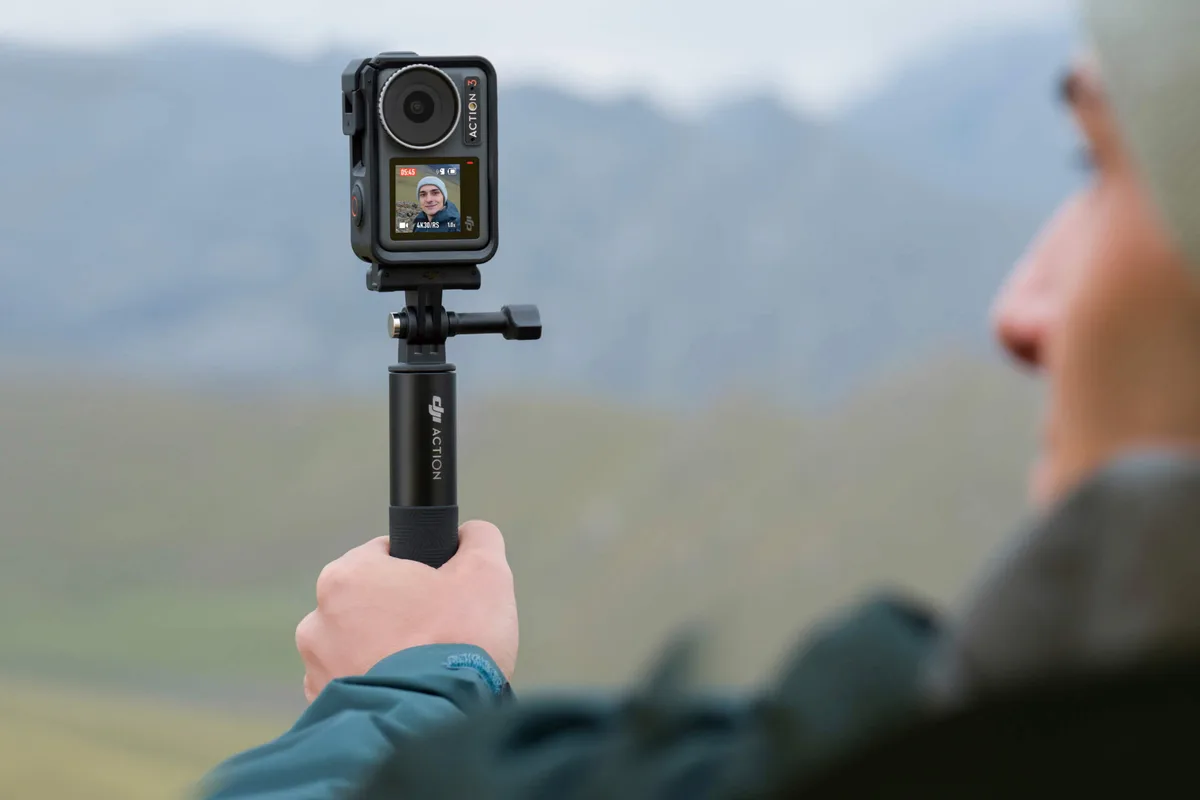
Image source: Web (Bing) / newatlas.com (Web image (fair-use with source credit))
- Power on the camera. Press and hold the quick switch button on the side until the touchscreen lights up.
- Swipe down from the top of the screen. This opens the quick settings panel.
- Tap the gear icon in the upper right corner. That opens the full Settings menu.
- Scroll down until you see "SD Card". Tap on it.
- Tap "Format" located at the bottom of the SD Card menu.
- Tap "Confirm" on the dialog box. The camera will warn you that all data will be erased.
- Wait for the progress indicator to complete. This usually takes three to five seconds.
- Verify the result. You will see a success message. The card capacity should now show as full and ready.
If the "Format" option is greyed out, the card may be locked or damaged. Physically check the lock switch on the side of the card. Make sure it is in the unlocked position.
If that does not help, try a different card to rule out a camera issue. Persistent errors could point to firmware-related glitches that affect how the camera reads storage. Similar recording problems can occur if the camera firmware has compatibility issues with certain card models.
After formatting, we recommend recording a quick ten-second test clip. Play it back immediately to confirm the card is working correctly. This simple check catches problems before you head out for a full day of shooting.
One more tip from our research. Some users skip the final confirmation step. They tap "Format" but then get distracted.
The camera will not format until you tap "Confirm". If you walk away thinking the card is ready, you might start recording on an unformatted card. Always wait for the success message.
What About Formatting on a Computer? (When It's Okay and When It's Not)
Formatting on a computer is not ideal for regular use, but it does have legitimate applications. If your camera refuses to format a card, or if the card is brand new and not recognized at all, a computer can help you recover.
When it is okay:
- The card is new and the camera does not detect it. A quick computer format can initialize it.
- You need to perform a full (low-level) format to scan for and mark bad sectors.
- You are repurposing the card for a different device that requires a specific file system.
When it is not okay:
- Routine maintenance. Always use the camera for regular formatting.
- Right after shooting. The camera may reject a card that was formatted on a computer without a second in-camera format.
- If you are using a card that shows hidden files like
.DS_StoreorSystem Volume Information. Those clutter the card and can confuse the camera's file system.
If you must use a computer, follow this workflow to minimize problems. First, insert the card into your computer using an USB card reader. The card reader should support UHS-I speeds for best results.
Open your disk utility tool. Select the card. Choose exFAT for cards over 32GB.
Use a quick format. Do not use a full format unless you suspect physical damage.
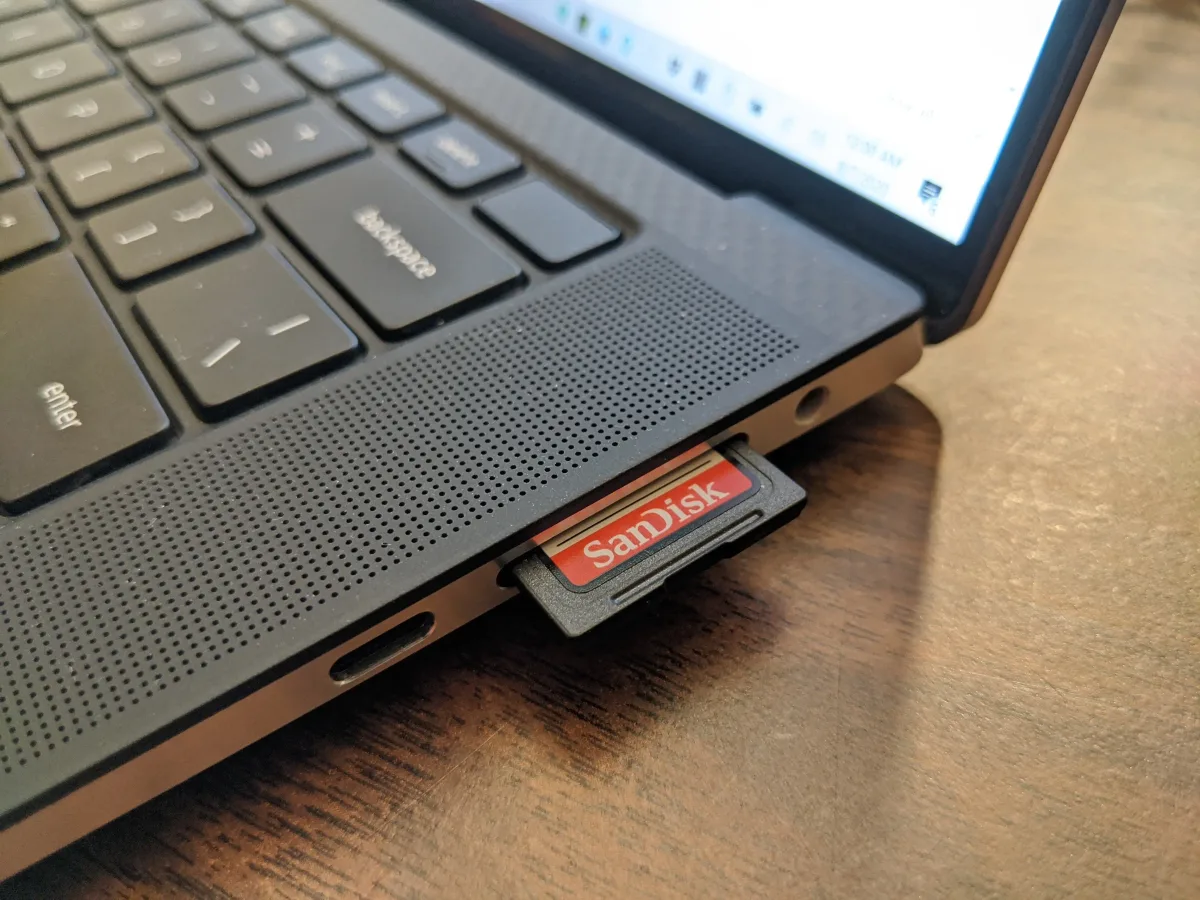
Image source: Web (Bing) / pcworld.com (Web image (fair-use with source credit))
Here is a quick file system reference for the Osmo Action 3:
| File System | Max File Size | Max Card Capacity | Camera Compatible |
|---|---|---|---|
| FAT32 | 4GB | 32GB | Yes (with 4GB limit) |
| exFAT | 16EB | 256GB+ | Yes (recommended) |
| NTFS | 16EB | 256GB+ | No |
After formatting on a computer, always insert the card back into the camera. Then format it one more time using the in-camera method described above. This double format resets the card to the camera's exact specifications.
It also removes any hidden files the computer may have left behind.
We have seen memory card problems in similar devices that stemmed from skipping this final in-camera step. The computer format looked fine. The card appeared empty.
But the camera still threw errors until it created its own file structure. Do not skip that last step.
If you are wondering about the official SD Card Formatter tool from the SD Association, it is a good choice for computer formatting. It uses the correct partition alignment for memory cards. Use it if you need a computer-based option.
Then still format in the camera after.
Mistakes That Ruin Your Card or Footage
Some formatting mistakes cost you more than time. They can corrupt your footage or shorten the card's lifespan significantly.
Removing the battery during formatting. This is the fastest way to corrupt a card. The camera writes critical file system data during the format. Interrupting that write cycle leaves the card in an undefined state.
The camera may not recognize it afterward. You may need to use a computer to recover it.
Formatted the wrong card. If you have multiple cards in a pouch, double check before confirming. The Osmo Action 3 does not label cards by name. There is no "are you sure this is the right one?" prompt.
Once you confirm, all data vanishes. We recommend using a sticker system or colored labels to keep track of which card holds your last shoot. It saves heartache.
Using quick format on a computer without following up. A computer quick format is not enough. The camera's format recreates the partition structure and alignment specific to video recording. Skipping the in-camera format after a computer format is a common cause of "Recording Stopped" errors halfway through a clip.
Always do both.
Formatting too often. This might sound contradictory, but there is a balance. Each format wears the card slightly. Modern cards handle thousands of cycles, so this is rarely an issue.
But formatting after every single clip is unnecessary. Format when you finish a shoot and before you start the next one. That is a good rhythm.
Using fake or counterfeit cards. A recognized brand like SanDisk, Samsung, or Lexar is worth the cost. Counterfeit cards show false capacity values. They corrupt footage unpredictably.
The format process on a fake card often succeeds on screen but fails silently. The camera thinks the card is ready, but the data goes nowhere.
Ignoring temperature warnings. Extreme cold can confuse the card's controller. If you see a temperature warning on the camera screen, wait for the camera to cool down or warm up before formatting. Formatting is a write-intensive operation.
Writing to a card at the edge of its operating temperature range can introduce errors.
Using the wrong card speed class. The Osmo Action 3 requires UHS-I Speed Class 3 (U3) or Video Speed Class 30 (V30) for 4K recording. If you use a slower card, the camera may format it successfully but stop recording during high bitrate video. The formatting process does not check write speed continuity.
It only verifies the file system. Our research shows that V30 cards with sustained write speeds above 60MB/s are the sweet spot for this camera. A summary of what to look for:
| Card Label | Minimum Write Speed | 4K 120fps Support |
|---|---|---|
| U1 / Class 10 | 10MB/s | No |
| U3 | 30MB/s | Yes (marginal) |
| V30 | 30MB/s | Yes (recommended) |
| V60 | 60MB/s | Yes (ideal) |
Stick with V30 or faster and you will avoid most speed-related recording stops. The formatting process itself works the same regardless of speed class, but recording reliability diverges sharply.
How to Keep Your SD Card Healthy Long-Term
A well maintained card lasts years without issues. A neglected one fails mid shoot. Here is what matters for longevity.
Always eject properly before removing. The Osmo Action 3 writes metadata after recording stops. If you yank the card out immediately, you risk corrupting that metadata. Wait five seconds after the recording light turns off.
Then power down the camera. Then remove the card.
Store cards in a protective case. Tossing loose cards into a bag exposes them to dust, moisture, and static. A simple plastic case costs a few dollars. It prevents bent pins and damaged contact surfaces.
Cards with visible scratches on the gold contacts can fail during formatting.
Reformat every three to five shoots. Even if you delete files individually, fragmentation builds up. The card looks full to the camera even though you deleted half the files. A fresh format clears the allocation table and gives you a clean slate.
It is preventive maintenance.
Avoid filling the card completely. Leave at least 10% free space. The camera needs room to write temporary files during video encoding. A completely full card can cause unexpected behavior during the final file finalization step.
Some users report corrupted clips when the card was over 95% full.
Rotate between two cards. If you shoot frequently, alternate between two cards. This extends both cards' lifespan by spreading write cycles evenly. It also gives you a backup in case one card fails unexpectedly.
Keep one card in the camera and one in your pocket or bag.
Test cards after long storage periods. A card sitting in a drawer for six months can develop issues. The charge on the internal flash cells can degrade. Before a big shoot, format the card in the camera and record a test clip.
Play it back. Confirm the card is still healthy. This catches problems before you are on location.
Replace cards every 12 to 18 months for heavy use. Action camera recording at high bitrates is demanding. The write cycles add up quickly. Professional videographers often replace cards on a schedule.
For most users, a card lasts two to three years with moderate use. If you see recurring errors, replace it earlier.
Keep firmware updated. DJI occasionally releases firmware updates that improve card compatibility. The best way to handle card issues in the camera itself is to keep the camera up to date. Check the DJI Mimo app for updates.
An outdated camera may not handle certain card models well. Some app connection quirks can also be resolved by updating the camera's firmware.
Watch for physical damage. A card that has been dropped or exposed to water may work initially but fail later. If you suspect damage, replace the card. It is not worth risking irreplaceable footage over a $20 piece of hardware.
The formatting process cannot fix physical damage.
Frequently Asked Questions About Formatting
Does formatting delete everything on the card?
Yes. Formatting removes all files and rebuilds the file system. There is no recycle bin.
Make sure you have backed up any footage you want to keep before you format. The process is irreversible through normal means.
How often should I format my SD card?
Format at the start of each new shoot. If you shoot daily, format every morning. If you shoot weekly, format before your weekend outing.
The key is to format when the card is empty or after you have transferred files. This keeps fragmentation low and errors rare.
Can I format a 256GB card in the Osmo Action 3?
Yes. The camera supports cards up to 256GB according to manufacturer documentation. The camera formats larger cards using exFAT.
Make sure your card is UHS-I U3 or V30 rated. Slower cards may cause errors.
Why does my computer show a different capacity after formatting?
The camera uses a slightly different partition alignment. A 256GB card may show as 238GB on a computer. That is normal.
The difference is the file system overhead. The camera reports the usable space. Your computer reports the raw capacity.
What if the camera says "SD Card Error" after formatting?
Try removing the card and reinserting it. If that fails, format again using the in-camera method. If the error persists, the card may be defective or counterfeit.
Test with a known good card to rule out a camera problem. If the camera works with another card, replace the problematic one.
Should I format a new card before first use?
Absolutely. A new card often comes pre-formatted with FAT32. That is fine for small cards, but the camera may still prefer its own structure.
Insert the new card, format it in the camera, and then start shooting. This ensures optimal performance from the very first clip.
Does the camera format faster with smaller cards?
Yes. A 64GB card formats in about three seconds. A 256GB card takes five or six seconds.
The difference is negligible. The camera only rewrites the file system header, not every data block. That is why formatting is fast regardless of card size.
Can I use a card formatted in the camera in another device?
Yes, but with a caveat. The card will use exFAT or FAT32. Most computers, smartphones, and other cameras can read those formats.
The camera leaves no proprietary file structure. Your computer will see the card as a standard storage device. The key is that other devices may not align data the same way.
Reformat in the target device for best results.

Similar Posts































[…] core principles apply with any outdoor camera that stores data locally. Understanding the basics of how to format an SD card on a camera can save you a lot of […]