Mirrorless Camera Sensor Dust Troubleshooting
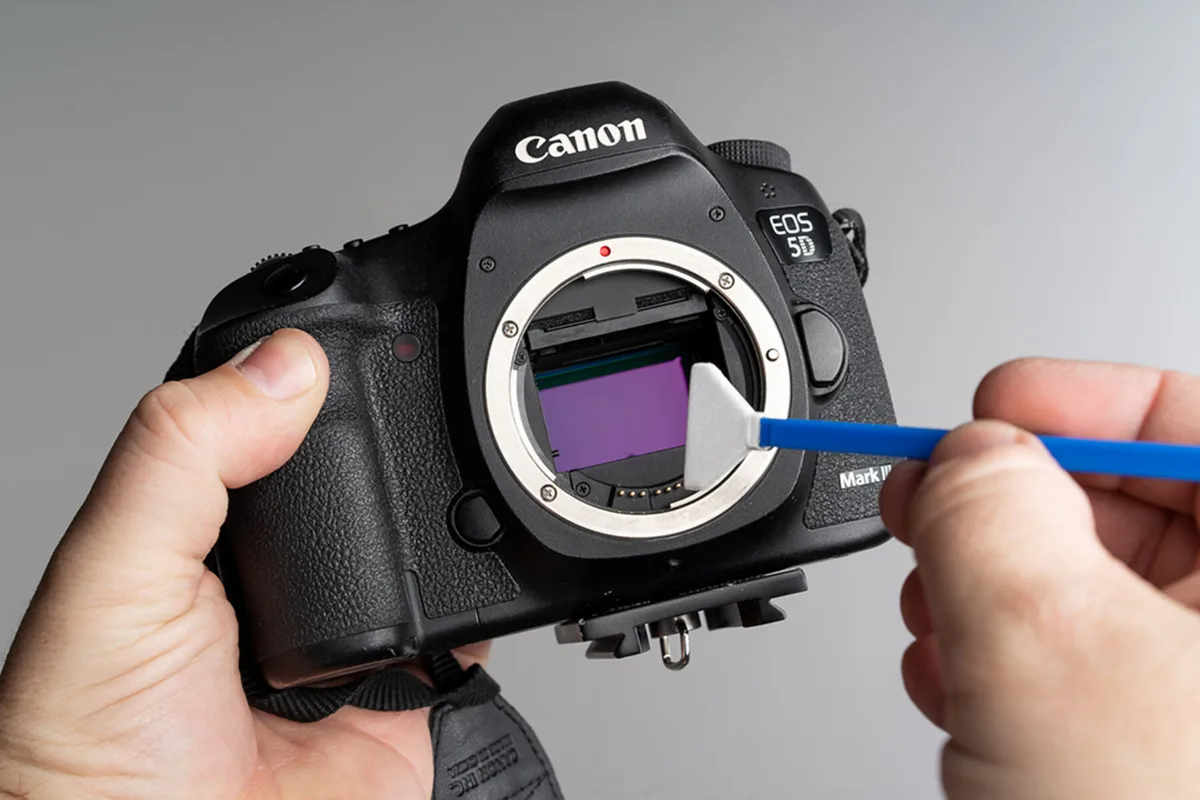
That fuzzy shadow in every photo at small apertures? It's almost certainly dust on your mirrorless camera sensor. Mirrorless camera sensor dust troubleshooting starts with confirming the source.
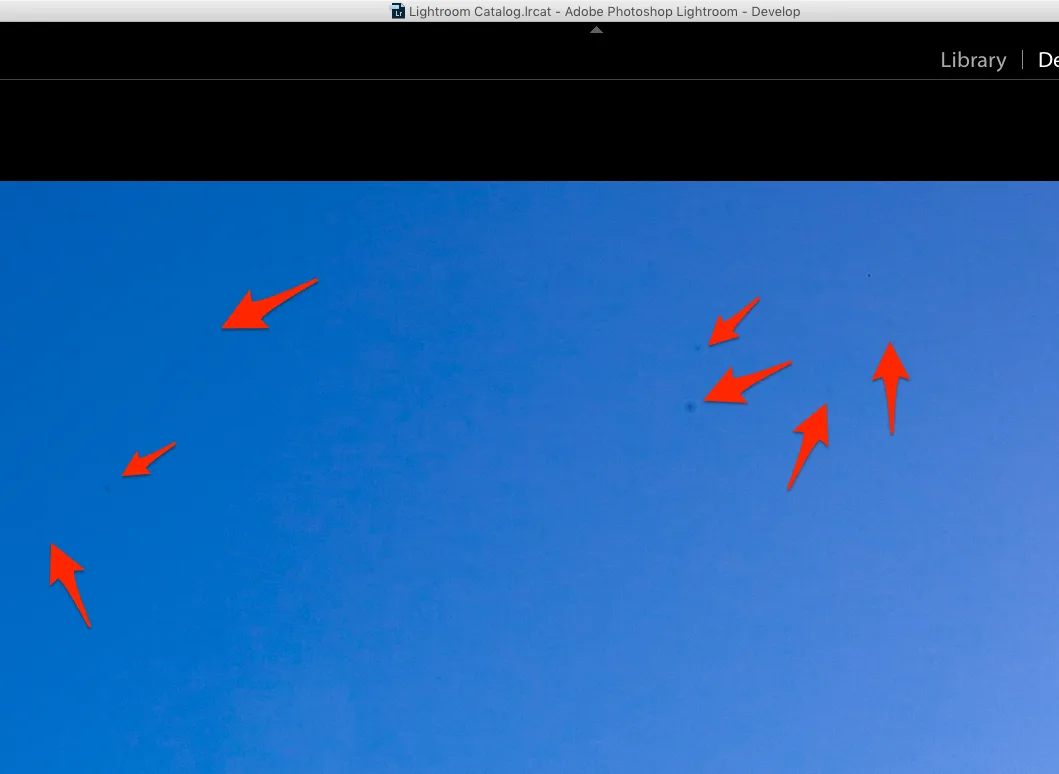
One quick test does the job. Shoot a bright sky at f/16. If the same dark blob appears in the same spot frame after frame, you have contamination on the sensor stack.
Manufacturer specifications indicate the sensor cover glass sits just millimeters from the lens mount. That exposed surface attracts microscopic particles every time you swap glass. As of 2026, most modern mirrorless bodies include an ultrasonic vibration system that handles light debris.
But stubborn specks stick around no matter how much the camera shakes.
Quick Answer
A dark spot in every frame means sensor dust. Test at f/16 on a bright sky. Use a rocket blower as your first step.
Wet cleaning handles what the blower misses. Never use compressed air on your sensor.
Is It Sensor Dust? Or Just a Dirty Lens?
The most common detour in sensor dust troubleshooting is a dirty rear lens element. Spots that move when you rotate the lens are not sensor dust. Spots that stay perfectly still are.
Here is the diagnostic workflow that stops you from cleaning the wrong thing.
Step 1: Shoot a reference frame. Set your camera to Aperture Priority mode. Dial in f/16 or f/22. Point at a blank white wall or an overcast sky.
Take a photo. Zoom in on your camera's LCD and pan around. Any dark semi-transparent blobs?
Those are candidates.
Step 2: Swap lenses. Mount a different lens and repeat the test. If the spots vanish, the first lens had debris on its rear element. If the exact same spots remain, the contamination is on your sensor.
This one swap eliminates half the false alarms people encounter.
Step 3: Check the rear element. Remove the suspect lens and hold it rear-side up under a bright light. Tilt it. Dust there?
A quick blow with a hand blower often clears it. That is a much simpler fix than entering sensor cleaning mode. If you are still dealing with image quality problems after dust removal, you may also want to work through other common faults like dark or blurry frames.
The Three Cleaning Levels: When to Blow, Swab, or Send It In
Not every speck needs the same treatment. Matching the cleaning method to the dust type is the core of smart mirrorless camera sensor dust troubleshooting. Three levels exist.
Skipping up the chain too fast risks damage.
| Cleaning Level | Best For | Risk Level | Time Required |
|---|---|---|---|
| Dry (rocket blower) | Loose dust, pollen, dry debris | Very low | 2 to 5 minutes |
| Wet (swab plus solution) | Stuck spots, oil from shutter, dried residue | Moderate | 10 to 20 minutes |
| Professional service | Stubborn contamination, scratched cover glass, fungus | None for you | 1 to 3 days turnaround |
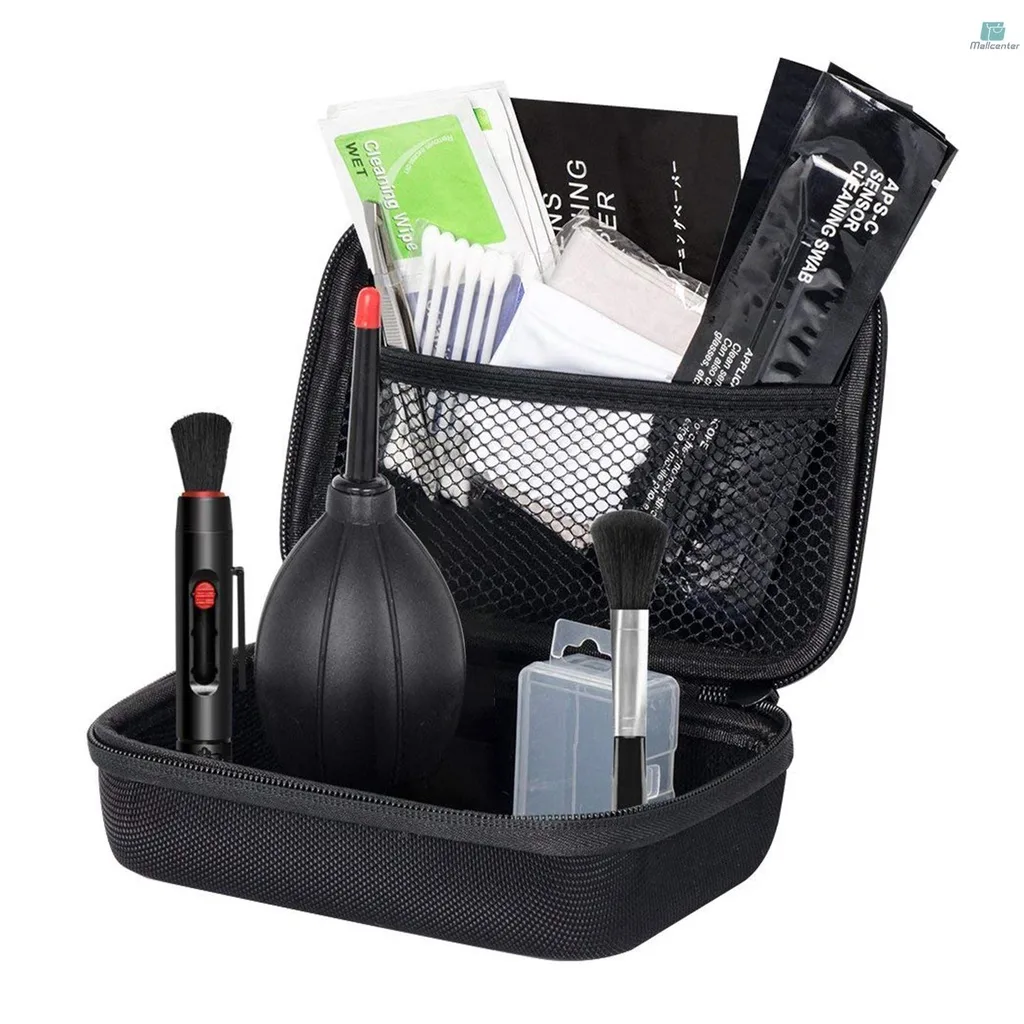
Level 1: The rocket blower. This is the first and safest tool. Hold the camera with the mount facing downward. Enter sensor cleaning mode.
It locks the shutter open and disables the IBIS system on most bodies. Give three or four firm squeezes of the blower aimed at the sensor at a slight angle. Do not touch the surface.
Level 2: Wet cleaning. When the blower leaves the speck untouched, a sensor swab with cleaning fluid is the standard solution. Use a swab width that matches your sensor size. Choose 16mm for APS-C and 24mm for full-frame.
Apply two drops of fluid to the swab. Wipe across the sensor in one smooth pass. Flip the swab and wipe back.
Discard the swab after one use.
Level 3: Professional service. Some situations demand a trained technician. If you spot scratches, oily streaks that reappear after cleaning, or any signs of liquid residue inside the sensor chamber, stop. A camera repair center has the proper tools and a controlled environment.
The cost typically runs $50 to $100. That is cheaper than a new sensor assembly. If you need help resolving other internal problems, a service center can also assist with common error messages or setting conflicts that may appear alongside sensor issues.
Step-by-Step: The Workflow That Works Every Time
A repeatable process keeps your sensor safe and eliminates guesswork. This workflow applies to any mirrorless body from Sony, Fujifilm, Nikon, Canon, Panasonic, or OM System.
Step 1: Charge your battery. Most cameras require at least 50 percent charge to enter sensor cleaning mode. A dead battery mid-clean leaves the shutter open with no safe way to close it.
Step 2: Clean your work area. Bathrooms work well. Run the shower on hot for a minute. Steam settles airborne dust.
Wipe down a counter. Lay out your tools on a lint-free cloth.
Step 3: Enter sensor cleaning mode. Find the option in your camera menu. Some cameras label it "Sensor Cleaning" or "Lock Mirror Up for Cleaning." On mirrorless bodies, this opens the shutter and locks the IBIS mechanism in place so it does not flex during cleaning.
Step 4: Use the blower first. Hold the camera with the mount angled slightly downward. Give three to five firm squeezes of your rocket blower. Recheck with a test shot at f/16.
If the spot is gone, you are done.
Step 5: Wet clean if needed. Open a fresh sensor swab. Apply two drops of cleaning fluid to the pad. Place the swab at the far edge of the sensor.
Draw it across in one steady motion with light even pressure. Flip the swab and wipe back the opposite direction. Do not swipe twice with the same side.
Step 6: Verify. Take another f/16 test shot. If the spot remains, use a fresh swab for a second pass. If streaks appear, you applied too much fluid.
Let the sensor air dry for a few minutes. Try again with a barely damp swab. If your camera's menu system feels stuck after cleaning, a factory reset can clear any glitches that may affect proper operation.
Step 7: Exit cleaning mode. Turn the camera off. The shutter closes and covers the sensor automatically. Mount a lens immediately to prevent new dust from settling.
Five Mistakes That Can Destroy Your Sensor
Sensor cleaning feels intimidating for good reason. The cover glass is fragile. The IBIS unit underneath it floats on magnets.
A heavy hand or wrong tool can cause permanent damage. Here are the errors that show up most often in camera repair logs.
1. Using compressed air. Canned air contains propellant. When you spray it, liquid droplets can freeze on contact with the sensor.
The thermal shock can crack the cover glass. It can also leave a residue harder to clean than the original dust. The only safe blower is a hand-operated rocket blower with a silicone tip.
2. Touching the sensor with anything dry. A dry swab, a microfiber cloth, or your fingertip scratches the coating. The sensor cover glass has an anti-reflective coating that is softer than the glass itself.
Once scratched, those marks appear in every shot at small apertures. Always use a lubricated swab for contact cleaning.
3. Reusing a swab. One pass, one swab. A used swab carries the dust you just picked up.
Running it across the sensor again grinds that grit into the surface. Each cleaning pass needs a fresh clean pad.
4. Cleaning with the camera on. The sensor carries an electrical charge when the camera is powered up. That charge attracts more dust.
Turn the camera off after entering cleaning mode and before you touch anything. Rushing through these steps leads to the same frustration as dealing with a lens communication error that stops you from shooting entirely.
5. Over-wetting the swab. Three drops of fluid is the maximum. More than that leaves streaks and pools that seep into the edges of the sensor stack.
Those pools can carry contaminants into areas you cannot reach. Let the swab sit for a second after applying fluid so the excess wicks away.
When DIY Isn't Smart: Signs You Should Send It to a Pro
Some sensor issues require tools and conditions you cannot replicate at home. Knowing your limit prevents a $50 cleaning from turning into a $500 repair.
You see scratches. If the test shot at f/16 shows scratch marks, stop. Thin linear consistent lines indicate damage on the cover glass or filter stack. Only a service center can replace the sensor stack assembly if needed.
Dust reappears immediately after cleaning. This usually means dust is trapped inside the sensor chamber rather than on the surface. Air currents from the blower can move internal debris around. A camera technician can remove the sensor unit and clean underneath it.
That is not a user-serviceable procedure on any mirrorless body.
You see fluid under the cover glass. If you over-wet a swab and liquid seeps under the edge of the sensor glass, the camera needs professional disassembly. That liquid can corrode internal ribbon cables or cause electrical shorts. Power off the body immediately and send it in.
The camera is still under warranty. Most manufacturer warranties cover defects but not user-induced damage. If the dust issue arose within the warranty period without any user cleaning attempt, let the manufacturer handle it. A professional sensor cleaning from an authorized repair center costs $50 to $100 and keeps your warranty intact.
Updating the camera firmware before sending it in ensures the service center works with the latest software baseline for sensor calibration. The Camera & Imaging Products Association (CIPA) publishes guidelines for camera maintenance that many authorized repair centers follow.
How to Keep Dust Off Before It Starts
Prevention saves you from ever needing to touch the sensor. A few smart habits cut the amount of dust that reaches the sensor chamber by a wide margin.
Change lenses the right way. Turn the camera off before removing a lens. Powering down the sensor eliminates the static charge that pulls in dust. Point the camera body downward while you swap.
Gravity works in your favor.
Have the new lens ready. Remove the rear cap from the replacement lens before you take the current lens off. That way the mount is exposed for the shortest possible time. Seconds matter.
Keep your bag clean. Camera bags trap dust, sand, and lint over time. Vacuum the interior every few months. A dusty bag deposits particles onto your gear every time you reach inside.
Use body caps and rear lens caps. When a lens is not mounted, keep a body cap on the camera. Same for the rear of every lens. These caps seal the bayonet mount and block debris from entering.
Avoid changing lenses in windy or dusty spots. If you are shooting at the beach or in a dry desert, find shelter before swapping glass. A car interior, a jacket, or your own shadow facing away from the wind creates a cleaner pocket of air. In our research on extended field use, photographers who follow these basics report needing sensor cleaning half as often as those who do not.
Frequently Asked Questions
How often should I clean my sensor?
No fixed schedule applies. Clean only when you see dust in your test shots. Some photographers go a year without a cleaning.
Others need one every few months if they shoot in dusty conditions or swap lenses frequently. Over-cleaning increases risk, so wait until spots are visible at your working aperture.
Can I use a microfiber cloth on my sensor?
No. Microfiber cloths are too coarse for the sensor's anti-reflective coating. They leave micro-scratches that degrade image quality.
Only use purpose-built sensor swabs with cleaning fluid designed for optical surfaces. A rocket blower is the only dry tool safe for use around the sensor chamber.
Does weather sealing prevent sensor dust completely?
No. Weather sealing reduces the amount of dust that enters the body, but it is not airtight. Dust still sneaks in through the lens mount during lens changes.
Sealed bodies accumulate dust more slowly, but they still benefit from good lens-swapping technique.
Should I use the in-camera cleaning function regularly?
Yes. Run the in-camera sensor cleaning function every time you change lenses or notice a spot. It uses ultrasonic vibration or IBIS movement to shake loose particles.
It cannot remove sticky residue or oil, but it handles most light dust without any risk to the sensor. Think of it as your first line of defense.

Similar Posts



















[…] to blow it out with compressed air can force particles deeper into the assembly. Our sensor dust troubleshooting guide covers similar cleaning considerations for interchangeable-lens […]