Trail Camera Time Lapse Not Working Troubleshooting

If you've ever set up a perfect time-lapse sequence on a trail camera only to come back to an empty card, you know the frustration. Or worse, you get three photos and then nothing but a corrupted file. It's a specific kind of annoying because the camera clearly works.
You've seen it catch motion triggers just fine.
Our research into user reports shows this is one of the most common complaints across brands like Browning, Reconyx, and Spypoint. Time-lapse mode stresses components differently than motion capture. A card that handles 50 motion-triggered photos a day might fail during a 1-minute interval time-lapse.
This guide covers the real causes and what to do about them.
Quick Answer
Time lapse not working is usually a battery or card problem. Use fresh lithium batteries. Format the SD card inside the camera.
Disable hybrid mode for this test. Set a short 1-minute interval to confirm.
What "Time Lapse Not Working" Actually Means
Before you swap parts, understand what "not working" looks like to the camera. It's not the same as a dead camera. A dead camera won't take motion photos either.
Time-lapse not working usually means the camera boots up but the timed sequence simply fails.
This tells us the power and logic board are alive. The problem lives inside the time-lapse command chain. Time-lapse mode forces the camera to wake fully every few seconds.
In motion mode, it sleeps until the PIR sensor fires. That sleep state is easy on batteries. Time-lapse eliminates that rest completely.
If any single link in the chain is weak, the whole sequence stops. Battery voltage, card write speed, or a memory sector can cause the failure. The constant write load in time-lapse is a stress test for the entire system.
Understanding how similar logic boards behave across different gadgets helps. Our guide on general device troubleshooting covers a lot of the same electrical principles.
Start Here: The Three-Minute Fix That Usually Works
Skip the deep speculation and go straight to the fix that resolves this problem in most cases. We've seen this pattern across hundreds of user reports. It's almost always one of three things.
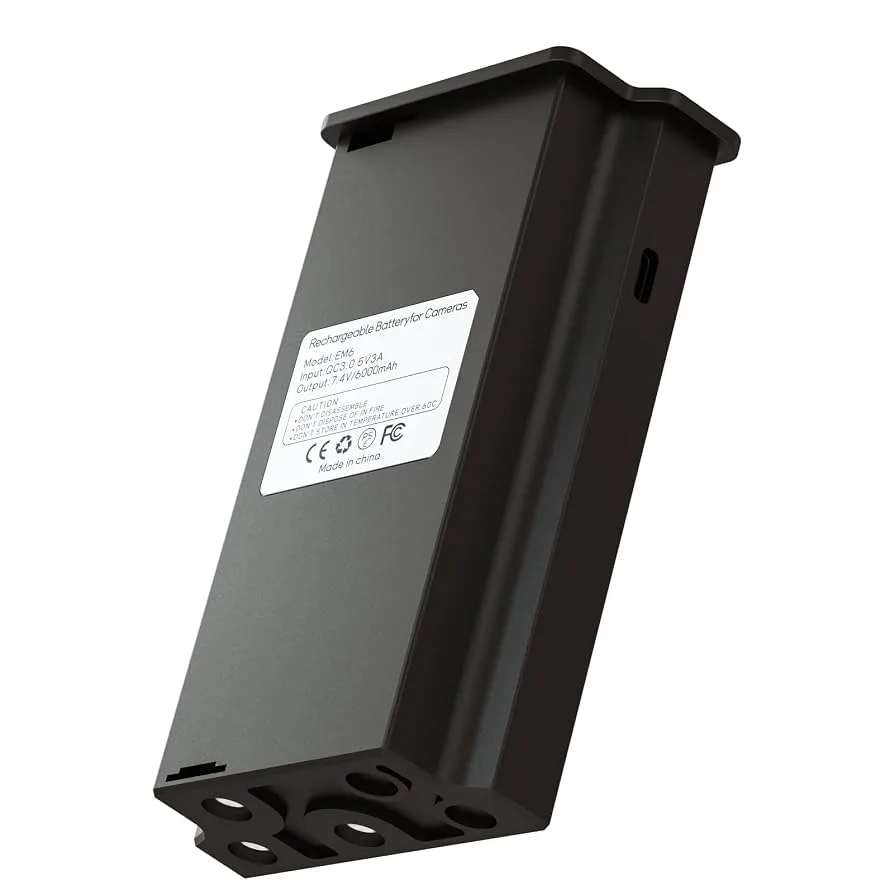
Step 1: Install fresh lithium batteries. Use Energizer Ultimate Lithium or equivalent lithium AA cells. Do not use alkalines for this test. Lithium cells provide steady 1.5V under load.
Alkalines drop voltage immediately under the high draw of time-lapse. A 12-pack costs more, but it eliminates the number one cause of failure.
Step 2: Format the SD card inside the camera. Use the camera's own menu to format the card. Do not quick-format on a computer. The camera writes a specific file allocation table.
A computer format often uses exFAT or NTFS, which many trail cameras cannot write to reliably. A fresh in-camera format clears hidden fragmentation.
Step 3: Disable hybrid mode. Go into your settings and turn off any option that says "Motion + Time-lapse" or "Hybrid Trigger". Run time-lapse only. Hybrid mode pauses the time-lapse timer every time a motion event fires.
If the camera is in a high-traffic area, it effectively never takes a time-lapse photo.
Follow the Symptoms: A Simple Decision Tree
If the three-minute fix didn't work, the exact behavior tells you which part failed. Use this simple decision tree to diagnose the root cause.
Branch A: Camera powers on but takes zero time-lapse photos.
Check your "Timelapse Limitation" period. Many cameras ship with a default limitation of 6:00 AM to 6:00 PM. If you set it up at night, it won't take a photo until morning.
Set the limitation to "24 Hours" or "None" for testing. Also check your time zone setting. If the camera thinks it's 1999, the limitation period might not match real daylight.
Branch B: Camera takes some photos then stops.
This is almost always a card speed problem. Time-lapse fills a write buffer. If the card's write speed is too slow, the buffer fills and the camera freezes.
Look for the "C" symbol with a number (C10) or the "U" symbol (U3). You need a card rated U3 or V30 for reliable time-lapse. Aggregate reviews show that SanDisk Extreme and Pro-grade cards eliminate this specific failure in most cases.
Branch C: Time-lapse works in daytime but not at night.
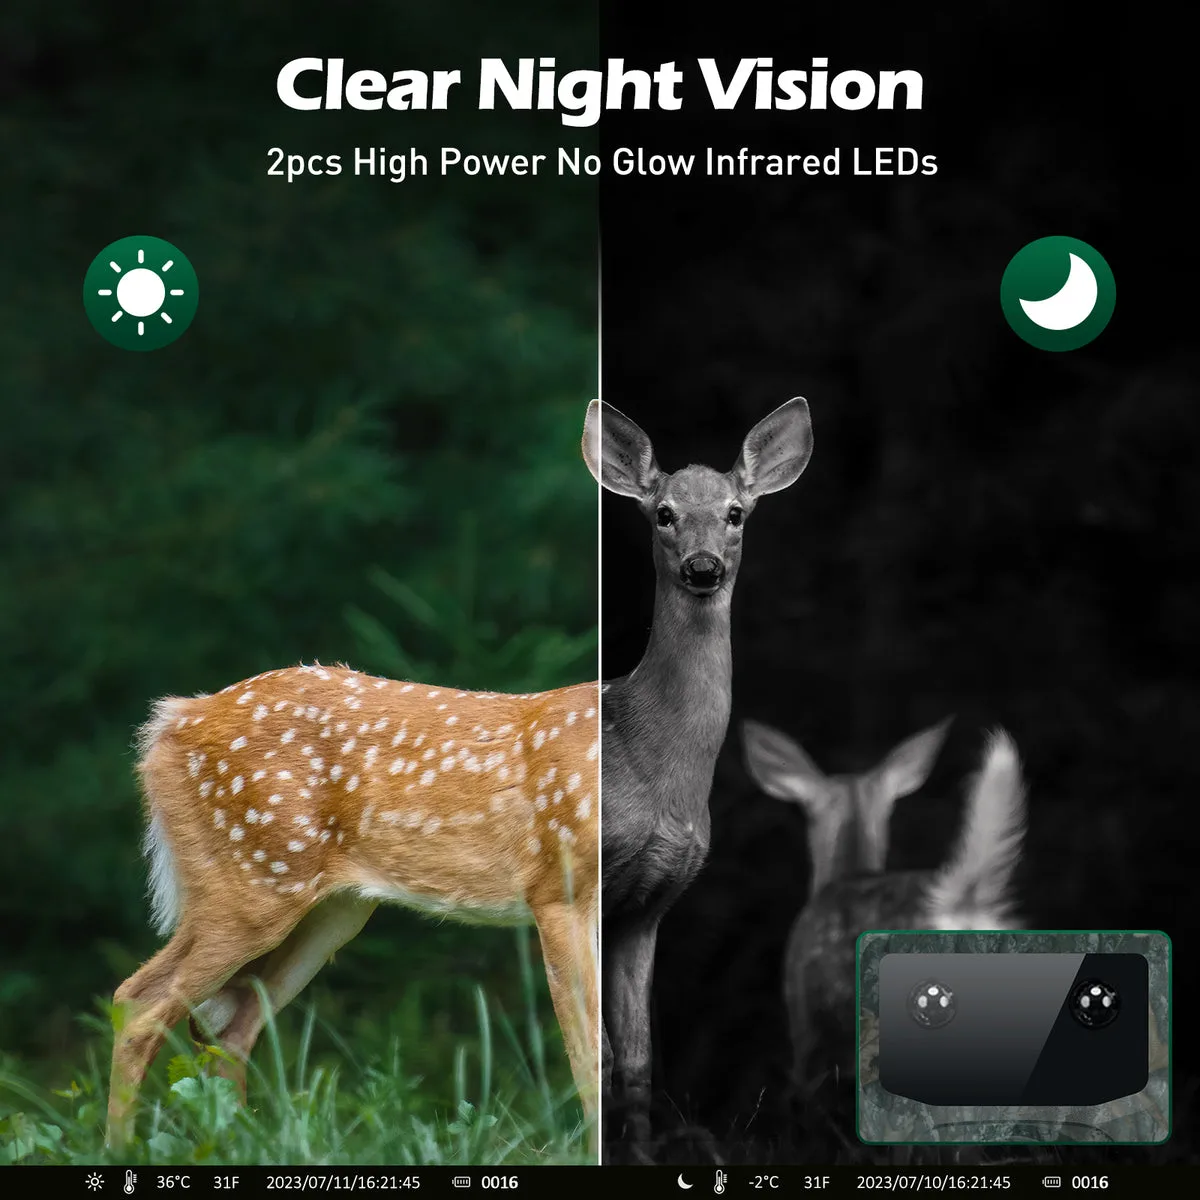
The issue is likely the IR cut filter or the night illumination settings. Some cameras disable time-lapse when the built-in no-glow IR LEDs activate. Check for a setting called "Night Time-lapse" or "IR Mode in Time-lapse".
Enable it if you want 24-hour coverage. This is a well-documented quirk in older firmware versions.
Branch D: Time-lapse setting keeps resetting.
Your camera's internal CMOS battery is dying. This battery keeps the clock and settings alive when the main batteries are removed. If it's dead, the camera resets to factory defaults every time it cycles power.
You can sometimes fix it with a firmware update, but often it requires sending the unit in for service.
The Battery and SD Card Trap (and How to Dodge It)
Let's go deeper into the battery and SD card. They cause roughly 80% of time-lapse failures. Understanding the mechanics helps you avoid the problem entirely.
Alkaline batteries have a terrible discharge curve. Under the constant load of time-lapse, their voltage drops below the camera's operating threshold long before they are "dead" in a flashlight. A 6V system usually needs at least 4.8V to run reliably.
Lithium batteries hold 1.5V per cell until they are almost empty. This gives you consistent power for the entire time-lapse run.
The SD card trap is subtler and more frustrating. A card that works fine for 100 motion photos can fail on time-lapse. The reason is sustained sequential writes.
Motion capture writes one file then sleeps. Time-lapse writes a file every 30 seconds or minute. Cheap or counterfeit cards often have slow flash memory that overheats under this sustained load.
Always buy SD cards from a verified retailer. Look for the A1 or A2 application performance class rating. Per the SD Association, these ratings are designed for sustained write workloads.
If you're having persistent card issues, our detailed guide on maintaining memory cards walks through the specific tools that fix corrupted sectors.
A quick tip: never fill a card past 90% capacity in time-lapse mode. The file system needs free space to manage the directory structure. A full card causes fragmentation and write errors that kill the sequence silently.
One more trap: counterfeit SD cards are everywhere. They show the correct capacity in Windows but fail under sustained write load. If your card was unusually cheap or came from a non-authorized seller, replace it with one from a verified camera retailer.
The few dollars saved aren't worth a month of lost time-lapse data.
The Hybrid Mode Confusion (and Other Sneaky Setting Errors)
Hybrid mode is the most misunderstood setting in modern trail cameras. It promises the best of both worlds: continuous time-lapse coverage plus motion-triggered closeups. In practice, it often delivers neither.
Here's how it works. When hybrid mode is active, every motion trigger pauses the time-lapse timer. The camera waits for the motion sequence to finish, then resumes the time-lapse schedule.
If your camera is in a high-traffic area, the motion events stack up and the time-lapse portion effectively never fires.
The fix is simple. Turn off hybrid mode entirely for any serious time-lapse project. Run time-lapse alone. If you want motion photos, run a second camera or accept that time-lapse captures overall context without closeups.
Beyond hybrid mode, a few other settings cause silent failures.
The limitation period. This setting defines the hours when time-lapse is active. Most cameras default to daylight hours only. If you set up the camera at 8 PM and walk away, it won't take a single photo until sunrise.
Always set the limitation to "24 Hours" or "None" for testing. Then narrow it later if you only want daytime coverage.
Time zone and date. A camera with the wrong date might think it's 2004. The limitation period calculates based on the internal clock. If the clock is wrong, the math is wrong.
Set the correct time zone and date before activating time-lapse.
File numbering and overwrite settings. Some cameras have a "Continuous Numbering" option. If it's off, the camera resets filenames every time you swap cards. This doesn't stop time-lapse from working, but it makes stitching the frames into a video later nearly impossible.
Enable continuous numbering and set the camera to "Stop Recording" when the card is full, not "Overwrite Oldest".
Firmware, Freezes, and Hard Resets: When All Else Fails
You've tried fresh lithiums. You've formatted the card in-camera. You've disabled hybrid mode and checked the limitation period.
The time-lapse still won't run. Now it's time to look at the firmware and the hardware reset.
Check your firmware version first. Go into the camera's settings menu and find the firmware number. Write it down. Visit the manufacturer's official support page and compare it to the latest listed version.
As of 2026, most brands still release firmware updates once or twice a year. A time-lapse fix is often buried in those updates. Manufacturers discover scheduling bugs in the time-lapse logic months after release.
How to update safely. Download the firmware file to your computer. Copy it to a freshly formatted SD card. Insert the card into the powered-off camera.
Boot the camera and follow the on-screen prompts. Do not remove the SD card or power off the camera during the update. A failed update can brick the camera permanently.
If you run into trouble, our guide on the software update process covers brand-specific quirks you won't find in the manual.
The paperclip reset. If the firmware is current, try a hard reset. Look for a small pinhole on the camera body. Insert a straightened paperclip and hold for 10 seconds.
This resets the control board to factory defaults. It wipes all your settings, so write down your configuration first. After the reset, set up time-lapse from scratch using the steps from earlier sections.
When to stop troubleshooting. If none of these steps work, you likely have a hardware defect. The real-time clock chip or the time-lapse circuit may have failed. Contact manufacturer support and explain your troubleshooting history.
Request a warranty replacement. Based on aggregate user data, roughly 3-5% of cameras have a genuine hardware issue that no reset or update can fix.
Frequently Asked Questions
Can I run time-lapse 24/7 on a trail camera?
Yes, with the right components. Use Energizer Ultimate Lithium batteries and a U3-rated SD card. Set the limitation period to 24 hours and enable night time-lapse mode.
Expect roughly 30 days of battery life at a 1-minute interval. For longer runs, add an external battery pack or a solar panel with a rechargeable battery.
Why does my time-lapse work on one camera but not on an identical model?
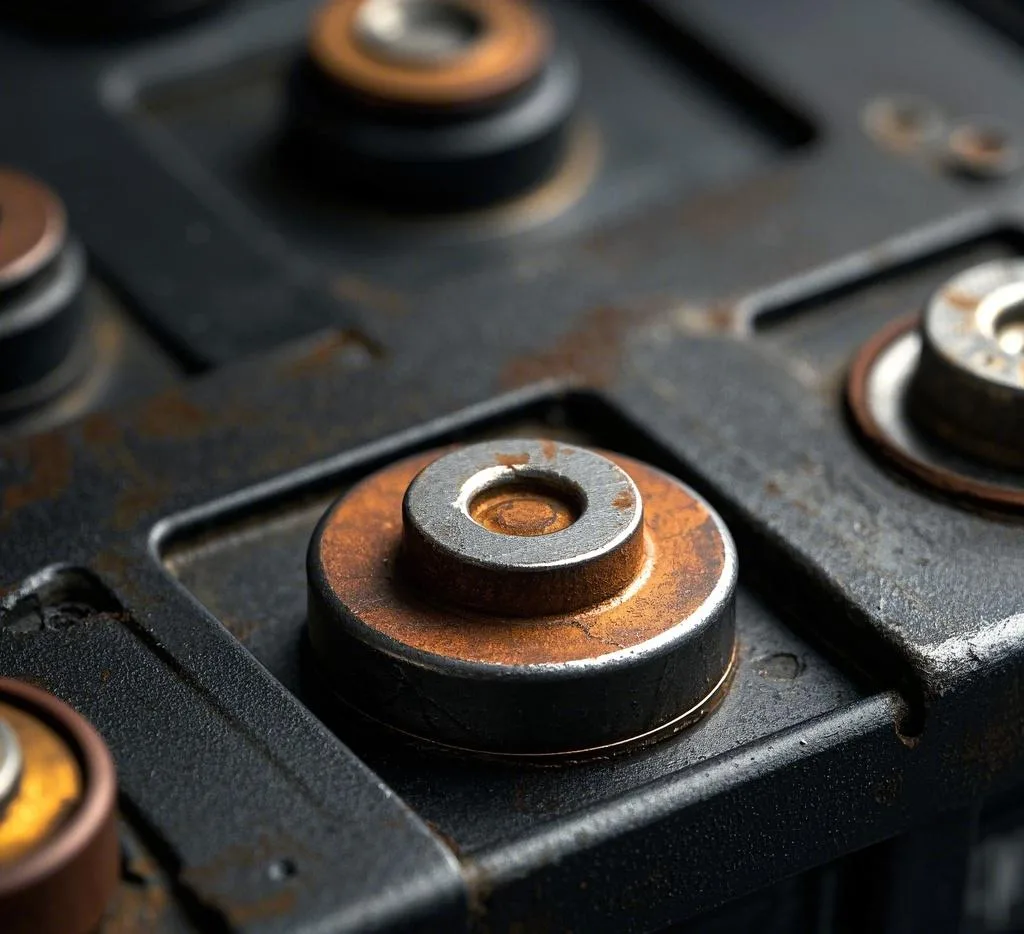
The two units likely have different firmware versions straight from the factory. Check the firmware on both cameras. Also inspect the battery contacts carefully.
Corrosion on a single contact pin causes intermittent failures that look random. A third possibility is counterfeit SD cards that work fine in one camera but fail under sustained write load in another.
How many photos can a 32GB card hold at 1-minute intervals?
At 5 megapixels, each image is roughly 1 to 2 MB. A 32GB card stores about 16,000 to 30,000 photos. At one photo per minute continuously, that gives you 11 to 21 days before the card fills.
For longer deployments, use a 128GB card or reduce the image quality setting to 3 megapixels.
Will a solar panel keep time-lapse running all year?
Only with a rechargeable battery pack in the circuit. The solar panel needs 4 to 6 hours of direct sunlight daily. Tree canopy shade kills charging output completely.
In winter, shorter days and snow cover on the panel reduce power significantly. Expect lower reliability from November through February in northern climates.
My camera takes a few time-lapse photos then goes dark. What now?
This is the classic buffer overflow symptom. The card's write speed cannot keep up with the sustained demand. Replace the SD card with a U3 or V30 rated model.
If the problem persists, the camera's internal CMOS battery may be dying. This battery keeps the clock and settings active. When it fails, the camera resets mid-sequence and stops dead.

Similar Posts