How to Record Video With Mirrorless Camera
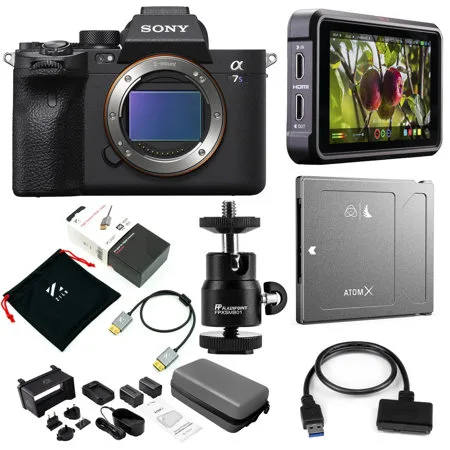
So you've got a mirrorless camera and you're trying to figure out how to record video with mirrorless camera the right way. The manual is useless, and most YouTube tutorials jump straight into jargon without explaining the basics. You're not alone.
The good news is that the core process is straightforward once you know where to look and what actually matters.
Manufacturer specifications indicate that most modern mirrorless bodies can record 4K video at up to 60 frames per second. But the settings you choose dramatically affect the final look. In our research, the single most common mistake is forgetting to switch the mode dial from Photo to Movie mode.
So let's start there.
Image source: Web (Bing) / adorama.com (Web image (fair-use with source credit))
Quick Answer
Set your camera to Movie mode. Choose 24fps for cinematic or 30fps for standard video. Set shutter speed to double your frame rate.
Adjust aperture and ISO for proper exposure. Press record and review your footage.
What You're Actually Looking At: The Dials, Buttons, and Screen You Need to Know
Before you touch any settings, you need to find the physical controls that matter for video. Most mirrorless cameras hide video features behind a dedicated mode dial, a switch, or a menu option. If you don't find it first, nothing else will work.
The mode dial. This is the big wheel on top of your camera. Look for a movie camera icon, a "M" with a film strip, or a "S&Q" for slow and quick motion. Turn the dial to that icon.
If your camera doesn't have a dedicated video position, set the mode dial to Manual (M) and then press a separate button to switch to video mode. Manufacturer documentation confirms that every mirrorless camera has a video mode the first button you need to learn.
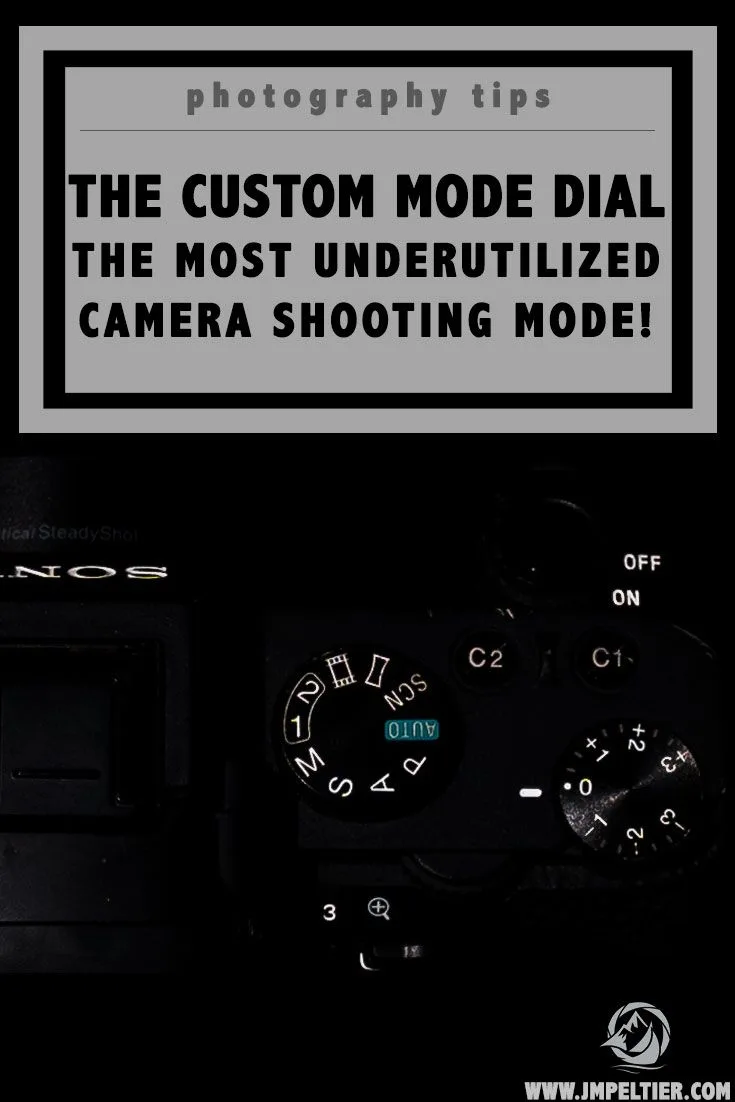
Image source: Web (Bing) / pinterest.com (Web image (fair-use with source credit))
The record button. It is usually a red button or a red dot near the shutter release. On some cameras it is a separate button on top. On others it is a small button on the back near the thumb rest.
Press it once to start recording. Press it again to stop. The screen should show a red REC icon or a flashing red dot while recording.
The exposure controls. You will use the shutter speed dial, the aperture ring or dial, and the ISO button to set your exposure. These are the same controls you use for still photography. The difference is that video runs continuously, so you cannot change shutter speed mid-clip without causing a visible jump.
The focus mode switch. Many mirrorless cameras have a physical switch on the lens or the body labeled AF/MF. Set it to AF for autofocus or MF for manual focus. For video, continuous autofocus (AF-C or Continuous AF) is usually the best choice unless you want full control.
The rear LCD and EVF. The electronic viewfinder and the rear screen show you the live image. You can also overlay helpful tools like zebra stripes and focus peaking. We will cover those in the next section.
If you are still learning the basic layout, our guide to getting started with a camera interface can help you locate these controls faster.
The Five Settings You Must Get Right Before You Press Record
These five settings will make or break your video. Get them right before you hit record, and you will save hours of frustration in post-production.
1. Frame rate. This is the number of frames per second your camera captures. Choose 24fps for a cinematic look.
Choose 30fps for standard video like YouTube or interviews. Choose 60fps or higher if you plan to slow down the footage in editing. Higher frame rates produce smoother motion but require more light and more storage space.
2. Shutter speed. The 180-degree rule is your friend here. Set your shutter speed to roughly double your frame rate.
For 24fps, use 1/50. For 30fps, use 1/60. For 60fps, use 1/125.
This gives you natural motion blur. A faster shutter speed makes motion look stuttery and jarring. A slower shutter speed creates too much blur.
Stick to this rule unless you have a specific creative reason to break it.
3. Aperture. This controls how much light enters the lens and how much of your scene is in focus. A wide aperture like f/1.8 gives you a shallow depth of field with a blurred background.
A narrow aperture like f/8 keeps everything sharp. For talking heads, f/2.8 to f/4 is a good balance. For landscapes, go narrower.
If you are unsure about balancing aperture with other settings, reading about exposure control can give you a clearer picture.
4. ISO. This is your camera's sensitivity to light. Keep it as low as possible to avoid noise or grain.
Start at ISO 100 or 200. Increase it only when you cannot get enough light with shutter speed and aperture. Most mirrorless cameras start to show visible noise above ISO 3200, but this varies by model.
Check your camera's native ISO range in the manual.
5. Picture profile or log mode. This controls how your camera processes colors and contrast. For most shooting, a standard or neutral profile works fine.
For more flexibility in color grading, switch to a flat log profile like S-Log, C-Log, or V-Log. Log profiles preserve more detail in highlights and shadows but require color correction in editing. If you are not planning to color grade, stick with a standard profile.
Set these five values before you press record. Adjust them only if your scene lighting changes significantly.
How to Actually Set Up for a Specific Shot (Talking Head, Cinematic, Vlog)
Different scenes need different settings. Here is how to configure your camera for three common scenarios.
Talking head or interview. You want the subject sharp and the background slightly blurred. Set your frame rate to 30fps. Set shutter speed to 1/60.
Use an aperture between f/2.8 and f/4. Keep ISO at 400 or lower if possible. Use a neutral or standard picture profile.
Enable continuous autofocus with eye detection if your camera supports it. This keeps the subject's face sharp even if they lean forward or backward.
Cinematic short film. You want that film-like look with shallow depth of field and motion blur. Set your frame rate to 24fps. Set shutter speed to 1/50.
Use the widest aperture your lens allows, such as f/1.8 or f/2.0. Use a log profile for maximum dynamic range. Focus manually or use single-point autofocus.
Lock your exposure before recording. Move the camera slowly and smoothly for a professional feel.
Vlog or run-and-gun. You need flexibility and quick setup. Set your frame rate to 30fps or 60fps if you want slow motion. Set shutter speed to 1/60 or 1/125.
Use a moderate aperture like f/4 to f/5.6 so more of the scene stays in focus. Use a standard picture profile. Enable in-body stabilization and digital stabilization together if available.
Use an external microphone for clear audio. The camera will be moving, so stabilization is critical.
If you shoot in a variety of conditions, you can save these settings as custom presets on your camera. Check your manual for how to assign them to the C1, C2, or C3 positions on the mode dial.
Common Visual Mistakes That Ruin Your Footage (And How to Spot Them)
Even experienced shooters make these mistakes. The good news is that your camera has built-in tools to catch them before you record.
Blown highlights. When bright areas of your image turn completely white with no detail, you have blown highlights. This is permanent. You cannot recover them in editing.
To avoid this, enable zebra stripes in your camera's display settings. Set the zebra level to 95% or 100%. Any area that shows zebra stripes is overexposed.
Adjust your exposure until the stripes disappear from important areas like skin or sky.
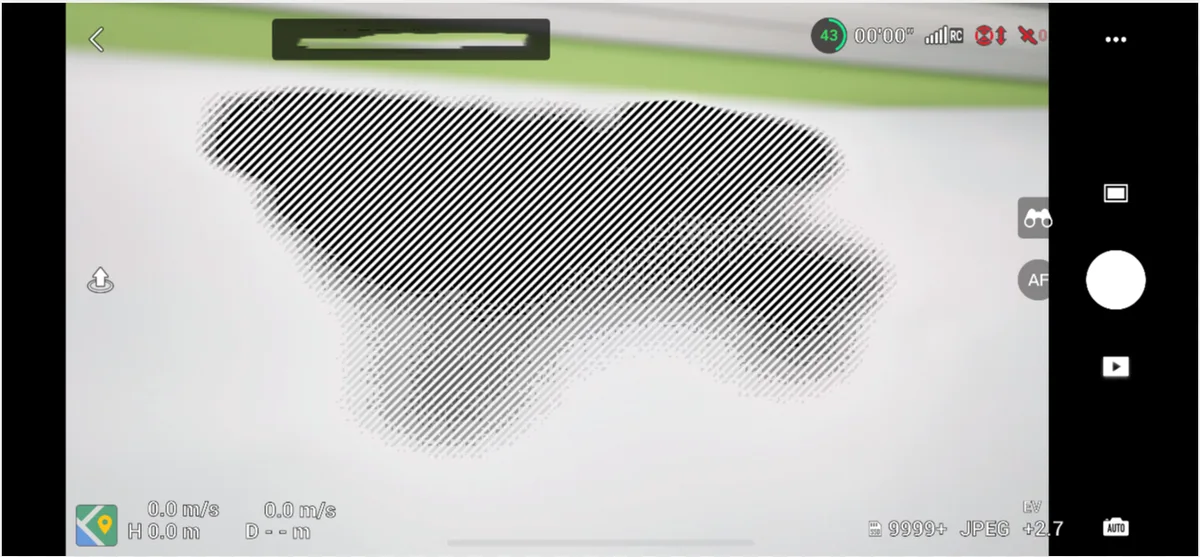
Image source: Web (Bing) / support.dji.com (Web image (fair-use with source credit))
Focus hunting. This happens when the autofocus system cannot decide what to lock onto. The image goes in and out of focus repeatedly. It is distracting and ruins the shot.
To fix this, switch to manual focus or use a single autofocus point instead of wide-area autofocus. You can also use focus peaking, which highlights sharp edges in a bright color like red or yellow. Turn on focus peaking and adjust the focus ring until the peaking appears on your subject.
Rolling shutter or jello effect. When you pan the camera quickly, vertical lines may appear to lean or wobble. This is called rolling shutter. It is a limitation of many mirrorless sensors.
To reduce it, pan more slowly. Use a lens with a shorter focal length. Or switch to a camera model with a faster sensor readout speed.
Wrong shutter speed. If your footage looks stuttery or has unnatural motion, check your shutter speed. It should follow the 180-degree rule. If it is too fast, motion looks choppy.
If it is too slow, motion blurs too much. This is one of the easiest fixes once you know what to look for.
Overheating. Many mirrorless cameras can overheat when recording 4K or 6K video for extended periods. This is especially common in warm environments or direct sunlight. The camera may shut down to protect the sensor.
To prevent this, lower the recording resolution, use a lower frame rate, or keep the camera out of direct sunlight. You can also learn more about preventing overheating issues with proper camera care.
Poor audio. Built-in camera microphones pick up handling noise, wind, and room echo. Always use an external microphone. If you cannot, position the camera closer to the subject and record in a quiet room.
Bad audio makes even great video unwatchable.
Pro Tips That Don't Come in the Box
These are the tricks that experienced videographers learn through trial and error. They are not in your camera manual, but they will save you time and frustration.
Use a monitor. Your camera's rear screen is small and hard to see in bright sunlight. An external monitor gives you a larger, brighter, and more accurate view. It also helps you check focus and exposure at a glance.
If you do not have a monitor, use the electronic viewfinder instead of the rear screen. It works better in bright conditions.
Lock your exposure. When you press the shutter button halfway, your camera may adjust exposure automatically. This causes the brightness to shift mid-clip. To prevent this, use the AE Lock button.
Set your exposure for the scene, press AE Lock, and then start recording. Your exposure will stay fixed the whole time.
Format your card before each shoot. Do not just delete files. Format the memory card in your camera. This clears the card and sets up the file system properly.
It reduces the chance of corrupted files. Always format in the camera. Never format on your computer.
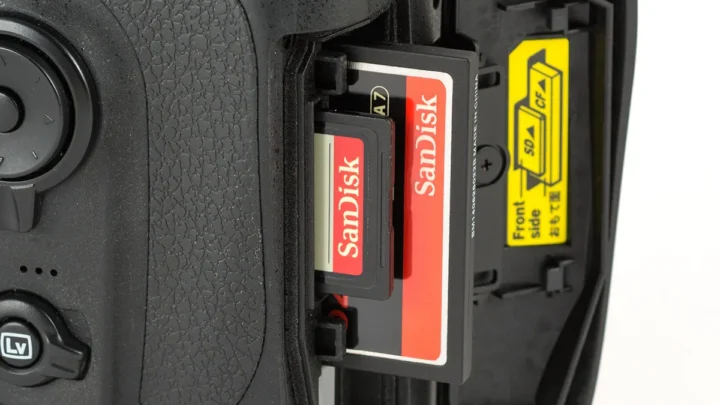
Use a fast memory card. High bitrate 4K video requires a fast card. Look for a card rated V30 or higher. V60 or V90 is better for 4K 60fps or 10-bit recording.
A slow card can cause the camera to stop recording or show an error. Check your camera's manual for the minimum write speed required.
Set a custom white balance. Auto white balance can shift colors during a clip. This is distracting and hard to fix in editing. Instead, set a custom white balance using a white or gray card.
Do this before you start recording. If the lighting changes, stop and set a new white balance.
Record a few seconds of a color chart. Before you start your main footage, hold a color chart or a piece of white paper in front of the lens for a few seconds. This gives you a reference point for color correction in editing. It takes two seconds and saves you a lot of guesswork later.
Use a field recorder for audio. The audio preamps in most mirrorless cameras are not great. An external field recorder like a Zoom H1n or Tascam DR-05 captures cleaner audio. Sync the audio to your video in editing.
It is a small investment that dramatically improves sound quality.
Keep a spare battery handy. Video recording drains batteries fast. A single battery may last only 60 to 90 minutes of continuous recording. Always carry at least one spare.
Charge both batteries fully before a shoot.
A Quick Reference for Your Next Shoot
Here is a cheat sheet you can bring with you or save on your phone. It covers the most common scenarios and their settings.
| Scenario | Frame Rate | Shutter Speed | Aperture | ISO | Picture Profile |
|---|---|---|---|---|---|
| Talking head | 30fps | 1/60 | f/2.8 to f/4 | 100-400 | Standard or Neutral |
| Cinematic | 24fps | 1/50 | Widest available | 100-400 | Log profile |
| Vlog (handheld) | 30fps | 1/60 | f/4 to f/5.6 | 200-800 | Standard |
| Slow motion | 60fps | 1/125 | f/2.8 to f/4 | 200-800 | Standard or Neutral |
| Interview (two people) | 30fps | 1/60 | f/4 to f/5.6 | 100-400 | Standard |
| Product demo | 30fps | 1/60 | f/5.6 to f/8 | 100-400 | Standard |
Before you press record, run this checklist:
- Mode dial set to Movie mode
- Frame rate selected
- Shutter speed set to double the frame rate
- Aperture adjusted for desired depth of field
- ISO as low as possible
- Picture profile chosen (standard or log)
- White balance set manually
- Focus mode set to continuous AF or manual
- Zebra stripes enabled and set to 95%
- Focus peaking enabled
- Memory card formatted and inserted
- Battery charged and spare ready
- External microphone connected and levels checked
- AE Lock engaged if needed
This checklist takes about 60 seconds. It will catch 90 percent of the common mistakes that ruin footage.
Your First Recorded Clip (FAQs for the Real World)
Why does my video keep stopping after 30 minutes?
Most mirrorless cameras have a 29 minute 59 second record limit. This is a legacy restriction from the EU tariff classification for camcorders. Newer models remove this limit.
Check your camera's firmware. A firmware update may remove the limit.
Why is my footage too dark or too bright?
Your exposure is wrong. Check your shutter speed, aperture, and ISO. Use the histogram on your camera's display.
It shows you if the image is too dark, too bright, or properly exposed. Adjust your settings until the histogram shows a balanced distribution.
Why does my autofocus keep hunting?
The autofocus system is struggling to find a target. Switch to a single autofocus point instead of wide-area AF. Point the focus point at your subject.
If it still hunts, switch to manual focus and use focus peaking to confirm sharpness.
Why is my audio full of noise or wind?
Built-in microphones are very sensitive to handling noise and wind. Use an external microphone. A lavalier mic for interviews or a shotgun mic for general use.
If you cannot use an external mic, record in a quiet room and hold the camera still.
Why does my footage look jerky when I pan?
You are panning too fast or your shutter speed is too fast. Slow down your panning movement. Check that your shutter speed follows the 180-degree rule.
For 24fps, use 1/50. For 30fps, use 1/60.
Why does my camera overheat after 10 minutes of 4K recording?
Recording 4K video at high bitrates generates a lot of heat. Keep the camera out of direct sunlight. Open the screen away from the body to allow heat to dissipate.
Lower the recording resolution or frame rate. Some cameras have a temperature limit setting that you can adjust to allow longer recording at the risk of overheating.
How do I transfer video to my computer?
Use a USB cable directly from the camera to your computer. Or remove the memory card and use a card reader. Copy the video files to your computer.
Do not edit while the files are still on the card. Always transfer them first.
What is the best memory card for video?
A card with a V30 rating or higher. V60 or V90 is better for 4K 60fps or 10-bit recording. Choose a card from a reputable brand.
The card speed is more important than the storage capacity. A fast 64GB card is better than a slow 256GB card.

Similar Posts