Motorhome Furnace Troubleshooting
Your motorhome furnace picks the worst possible time to quit. It's 38 degrees outside, you're boondocking with no hookups, and the only heat source just clicked once and went silent. We've all been there.
The good news: most furnace failures come down to a handful of fixable issues you can diagnose in under an hour with basic tools. A mobile RV tech charges $100 to $180 just for the diagnostic visit, before parts or labor. Most furnace repairs that don't involve the control board or the sealed combustion chamber are things you can handle yourself.
Knowing where the line is saves you money and gets you warm faster.
The other side of this is safety. An RV furnace burns propane, which means carbon monoxide is always a possibility when something's wrong. Carbon monoxide is the leading cause of poisoning deaths in the United States, and RVs are a high-risk environment because of their compact, sealed living spaces.
Every RV built after 2015 has a CO alarm installed at the factory per NFPA 1192 standards. But batteries die. Sensors reach end of life after about seven years.
And a CO alarm that isn't working is worse than none at all.
The RV furnace is a sealed combustion appliance that burns propane to heat air blown through your ductwork by a 12-volt fan. NFPA 1192 standards require all RV heating systems to include safety shutoff mechanisms for combustion and ventilation failures. That sounds complicated, but it means every furnace you'll encounter has built-in safeguards that shut things down before dangerous conditions develop.
Understanding those safeguards is the key to safe, effective troubleshooting.
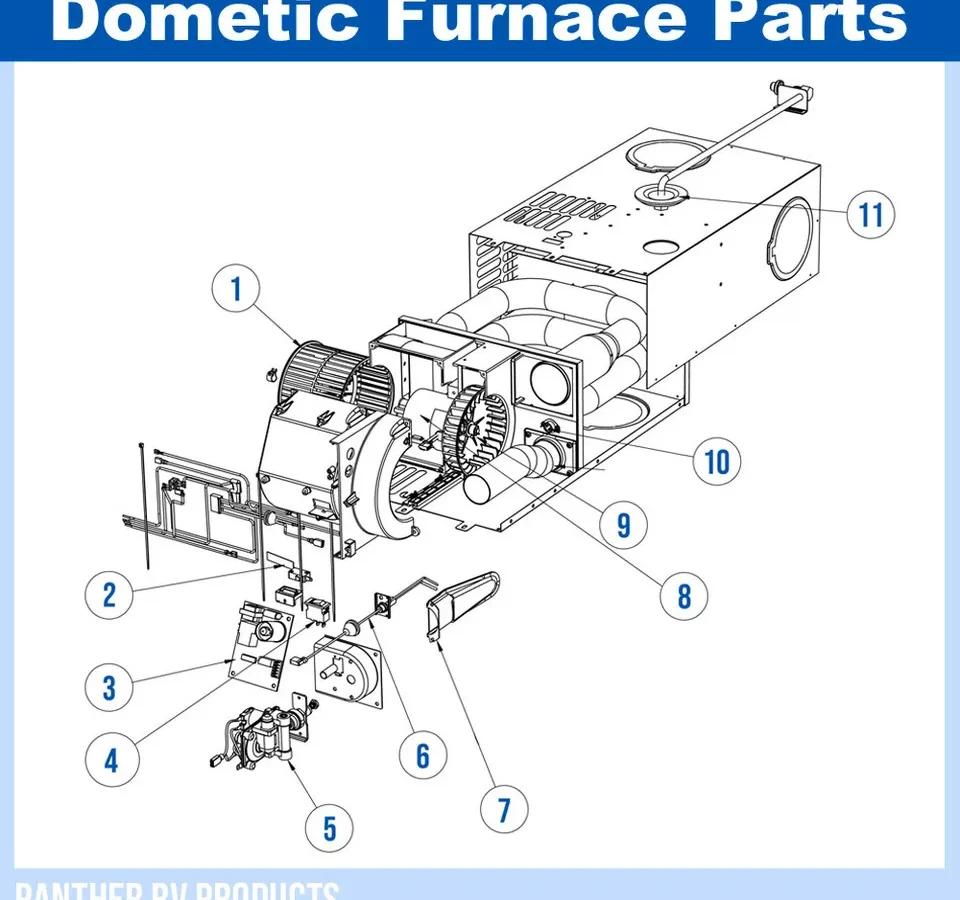
Here's the sequence that happens when your thermostat calls for heat. The control board energizes the blower motor, which spins a fan that pushes air through your ductwork. That airflow is critical because it proves the system can actually move heat away from the heat exchanger.
The airflow pushes on a small vane called the sail switch, which closes a circuit and tells the board, "We've got airflow." Only then does the board open the gas valve and fire the ignition system.
The control board also watches the high-limit switch, which kills the burner if the heat exchanger gets too hot, and the flame sensor, which shuts the gas off if the burner doesn't ignite. These aren't just random parts. They're a coordinated safety system.
Bypassing or defeating any of them is how people get hurt.
What you'll need before you start:
- Multimeter with DC voltage capability
- Screwdriver set (Phillips and flathead)
- Compressed air or a soft brush
- Fine sandpaper or emery cloth
- Owner's manual for your specific furnace model (you can find these online from the manufacturer)
Always check the owner's manual for your model before pulling covers. You're dealing with gas, 12-volt electricity, and a flame. Respect all three.
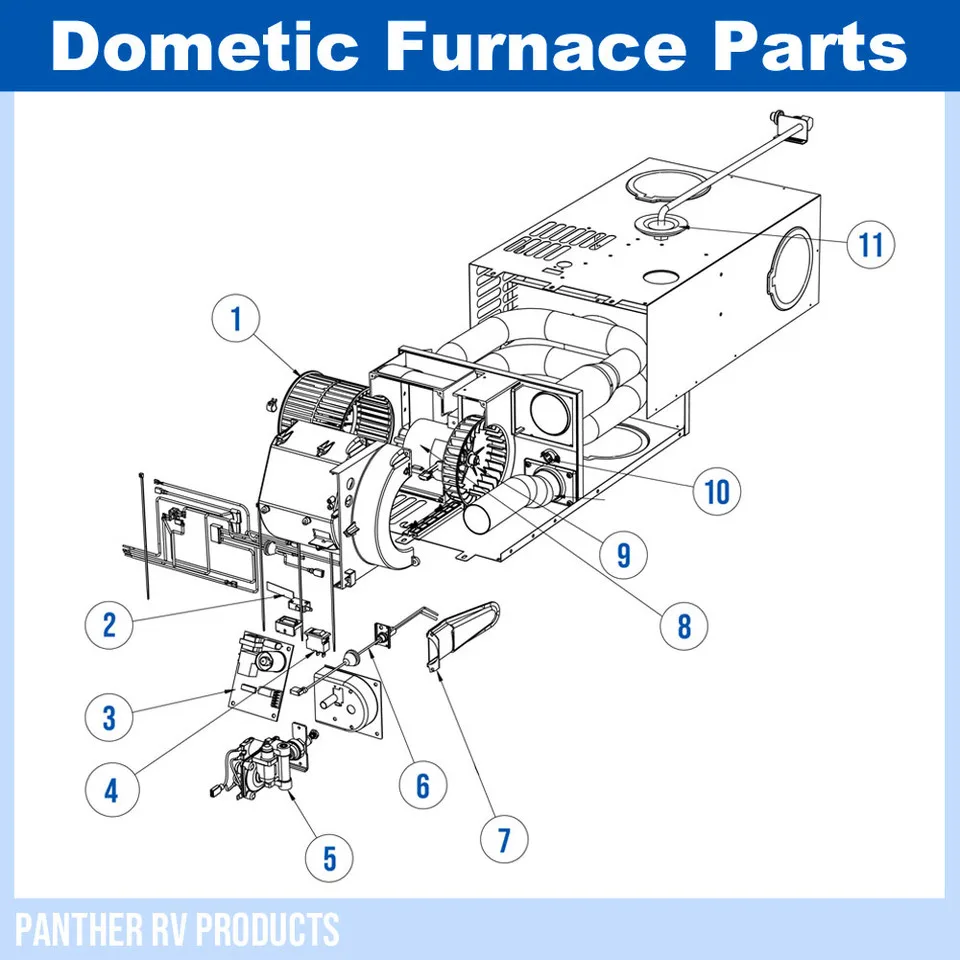
Image source: Bing (Web (fair-use with source credit))
First symptom: Furnace won't start at all — no blower, no click, nothing
Silence is actually the easiest problem to diagnose. Something isn't getting power.
Step 1: Check the basics
Start at the panel. Find the fuse or breaker that feeds the furnace. They're often labeled "FURN" or "HEAT." If it's tripped or blown, replace it and try again.
If it blows again immediately, you've got a short somewhere, which is a job for a professional.
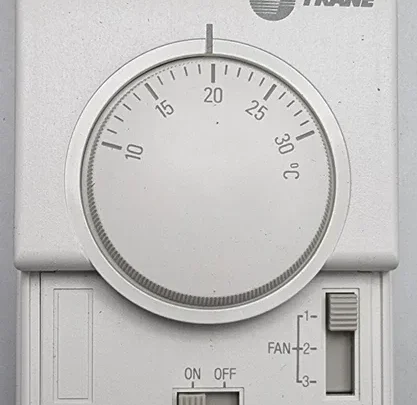
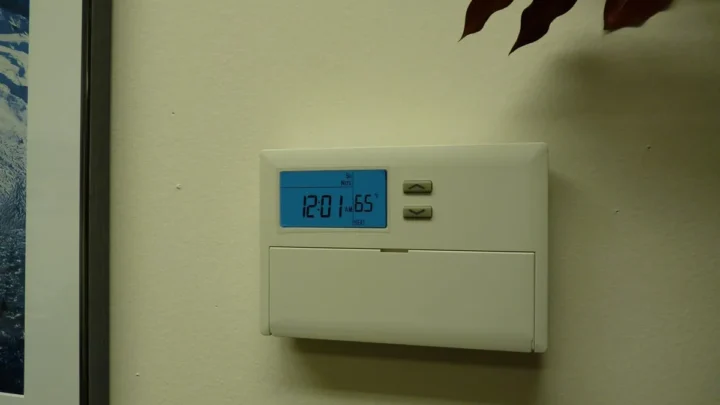
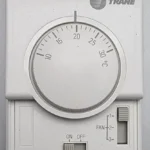
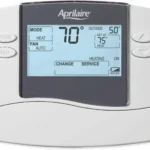
If the fuse is fine, check the thermostat. Turn it to its highest setting and listen for a click. No click means a dead battery (in battery-powered stats) or a wiring problem.
If you hear a click but the furnace stays silent, you're dealing with a power delivery issue at the unit itself.
Step 2: Test for power at the furnace
Remove the furnace cover. These are usually held on by a few screws. Once it's off, locate the control board and the wiring harness.
Set your multimeter to DC volts and probe the red and white power wires at the board. You should see battery voltage, typically 12.4 to 13.5 volts, depending on whether your coach is plugged in, running, or on battery alone. No voltage means the problem is upstream: wiring, connections, or a tripped breaker you haven't found yet.
Step 3: Inspect the ground
This one surprises people. A weak ground connection causes more RV furnace failures than almost anything else. The furnace needs a solid ground back to the battery.
Check where the ground wire meets the chassis. Look for corrosion, loose bolts, or paint that wasn't scraped away before the connection was made. A clean, tight ground is non-negotiable for reliable operation.
Second symptom: Blower runs, but no heat
You've got airflow but no fire. That eliminates the power supply and narrows things down to the safety circuit or the ignition system.
Step 1: Verify the sail switch
The sail switch is a small plastic or metal vane inside the furnace that sits in the airflow path. When the blower runs, the air pushes the sail, which closes a switch. If the switch doesn't close, the control board never opens the gas valve.
You'll find the sail switch near the blower wheel. Look for a two-wire connector. With the furnace off, check it for continuity using your multimeter's ohms setting.
No continuity means the switch is bad, which is a cheap fix, typically $15 to $30 for the part. But before you replace it, check whether the sail is actually free to move. Debris, a wasp nest, or a buildup of dust can jam it shut, preventing airflow from pushing it properly.
Clean the area and test again.
Step 2: Check the high-limit switch
The high-limit switch is a temperature sensor that kills the burner when the heat exchanger gets too hot. It sits on the heat exchanger housing, usually at the top. If it trips, you'll sometimes hear a distinct "click" right after the blower starts, when the power cuts out.
It resets automatically, but it won't reset until the heat exchanger cools down, which is why a furnace might fire up again after an hour of sitting.
Check it for continuity just like the sail switch. No continuity means it's tripped (wait for it to cool and test again) or failed (replace it). This part costs about $10 to $20.
Step 3: Test the gas supply
You need two things for a flame: gas and ignition. Let's verify gas first.
Check that your propane tank isn't empty, sounds obvious, but it happens more often than you'd think. If the tank has fuel, check that the main valve is fully open. A partially open valve can deliver enough pressure for a stove burner but not enough for a furnace.
Then check the furnace's gas line. Look for a simple inline shutoff valve near the unit. Some coaches have one; some don't.
If you find one, make sure it's open.
Next, purge air from the line. After a tank change or a long shutdown, air gets trapped in the gas line. The furnace will try to ignite, fail, and lock out after three attempts.
Cycle the furnace three times, then let it rest for ten minutes before trying again. Sometimes that cycling is enough to purge the line. If not, you'll need a small wrench to crack the fitting just ahead of the furnace gas valve to let trapped air escape momentarily.
Crack it slowly, you should hear a hiss. Tighten it back up immediately once gas flows steadily.
Do not do this with a flame nearby. Do not smoke while doing this. Do not do this indoors without ventilation. Propane is heavier than air and pools in low spots.
That's why most RV furnaces sit near the floor. If you smell gas at any point during this process, stop and open every door and window immediately.
Step 4: Check for ignition issues
If you've got power, airflow, and gas, the problem is ignition. Most RV furnaces use a direct spark igniter or a hot-surface igniter.
Direct spark igniter: You'll hear a clicking sound, like a gas grill, right before the flame kicks on. No clicking means the igniter itself is dead, the electrode gap is wrong, or the control board isn't sending the signal. Inspect the electrode for carbon buildup and check the gap against the manufacturer's spec, usually 1/8 inch.
Clean it with fine sandpaper and try again. If it still won't spark, replace it, about $20 to $40.
Hot-surface igniter: This looks like a small ceramic or silicon nitride glow stick. You'll see a dull orange glow when the furnace calls for heat. No glow means it's burned out.
Hot-surface igniters are fragile. They often fail right after a dirty burner causes delayed ignition, which sends a small "puffback" that shatters the element. Replacement runs $25 to $50.
Step 5: Inspect the flame sensor
The flame sensor is a metal rod that sits in the path of the flame. It detects the flame and tells the gas valve to stay open. If it's dirty or corroded, it fails to sense the flame, and the furnace shuts down after a few seconds of running, exactly like what happens when you hold a match to a barbecue and release the knob too early.
Common symptom: the furnace fires up, runs for about five seconds, then clicks and shuts down. It repeats this cycle forever. That's classic flame sensor behavior.
Clean the sensor with fine sandpaper or a dollar bill, wiping off any carbon deposits. This is one of the most common fixes in motorhome furnace troubleshooting, and it costs nothing. If cleaning doesn't work, replace the sensor, about $10 to $15.
Third symptom: Furnace runs but blows cold air
This is frustrating because everything sounds like it's working. The blower runs, you hear the gas valve click, but the air coming out of the ducts is lukewarm at best.
Step 1: Check for airflow blockages
A furnace needs to breathe. If the return air path is blocked or a supply duct is crushed or clogged, the heat exchanger gets too hot and the high-limit switch trips. Sometimes that kills the burner completely; other times it just causes intermittent heat cycles.
Check all the registers. Make sure none are blocked by clothing, bedding, or furniture. Check under the coach for crushed ductwork, jack placement and road debris are common culprits.
And check the furnace's return air opening inside the coach; it needs clearance for air to enter.
Step 2: Check the burner assembly
A dirty burner burns inefficiently. The flame gets yellow, produces more carbon monoxide, and doesn't transfer heat well. If you pull the burner assembly and see heavy soot or carbon buildup, it's time for a cleaning, this requires removing the burner tube and brushing out the ports with a wire brush.
You'll also want to vacuum out the combustion chamber area.
If carbon buildup is heavy or there's evidence of rust or corrosion inside the burner, skip the fix and call a technician. This is one situation where a little extra help beats a damaged heat exchanger.
Step 3: Check the thermal limit and heat exchanger
If airflow is clear and the burner is clean, but you're still blowing cold air, check the heat exchanger for cracks. A cracked heat exchanger is a serious safety hazard, it leaks carbon monoxide into your living space. Look for cracks where the heat exchanger tubes meet the header plates.
If you see any cracks, do not run the furnace. Replace it or call a professional. This is a red line.
A cracked heat exchanger is the one furnace problem you never cheap out on.
Fourth symptom: Furnace cycles on and off repeatedly
This one usually comes down to two things: a bad thermostat or a clogged intake/exhaust.
Step 1: Test the thermostat
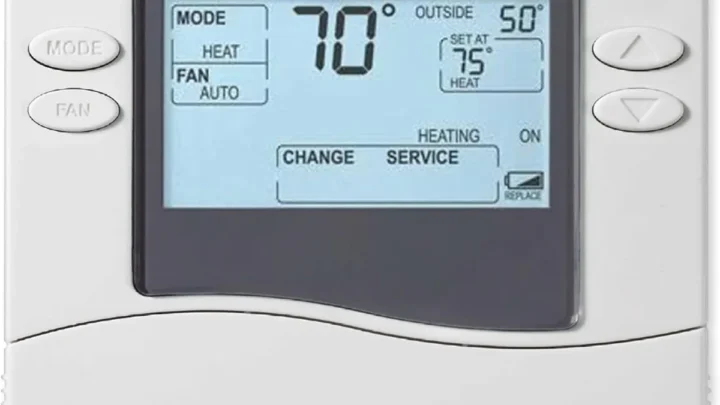
If your furnace runs for a minute, shuts off, then restarts a few minutes later, even when the cabin is still cold, suspect the thermostat first. It's the cheapest part to test. Try switching to fan-only mode and see if the blower runs steadily without cycling.
If it does, the furnace itself is fine and the thermostat is likely the problem.
Replace a faulty thermostat with a basic 12-volt RV model. It's a simple two-wire connection in most units, easy to swap in an afternoon.
Step 2: Check intake and exhaust vents
Furnaces need combustion air from outside and a way to exhaust the burned gases. On most RVs, these are small vents on the side of the coach or integrated into the furnace door. An obstructed vent starves the burner of air, causing incomplete combustion, sooting, and cycling.
Look for wasp nests, spider webs, leaves, or mud. Clean the vents carefully. If vents are clear, check for critters living in the exhaust tube, mice apparently find furnace exhaust tubes cozy.
A blocked exhaust can cause the burner to smolder and trip the limit switch.
When to call a professional
Every RV owner has a wrench and a multimeter. Not every RV owner should use them on a furnace. Call a certified RV technician if:
- You smell gas at any point during troubleshooting. This is a non-negotiable stop. Evacuate, turn off the propane at the tank, and call for help.
- The furnace repeatedly fires and shuts down after you've cleaned the flame sensor and checked the igniter. Intermittent ignition is a control board problem, and a bad control board can act in unpredictable ways.
- You see signs of a cracked heat exchanger, soot around the burner housing, or visible cracks. Carbon monoxide poisoning is a real risk.
- Your furnace is more than 10 years old and needs major repairs. Older units often have obsolete parts, and the rebuild cost often approaches replacement cost anyway.
- Your CO alarm goes off when the furnace runs, even if it's the alarm's end-of-life warning rather than a real detection event. Don't guess on this one.
Final checklist
When your furnace quits, run through the mental checklist before paying anyone:
- Oven or stove working at the same time? If not, check the propane tank level and the main valve. Surge pressure that won't light an oven suggests a regulator problem, not a furnace problem.
- Fuse or breaker holding? If not, there's a wiring short.
- Voltage at furnace board? If not, the problem is upstream.
- Sail switch continuity? If not, clean it or replace it.
- High-limit switch continuity? If not, let it cool and test again. If it breaks continuity again quickly, suspect airflow restriction or a bad heat exchanger.
- Gas valve opening? If you hear the click when the furnace calls for heat, gas is flowing to the burner.
- Flame sensor clean? If not, sand it, wipe it, try again.
- Burner ports clear? If not, clean them or replace the burner assembly.
- Intake and exhaust vents clear? If not, remove obstructions.
Should you replace instead of repair?
Here's the honest math. A basic furnace repair runs $150 to $400 in parts and labor. A new RV furnace, installed, runs $600 to $1,200 depending on the BTU output and features.
If your furnace is older than a decade and needs a control board, a blower motor, or a heat exchanger, replacement is the smarter call. Those three parts alone eat up most of the cost, and you still have an old unit with old wiring and old seals. A new furnace also burns more efficiently and runs quieter.
If it's just a sail switch, a flame sensor, or an igniter, repair it. Those are $20 parts and an hour of your time. That's about as cheap as RV maintenance gets.
Bonus: Extending the life of your furnace
Prevention is cheaper than repair, always.
- Run your furnace for 15 minutes once a month, even in summer. That keeps the blower seals soft, burns off moisture inside the combustion chamber, and keeps critters from nesting in the intake or exhaust. It also prevents condensation that corrodes the burner assembly over time.
- Replace your CO alarm battery every fall when you winterize the coach.
- Test your CO alarm at the start of every trip using the test button. Replace the alarm itself if it's older than seven years, check the manufacture date printed on the back. Sensors degrade with time, and a dead alarm is no protection.
- Keep the furnace area clean. Vacuum the vent openings and wipe down the exterior door occasionally. A clean furnace runs cooler and lasts longer.
- Check your propane regulator condition. A failing regulator causes low or surging gas pressure, which leads to sooting, flame sensor issues, and inconsistent heating. If you notice the stove burners burning yellow or making popping noises, inspect the regulator and replace it if uncertain.
Your motorhome furnace is a simple system with a handful of known failure points. Work through the sequence, respect the safety limits, and you'll be back to warm evenings in about an hour. And when you hit a line you know you shouldn't cross, cracked heat exchanger, persistent gas smell, or a faulty control board, calling a professional isn't a failure.
It's the smart move.

Similar Posts