Nikon D3500 How to Use Manual Mode
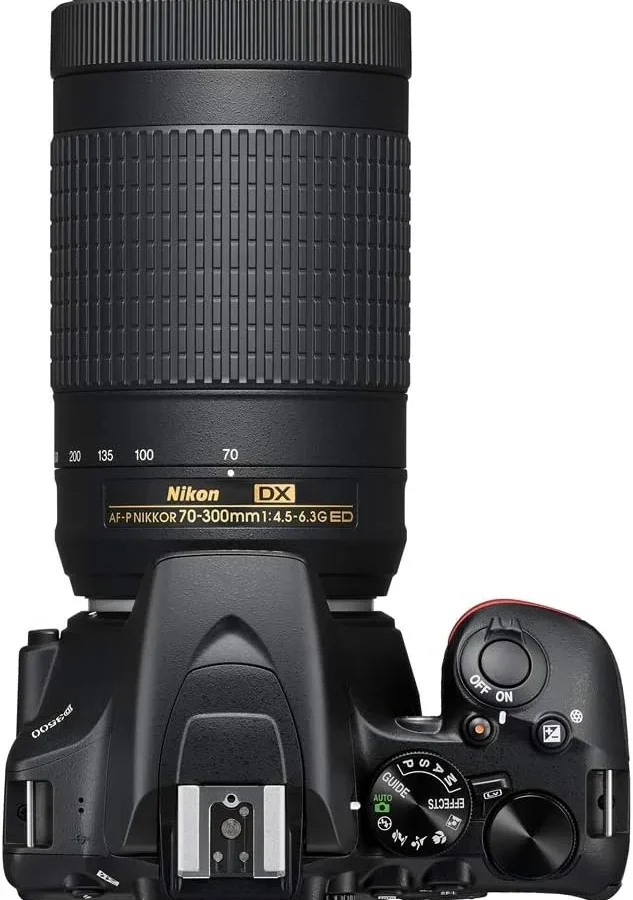
If you have ever switched your Nikon D3500 to M mode and found yourself staring at a black screen or a blown-out mess, you are not alone. Learning Nikon D3500 how to use manual mode usually starts with frustration, not triumph. The viewfinder shows numbers that seem random.
The image comes out too dark or completely washed out. That confusion is normal, and it is entirely fixable with a clear process.
Manufacturer specifications confirm the D3500 delivers roughly 1550 shots per charge. That means Nikon built this camera for extended practice sessions without interruption. You have plenty of battery life to experiment without rushing.
Let us walk through exactly what those viewfinder numbers mean and how to make them behave.
Quick Answer
Turn the dial to M on your D3500. Half-press the shutter to wake the meter. Adjust shutter speed with the command dial.
Hold the Zoom Out button and turn for aperture. Watch the exposure meter bar. Aim for zero.
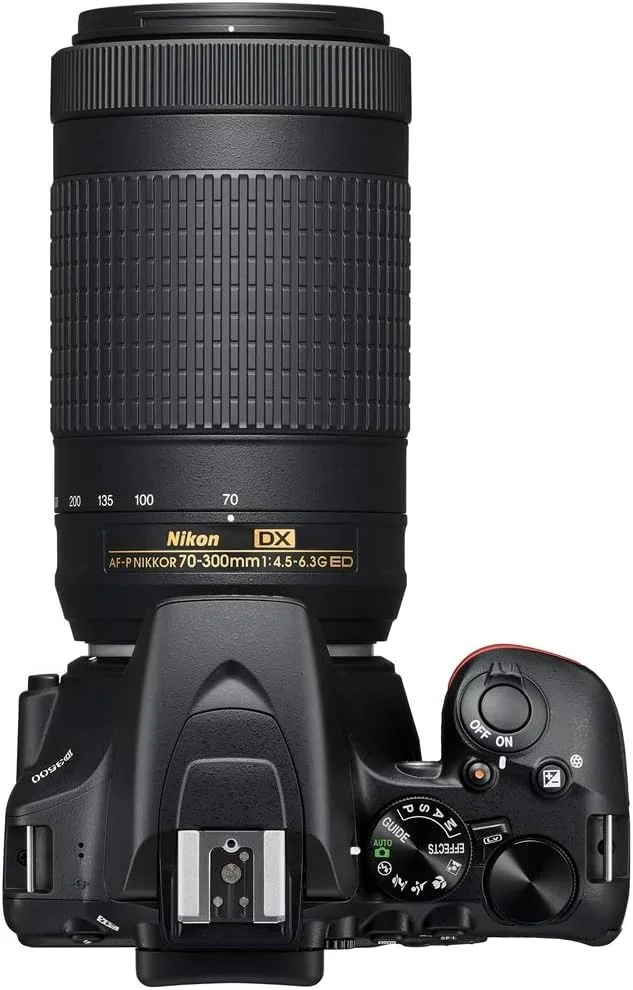
Image source: Web (Bing) / manuals.plus (Web image (fair-use with source credit))
Why Manual Mode Works Differently on a D3500
The D3500 is a single-command-dial camera. That one dial on top right controls whatever function the camera thinks is most important. In manual mode it defaults to shutter speed.
Aperture gets relegated to a button combination. This catches a lot of people off guard.
Higher-end Nikon bodies have two dials, one for each main exposure control. On the D3500 you have to tell it which control you want to adjust. That is not a flaw.
It is simply how an entry-level camera keeps costs down and size small. You can still reach every setting. The path just takes an extra step.
The viewfinder itself is optical, not electronic. That means you never see a live preview of brightness like you would on a phone or a mirrorless camera. Instead a little bar appears at the bottom of the viewfinder, running from minus three to plus three.
That bar is your exposure meter. It is the only way to know whether your shot will be too dark, too bright, or just right before you press the shutter.
There is no histogram in the viewfinder and no brightness simulation. You compose through the lens, see the real scene, and rely on the meter to guide your exposure decisions. This frustrates people at first.
But it trains you to understand light rather than just reacting to a screen.
Understanding the meter, the dial layout, and the button combination immediately removes the confusion. If you are coming from a different camera brand, the same systematic approach to finding controls applies when dealing with other hardware quirks.
Step-by-Step: How to Set a Correct Exposure Using the Viewfinder Meter
Start by setting the mode dial to M. Point the camera at your subject and half-press the shutter button. This wakes the metering system.
You will now see a number line at the bottom of the viewfinder display. It typically shows a minus to plus range with a small dash or tick mark in the center.
That dash is zero. A properly exposed shot lands right on zero.
If the little indicator is to the left of zero, the camera thinks your shot will be underexposed. That means too dark. If it is to the right, it will be overexposed.
That means too bright.
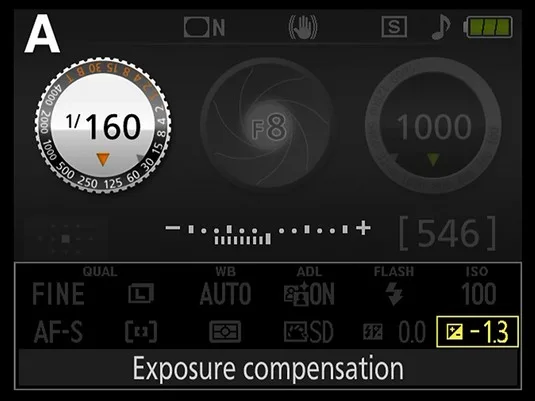
Image source: Bing (Web (fair-use with source credit))
Follow these steps to center the meter.
- Set a starting ISO. For daylight outdoors use ISO 100 or 200. For indoors or dim light start around ISO 800.
- Choose your priority. Do you need a fast shutter speed to freeze motion? Or a wide aperture to blur the background? Pick whichever matters more for the shot.
- Adjust shutter speed first. Rotate the command dial on top right. Each click changes the shutter speed. Faster numbers like 1/1000 freeze action. Slower numbers like 1/30 let in more light but risk blur.
- Adjust aperture second. This is the button combination we will cover in detail next. For now, know that you hold a button near the lens mount and rotate the same dial to open or close the aperture.
- Watch the meter change. Every adjustment moves the indicator. Keep adjusting until it sits at zero or very close.
- Take a test shot. Press the shutter fully and check the LCD. If it looks right, you are done. If not, nudge one of the three settings slightly and try again.
The beauty of the D3500 is that the meter responds in real time as you turn the dials. You can watch the indicator slide left or right while you experiment. This makes the learning process immediate and visual.
Working through each setting one at a time follows the same logic you would use to isolate a fault in any electronic device. The step-by-step approach keeps things manageable.
How to Adjust Aperture on the D3500
This is the single most confusing part of using manual mode on this camera. The D3500 has one command dial. Manual mode requires you to adjust two values, shutter speed and aperture.
Something has to give.
Nikon solved this with a button combo. While in manual mode, you hold down the Zoom Out button. It has a minus symbol and sits on the left side of the camera body near the lens mount.
While holding that button, rotate the command dial with your thumb. The aperture number in the viewfinder changes.
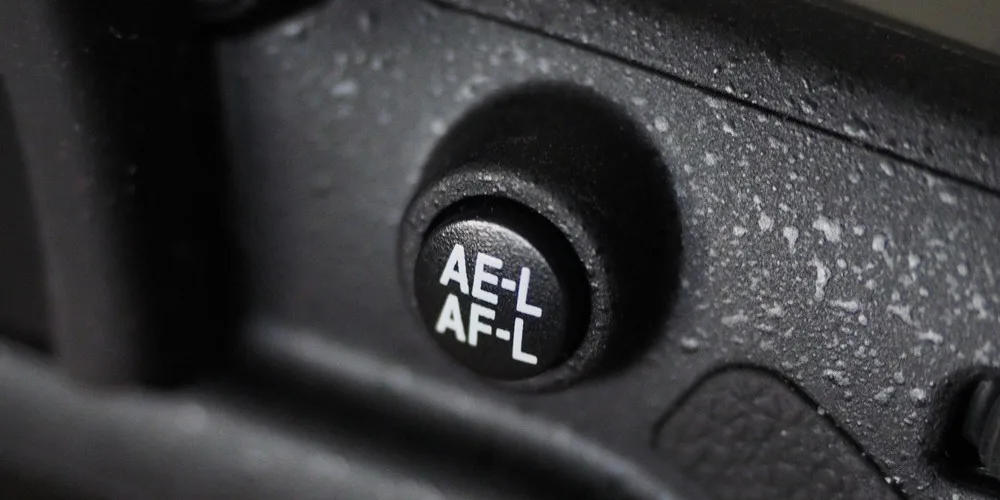
Image source: Web (Bing) / dore.havytab.com (Web image (fair-use with source credit))
Some firmware versions also let you use the AE-L/AF-L button for the same purpose. Check the physical layout of your camera. The Zoom Out button is usually the easiest to reach while keeping your eye to the viewfinder.
Here is what the aperture numbers mean. A lower number like f/2.8 means a wide opening that lets in lots of light. It also creates a shallow depth of field.
That blurs the background behind your subject. A higher number like f/11 means a narrow opening. It lets in less light but keeps more of the scene in focus from front to back.
You cannot arbitrarily pick any aperture. The range depends on the lens attached. The kit lens that ships with the D3500, the AF-P DX 18-55mm f/3.5-5.6 VR, opens to f/3.5 at its widest and closes to f/22 at its narrowest.
That is a perfectly usable range for learning.
If you hold the button and rotate but see no change, check that you are in M mode. Not A or S. The aperture lock only works in full manual.
Spend ten minutes practicing this sequence. Hold the button. Turn the dial.
Watch the number change. Release. Half-press.
Check the meter. Once your fingers learn the motion it becomes automatic. Muscle memory builds quickly, just like adapting to any camera's control layout.
Common Mistakes Beginners Make
Leaving Auto-ISO on. The D3500 lets you enable Auto-ISO even in manual mode. When it is active, the camera quietly raises or lowers your ISO to center the meter. That defeats the entire purpose of manual exposure.
One of your three controls becomes automated. Go into the menu and disable Auto-ISO. Set ISO manually for each shooting situation.
Forgetting to half-press the shutter. The exposure meter does not show up until you wake the camera with a half-press. Beginners sometimes turn the dials and see no change. Then they assume something is broken.
The meter only activates when the camera is metering the scene. Half-press first. Adjust second.
Ignoring the reciprocal rule for shutter speed. When shooting handheld, your shutter speed should generally match or exceed the focal length of your lens. If you shoot at 55mm, keep the shutter at 1/60 or faster. Any slower and handheld blur creeps in.
This happens even if the exposure meter reads zero.
Using Live View for manual exposure setup. The D3500 has a fixed LCD that is dimmer and slower than the optical viewfinder. Live View also uses a different metering system. It drains the battery faster.
Compose and meter through the viewfinder. Use the LCD only to review your shots after taking them.
Panicking when the image looks dark on the LCD. The D3500 screen does not always accurately represent brightness. This is especially true in bright sunlight. Use the histogram playback instead.
It shows you a graph of tonal distribution. A spike on the left means underexposure. A spike on the right means overexposure.
Trust the data over the screen appearance. Official Nikon documentation for the D3500 explains exactly how to read this histogram in the playback menu.
Frequently Asked Questions
Why does my D3500 not let me change the aperture in manual mode?
You likely did not hold the Zoom Out button while turning the command dial. In M mode the dial adjusts shutter speed by default. Hold that button near the lens mount.
Keep holding it. Then rotate the dial. The aperture number will change.
If it still does not work, check that you are in M mode and not A or S.
Should I use Auto-ISO in manual mode?
Technically you can. But it defeats the purpose of full manual control. When Auto-ISO is active, the camera adjusts your ISO to center the exposure meter.
That means two of your three exposure controls are automated. Turn it off in the menu if you want true manual exposure.
What does the exposure meter bar mean in the viewfinder?
The bar runs from minus three on the left to plus three on the right. A small indicator moves along it. Zero in the center means correct exposure.
Left of zero means underexposed, too dark. Right of zero means overexposed, too bright. Adjust shutter speed, aperture, or ISO until the indicator sits near zero.
How do I get proper exposure indoors with the kit lens?
Set ISO to 800 or 1600 first. Open the aperture to its widest setting, f/3.5 at 18mm. Then adjust shutter speed until the meter centers.
You will likely end up around 1/30 to 1/60 depending on the light. Brace the camera or use a tripod to avoid blur at slower shutter speeds.
Why is my manual mode photo completely black or white?
A completely black image means you underexposed dramatically. Your shutter is too fast. Your aperture is too narrow.
Or your ISO is too low for the available light. A completely white image means severe overexposure. Check each setting individually.
Reset ISO to a reasonable value. Open the aperture. Set a moderate shutter speed.
Can I use the D3500 screen to set manual exposure instead of the viewfinder?
You can use Live View, but it is not recommended for manual exposure setup. The LCD is dim and slow. The metering system works differently in Live View.
It also drains the battery much faster. Compose and meter through the optical viewfinder. Use the screen only for reviewing your shots and checking the histogram afterward.

Similar Posts