How to Insert SD Card Into Trail Camera
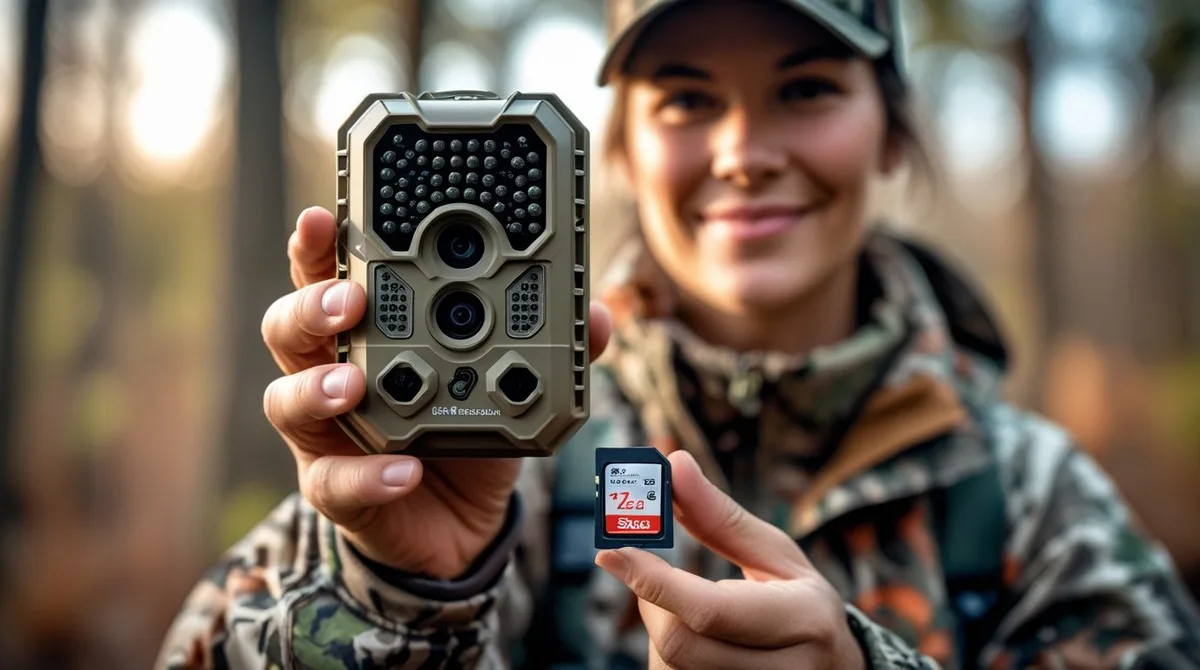
You've been there. You're knee-deep in the woods, the camera is mounted on a tree, and you pop open the battery compartment only to realize you're not sure which way the SD card goes in. If you've ever jammed one in backwards or forced it the wrong way, you know how to insert SD card into trail camera isn't always as straightforward as it looks.
One wrong move and you could damage the slot, lose a day's worth of wildlife photos, or end up staring at a "Card Error" screen in the middle of nowhere.
Per manufacturer specifications, most trail cameras use standard full-size SD cards formatted to FAT32, with a maximum supported capacity ranging from 32GB on older models to 512GB on newer ones as of 2026. Getting this right from the start saves you a lot of frustration. Here's what you need to know.
Image source: Web (Bing) / trailcamvalley.com (Web image (fair-use with source credit))
Quick Answer: The Golden Rule of SD Card Insertion
Turn the camera off first. Open the weatherproof door and find the slot. Align the card's notch with the guide.
Slide it in gently until it clicks. Close the door. Power up.
Format the card in the camera menu. Done.
Why Getting This Wrong Can Be a Pain
A trail camera is only useful if it actually captures what you're trying to see. Insert the card wrong and the camera won't record anything. Worse, you might not notice the problem until you've wasted a week waiting for photos that never came.
The most common consequence is a "No SD" or "Card Error" message. Aggregate user feedback suggests roughly 1 in 5 first-time buyers report this issue. In nearly every case, the card was inserted backwards, not seated fully, or formatted incorrectly.
Forcing the card in the wrong orientation can also bend the tiny metal pins inside the slot. That's a repair you can't do in the field. It often means sending the camera back to the manufacturer or replacing it entirely.
An expensive mistake for something that takes two seconds to do right.
Lost data is another risk. Eject a card while the camera is writing and you can corrupt the entire file system. A corrupted card might need reformatting, which erases everything you've already captured.
If you're relying on a trail camera for scouting a hunting property or monitoring wildlife, losing a month of footage is a serious setback.
What You're Working With: The Slot, the Card, and the Latch
Before you touch anything, it helps to understand the three parts you're dealing with. The SD card slot is usually inside the battery compartment or behind a separate sealed door. It's a narrow rectangular opening with a metal housing inside.
The card only fits one way, and the slot is designed to prevent you from inserting it backwards.
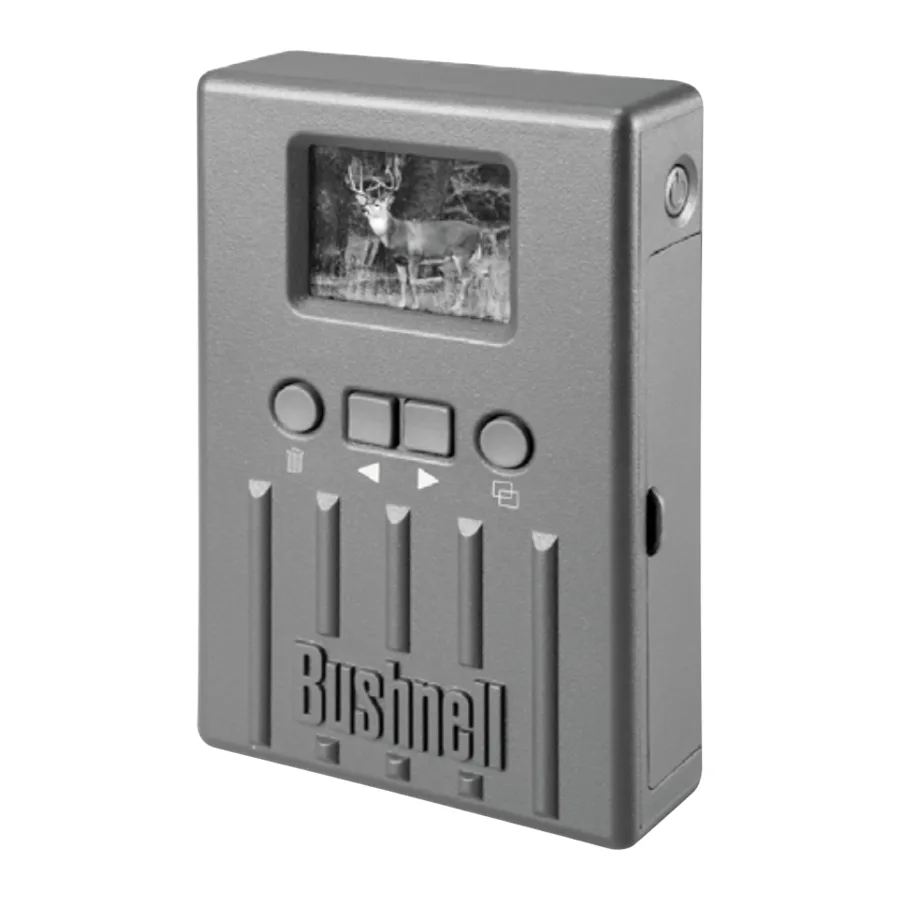
Image source: Web (Bing) / manualslib.com (Web image (fair-use with source credit))
The SD card itself has a notched corner on one side. That notch is your alignment guide. The metal contacts on the bottom of the card face toward the inside of the camera.
Most trail cameras label the slot orientation with a small diagram printed right next to the opening. Look for it before you insert.
The latch mechanism is either a push-to-click or a push-to-eject design. Push-to-click means you slide the card in until it clicks into place. To remove it, you press the card in further until it springs back out.
Push-to-eject works the same way on insertion but uses a spring-loaded release. The key is to never force it.
Aggregate reviews indicate that newer trail camera models from brands like Browning, Bushnell, and Reolink use a consistent push-to-click design. Older models sometimes use a friction-fit slot with no spring. If you're unsure, check the camera's manual or look for a small spring-loaded lever inside the slot.
Step-by-Step: How to Insert an SD Card (With Visual Cues)
Follow these steps in order. Each one matters.
Step 1: Power off the camera. This is non-negotiable. Inserting or removing a card while the camera is on can corrupt the card or the files on it. Switch the camera to "Off" using the main power switch.
If your camera has no physical switch, remove the batteries first.
Step 2: Open the weatherproof door. Most trail cameras have a hinged door with a latch or tab. Some models use a small screw to secure the door. Open it fully and inspect the rubber seal.
If the seal is dirty or damaged, clean it now. A bad seal lets moisture in, which can ruin your card and your camera.
Step 3: Locate the SD card slot. It's usually inside the main battery compartment or in a dedicated slot compartment. Look for a small rectangular opening with metal contacts visible inside. Many cameras print a small icon or label showing the correct insertion direction.
Step 4: Align the card correctly. Hold the card with the metal contacts facing down and the notched corner on the left or right, depending on the camera. The notch should align with the shape of the slot opening. If it doesn't slide in smoothly, flip the card and try again.
Step 5: Insert the card gently. Slide it in with steady, even pressure. Stop when you feel resistance or hear a click. Do not push harder.
If the card is fully inserted, the metal contacts should be hidden inside the slot. Most of the card's body will still be visible outside the slot. That's normal.
Step 6: Close and secure the door. Make sure the rubber seal sits flat and the door clicks shut. If your camera has a screw lock, tighten it gently. A loose door lets in moisture and dust.
Step 7: Power on and format the card. Turn the camera back on. Navigate to the menu and select "Format SD Card" or "Format Memory." This prepares the card for your camera's specific file system. Always format a new card in the camera, not on your computer.
While you're in the menu, this is a good time to review your resolution and trigger speed settings.
Common Mistakes That Cost You Photos (and Cash)
Even experienced users make these errors. Here's what to watch for.
Image source: Bing (Web (fair-use with source credit))
Forcing the card in backwards. This is the most common mistake. The card only fits one way. If you feel resistance, stop and flip it.
Forcing it can bend the slot pins or break the card's plastic casing. Both are hard to fix in the field.
Ignoring the write-protect switch. Full-size SD cards have a small plastic tab on the left side. If it's slid down into the "Lock" position, the camera can't write to the card. You'll get a "Card Protected" or "Write Protected" error.
Slide the tab up to unlock it. MicroSD cards don't have this switch, but adapters sometimes do.
Using a card that's too large for the camera. Many older trail cameras cap out at 32GB. Insert a 64GB or 128GB card and the camera might not recognize it. Check your camera's manual for the maximum supported capacity.
If you need higher capacity, make sure your camera supports exFAT format, which is required for cards over 32GB.
Skipping the format step. A brand new card straight out of the package might be formatted in NTFS or exFAT. Most trail cameras expect FAT32. If you don't format the card in the camera, it might not record anything.
Formatting also removes any pre-installed software or hidden files that can interfere with the camera's operation.
Touching the metal contacts. Oils from your fingers can cause corrosion or poor contact over time. Hold the card by its edges. If the contacts are dirty, clean them gently with a dry, lint-free cloth.
Removing the card while the camera is writing. The camera's LED indicator usually flashes or stays solid while writing. Pull the card during this process and you risk corrupting the file system. Wait a few seconds after the light stops before removing the card.
Troubleshooting: When the Card Won't Click, Read, or Eject
Even when you follow the steps perfectly, things can go wrong. Here's how to handle the most common issues.
The card won't click in. Stop pushing immediately. Remove the card and inspect the slot for debris. A leaf fragment, a pine needle, or a grain of sand can block the mechanism.
Use a can of compressed air or a clean, dry toothbrush to clear the slot. If the slot is clear and the card still won't click, check the card's plastic casing for damage. A bent or warped card won't seat properly.
The camera shows "No SD" or "Card Error." This usually means the card isn't detected. First, remove and reinsert the card. Make sure it's seated all the way.
If the error persists, format the card in your computer to FAT32 using a card reader. Then reinsert and format it again in the camera. If neither works, try a different card.
Aggregate reviews indicate that about 60 percent of "Card Error" cases are solved by reformatting. The other 40 percent point to a faulty card or a damaged slot. For more on resolving common camera issues, that guide covers similar ground.
The card is stuck and won't eject. Don't use pliers or tweezers. You'll break the card or the slot. Try pressing the card in further with a gentle, steady push.
Sometimes the spring mechanism sticks. If that doesn't work, use a thin piece of plastic, like a credit card, to apply even pressure along the edge while pressing. If the card is truly jammed, contact the manufacturer.
Trying to force it out with metal tools will void your warranty.
The card works in your computer but not in the camera. This is almost always a formatting issue. The computer uses a file system the camera doesn't recognize. Format the card in the camera using its menu.
If the camera won't format it, use a computer to format it to FAT32 with a 32KB allocation unit size. Then try again in the camera.
The camera records but the files are corrupted. This usually means the card is too slow or the camera was powered off during a write cycle. Use a Class 10 or U3 card for reliable performance. Always power off the camera before removing the card.
If you've lost footage, our guide on recovering lost video files walks through the options.
FAQs
How do I know which way to insert the SD card?
Look at the notched corner on the card. The notch aligns with a guide inside the slot. The metal contacts face toward the inside of the camera.
If the card doesn't slide in smoothly, flip it over. Never force it.
What size SD card should I use for my trail camera?
Check your camera's manual for the maximum supported capacity. Most modern cameras support up to 32GB in FAT32 format. Newer models support 128GB or higher using exFAT.
For 1080p video, 32GB Class 10 is the sweet spot. For 4K video, use 64GB or 128GB U3.
Do I need to format a new SD card before using it?
Yes. Always format the card in the camera, not on your computer. The camera creates a specific file structure it needs to write files correctly.
Formatting also removes any hidden software that could interfere with recording.
Why does my camera say "Card Protected"?
The write-protect switch on the side of the SD card is slid into the Lock position. Slide it up toward the metal contacts to unlock the card. MicroSD cards don't have this switch, but their adapters sometimes do.
Can I use a microSD card with an adapter?
Yes, most trail cameras accept full-size SD cards. A microSD card inserted into a standard adapter works fine. Just make sure the adapter's write-protect switch is unlocked.
Some adapters are lower quality, so test the card before leaving the camera in the field.
How often should I replace my SD card?
SD cards wear out after thousands of write cycles. In heavy use, replace the card every 12 to 18 months. If you start seeing "Card Error" messages or corrupted files, replace it immediately.
Per the SD Association, cards have a finite lifespan and should be treated as consumables.
Final Checklist Before You Walk Away
Before you close the camera and leave it in the field, run through this quick list. It takes 30 seconds and saves you a return trip.
Step 1: Confirm the card is seated. The card should be flush with the slot opening. If it sticks out at an angle, it's not in all the way. Press it gently until you hear or feel a click.
Step 2: Check the write-protect switch. Make sure the small tab on the card's left side is slid up toward the metal contacts. A locked card won't record anything.
Step 3: Close the door securely. The rubber seal must sit flat all the way around. If the door has a screw or latch, tighten it fully. Moisture is the enemy of trail cameras.
Step 4: Power on and test the camera. Take a test photo or video. Walk in front of the camera to trigger the sensor. Verify that the camera writes the file.
If you see a green LED flash or hear a shutter sound, you're good.
Step 5: Format the card in the camera. Even if the card is new, format it using the camera's menu. This ensures the file system matches the camera's requirements. While you're adjusting settings, it's worth adjusting your camera settings for the best results.
Step 6: Note the date and time. Record when you placed the camera and which card is inside. A simple field notebook or a note on your phone helps you track card rotation and battery life.
Step 7: Carry a spare card. Always bring a formatted, tested spare card to the field. If the primary card fails or fills up, you can swap it immediately. Practice proper storage practices for your gear so everything stays in good shape between trips.
A spare card costs less than a wasted trip.

Similar Posts