Orbit Sprinkler Timer Troubleshooting
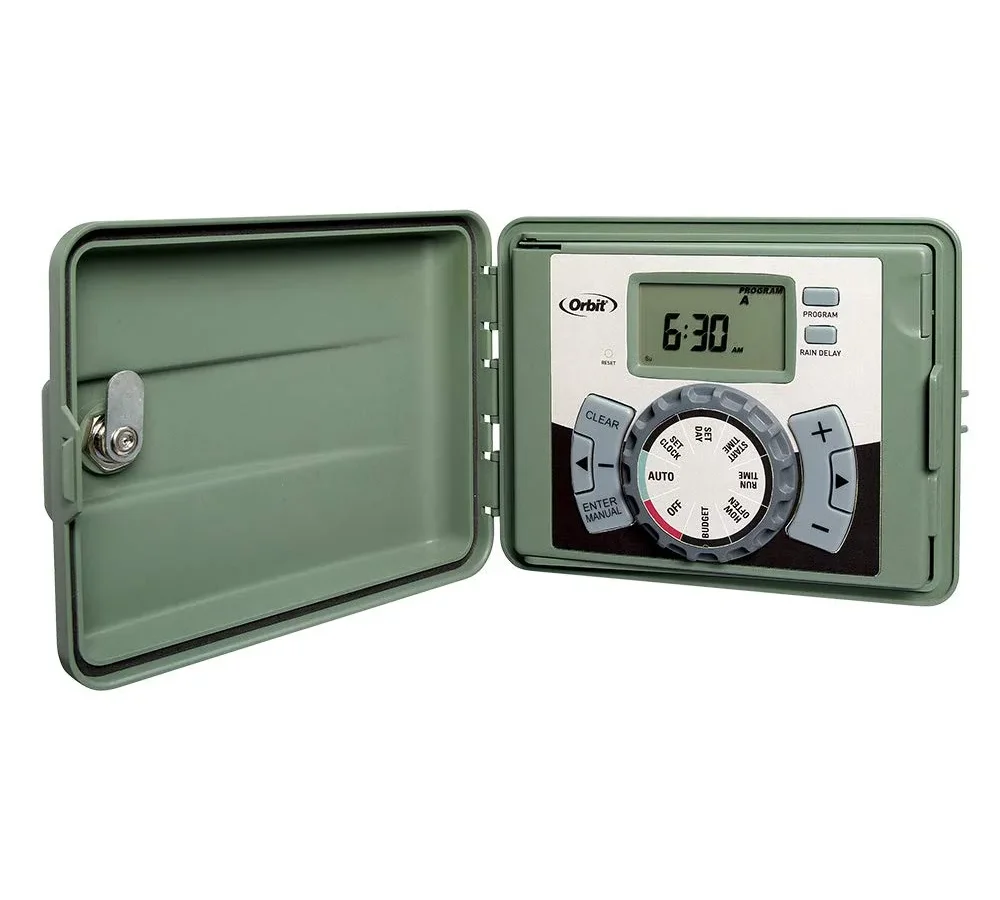
Your sprinkler timer is supposed to make life easier. Instead, you're pressing buttons and getting nothing. No display.
No click from the valve box. Water running when it shouldn't. Orbit sprinkler timer troubleshooting doesn't have to be a guessing game.
As of 2026, most failures fall into four categories: power loss, a blown fuse, a broken wire, or a stuck valve. In our research, DIYers solve the majority of these issues with a $10 multimeter and about twenty minutes.
Orbit controllers run on 24-volt AC power. They send that voltage to a solenoid on each valve, and the valve opens when it receives the signal. The whole system also depends on one shared common wire.
When a single zone fails, that wire is often the reason. Let's walk through it symptom by symptom.
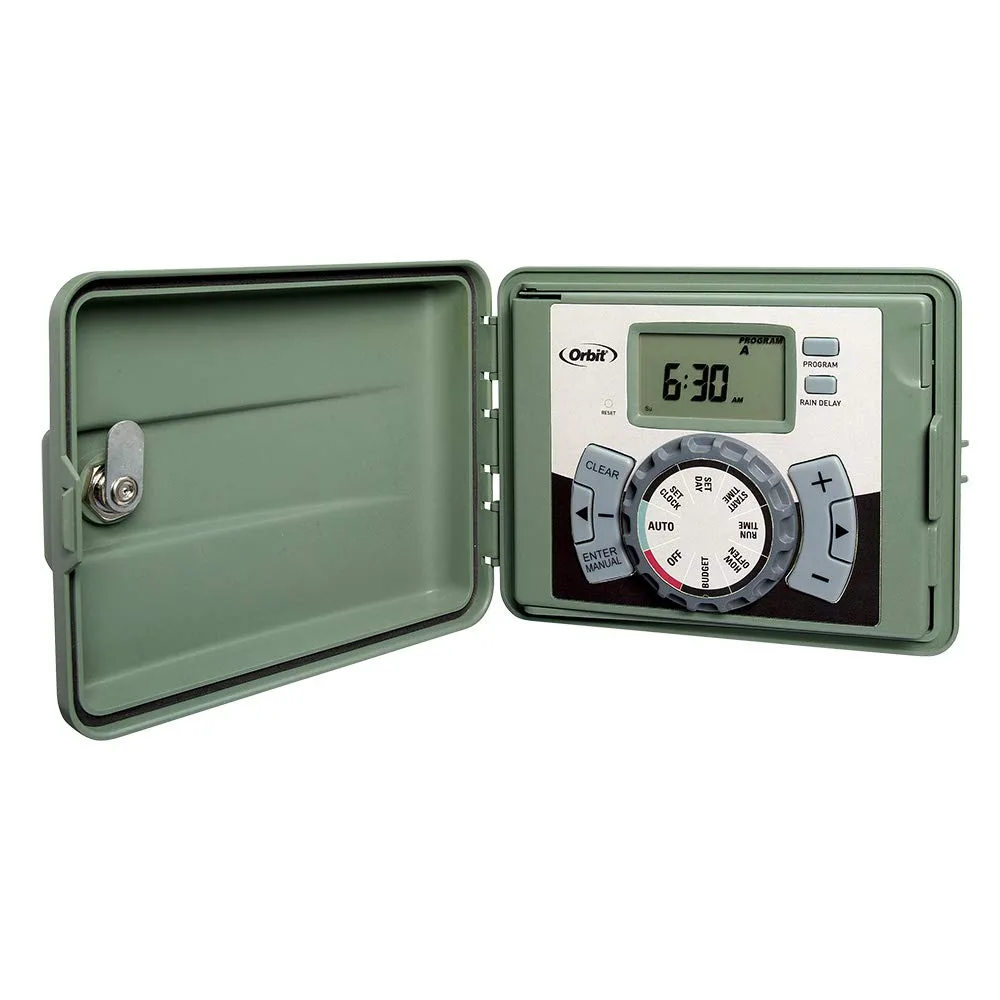
Image source: Bing (Web (fair-use with source credit))
Quick Answer
For Orbit sprinkler timer troubleshooting, most problems are simple to fix. A blank screen means no power or a dead transformer. Zones that won't run usually point to a blown fuse or bad common wire.
A stuck zone means debris in the valve. Start with power, then wiring, then the valve.
First, Let's Figure Out What's Actually Wrong (Symptom Check)
Before you open a valve box, look at the timer. The exact symptom tells you where to dig.
| Symptom | Most Likely Cause | First Check | | Blank screen, no display | No power, dead transformer, or blown fuse | Outlet, GFCI, backup battery | | Screen works, zones won't run | Blown fuse, broken common wire, bad solenoid | Fuse, then 24V at zone terminal | | Zone won't shut off | Stuck valve, debris under diaphragm | Turn solenoid head manually | | Zone stops early or schedule resets | Dead 9-volt backup battery | Replace battery | | B-hyve offline or watering wrong times | Wi-Fi band or power glitch | Restart timer and router |
Each row is a separate decision branch below. If you're not sure which symptom you have, look for the two clues that matter most: does the display light up, and do you hear a click when a zone starts? A click means voltage is reaching the valve.
No click means the circuit is broken.
Blank Screen / No Power: The Full Decision Tree
If the screen is dark, the timer has no power. Work through this branch in order. The goal is to eliminate the cheap fixes before you replace anything.
Step 1: Reset the Timer
Unplug the transformer from the wall. Remove the 9-volt backup battery from the back of the timer door. Wait sixty seconds.
Put the battery back in, then plug the transformer in. If the screen returns, a power surge caused the lock-up. You're done.
Step 2: Test the Outlet and Transformer
Plug a phone charger or lamp into the same outlet. If it doesn't work, check the GFCI outlet and the house breaker. If the outlet is fine, test the transformer.
Set your multimeter to AC voltage. Touch one probe to each of the two low-voltage wires from the transformer where they land on the timer's terminals. A healthy transformer reads between 24 and 28 volts AC.
Zero volts means the transformer is dead. Replace it with a matching 24-volt AC model from your hardware store or from Orbit.
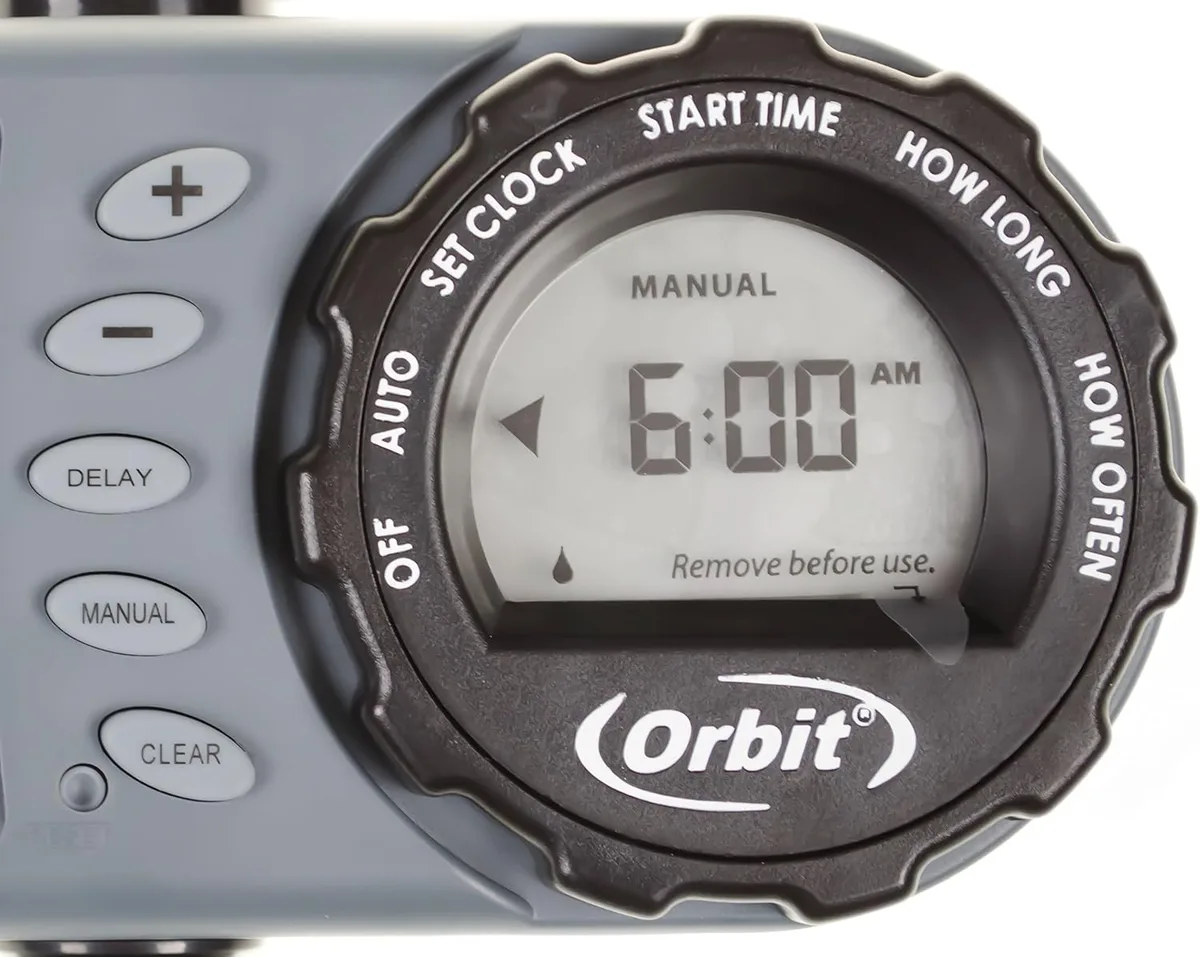
Image source: Bing (Web (fair-use with source credit))
Step 3: Inspect the Fuse
Open the timer door and find the fuse. It's a small glass tube with metal caps, usually labeled "Fuse" or "F1." Pull it out and hold it to the light. If the metal strip inside is broken or darkened, replace it with a 1-amp, 250-volt, 5mm x 20mm fuse.
Don't use a larger amp rating. A bigger fuse won't protect the board if something shorts out.
Step 4: Test the Display Connection
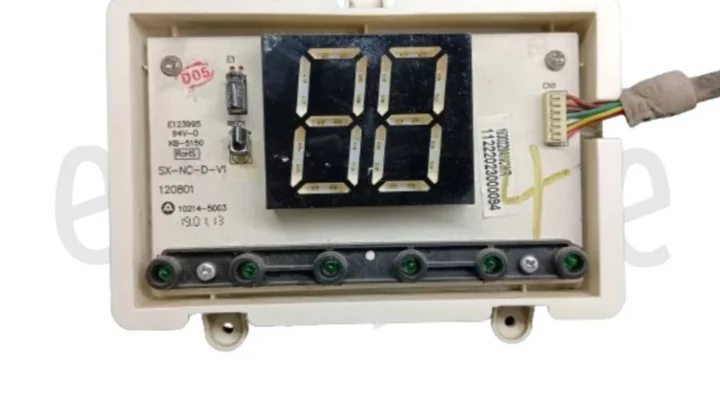
If the outlet, transformer, and fuse are all fine, the issue may be a loose ribbon cable. Open the timer carefully and check the cable that connects the display board to the main board. Press it gently to make sure it's seated.
If the screen still stays dark, the board has failed. New basic Orbit timers cost between $35 and $65 as of 2026. Swapping the unit is faster than trying to repair a circuit board.
Timer Has Power But Zones Won't Run: Wiring and Valve Path
The screen lights up, but no water comes out. The most important clue is the sound from the valve box. A healthy solenoid makes a "click" when a zone starts.
No click means voltage is not reaching the valve.
Check the Common Wire First
Every valve has two wires. One runs from a numbered terminal on the timer. The other connects to a shared wire that runs back to the "COM" or "Common" terminal.
If that common wire has a loose connection, none of the zones will work. Check both ends. At the timer, the wire should be tight under the COM screw.
In the valve box, the splice should be clean and dry.
If only one zone fails while others run, the problem is in that zone's wire or solenoid. If all zones fail, start with the common wire and the fuse.
Test Voltage at the Timer
Set the multimeter to AC voltage. Put the timer in manual mode and run zone 1. Touch one probe to the COM terminal and one to terminal 1.
You should read 24 to 28 volts AC. If you get that reading, the timer is fine. The break is in the wire to the valve or in the solenoid itself.
If you get zero volts, the timer's output for that zone has failed.
Test the Solenoid
Go to the valve box and disconnect the two wires from the solenoid. Set the multimeter to ohms. Touch one probe to each solenoid lead.
A good solenoid reads between 20 and 60 ohms. A reading of 0 means a short circuit. Infinite resistance means the coil is broken.
Replacement solenoids cost roughly $10 to $15. Match the brand and model of your valve.
If You Don't Have a Multimeter
Touch the two bare wires from the solenoid together and hold them. Have someone start that zone at the timer. If you feel a faint tingle, voltage is reaching the valve box and the solenoid is the problem.
If you feel nothing, the wire itself is broken somewhere between the timer and the valve.
Zone Won't Shut Off: Why It Sticks and How to Stop It
Water keeps running after the cycle ends, and it won't stop. First, test whether the timer or the valve is at fault.
Unplug the Timer
Unplug the transformer and remove the backup battery. If the water stops, the timer is stuck and sending constant voltage. Replace the timer.
If the water keeps running, the valve is stuck open because of debris or a damaged diaphragm. The timer is not the issue.
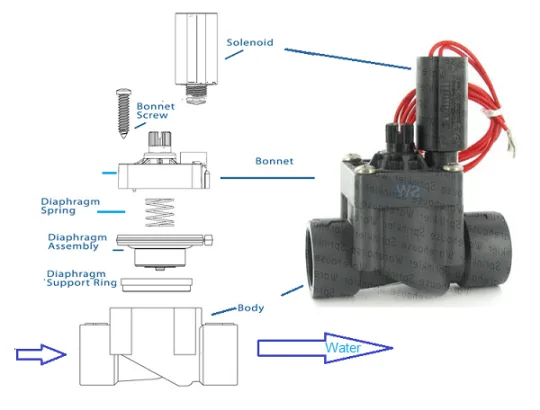
Image source: Bing (Web (fair-use with source credit))
Shut Off the Water Manually
Find the valve box. Turn the main irrigation water supply off at the backflow device or the main shutoff. Then turn the solenoid on top of the valve clockwise gently, about a quarter turn.
This should close the valve manually. If it stops the flow, the solenoid is fine and debris is blocking the valve. If it doesn't stop the flow, the diaphragm has failed.
Clean the Valve and Diaphragm
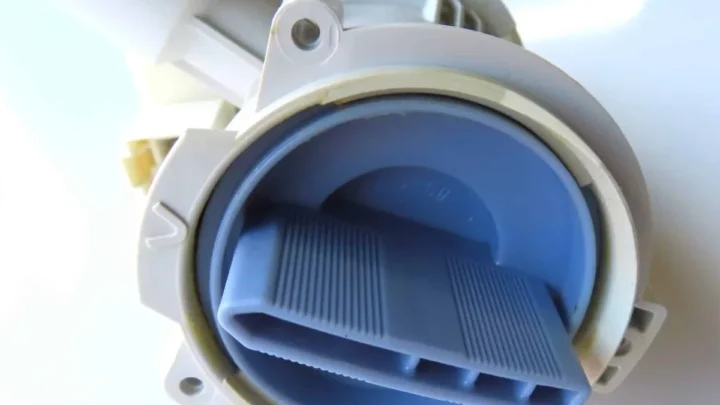
Once the water is off, remove the screws on top of the valve and lift the cover. Pull out the rubber diaphragm. Look at the valve seat for anything wedged in it: sand, gravel, or a fleck of pipe tape.
Remove the debris, rinse the diaphragm, and reassemble. Turn the water back on slowly. Run the zone manually and watch it shut off.
When to Replace the Diaphragm
If the diaphragm is torn, warped, or has a permanent crease, it won't seal. Buy a repair kit for the exact valve brand and model. They cost around $5 to $10 and include a new diaphragm and spring.
Short Cycling and Program Loss: Battery, Memory, and Sensor Issues
Two more issues look different but share a root cause: the backup battery and the sensor systems.
The 9-Volt Backup Battery
The 9-volt battery inside the timer keeps your program when the main power goes out. When that battery dies, any power blip erases your schedule. That's why you'll set a program and find a blank schedule the next morning.
Replace it with a fresh alkaline 9-volt battery. Rechargeable batteries drop voltage too quickly and can cause the same problem.
Season Adjust Is Set Low
If your zone runs but stops way too early, check the season adjust percentage. On Orbit timers this scales your watering duration. If it's set to 10%, a 20-minute zone runs for 2 minutes.
Set it to 100% for the programmed time. This is one of the most common "timer is broken" calls that isn't broken at all.
Rain Sensor and Soil Sensor Issues
Orbit timers can be wired to a rain sensor or soil moisture sensor. When the sensor is active, the timer skips scheduled watering. That's a feature, not a failure.
If your system stopped watering and the display shows "Rain" or "Sensor Off," check the sensor. To test, remove the sensor wires from the timer's sensor terminals and run a zone manually. If it works, the sensor is the cause.
Smart Timer (B-hyve) Specific Problems: Wi-Fi, App, and Connection
B-hyve timers add Wi-Fi and app control, which means a few extra failure points. Most connection issues are simple.
Try a Full Power Cycle
Unplug the timer. Remove the 9-volt battery. Wait thirty seconds.
Put the battery back, plug the timer in, and let it restart. This clears the most common firmware glitch.
Check the 2.4 GHz Band
B-hyve timers connect to 2.4 GHz Wi-Fi, not 5 GHz. If your router broadcasts both bands under the same network name, the timer can struggle to connect. Split the bands in the router settings or temporarily turn off 5 GHz.
Then reconnect through the B-hyve app. Orbit's official support site has model-specific Wi-Fi setup guides if you need more detail.
Reconnect the Schedule
After a power cycle, the timer may show offline until the app reconnects. Open the B-hyve app and give it a minute. If it doesn't reconnect, remove the timer from the app, wait a few seconds, and add it again.
This is faster than trying to guess which setting is wrong.
Mistakes People Make That Waste Hours (And How to Avoid Them)
- Using the wrong fuse. A 1-amp fuse only. A higher-rated fuse can damage the transformer and the solenoid.
- Checking zones without testing the common wire. A bad common kills every zone, not just one.
- Forgetting the GFCI outlet. Moisture or a tripped GFCI is one of the three most common causes of a blank screen.
- Replacing the solenoid before checking the timer voltage. You'll spend $15 and solve nothing.
- Resetting the timer without replacing a dead battery. The program will vanish again as soon as power blips.
- Ignoring the rain sensor. A stuck rain sensor can block watering for days.
- Turning the solenoid head too hard when trying to close a valve. A quarter turn is enough. More can crack the body.
Tools You Actually Need and How to Use Them
| Tool | Why It's Useful | Approximate Cost | | Multimeter | Tests transformer voltage, fuse continuity, and solenoid resistance | $15 to $25 | | 1-amp 250-volt fuse | Standard replacement for Orbit controllers | $3 for a two-pack | | Fresh alkaline 9-volt battery | Restores program memory | $5 | | Wire connectors and waterproof splices | Fixes corroded valve wire connections | $5 to $8 | | Valve repair kit | Replaces diaphragm, spring, and sometimes solenoid | $5 to $10 |
You don't need a fancy kit. A basic digital multimeter set to AC voltage is enough for the tests above. For resistance checks, set it to ohms.
Hold the probes on bare metal, not the wire insulation.
When to Call a Pro (And When You Definitely Don't Need To)
Most issues on this list are safe to fix yourself. But a few situations are worth handing off.
- The wire between the timer and the valve is buried and you can't find the break. A professional can use a wire locator.
- The main shutoff valve is old and hard to turn. Don't risk breaking it.
- You smell burning plastic near the timer. Turn it off and replace the unit or call an electrician.
- A zone fails repeatedly after you've cleaned the valve. There may be an underground leak or a failing manifold.
Repeatedly blowing fuses points to a short circuit in the wiring. That can be tricky to chase. A pro has the right tools and experience, and it's usually cheaper than replacing a burned-out timer board.
Some local irrigation professionals follow the Irrigation Association's best practices, which cover wire sizing and system design.
Frequently Asked Questions
How do I reset my Orbit sprinkler timer?
Most Orbit timers reset by unplugging the transformer and removing the 9-volt backup battery. Wait sixty seconds, then put the battery back and plug the transformer in. For a full factory reset, hold down the reset button on the back of the display door or use the reset option in the B-hyve app.
Where is the fuse on my Orbit timer?
The fuse is inside the timer compartment, usually near the terminal strip where the valve wires connect. It's a small glass tube with metal caps, sometimes labeled "Fuse" or "F1." Pull it out and inspect the wire inside. Replace it with a 1-amp, 250-volt fuse only.
Why won't my Orbit timer run any zones?
The most common cause is a dead common wire or a blown fuse. First check the fuse, then check the voltage at the timer's COM and zone terminals while the zone is running. No voltage means a timer issue.
Voltage but no click means a valve or solenoid problem.
How long do Orbit sprinkler timers last?
With basic care, a wired Orbit timer can last 10 years or more. The valves and solenoids usually wear out sooner. The backup battery needs replacement every year or two.
Frequent power surges and lightning strikes shorten the lifespan, especially if the timer isn't plugged into a surge protector.
Why is my Orbit timer showing a blinking screen?
A blinking screen usually indicates a memory or power issue. Replace the 9-volt backup battery, unplug the timer, and reboot. The blinking colon is normal, though.
If the screen blinks and won't accept input, do a full reset.

Similar Posts