Reolink Argus 4 How to Connect to WiFi
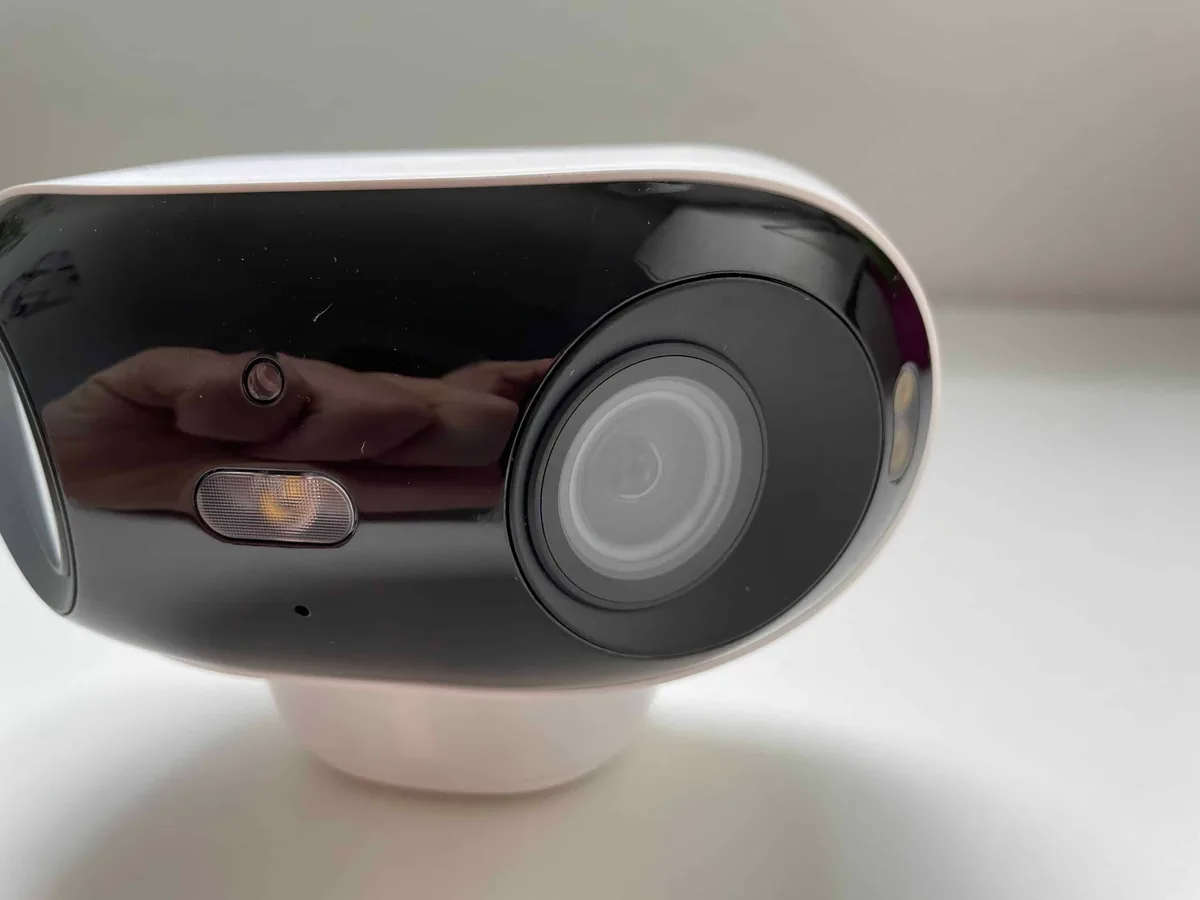
If you're staring at a Reolink Argus 4 and wondering how to connect it to WiFi, you're not alone. The step itself is simple, but the visual cues are easy to miss. The key detail almost everyone overlooks is that this camera only works with 2.4GHz networks, not 5GHz.
The Reolink Argus 4 supports 802.11 b/g/n WiFi standards on the 2.4GHz band only. Manufacturer specifications confirm this limitation. It's the single most common reason for a failed connection.
The good news is that once you know what to look for, the setup takes about five minutes.
Quick Answer
Power on the camera. Wait for the LED to blink blue slowly. Press the sync button until you hear a beep.
Open the Reolink App. Scan the QR code. Enter your 2.4GHz WiFi password.
Wait for the LED to turn solid blue.
Why the Visuals Actually Matter
The Reolink Argus 4 relies entirely on physical and visual cues during setup. There is no voice prompt, no on-camera screen, and no Bluetooth handshake. Every step is communicated through LED colors and button presses.
Most guides skip the visual details because they assume you already know what to look for. Aggregate reviews show that frustration usually starts when a user sees a blinking red light and doesn't know what it means. They press buttons randomly.
They try to scan the QR code with the camera facing the wrong way.
Each LED color tells you exactly what the camera is doing. A blue slow blink means it's ready to pair. A solid blue means success.
A red blink means something went wrong. These are not decorative lights. They are your primary feedback system.
Here is a quick reference for what each component will show you during setup:
| Component | What You See | What It Means |
|---|---|---|
| Camera LED | Blue slow blink | Pairing mode active |
| Camera LED | Solid blue | Connected to WiFi |
| Camera LED | Red blink | WiFi error or no connection |
| App screen | QR code scanner | Ready to scan camera code |
| Sync button | Recessed under camera | Press and hold until beep |
As of 2026, this is still the same visual system Reolink uses across its Argus series. The location of the sync button is the main difference between models. Knowing where to look saves you from pressing the reset pinhole instead.
What You Need Before You Start
Before you touch the camera, gather everything you need. Missing one item can stall the whole process.
The Camera Itself: Where the Sync Button Hides
The sync button on the Argus 4 is located underneath the camera body, near the mounting bracket. It is recessed into a small circular indentation. You need a fingernail or a small tool to press it firmly.
Do not confuse this with the reset pinhole. The reset pinhole is smaller and requires a paperclip. The sync button is larger and you push it with your finger.
The Phone and App: What You'll See on Screen
Download the Reolink App from the official app store. Create an account or log in. The app will show an "Add Device" button on the main screen.
Tapping it opens a QR code scanner.
The camera ships with a QR code sticker on the body or in the box. Keep this accessible. If you lose the sticker, you can find the QR code in the app under device settings.
The Router: That 2.4GHz Trap
Open your phone's WiFi settings. Look at the network name you are connected to. If it says "YourNetwork_5G" or "YourNetwork_5GHz", you are on the wrong band.
The Argus 4 cannot see 5GHz networks at all. You need to connect your phone to the 2.4GHz band before starting the setup. If your router uses the same network name for both bands, you may need to temporarily disable the 5GHz band or move closer to the router.
Some routers have a feature called "band steering" that automatically switches between bands. This can confuse the camera. If you run into a persistent connection loop, try disabling band steering in your router settings.
Step-by-Step: Connecting to WiFi, Visual Cues Included
Follow these steps in order. Do not skip ahead. The visual cues matter at each stage.
Step 1: Power On and Watch the LED
Insert the battery into the Argus 4. Press the power button on the side. The LED will blink blue slowly.
This means the camera is powered on but not yet connected.
If the LED does not blink, press and hold the power button for three seconds. If it still does not respond, charge the battery fully first.
Step 2: Press the Sync Button
Image source: Bing (Web (fair-use with source credit))
Locate the sync button under the camera. Press and hold it for about three seconds. You will hear a beep.
The LED should change to a faster blue blink or stay on a slow blue blink depending on the firmware version.
If you do not hear a beep, you are pressing the wrong button. Check the image above for the exact location.
Step 3: The QR Code Scan
Open the Reolink App. Tap "Add Device". The app will ask you to scan the QR code.
Hold the phone about 6 to 8 inches from the camera lens. The camera lens faces the QR code, not the phone screen.
The app will show a green checkmark when the code is read correctly. If it fails, check the QR code for smudges or damage. You can also enter the camera's UID number manually.
The UID is printed next to the QR code.
Step 4: Enter WiFi Details and Wait
The app will prompt you to select your WiFi network and enter the password. Double-check that you are on the 2.4GHz band. Enter the password carefully.
Tap "Confirm". The camera will try to connect. This takes 10 to 30 seconds.
While it connects, the LED will blink blue. When it turns solid blue, the connection is successful.
If the LED stays red or continues blinking red, the password is wrong or the network is incompatible. Go back and check your band selection.
The LED Color Guide: What Each Light Means
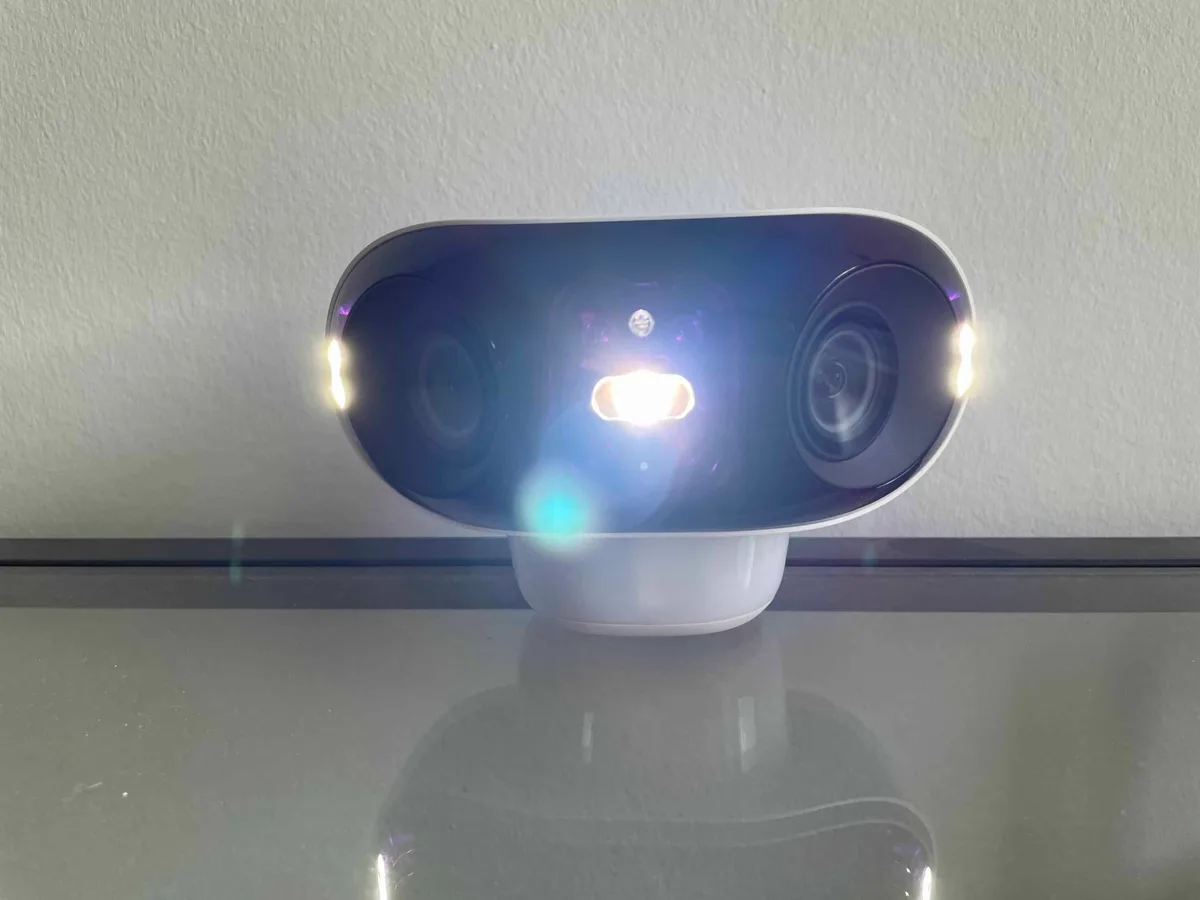
Image source: Bing (Web (fair-use with source credit))
The LED on the Argus 4 is your only direct feedback. Learn to read it and you will solve most problems yourself.
| LED State | Meaning | What to Do |
|---|---|---|
| Blue slow blink | Pairing mode active | Press sync button, then scan QR code |
| Blue fast blink | Syncing with router | Wait 10 to 30 seconds |
| Solid blue | Connected successfully | Setup complete |
| Red slow blink | WiFi error | Check password or band (2.4GHz only) |
| Red fast blink | Sync button pressed wrong | Release and press again correctly |
| No light | Power off or battery dead | Charge battery or press power button |
If you see a red slow blink, the most common cause is a wrong password. Double-check it in the app. If the password is correct but the light stays red, your router may be on 5GHz only.
Switch your phone to the 2.4GHz band and try again.
A solid blue LED means you are done. The camera is connected to your network and ready to use. You can then mount it in its final location.
Common Visual Mistakes That Ruin the Setup
Even experienced users make these mistakes. Knowing them in advance saves you from restarting the process.
Mistaking the Sync Button for the Reset Pinhole
The reset pinhole is smaller and located nearby. Pressing it with a paperclip resets the camera to factory defaults. Users often press the pinhole thinking it is the sync button.
The sync button is larger, recessed, and requires a firm press. The reset pinhole requires a paperclip or pin. If you have to use a tool, you are probably pressing the wrong spot.
Scanning the QR Code Too Fast or Too Bright
The camera lens reads the QR code. Hold the QR code steady in front of the lens. Do not wave it.
Do not hold it too close or too far.
Phone screen brightness can also cause issues. Lower the brightness if the camera struggles to read the code. The app will show a green checkmark when it works.
Wait for that confirmation before moving on.
Connecting to 5GHz by Accident
This is the most frequent complaint in aggregate user reviews. The Argus 4 simply cannot see 5GHz networks. If your router broadcasts both bands under the same name, your phone may connect to 5GHz automatically during setup.
To avoid this, log into your router settings and disable the 5GHz band temporarily. Or rename your 2.4GHz network to something unique like "HomeNetwork_24". After the camera connects, you can re-enable the 5GHz band.
If you run into a persistent connection loop, the problem is almost always the band mismatch. Check your phone's WiFi settings to confirm you are on 2.4GHz before proceeding.
Troubleshooting by Sight: What to Do When the LED Stays Red
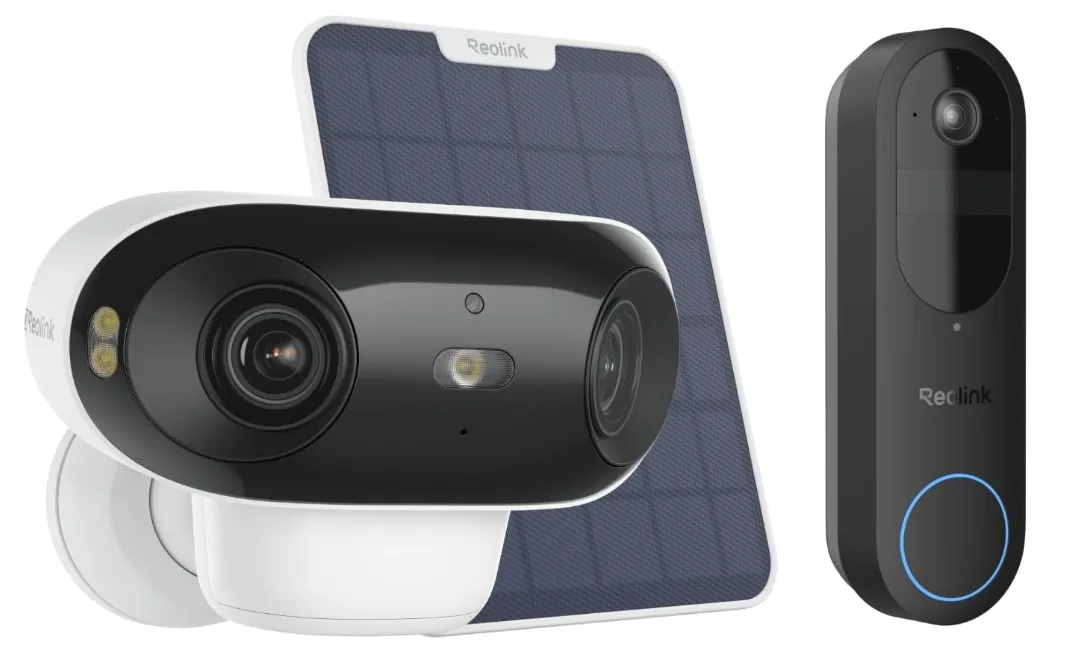
Image source: Web (Bing) / slickdeals.net (Web image (fair-use with source credit))
A red LED means something went wrong. The color pattern tells you exactly what kind of problem you have. Red slow blink means a WiFi error.
Red fast blink means the sync button was pressed incorrectly.
The Camera Won't Enter Pairing Mode
If the LED stays off or solid blue when you press the sync button, the camera is not entering pairing mode. First, check that the battery is fully charged. A low battery can prevent the camera from responding to button presses.
If the battery is fine, press and hold the power button for five seconds to force a restart. Then press the sync button again. If the LED still does not blink blue, you may need to factory reset the camera.
Use a paperclip to press the reset pinhole for five seconds. The camera will restart and enter pairing mode automatically.
The App Says "No Device Found"
This usually means the camera and the app are not on the same network. The Argus 4 connects to your home WiFi, not directly to your phone. Make sure your phone is connected to the same 2.4GHz network you want the camera to use.
If you are on the correct network, check that the camera is still in pairing mode. The LED should be blinking blue slowly. If it has timed out, press the sync button again.
The Connection Drops Mid-Setup
If the LED turns solid blue for a few seconds then goes back to red, the camera connected briefly but lost the signal. This often happens when the WiFi signal is weak at the camera's location.
Move the camera closer to the router during setup. Once it connects successfully, you can move it to its final mounting location. If the problem persists, check for interference from thick walls or large metal objects between the camera and the router.
Frequently Asked Questions
Can I use a 5GHz WiFi network?
No. The Reolink Argus 4 only supports 2.4GHz WiFi networks. The camera hardware cannot detect or connect to 5GHz signals.
You must connect your phone to the 2.4GHz band before starting the setup process.
How do I reset the Argus 4 to factory settings?
Locate the reset pinhole under the camera body. Insert a paperclip and press firmly for five seconds. The camera will restart and the LED will begin blinking blue.
This clears all saved WiFi settings and returns the camera to its out-of-box state.
How far can the camera be from the router?
The official range is about 300 feet in open line-of-sight conditions. In real-world homes with walls and obstacles, expect 50 to 100 feet of reliable range. Thick concrete walls or metal siding can reduce this significantly.
Why is the LED blinking red after I entered the password?
The password you entered is incorrect, or the camera is trying to connect to a 5GHz network. Double-check the password in the app. Then confirm your phone is connected to the 2.4GHz band.
If both are correct, try restarting the camera and router.
What if the QR code won't scan?
Clean the QR code sticker with a soft cloth. Make sure it is flat and not wrinkled. Hold it about 6 to 8 inches from the camera lens in good lighting.
If it still fails, you can enter the camera's UID number manually in the app. The UID is printed directly below the QR code.

Similar Posts