Insta360 GO 3S How to Use
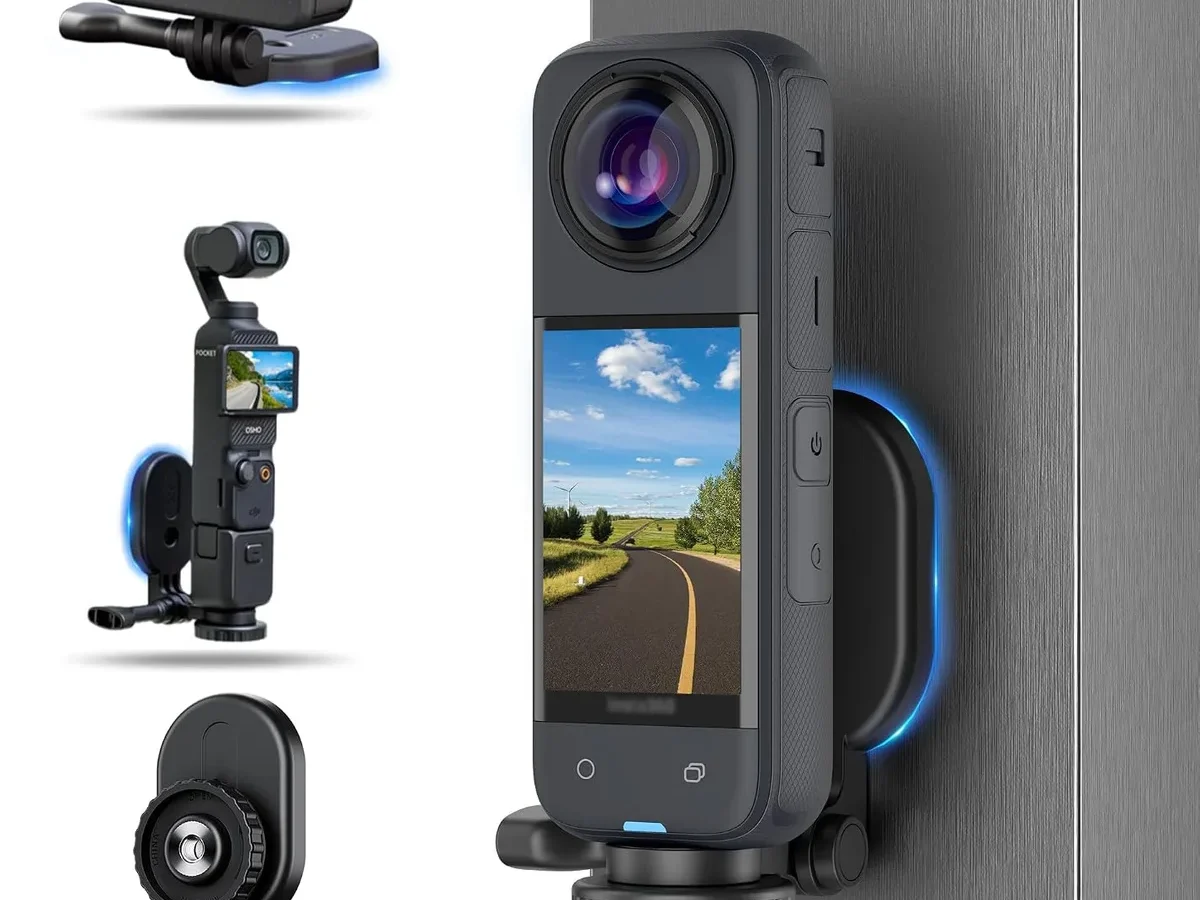
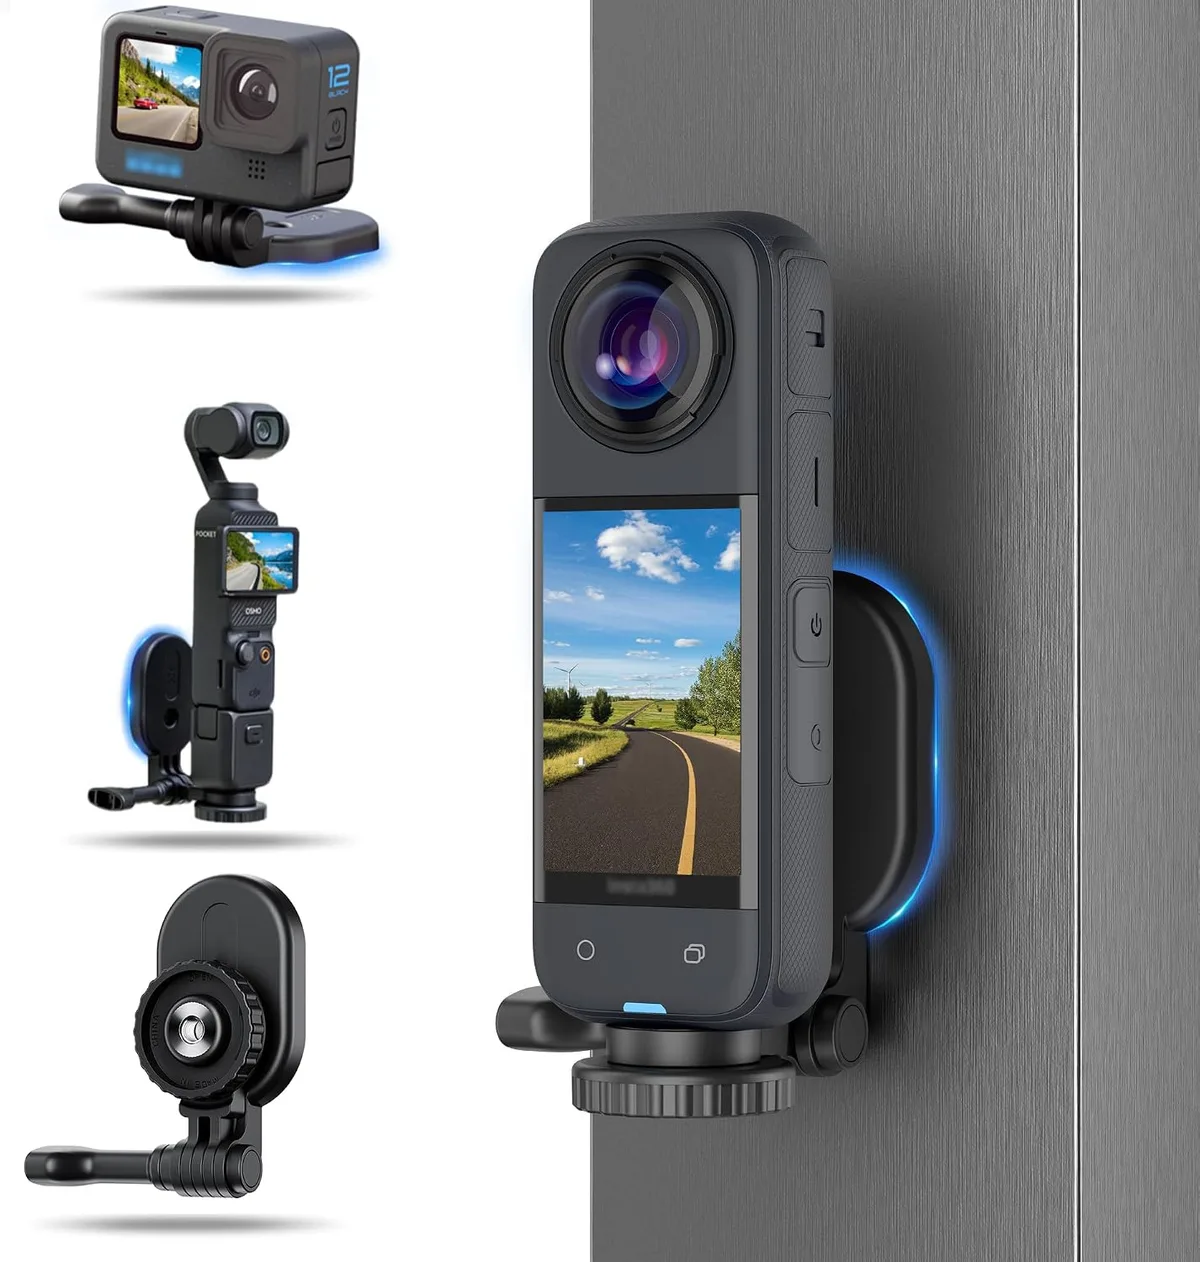
Image source: Bing (Web (fair-use with source credit))
The Insta360 GO 3S how to use question comes up constantly because this camera works differently than anything else on the market. It is tiny and magnetic. It relies on a separate touchscreen pod for control.
You cannot just press a record button and expect perfect footage. You need to understand the workflow.
Manufacturer specifications confirm the camera body is IPX8 waterproof to 10 meters without any housing. That is a rare trick for a 30-gram camera. But the Action Pod that controls it is not waterproof.
That is where most people get tripped up. Let us walk through the parts first.
Quick Answer
Charge the Action Pod and camera fully. Download the Insta360 App. Pair the camera via Bluetooth.
Mount the camera to your hat or helmet. Use the touchscreen or voice commands to record. Transfer footage to the app.
Edit and export. The whole setup takes about 90 minutes for the first charge plus two minutes for pairing.
What the GO 3S Is and Why You Would Use It
The GO 3S is a tiny action camera built for hands-free, first-person perspective video. It weighs about 30 grams. That is lighter than a standard keychain.
The whole point is you forget you are wearing it.
People use it for cycling, parenting, dog walks, and travel vlogging. Any activity where you want a POV shot without holding a phone or a gimbal works well. The magnetic mount system lets you stick it to a hat brim, a bike helmet, or a car dashboard.
It is a set-it-and-forget-it tool.
The camera is not a replacement for a GoPro or a DJI Action. It is a complement. You use it for quick, casual clips.
The small sensor means you will not get cinematic quality. But you will get perspectives you cannot get any other way.
Aggregate reviews from verified buyers show the most common use case is capturing spontaneous moments with kids. The second is helmet-mounted cycling footage. The third is pet POV.
Each takes advantage of the tiny size and magnetic mount.
Version 3S launched in mid-2024 as an update to the GO 3. The main upgrade was 4K video resolution. The previous model capped at 2.7K.
As of 2026, the GO 3S remains the smallest 4K action camera on the market.
The camera works best in good light. Indoor footage can look noisy. That is a trade-off of the small sensor size.
But for outdoor daytime use, the footage is sharp and stable. The FlowState stabilization system uses a 6-axis gyro. It smooths out shakes without a mechanical gimbal.
The trade-off is a slight crop on the image.
What You Are Working With: The Camera and the Action Pod
The GO 3S system has two main parts. The camera itself is the small cube with the lens. The Action Pod is the rectangular housing with the flip-up touchscreen.
The camera contains the battery, sensor, and storage. It has no controls on the body. The only button is the magnetic release on the back.
Everything else is handled through the Pod or the app.
The Action Pod serves three jobs. It charges the camera. It provides a touchscreen interface.
And it acts as a remote viewfinder. The Pod battery extends total runtime to about 155 minutes.
The camera alone lasts 30 minutes of continuous recording. That is enough for most single clips. But you need to dock it back in the Pod between takes.
The Pod charges the camera wirelessly. Users who need longer sessions should check our guide on extending battery runtime for practical tips.
Both units charge via USB-C. The camera charges faster in the Pod than on a cable. Full charge takes about 45 minutes for the camera.
The Pod itself takes about 90 minutes to charge.
The touchscreen on the Pod is 1.3 inches. It is small but functional. You flip it up to turn it on.
You tap or swipe to change modes. The interface is simple compared to larger action cameras.
Storage is built into the camera. You choose 32GB, 64GB, or 128GB at purchase. There is no microSD card slot.
That is a common point of frustration. It is a key difference from models like the DJI Action 5 Pro, which lets you expand storage with cards.
Transfer happens through the Insta360 App over Wi-Fi. Or you can plug the Pod into a computer with USB-C. The Pod acts as a card reader for the camera.
Step-by-Step: From Charging to Your First Clip
Step one is charging. Plug the USB-C cable into the Action Pod. The camera charges wirelessly when docked inside.
Wait until both lights show green.
Step two is pairing. Open the Insta360 App with Bluetooth on. The app detects the camera and guides you through the connection.
The whole process takes under two minutes.
Step three is mounting. The magnetic clip works for hats and straps. The pendant mount hangs around your neck.
The adhesive mount sticks to helmet surfaces.
Step four is recording. Use the touchscreen on the Pod. Use voice commands.
Or use the gesture control by waving your hand.
Step five is transferring. Open the app and select the camera. The app shows your recent files.
Download the ones you want to edit.
Step six is editing. The app offers AI-powered reframing and aspect ratio changes. You can adjust color and speed after recording.
Export at up to 4K with AI upscaling.
One common question is about the initial setup time. Manufacturer specs indicate the first charge takes about 90 minutes. The pairing process takes about two minutes.
You can be recording within two hours of opening the box.
Some users report issues with the camera not charging properly. This is often due to the magnetic contacts not aligning. Make sure the camera clicks fully into the Pod.
You should feel the magnetic pull. Our guide on charging troubleshooting steps covers this in detail.
The Recording Modes That Actually Matter
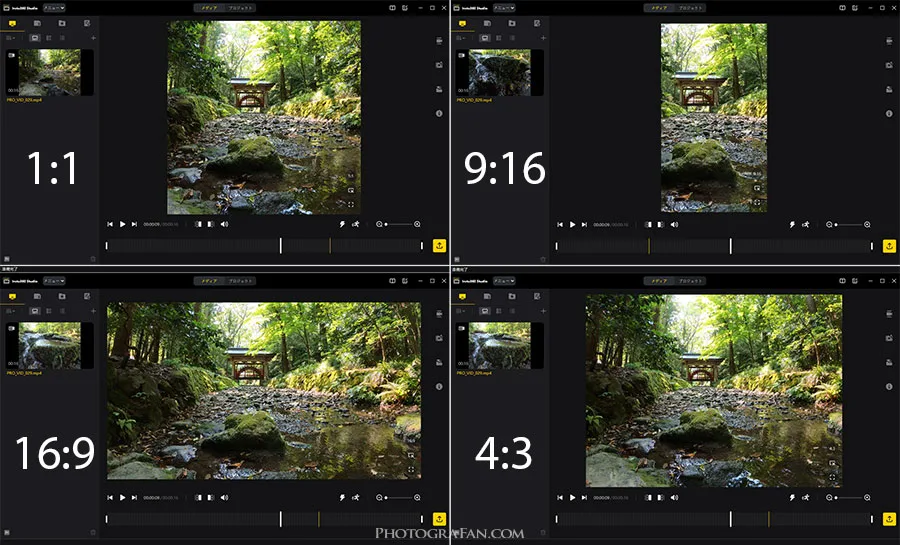
Image source: Web (Bing) / photografan.com (Web image (fair-use with source credit))
FreeFrame Video is the most important mode. It records the full sensor area. You can change the aspect ratio after recording.
Choose 9:16 for vertical social media. Choose 16:9 for YouTube. Or choose 1:1 for Instagram squares.
The decision comes later.
Standard Video mode records at your chosen aspect ratio. It is simpler but less flexible. Use this if you know exactly where you are posting.
The file size is smaller than FreeFrame.
Slow Motion mode records at 1080p and 120fps. That is enough for smooth 4x slow motion. The quality drops compared to 4K.
But the effect is worth it for action shots.
Timelapse mode captures compressed video over time. Use it for sunrise, sunset, or traffic. The camera stabilizes the footage automatically.
Set the interval between 0.5 seconds and 60 seconds.
Hyperlapse mode is moving timelapse. You walk or cycle while recording. The camera speeds up the footage and stabilizes it.
The result is smooth, fast-paced video.
Loop Recording is useful for dashcam use. It overwrites old footage in 1, 3, or 5 minute segments. Photo mode captures 12MP stills.
It works best in daytime conditions.
High-resolution recording can cause the camera to warm up. Extended use in 4K mode may trigger thermal protection shutdowns. Take breaks between long clips.
| Mode | Best For | Resolution | File Size |
|---|---|---|---|
| FreeFrame Video | Social media flexibility | 4K 30fps | Large |
| Standard Video | Direct upload | 4K 30fps | Medium |
| Slow Motion | Action replay | 1080p 120fps | Large |
| Timelapse | Long events | 4K | Small |
| Loop Recording | Dashcam use | 1080p 30fps | Minimal |
Where to Mount It for Different Activities
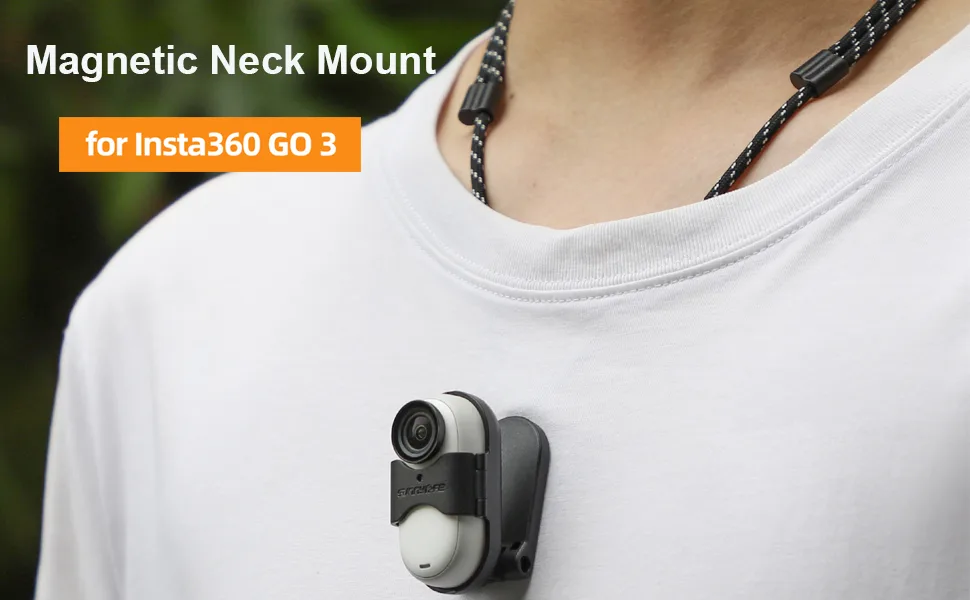
Image source: Web (Bing) / amazon.com (Web image (fair-use with source credit))
The GO 3S main advantage is its mounting system. The magnetic design lets you attach it to almost anything metal. The included accessories expand that to non-metal surfaces.
For cycling, the helmet mount is the most popular choice. The adhesive mount sticks to the top of your helmet. The camera sits at the front edge.
You get a true first-person view of the road and handlebars. Alternatively, you can clip the camera to a chest strap. The view is lower and more stable.
Choose based on your riding style.
For parenting, the magnetic clip works on a hat brim. The camera points forward. You capture your child perspective from your eye level.
The hands-free operation is key here.
For dog walks, the pendant mount hangs around your neck. The camera points forward at dog height. The result is a low-angle POV of your walk.
The dog often looks directly into the lens.
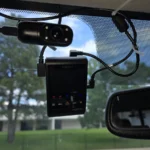
For car dashcam use, the adhesive mount sticks to the dashboard. The magnetic clip holds the camera securely. Set Loop Recording mode.
The camera overwrites old footage automatically.
For travel vlogging, the magnetic clip works on a backpack strap. The camera points forward over your shoulder. You get a walking POV without holding anything.
The small size makes it less intrusive than a larger action camera.
One important note for all mounts. The magnetic connection is strong but not indestructible. A hard knock can dislodge the camera.
Use the included tether for high-impact activities. The exposed lens can get scratched in some mounting positions. Our guide on preventing lens damage offers useful tips for protecting the glass.
Mistakes That Will Ruin Your Footage
The GO 3S is small and simple. That simplicity can trick you into bad habits. A few common mistakes consistently produce unusable footage.
The biggest mistake is recording in Auto mode for action shots. Auto mode prioritizes exposure over stabilization. You get wobbly, jittery footage.
Switch to FreeFrame Video mode for any movement. The stabilization system works at full power.
Another common error is mounting the camera too loosely. The magnetic clip is strong. But it can shift on bumpy surfaces.
A loose mount introduces micro-vibrations. The stabilization cannot fix those. Make sure the mount is tight against the surface.
Recording in direct sunlight for extended periods triggers overheating. The camera slows down or shuts off. Aggregate reviews report this happening most often in summer cycling videos.
Keep clips under 15 minutes in direct sun. Let the camera cool between takes.
Forgetting the Action Pod is not waterproof is a costly mistake. The camera is IPX8. The Pod is not.
Users have destroyed Pods by submerging them. Keep the Pod dry. Only the camera goes underwater.
Poor audio is another frequent complaint. The camera has a tiny microphone. It picks up wind noise easily.
There is no built-in wind muffler. The workaround is recording in a quiet environment. Or use an external microphone adapter if available.
Not checking the LED status before recording causes missed shots. The camera needs the green light to confirm recording. Red means it is busy or low on battery.
Wait for the green light. Then start your action.
Finally, mounting the lens too close to a surface creates a blurred edge. The wide-angle lens sees everything. If it is flush against a helmet or strap, the edge goes soft.
Leave a small gap. The magnetic clip provides enough distance naturally.
Frequently Asked Questions
Can I use the GO 3S without the Action Pod?
Yes, but with limitations. The camera has no buttons. You must start recording through the app or voice commands.
The camera records for 30 minutes on its own. You cannot change settings without the Pod or app.
How do I transfer footage to my phone?
Open the Insta360 App. Connect to the camera via Wi-Fi. The app shows your clips.
Tap download. Transfers are fast over Wi-Fi. You can also plug the Pod into a computer with USB-C to transfer files directly.
Why does my camera overheat in 4K mode?
The small body has limited heat dissipation. Recording 4K at 30fps for more than 15 minutes generates excess heat. The sensor reduces quality to protect itself.
Use 1080p for longer clips. Or take breaks between recording sessions.
How do I reset the camera if it freezes?
Press and hold the magnetic release button on the back of the camera for 10 seconds. The camera restarts. If the freeze persists, dock the camera into the Pod.
Then press the power button on the Pod for 10 seconds. This forces a full system reset.
Can I use the GO 3S as a dashcam?
Yes, with Loop Recording mode. Set it to 3 or 5 minute segments. The camera overwrites old footage.
Stick the adhesive mount to your dashboard. The camera records continuously when powered. Note that it does not have GPS or speed data.
What is the best resolution for social media?
Use FreeFrame Video mode. Record in 4K. Later, choose 9:16 aspect ratio for Instagram Reels or TikTok.
Choose 16:9 for YouTube. The AI reframing tool in the app adjusts the crop automatically. This gives you the highest quality final export.

Similar Posts