Ring Stick Up Cam How to Set Up
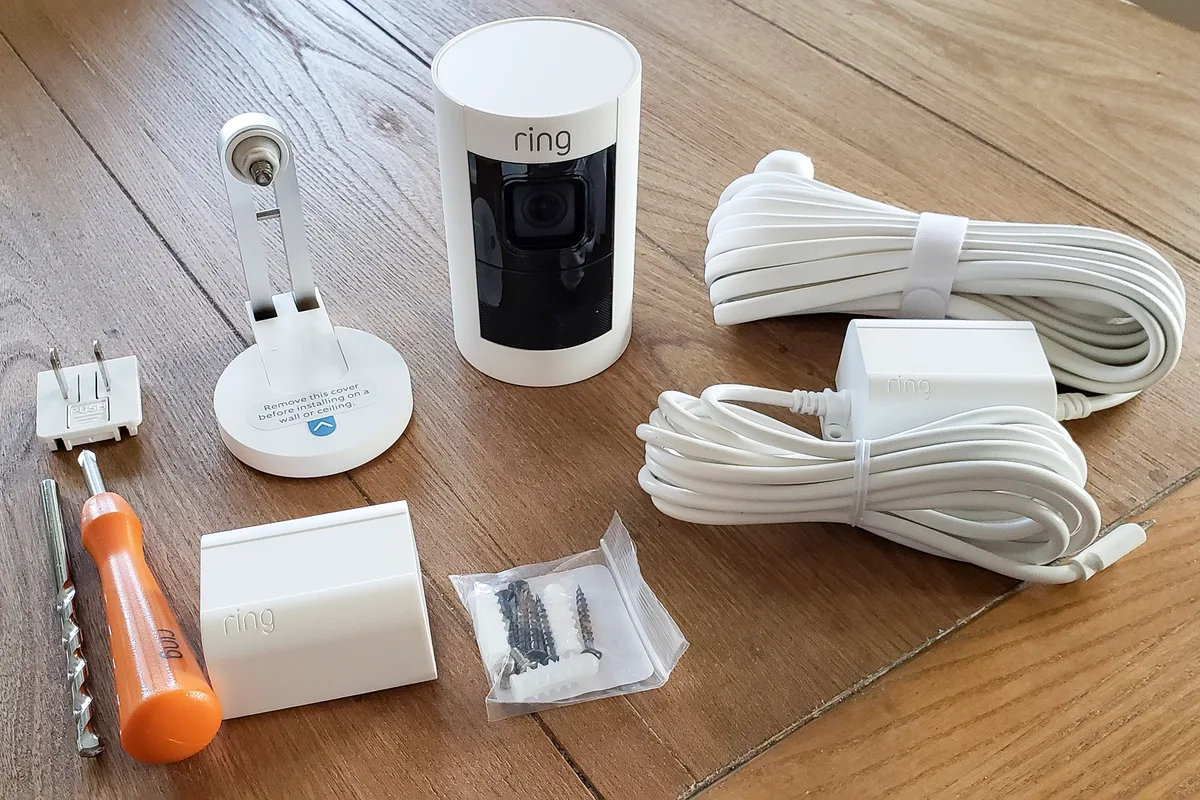
Image source: Web (Bing) / digitaltrends.com (Web image (fair-use with source credit))
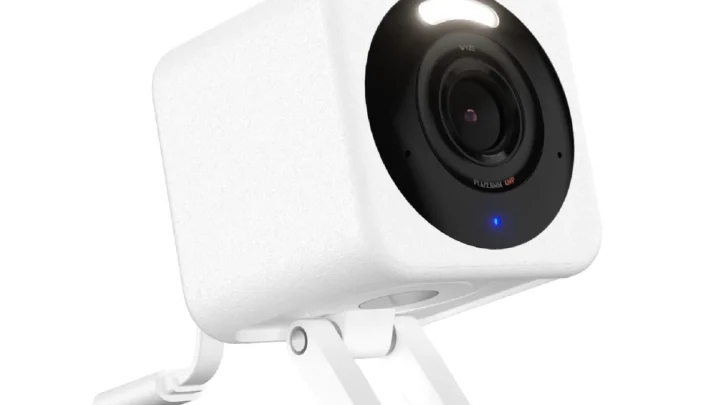
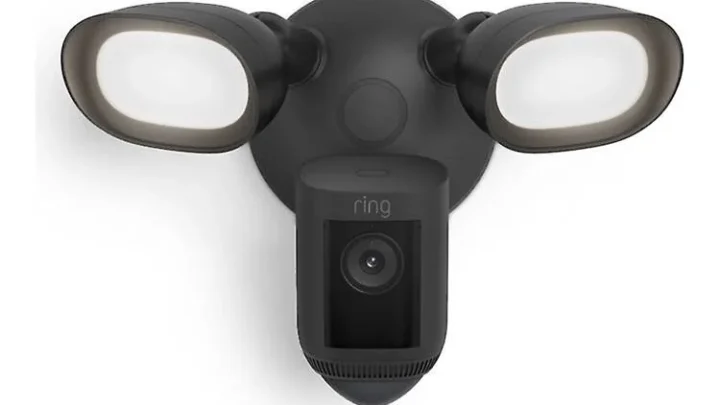
If you're staring at the box wondering about Ring Stick Up Cam how to set up, you're not alone. The hard part isn't the app. It's picking the right power source and mounting spot before you drill.
That's why we've turned this into a simple decision tree. You only follow the steps that apply to your exact situation.
Manufacturer specs confirm the Stick Up Cam works on 2.4 GHz Wi‑Fi only (no 5 GHz). It needs a minimum signal of about -70 dBm at the install point. As of 2026, the lineup includes battery, plug-in, solar, and PoE models.
Each has a different installation flow. Let's walk through the key choices before you touch a screwdriver.
Quick Answer
Set up a Ring Stick Up Cam in 15, 30 minutes. Charge the battery if using the battery model. Download the Ring app and create an account.
Scan the QR code on the camera. Connect to your 2.4 GHz Wi‑Fi network. Mount the camera and set motion zones in the app.
The Real Problem: Getting Stuck Before You Start
Most setup guides miss the fork in the road. They give you one linear list of steps. But your camera might need a completely different path.
The biggest headache? People mount first, then find they can't reach a power outlet or the Wi‑Fi signal is too weak. Then they take it down and start over.
In our research, the most common frustration is the battery model dying sooner than expected. It was placed in a high-traffic zone. You can fix that before you drill.
Another pain point: forgetting to clean the QR code lens. A quick wipe with a microfiber cloth solves it.
The goal is simple. Make three decisions first: power, location, and surface. Then the actual setup takes about 15 minutes with zero rework.
Your Setup Decision Tree at a Glance
Think of this as a choose-your-own-adventure. Answer three quick questions. We'll point you to the right branch of instructions.
| Question | Options | What It Changes |
|---|---|---|
| What power source do you have? | Battery, plug-in, solar panel, Power over Ethernet (PoE) | Wiring vs. no wiring, charging frequency, mount type |
| Where are you putting it? | Indoor on a shelf, outdoor under eave, exposed to rain, on a wall, on a ceiling | Weatherproofing needs, drill bit size, anchors |
| What surface are you mounting to? | Drywall, wood siding, brick, concrete, stucco | Anchors, drill bits, pilot hole depth |
Each branch leads to a different tool list and order of steps. If you're on battery, charge first. If you're on PoE, run Ethernet first.
If you mount on brick, use a masonry bit and plug anchors.
Branch 1: Pick Your Power
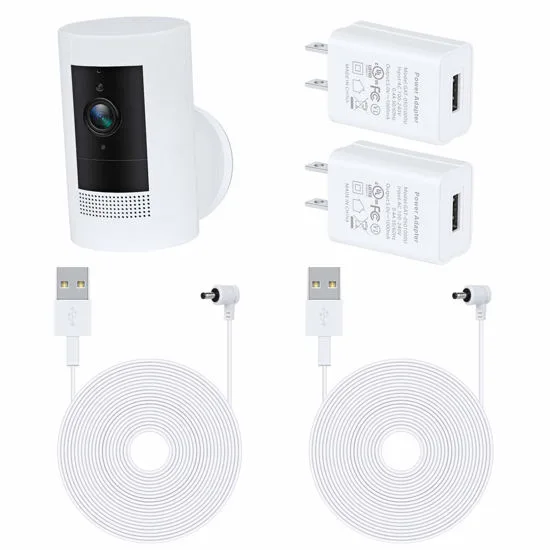
Image source: Bing (Web (fair-use with source credit))
This choice determines everything else. Let's break each one down.
Battery model ($99.99)
Best for places with no nearby outlet. You can reach it to recharge every 6, 12 months. Charge the battery fully before first use (about 5, 6 hours via micro‑USB).
Attach it to the Quick Release Mount. It pops off easily for recharging. Typical battery life is 6, 12 months with average motion.
Cold weather below 0°F cuts that significantly.
Plug-in model ($79.99)
Best for continuous power with zero battery worry. Plug the USB cable into an outdoor-rated outlet. Mount the camera nearby.
Drawbacks: you're tethered to an outlet, and the cable can be unsightly. Run it along a wall with adhesive clips. This is the simplest install.
Solar model ($199.99)
Comes with a solar panel that connects via a long cable. Best for locations that get direct sunlight for several hours a day. The panel trickle-charges the battery continuously.
In our research, users in sunny climates report never having to manually recharge. Shaded spots won't keep up.
PoE model (Pro/Elite, $199.99)
Requires an Ethernet cable from your router or PoE switch. The camera gets power and data over one cable. This is the most reliable option.
No Wi‑Fi drops, no battery anxiety. Hardest to install because you route cable through walls or ceilings.
Which one for you?
- No outlet nearby, easy to reach: Battery
- Outlet nearby, want zero maintenance: Plug-in
- Sun-drenched spot, don't want to charge: Solar
- Need rock-solid reliability, don't mind cable work: PoE
Branch 2: Where It Goes
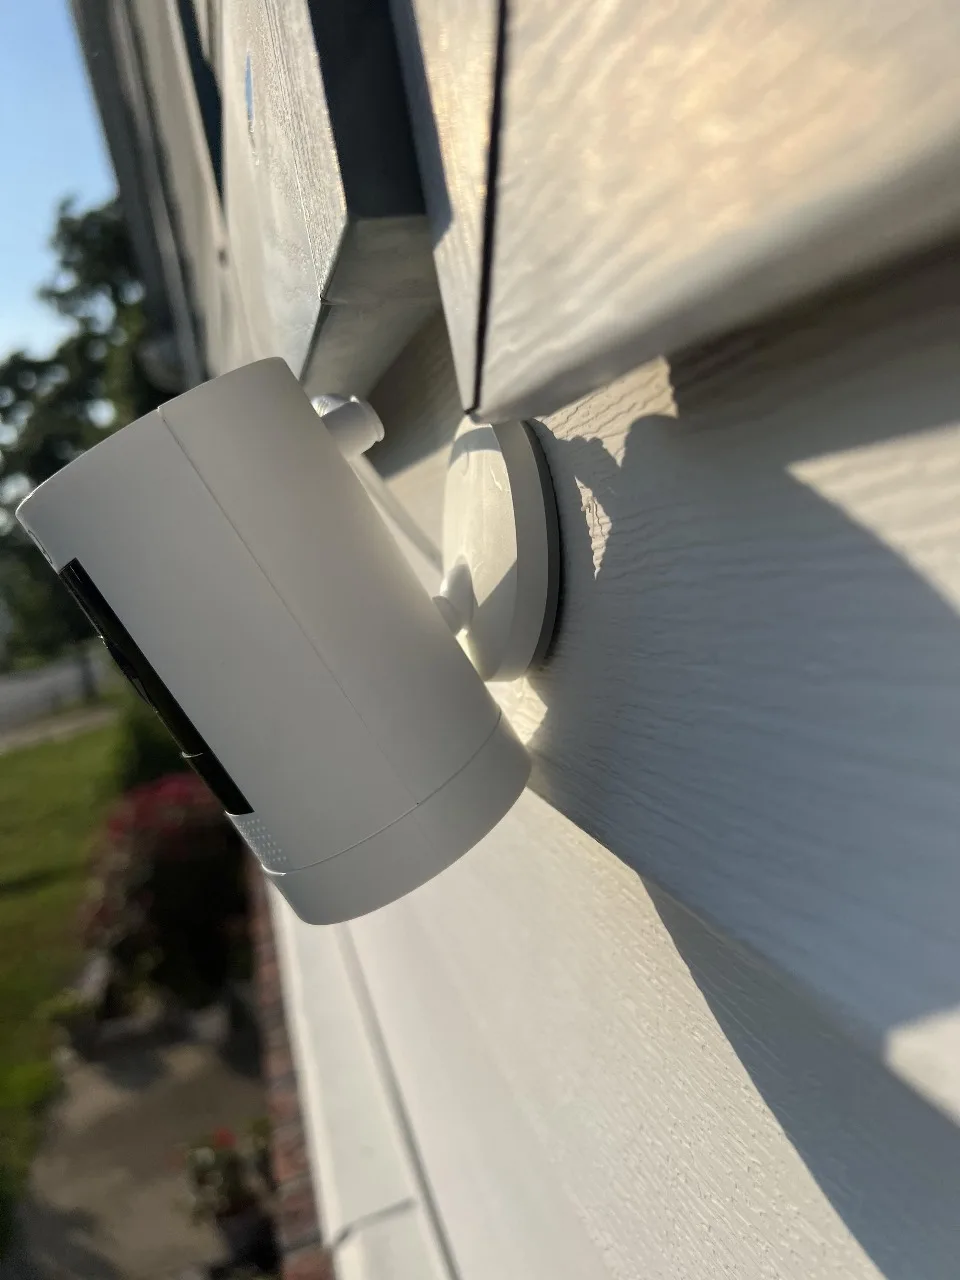
Image source: Web (Bing) / justsmarter.net (Web image (fair-use with source credit))
Once you've chosen power, decide the exact spot. The camera is weatherproof with an IPX5 rating. It handles rain but not direct water jets.
Outdoor under an eave is fine. Exposed spots with driving rain may need extra sealant on the USB port for plug-in models.
Indoor vs. outdoor
Indoor: set on a shelf with the tabletop stand (sold separately) or mount to a wall. No weather concerns. Outdoor: use outdoor-rated anchors.
Seal exposed connections with electrical tape or silicone.
Surface types
The included mounting kit works for drywall or wood. For other surfaces:
| Surface | Drill bit needed | Anchor type | Notes |
|---|---|---|---|
| Drywall | 3/16-inch | Plastic anchor (included) | Pilot hole not needed, use stud finder |
| Wood siding | 1/8-inch pilot hole | Wood screw (included) | Pre-drill to avoid splitting |
| Brick or concrete | 1/4-inch masonry bit | Masonry anchor (not included) | Use hammer drill, wear eye protection |
| Stucco | 1/4-inch masonry bit | Lead anchor or toggle bolt | Careful not to crack surface |
Mount at 7, 10 feet high for general security. For doorways, 5, 6 feet works. The field of view is 130° diagonal.
Adjust the mount before tightening fully.
The Actual Setup Walkthrough
Now you've made your three decisions. The setup steps are nearly identical for all variants.
Step 1: Charge the battery (battery model only)
Plug the micro‑USB cable into the camera and a wall adapter. A solid blue light means charging. It turns off when full.
This takes about 5, 6 hours. Don't skip it.
Step 2: Download the Ring app and create an account
You need the Ring app (iOS or Android). If you already have a Ring account, log in. If not, create one with a strong password.
Enable two-factor authentication.
Step 3: Put the camera in setup mode
For battery models, press and hold the orange button on the back until the light flashes blue. For plug-in or PoE models, plugging in power should start setup mode automatically. The light should spin blue.
Step 4: Scan the QR code
In the app, tap "Set up a Device" then "Cameras" then "Stick Up Cam". Point your phone at the QR code on the camera or the quick-start guide. Hold about 6, 8 inches away in good light.
Clean the lens first.
Step 5: Connect to Wi‑Fi
The app asks for your Wi‑Fi password. Make sure your phone is on the same 2.4 GHz network. The camera won't see 5 GHz.
If you have a dual-band router, temporarily disable 5 GHz or move the phone closer during setup. The camera takes about 30, 60 seconds to connect. The blue light turns solid when ready.
Step 6: Test audio and video
The app prompts you to speak and listen. Check that microphone and speaker work. If not, check app permissions and restart the setup.
Step 7: Mount it
Mount the camera on its bracket. Use the Quick Release Mount for battery models. For plug-in or PoE, secure the cable with clips or cable ties to prevent tripping.
Step 8: Fine-tune in the app
Set motion zones to reduce false alerts. Draw boxes over the area you want to monitor. Ignore sidewalks or trees.
Set privacy zones if needed to block neighbors' windows. Adjust notification preferences to get alerts only for people, vehicles, or all motion if you have a Ring Protect plan.
Step 9 (optional): Link to Alexa
In the app, go to Settings then Linked account then Amazon Alexa. This lets you view the camera on an Echo Show or ask "Alexa, show the backyard camera."
The whole process from app open to full surveillance takes 15, 30 minutes. That assumes you already chose your power and location. For official troubleshooting, visit the Ring Help Center.
Five Mistakes That'll Waste Your Time
Mistake 1: Mounting before checking Wi‑Fi signal
Walk to your chosen spot with your phone on the 2.4 GHz network. Open a speed test app. If download speed is below 2 Mbps, the signal is too weak.
Move the camera closer to the router or add a Wi‑Fi extender.
Mistake 2: Using the wrong drill bit for the surface
The included screws and anchors are for drywall and wood only. For brick, concrete, or stucco, use a masonry bit and proper anchors from a hardware store.
Mistake 3: Forgetting to set privacy zones
In the app, go to Device Settings then Privacy Zones. Draw boxes over areas you don't want recorded. This avoids neighbor complaints and legal issues.
Mistake 4: Ignoring battery charge time
Setting up a battery model with a half-charged battery can cause disconnects during firmware update. Charge fully for 5, 6 hours first.
Mistake 5: Not sealing outdoor USB ports
For plug-in models outdoors, use a small amount of silicone sealant or electrical tape around the micro‑USB connection. This prevents moisture corrosion.
Frequently Asked Questions
How long does the whole Ring Stick Up Cam setup take?
With a fully charged battery and good Wi‑Fi, expect 15, 30 minutes. The app pairing takes about 5 minutes. Mounting adds 10, 20 minutes depending on your wall type.
Can I set up a Ring Stick Up Cam without a subscription?
Yes. Live video and motion alerts are free. But you need a Ring Protect plan (Basic $3.99 per month per camera) to record and review past events.
Why won't my Ring Stick Up Cam connect to Wi‑Fi?
Most likely the camera is trying to connect to a 5 GHz network, which it doesn't support. Ensure your phone is on 2.4 GHz during setup. Also check distance to the router.
Can I use the Ring Stick Up Cam indoors and outdoors?
Yes. It has an IPX5 rating for rain and splashes. For outdoor use, mount it under an eave or overhang.
How do I reset a Ring Stick Up Cam to factory settings?
Press and hold the orange button on the back for 15 seconds. The light flashes red, then resets. All settings are lost.
Does the Ring Stick Up Cam work with Alexa?
Yes. Link your Amazon account in the Ring app under Linked Accounts. Then view the camera on an Echo Show.
Quick Decision Guide
| Your situation | Best model | Key setup tip |
|---|---|---|
| No power outlet nearby, easy ladder access | Battery ($99.99) | Charge fully before first use |
| Power outlet nearby, want zero battery worry | Plug-in ($79.99) | Seal USB port if outdoors |
| Sunny spot, don't want to charge | Solar ($199.99) | Angle panel toward sun |
| Permanent install, need rock-solid reliability | PoE (Pro/Elite, $199.99) | Run Ethernet first |
| Renter, cannot drill | Battery + tabletop stand | No mounting needed |
| Winter climate below 0°F | Plug-in or Solar | Battery drains fast in cold |

Similar Posts